Thursday, November 30, 2023

Adding an Interchange - Easton and Potomac at Brooke, VA

Interchanges on a model railroad have been termed "universal industries" as they could take any car type, from boxcars to flatcars to tankcars to gondolas to covered hoppers and anything else you might desire.

They also add some operating interest, as it can be a reason to have some foreign road power on your layout (assuming that is not common in your era; in the RTRR's era, foreign power is somewhat common as trailing units, due to the cab signaling requirements on the RF&P mainline), as well as a reason to signal a crossing.

Brooke, VA is a location in the real world. It is in Stafford County, south of Quantico and north of Hamilton, and is not all that far from the Potomac river. Today, there is a Virginia Railway Express (VRE) station in this general area.

The late Keith Stillman drove the Easton and Potomac's mainline through this area when he designed and built his layout, giving him an interchange with the RF&P, and allowing him to logically lengthen the run between Hood and Thorny Point by installing signals to protect the diamond crossing.

As an operator, you would hit a button to request permission to cross. A script ran on a computer under the layout and eventually would give you the light. It was random-ish, and more than a few engineers found themselves cooling their heels for many minutes waiting on the signal to go green.

As the Richmond Terminal goes through this area, I felt it appropriate to add an interchange to honor Keith and his railroad. I assumed that a few of the industries would still be going concerns, mostly in the Hood, Flat Top and Thorny Point areas. The steamships would be long gone by the 1990s, but I assumed that Thorny Point would develop a robust boat building industry for small pleasure and working craft, taking advantage of the sheltered location on a major river that fed into the Chesapeake Bay, and also pick up a few military and government contracts due to their proximity to DC. I assumed that Hood Brothers packing in Hood continued to go strong and continued to send refrigerator cars of pork products out to the larger world. The line all the way to White Hall wouldn't have survived, as it was mostly a bridge line at that point, as modeled, and as the railroads consolidated in the 1960s, it wouldn't have enough business to be a going concern, but the eastern end would survive as the E&P Short Line.

Now that I knew where it needed to go, I just needed to build it.


I tried a couple of different track layouts to make it fit. Originally, I planned to copy the layout from the E&P and put the interchange track on the NE quadrant of the crossing.

This would only give me a foot or two of interchange track, which might be 3 cars, if they are short. 

So, I had to take a bit of modeler's license and move it.

I added a crossover to help keep traffic moving, and give a train working the interchange a way to stay off at least 1 of the mainline tracks, while giving the dispatcher a way to work around it.

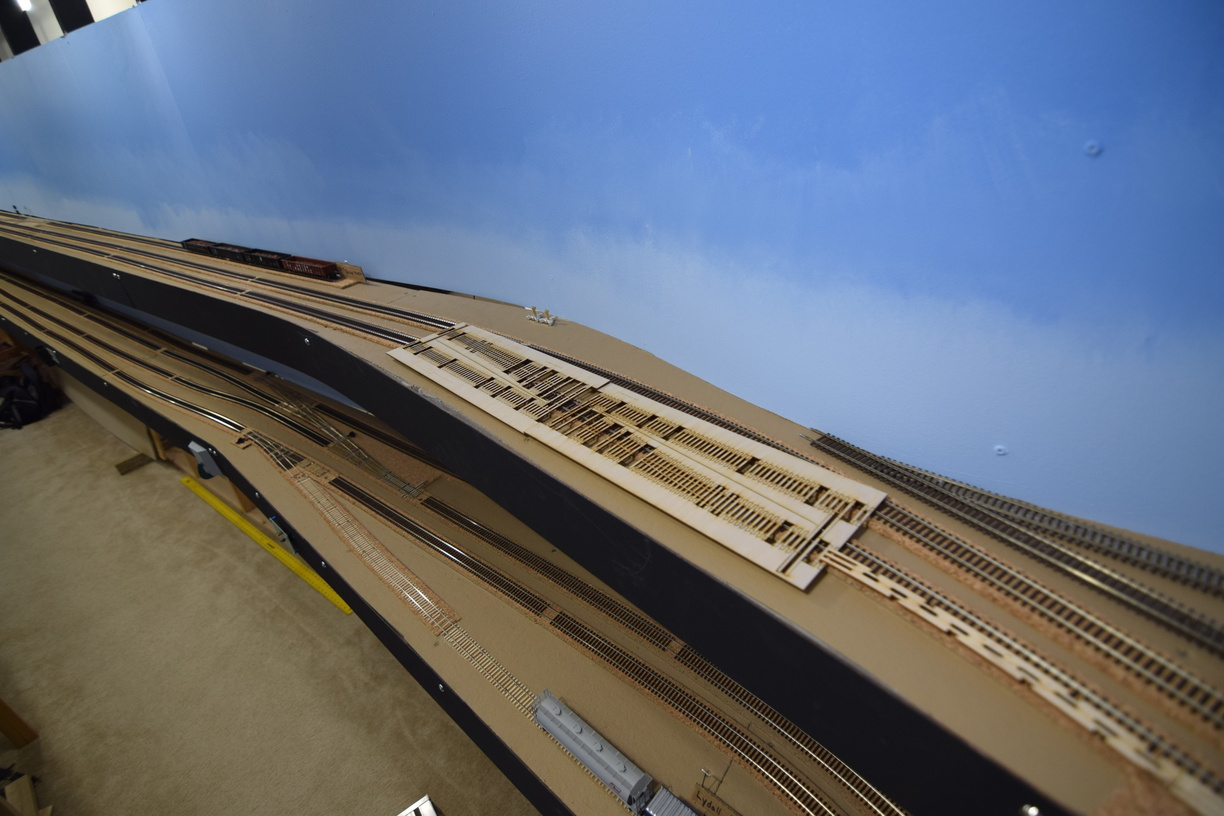
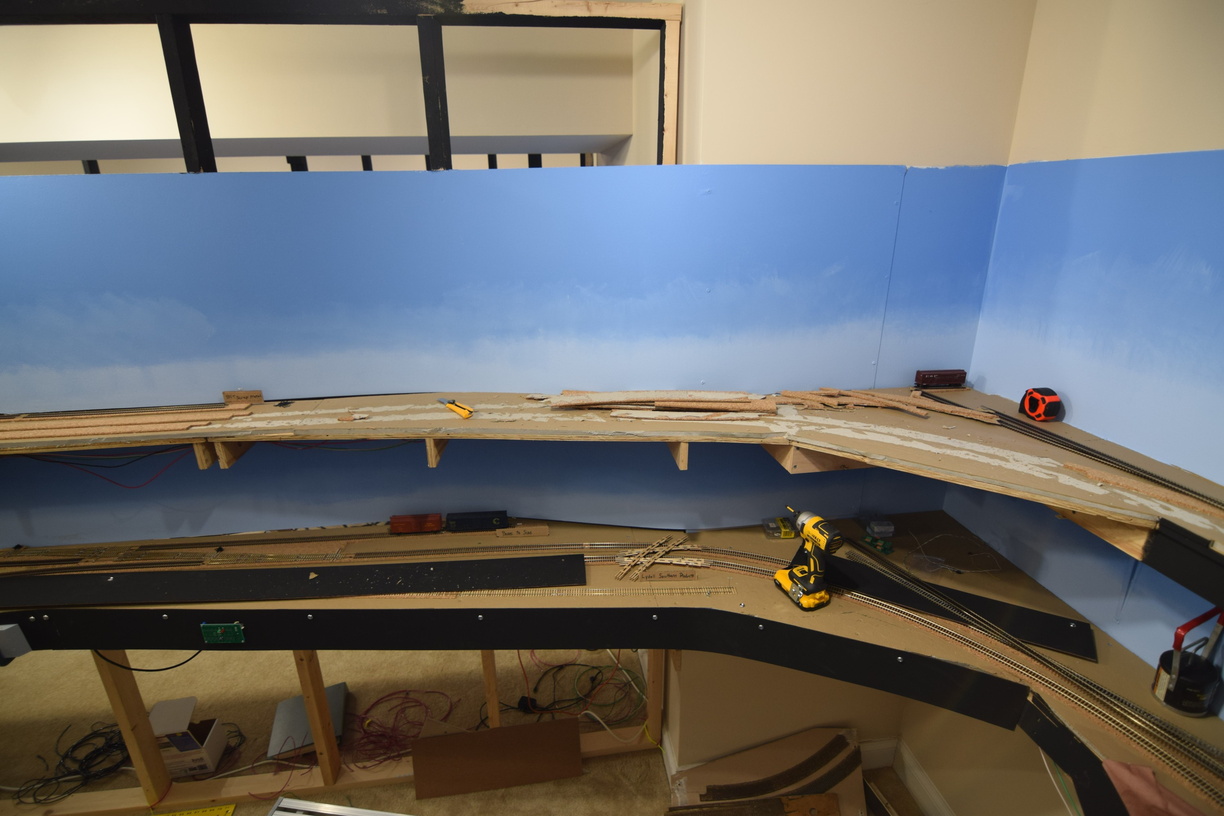
#8 RH Crossover; Fast Tracks quick stick ties out to help me gauge sizes and locations.

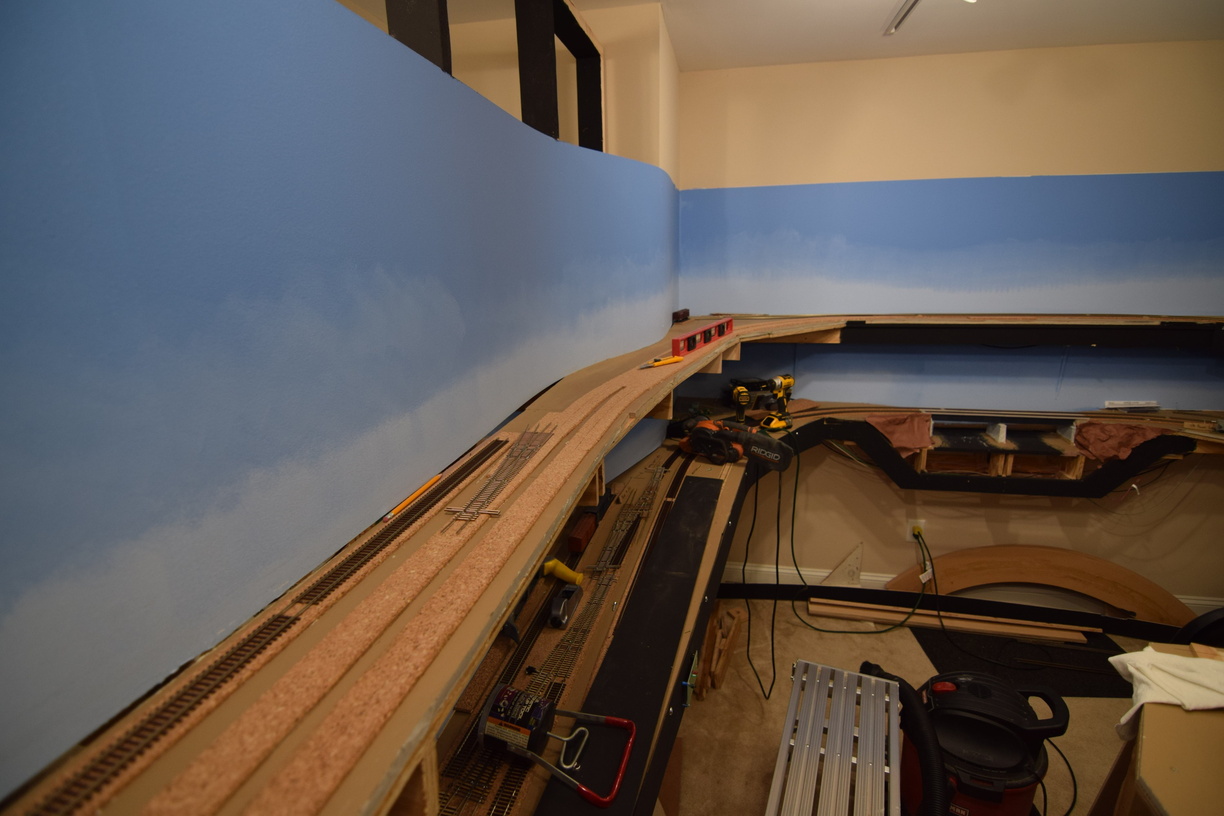
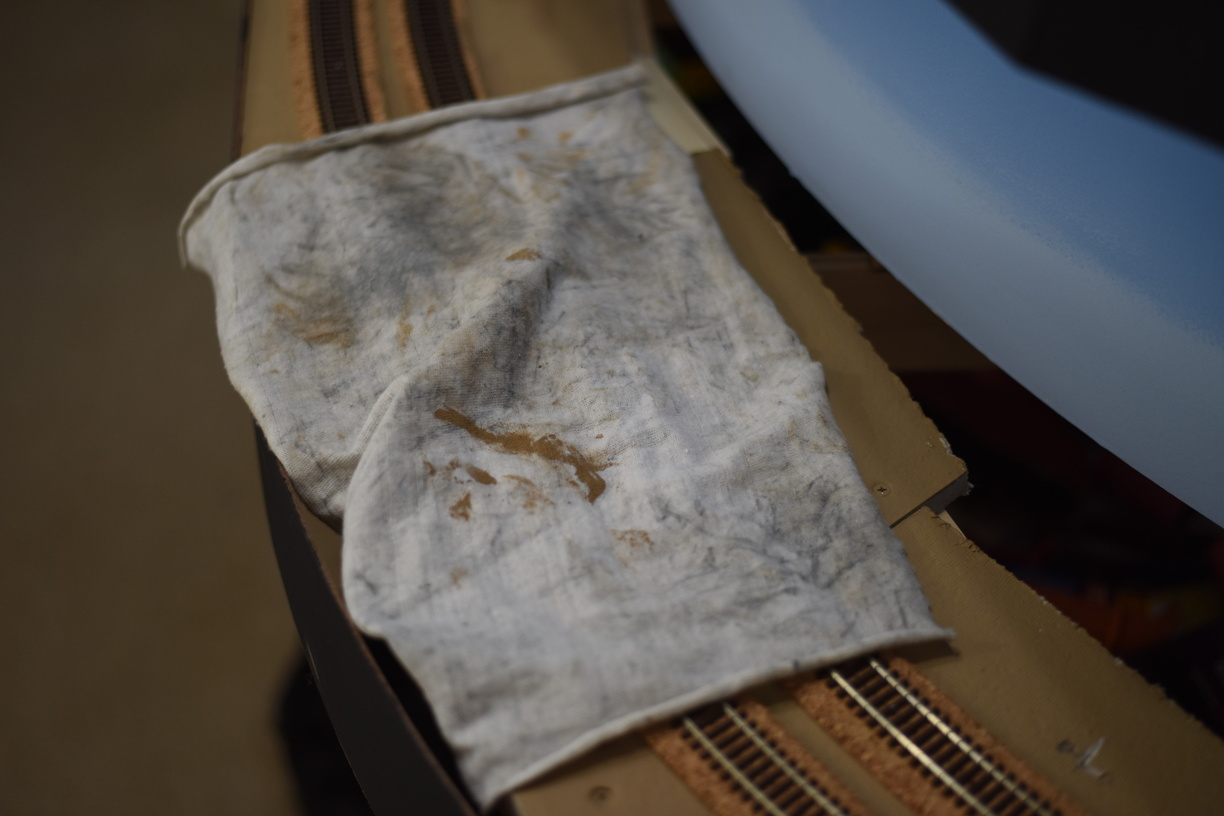
Once I way happy with the plan, I pulled up the mainline.


Note the perpendicular cork down for the location of the originally planned set of diamonds.


And the cork, since I needed to shift the main tracks.


Once I had centerlines marked, new cork was cut and glued, and I built the crossover and the interchange track TO on the bench.

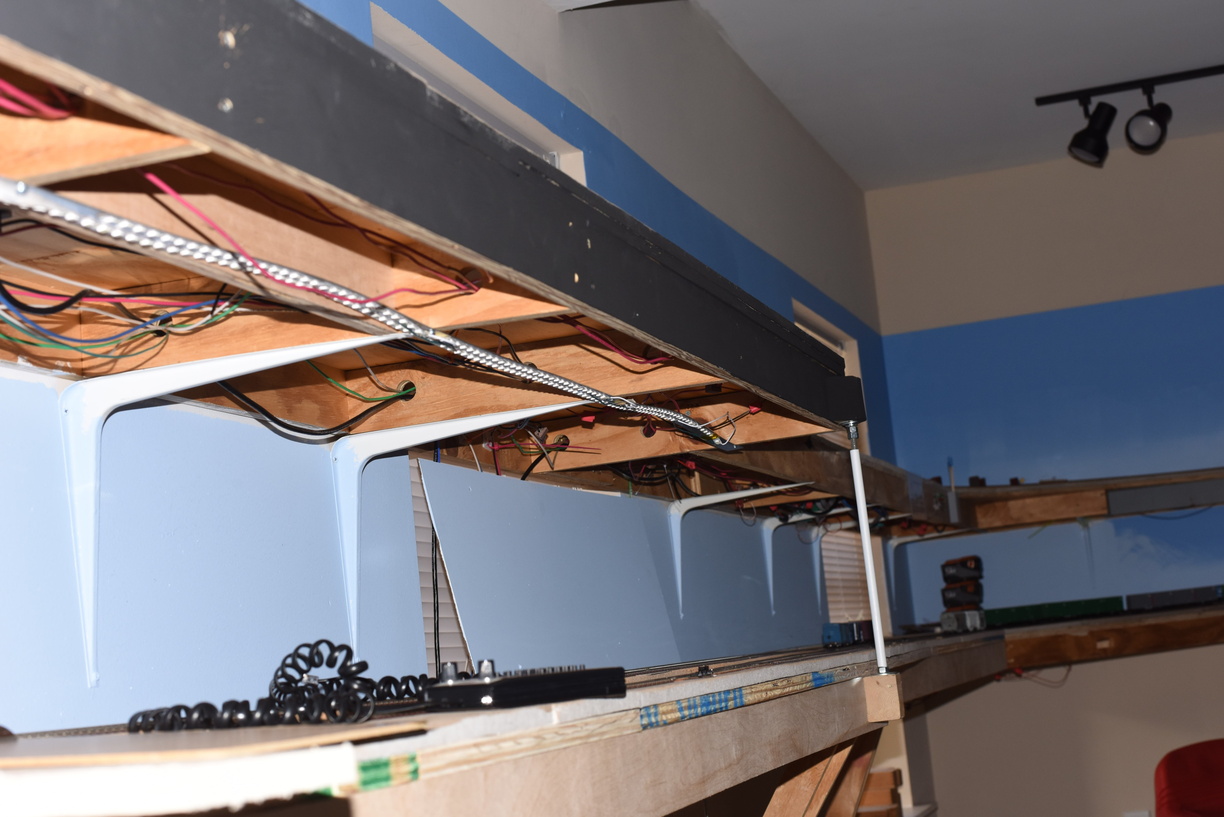
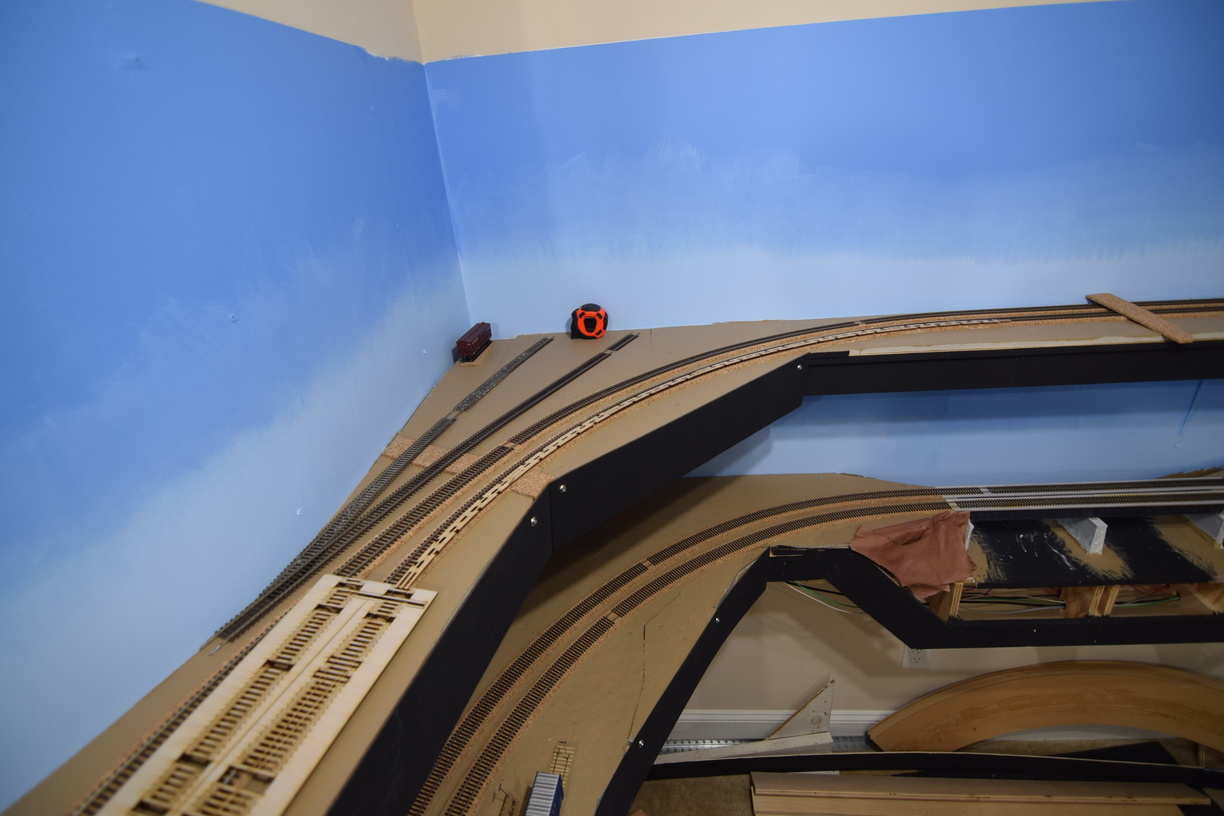
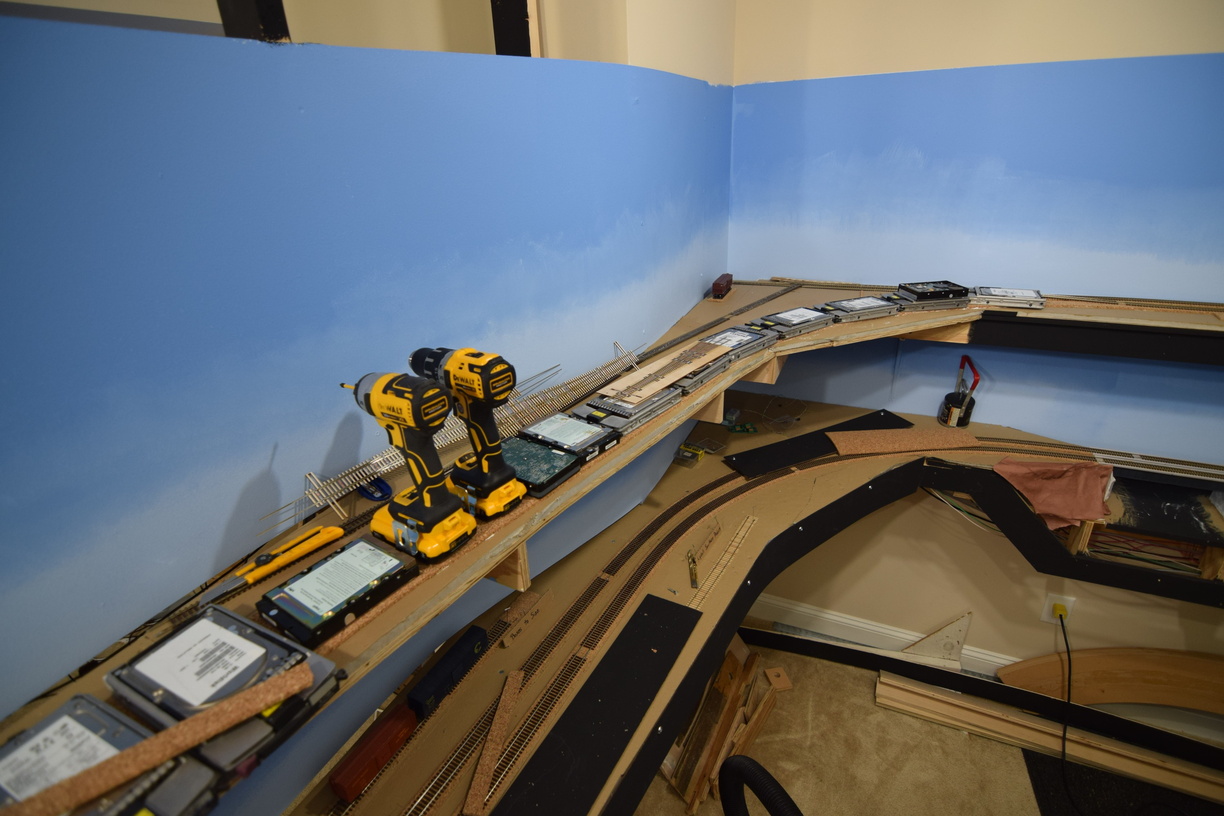
Note the crossover leaned up on the backdrop.


I cut in the rest of the track and restored the main.


Last bit was that I needed a way to drive signals and the 3 turnout motors in this location. A Nucleo DevKit node was selected and installed.

The DevKit is an open source (hardware and software) Layout Command Control node. I have just under 10 installed on the layout and another 5 or so on the test bench. I will eventually put together a blog post about building the node, just have to find the motivation.


I am pleased to report that the interchange has served the recent operating sessions well and I hope to set the crossing signals up in the next few months.

More pictures can be found on the gallery at richmond-terminal.org.

Tuesday, November 28, 2023

Let There Be Light! Brightening Up The Lower Deck

 One of the challenges of a multideck railroad is providing appropriate lighting.

You have overhangs and shadowing to grapple with, and whatever solution you select needs to fit into the space you have without potentially impacting the modeling area.

Thankfully for this layout, the stick on LED strip lights have become cheaper and more available, and the color of the light seems to be consistent across multiple lots of strips, which wasn't always the case.

I use a "daylight" strip, which is around the 5000K "temperature" of the overhead lighting source (in my case, LED bulbs in track light heads). Working to get the light to spread out evenly, while being mounted in as small an area as possible took me a couple of tries to figure out.

I started with a strip of aluminium bar. This did provide a bit of a heat sink, but it did not have the rigidity that I wanted. Note the "wavy" in this photo:


This brought me to using aluminium angle stock instead. My first though was just to use the angle stock to provide the solid mounting surface I wanted. After some testing, I realized that mounting the LED strip to the outsides of the L would give me a spread of light - letting some of the light hit the models directly, but also bouncing off the backdrop to light what would potentially be in shadow in the light was coming from straight overhead.


Note the light for Acca behind the front light.

I share the same 12V DC supply for these lights with the LCC nodes or accessory boards that require a dedicated DC supply. There are 3 of these supplies installed around the layout. I use an open frame supply that I recovered from old IT equipment that was being e-wasted and retired. Similar supplies are available commercially or offered by online auctions off of eBay for anywhere from $15 to $50. The supplies I have are set to give +5V, +12V, -5V and -12V DC. I only use the +12V rail.


LED strips only, no room lights.

More pictures in the gallery at richmond-terminal.org.

Monday, November 27, 2023

The NMRA 2023 Convention LDSig Tour, In Pictures

 Dallas in August is hot, but the layouts were cool.

Here is a sampling of the over 100 pictures I took.


See the rest of them at the Richmond Terminal Gallery- NMRA 2023 Album.

Saturday, November 25, 2023

Backdrops, again

 During a work session a few years ago, the crew and I repositioned the backdrop on the upper level, on the inside of the XR & Hamilton peninsula.

As I had filled in screw holes and painted, it required a bit of deconstruction before we could move it down to eliminate a gap between the subroadbed's homasote, and the bottom edge of the backdrop.

We then refastened the backdrop and went along with the rest of the work session.

I came behind later, and filled in all the new screw head holes with joint compound and did a first pass of sanding once it dried.

I had left it like that for probably a year before I got sick of looking at it this past May, and finished the patching, and then painted.

Before. 
This also gave me the opportunity to better blend the backdrops on this run with the backdrop that is on the turnback curve, as you can see to the left in the photo above.

I had also decided that I wanted the lighter sky color to go higher up, as the sky gets dark much farther above the horizon in real life than what I had originally painted.

After.


A few more photos can be found on the Richmond Terminal Gallery.


Friday, November 24, 2023

Cleaning Track In a Photo

As I've mentioned on the blog and website previously, the Richmond Terminal has just under 10 scale miles of mainline track.

In general, it does not require much maintenance beyond a vacuum here and there, mostly to get any construction dust off.

I cut wood and homasote outside, but that doesn't stop having to drill pilot holes for screws to mount fascia or LCC nodes, install signals, etc. All that little stuff that requires a drill creates some dust.

After reading an article on Model Railroad Hobbyist about polar and non polar solvents, I decided to clean my track with "odorless" mineral spirits, instead of the normal isopropyl alcohol, as it turns out that isopropyl is a very polar solvent that will attract dirt and dust, whereas mineral spirits aren't all that polar and don't.

I started with a paint clean up rag. You can see the splash of brown in the center.

I promise the majority of the rag was white when I started.


I didn't scrub, I just rubbed this lightly across the track.


Tuesday, November 7, 2023

Operating Session Coming Up

The first operating session in 5 months is going to happen shortly.

Not much other stuff has been going on with the layout and I have been ignoring the blog.

Hopefully, as the holidays approach, I will be able to spend some time and add some content.

Please accept my apologies.