Friday, August 29, 2014

NMRA Contest Models - Steel Truss Bridge

Continuing our bridge theme, this model is fairly compact, but the mass of the prototype comes through this very nice HO model.

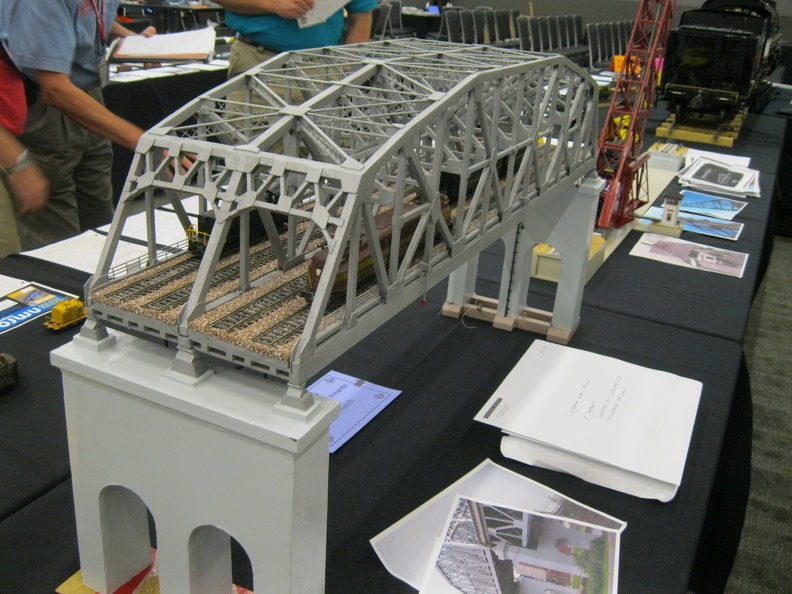
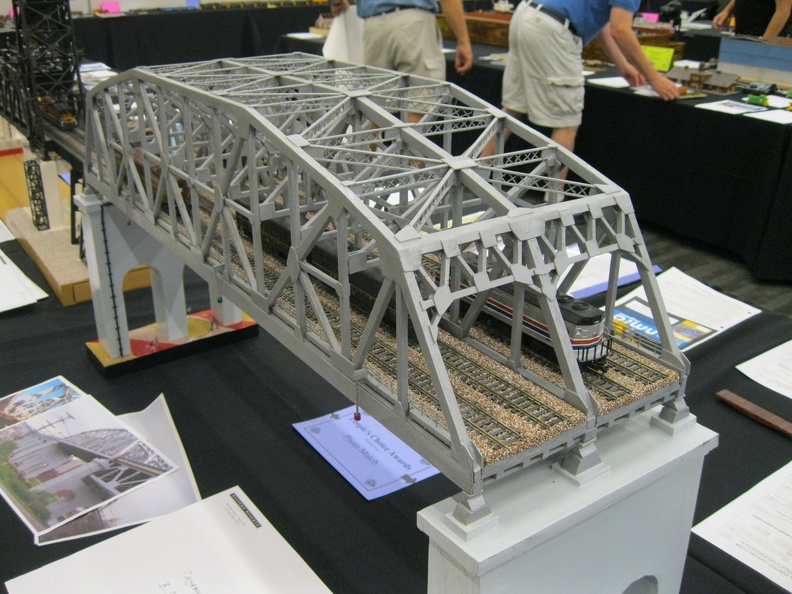
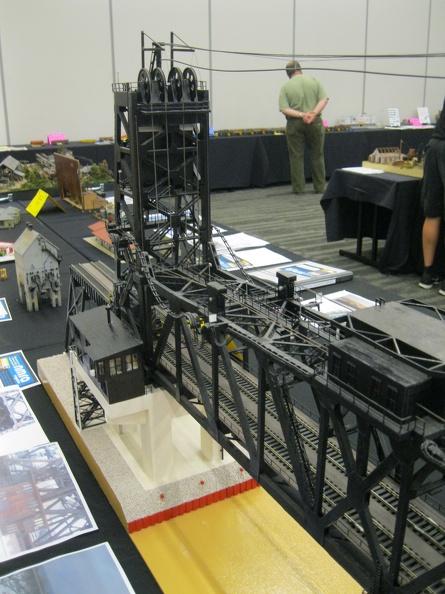
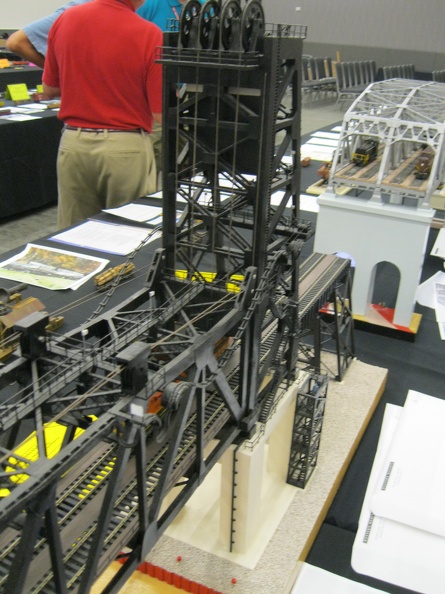
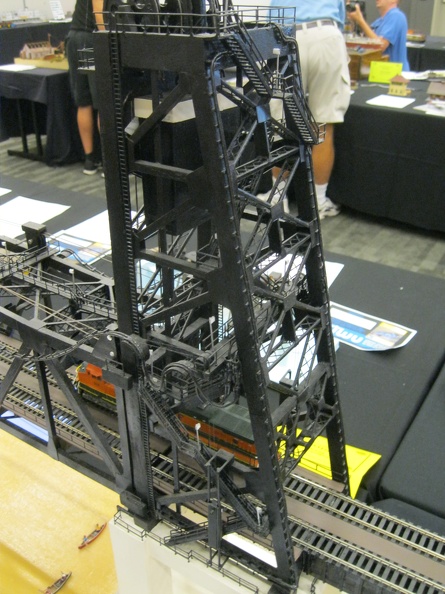
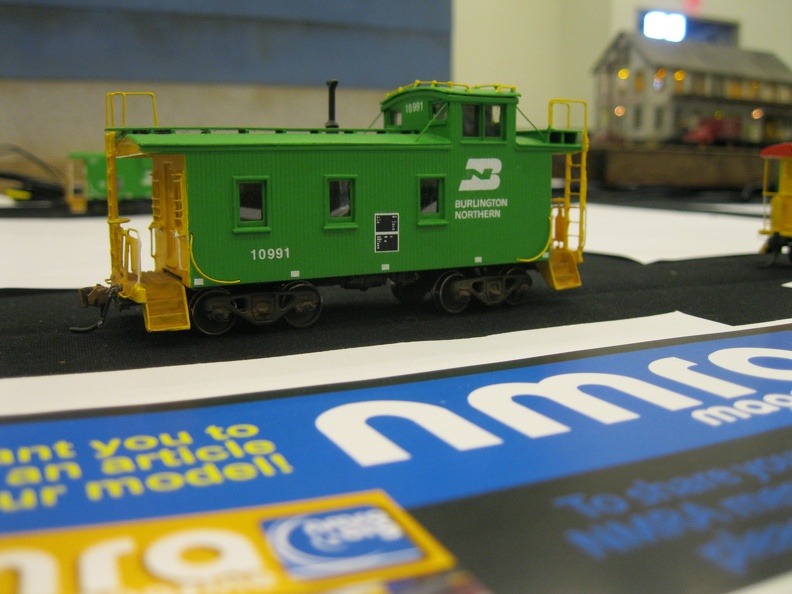
4 tracks; this was another well researched model from a prototype.


Thursday, August 28, 2014

NMRA Contest Model - Lift Bridge

Continuing with the series to discuss the contest models at the past NMRA convention, I'd like to highlight one of the large bridge models that was, I believe, an award winner.

This is a large lift bridge, that was modeled very faithfully from the prototype, including prototype drawings and photos that the modeler personally shot with the assistance of the railroad that owns the bridge.

Modeled in HO scale, the entire structure was over 5 feet long.

We will start with an overview shot and move around the model from there.


A stunning amount of detail in one of the towers.


More pictures are available in the NMRA 2014 gallery on the main site.

Saturday, August 23, 2014

Full Site Updates

Spent some time working on expanding out the operations pages on the full site; I tweaked the menu and fleshed a couple more things out. Up next is to better discuss and document the CTC portion.

You can check that out right here.

Friday, August 22, 2014

Backdrops

One (of the many) things that I have put off until later in the process of construction was backdrops.

In retrospect, that was probably a mistake putting it off as trying to fit in backdrops after the fact has been challenging.

Anyway, I am putting up backdrops on the upper level, as that part is the easiest to manage by myself. The lower level has a couple of pieces of backdrop up, but since I figure to put scenery on the upper level, getting this part done first is probably a good idea.

I'm using masonite, both 1/8" and 3/16" widths to make it. I will be using the 1/8" stuff around corners, but the 3/16 stuff on the straight pieces. Why two sizes? Because that is what I bought, for some reason..

I started at the end of the staging yard and worked my way towards the rest of the layout.

First step was trying a couple of pieces; probably should have pulled the Digitrax radios and fast clock off first.

First couple of pieces test fit.

Tried a timer option to get this; worked out ok.
Ah, better.
 Once I got the radios off, I did a test fit and realized something prevented that. Hmm, I wonder...

Ah, there's the problem.
Time to break out the hand saw for some action.
Sawdust flies!

Decent.

Much nicer!

With this in place, it looks much more finished. I'm going to try to get a coat of primer on it soon.
As before, additional shots are in the gallery here, on the main site.

Next backdrop post will be post the first coat of paint.

Thursday, August 21, 2014

Modeling Amtrak, Part 1

A subject that, to my mind, has not received that much play in the model press is modeling the modern passenger scene aka Amtrak. For all the ink spilled over where Amtrak is good or bad or indifferent, the fact remains that Amtrak has been a fixture of the American railroad scene for over 40 years. As modellers, I believe we should be as excited about doing a good job modeling it as we do for the PRR or ATSF or any other of the thousand and one things that are modeled.

I admit that I am somewhat at fault; I've had this post in draft mode for a year and change. I could make excuses, but I'll save my typing.

As I am modelling the 1990's on a major North-South route, Amtrak looms large in the operation. I have been doing as research into the cars, loco, practices and the like over the last couple of years.

When I started, the modeling choices where a bit slim. The available Amfleet cars were all bad stand-ins, at best and good locomotives choices didn't exist unless you wanted to repower the offerings.

Thankfully, the available models have improved: Kato makes good F40PHs and P42s, Athearn made a run of P40s and P42, and Walthers had just begun shipping very good Amfleet Is and IIs (only issue is the price is a bit high)

Next post, I will go into more depth of the consists needed, the prototype cars, and models available, but I want to start with an overview of the issue.

I was able to come up with a timetable from 1997 and cut it down to what I would be concerned with; on a standard weekday, 20 Amtrak trains would cross my modeled area. 10 Northbound and 10 southbound.

If you've been reading this blog for any length of time, you realize that I only have 7 or 8 staging tracks at the ends of the layout, depending on which one we are talking about.

Sounds like I will need to double up a couple of tracks, and eliminate other trains entirely, to make it all fit. What helps the cause is the fact that some of the trains deviate from the normal "North in the morning, south in the evening" scheme for a majority of the trains seen in Richmond.

What follows is my cut of this schedule; note the trains marked with a red or yellow highlight are 'outliers' from the normal schedule.

Number What Direction


P052 Autotrain North
Daily Arrives Lorton 9am
P053 Autotrain South
Daily Departs Lorton 4:30pm
P066 "Twilight Shoreliner" North
Daily 5:45pm at Richmond
Amtrak symbol for this train is 76 on Fri. & Sat. It remains P066 on CSX on those days.
P067 "Twilight Shoreliner" South
Daily 9:05am at Richmond
P079 "Carolinian" South
Daily 12:27pm at Richmond
P080 "Carolinian" North
Daily 3:50pm at Richmond
P084 "Virginian" South
Daily, ex. Sun. 6:25am at Richmond
P085 "Colonial" South Richmond Daily 10:22pm at Richmond
P086 "Colonial" North Starts at RVR Daily 7:45am at Richmond
P089 "Silver Palm" South
Daily 2:26pm at Richmond
P090 "Silver Palm" North
Daily 1:58pm at Richmond
P091 "Silver Star" South
Daily 6:31pm at Richmond
P092 "Silver Star" North
Daily 9:18am at Richmond
P093 "Virginian" South Richmond Mon.-Thu. 7:47pm at Richmond
P094 "Old Dominion" North
Ex. Sat. 10:25am at Richmond
P095 "Old Dominion" South
Ex. Sun. 5:16pm at Richmond
P097 "Silver Meteor" South
Daily 12:57am at Richmond
P098 "Silver Meteor" North
Daily 3:39am at Richmond
P099 "Virginian" Boston
Fri., Sun. 7:47pm at Richmond
P194 "Old Dominion" North
Sat. 10:25am at Richmond
P195 "Old Dominion" South Richmond Sun. 5:16pm at Richmond


Southbound AM


Northbound PM


No fill Southbound PM or Northbound AM


Wednesday, August 20, 2014

Upper staging, recap

I kept meaning to get pictures taken of the work that I was doing, but I repeatedly forgot to take the camera downstairs with me. I had been doing some blogging via the tablet, but for some reason, the blogger application has frozen in a state from May and no amount of rebooting fixes it.

I finally remembered to take the camera on Sunday and after having to go back to the office upstairs to grab the charger for it, I was able to take some snaps.

I was experimenting with a tripod for bunches of these shots, so some of them are better than others. Eventually, I imagine that I will invest in one of those huge D-SLRs that are out there, but for now, my point and shoot Canon works.

As I mentioned in a previous post, I made an oops in measuring the upper level, which will require some additional work to fix. It is minor, but annoying that I didn't catch it before I trimmed wood.

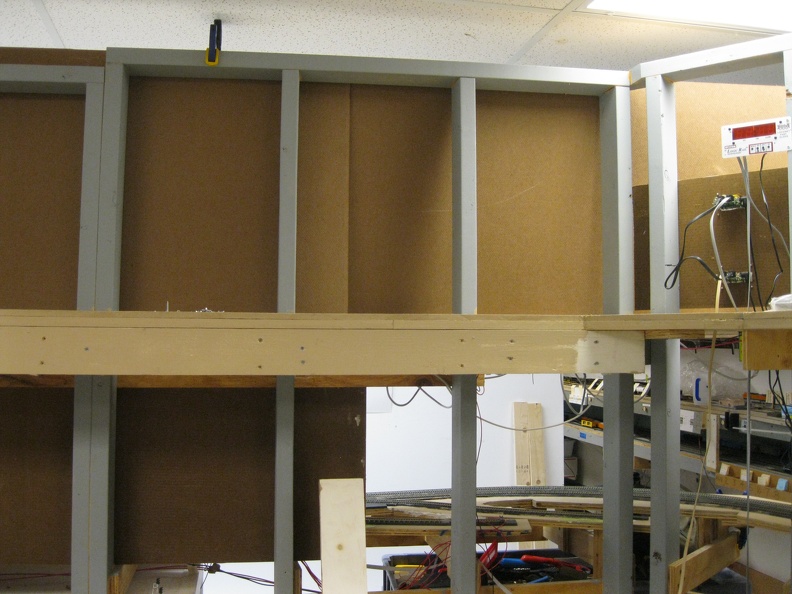
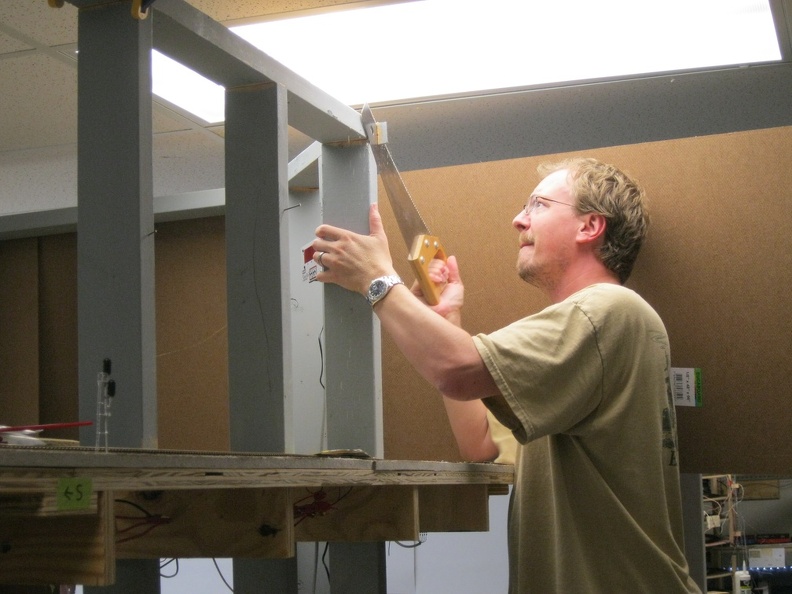
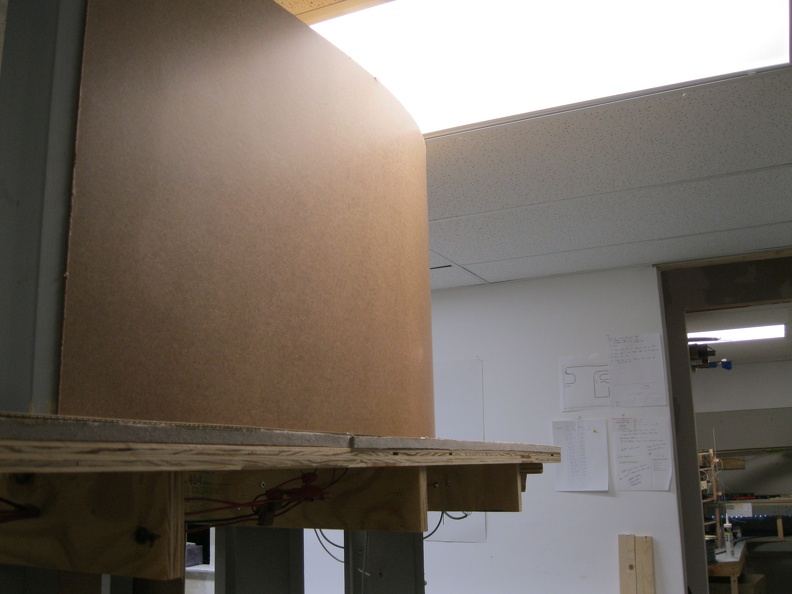
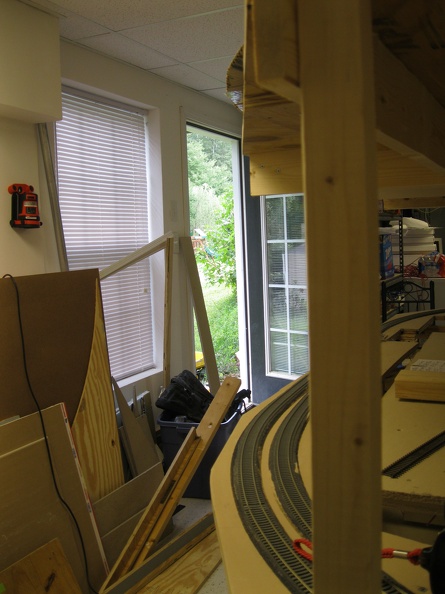
End of the peninsula; fit the homasote in here. There is a complete sheet that wraps around the end stud. That dark vertical mark on the left is pencil to tell me where to stop cutting.
Cutting homasote with a utility knife can be rewarding with good results, if you take your time. The non-painted piece is a scrap from months ago that I used to fill the remainder in.
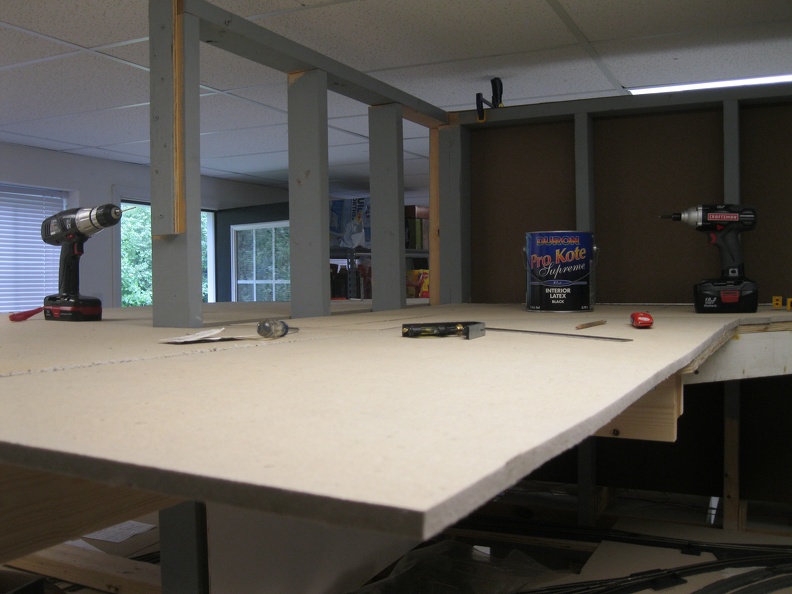
A longer shot to show the large piece fit in.
The oops - see if you notice the difference between the bottom and top levels..
Opposite side shot. Paint will go sometime this week.

Monday, August 18, 2014

Upper Staging, Part 7

Finished the homasote portion yesterday afternoon and while doing so, realized that I mis-measured. Doh!

I've got a bunch of pictures to be uploaded tonight, so updates will be coming fairly shortly.

Saturday, August 16, 2014

Upper Staging Rework, Part 6

Finished the plywood yesterday evening. I have everything fastened down and ready for homasota, which is going to be a Sunday project.

This next week, I will be queuing up some additional contest models as well as some photos from an informal ops weekend I took part in up in the NY/NJ/PA area.

Monday, August 11, 2014

Upper staging, part 5?

Got some plywood fastened down and took some measurements to try to use the piece of homasote I bought most effectively. At $25 a sheet plus having to wait until I have a pickup truck available, efficient use is pretty important.

Looks like I will be able to finish it with what I have already in the basement.

I will need more brown paint to give me the "dirt" color I use though.

Friday, August 8, 2014

Quick Shot - NMRA Contest - BN Caboose

Even though I model the post-caboose era, I admit to a certain level of affection for the things. Maybe it is because they are the iconic representation of freight traffic - from steam to diesel, cabooses were the end of the train.

Maybe it is because of the colorful names that got attached to them: caboose, van, crummy, hack, cab, cabin and bunches of other monikers.

No matter what, I still feature a few on my layout as shoving platforms in my era, and enjoy seeing great model of them.

The following is a few shots of a nice BN caboose, that was entered into the model contest at the Cleveland convention this past July. (2014)

As you can see from the foreground of this photo, the NMRA Magazine folks have asked the modeler to contribute an article on how he or she made such an excellent model.

Note all the handrails and other wire work on this model. Note the bars across the end windows; probably there to reduce breakage.


Thursday, August 7, 2014

Upper staging work, continued

I wanted to share a couple more pictures from the rework of the staging yard and soon to be reverse loop.

First three are the reworked staging yard. Previously, the yard had a very pronounced crown and dip, as the plywood roadbed had a pretty bad curve to it that we didn't see until everything was in place. Major oops on that one

The warped piece got pulled, the warp in the end piece was cut off and a new 70" long part was put in place, just about pulling the waviness out.

Center is new piece, towards the right and running into the foreground is the curved edge cut piece that was trimmed.

A bit off, but this is before the bridge piece get installed and everything get fastened down.

Heck of a lot better than it was, let me tell you!
Add caption
Here we come to the new area; new benchwork built and space for the reverse loop set.


Corner piece needs to be fit in and placed, but this scrap piece cut off the helix should work well.

Other side, but same verse as before.

The existing benchwork was done at an angle to get it away from the lower level. With the reverse loop being added, that will be going away. Looks like a trimmed piece will help us out here.

Not a great shot; the tablet camera can be challenging to use well.

Homesote down for a test fit

Wednesday, August 6, 2014

Quick Shot - NMRA Contest - Gondola with load and weathering

Another contest model with a couple of snaps, just to whet your appetite for what will be coming down the road over the next few weeks.

This was an Athearn gondola that has had a custom load put into it and some fairly heavy weathering has been done, as fits a gondola in scrap service.


Sunday, August 3, 2014

Progress marching on

Made some additional progress this week, I got the straight piece that was extending the staging yard cut and put into place. I was forced to make a couple of relief cuts, but that's the price of poker. The extra piece that was trimmed off will go around on the other side (inside of the peninsula) to eliminate a currently angled cut and gap that exists.

I'll snap some pictures later this week and begin to get homasote done. After that, it will be time to call for a work session to get the track back down.

Friday, August 1, 2014

Continued work on the upper reverse loop

A couple more snaps from the process to extend the layout and create the space needed for the reverse loop.

One of the downsides to using dimensional lumber from the big box stores is that it seems to warp as it dries, even assuming you get decent pieces to start with. Over time, the main spine of the peninsula has warped this way and that, causing it to be a bit challenging to fit other pieces to it.

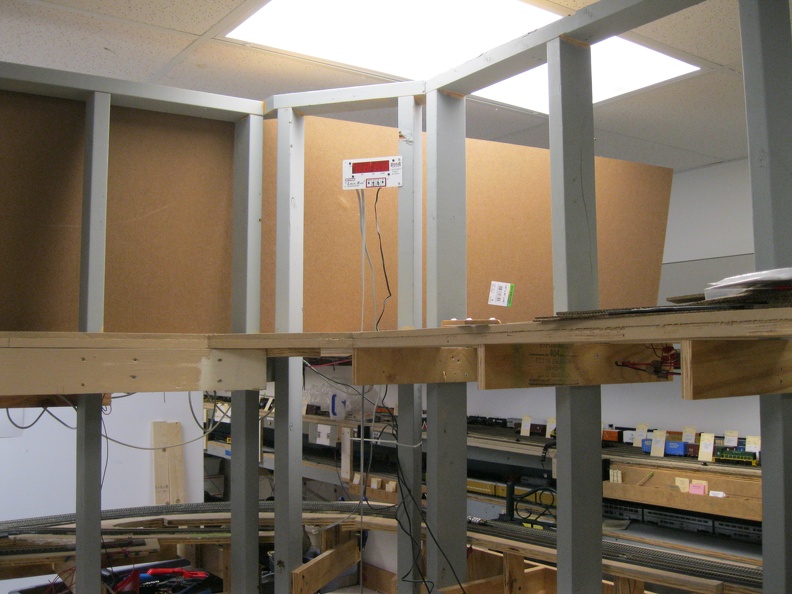
Overview of the corner. I think the lower track might be relocated to be closer to the aisle.

Zoomed in a bit to highlight this corner
Realizing that, we've just decided to cut what we are adding to make it match up as best we can. Next time,  I will spend more time designing the layout and the resultant benchwork to support it and build it in much larger sections.


Protecting the rail on the lower level for errant tools, arms, etc.


Moved the signals out of the way. When I started buying signals, they were less than $20 each for a 3 light single head; they've reached over $25 now.
Here's the spot where the extension is going to be laid in, with the ripped piece sitting on top to give us some spatial references.


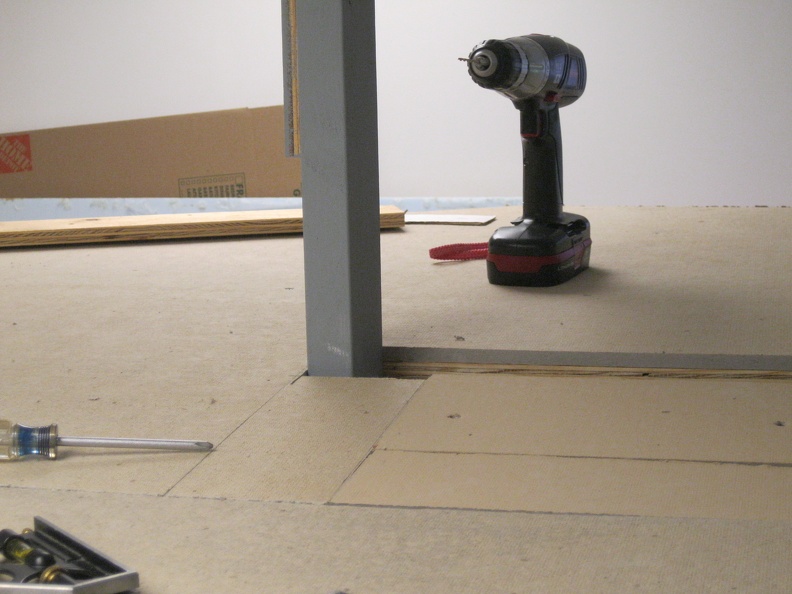
Added a "strong arm" joist and gave us a chance to eliminate a nasty bow in the plywood.
We ended up cutting a 4x8 sheet of plywood into a 50" by 48" squarish piece and then using the leftover to make a large part of the corner, notching it around the center support.

Also giving us a chance to not have plywood and homasote edges line up.

The opposite side (inside side) will give us a chance to simulate trains running west on the BB Division, which is a great addition to operations.

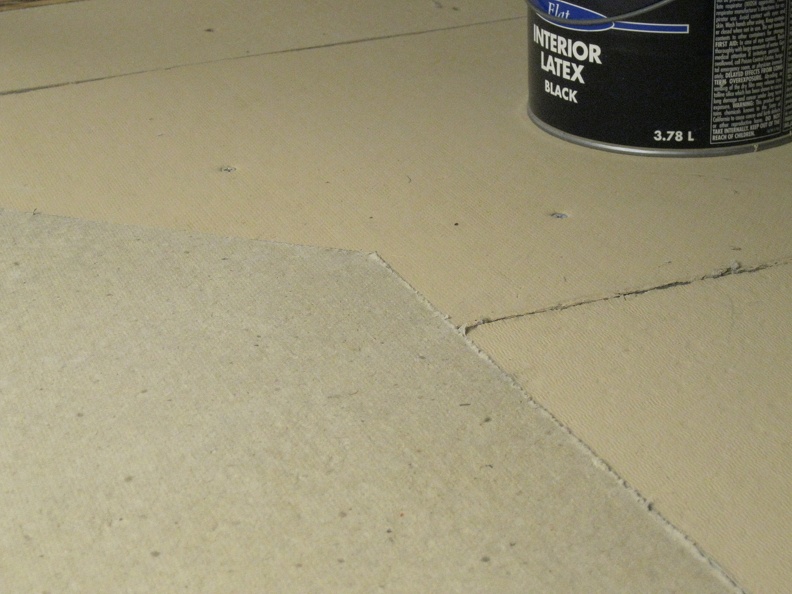
The plywood and homasote that has been cut at an angle previously is where the Bear Island Paper Plant is going to go. I have a track diagram, so it should be fairly involved for the crew.

Looks like access to this should still be workable. It will need some more lights though...
Access is still good!