As the layout is starting to transition from major construction phases such as benchwork, roadbed and track towards tasks like signaling, operating improvements and limited scenery, I had a chance to consider some car building projects.
I have a stock of undecorated kits, mostly Athearn blue box from many years ago. Most production now are assembled and decorated cars, and when undec options are available, they are hardly cheaper than the ready to go option.
As an example, looking at trainlife.com, they have a handful of Exactrail kits for around $50 each. This means anybody looking for source material for a fleet of freelanced cars for their railroad is in a tough place unless they can haunt train shows and find folks selling new old stock options.
In my pile of kits, I have 4 Athearn 57' Mechanical Refrigerator cars.
The prototype basis is a R70-20 series car that Pacific Fruit Express (PFE) and other refrigerator car leasing companies used. It is primarily a western US prototyle, as on the east coast, Fruit Growers Express (FGE) was the dominant leaser AND producer of cars. FGE had a facility in Alexandria, VA that built cars used by most of the Eastern railroads. Model exist of the FGE cars, of course, but I don't have any in my stock.
So, back to these 4 cars. I know they didn't match the handful of FGE cars lettered for the RF&P, so that was out. I kept turning over what to do with them in my mind.
In November, late one night as I was trying to fall asleep, I had a flash of inspiration - I could decorate these for Hood Brothers Packing, which was a major industry and shipper on Keith Stillman's Easton and Potomac.
I figured that both the E&P and Hood Bros was rebuffed in trying to join with FGE and its owner railroads when the Armour Packing antitrust fallout happened (what caused FGE to be created) and as FGE expanded westward with Western Fruit Express (WFE), PFE came calling to find an Eastern based partner and found Hood Bros and the E&P, hence these cars.
The paint scheme is simple - reefer white all over, with green lettering.
After polling the E&P FQOs, I was able to get my hands on a original decal sheet to use as basis for my custom printed decals. I used Micromark's clear decal paper and was able to print using my standard Epson printer, turning up the quality as far as it would go. I bought a can of an acrylic fixative, as recommended in the decal paper instructions, to spray after printing to seal the decals up.
The cars are molded in black plastic for all parts out of the box. I planed on a white body, but as I dug through my drawer of paint, I found a bottle of gray and thought that would look great for the underbody.
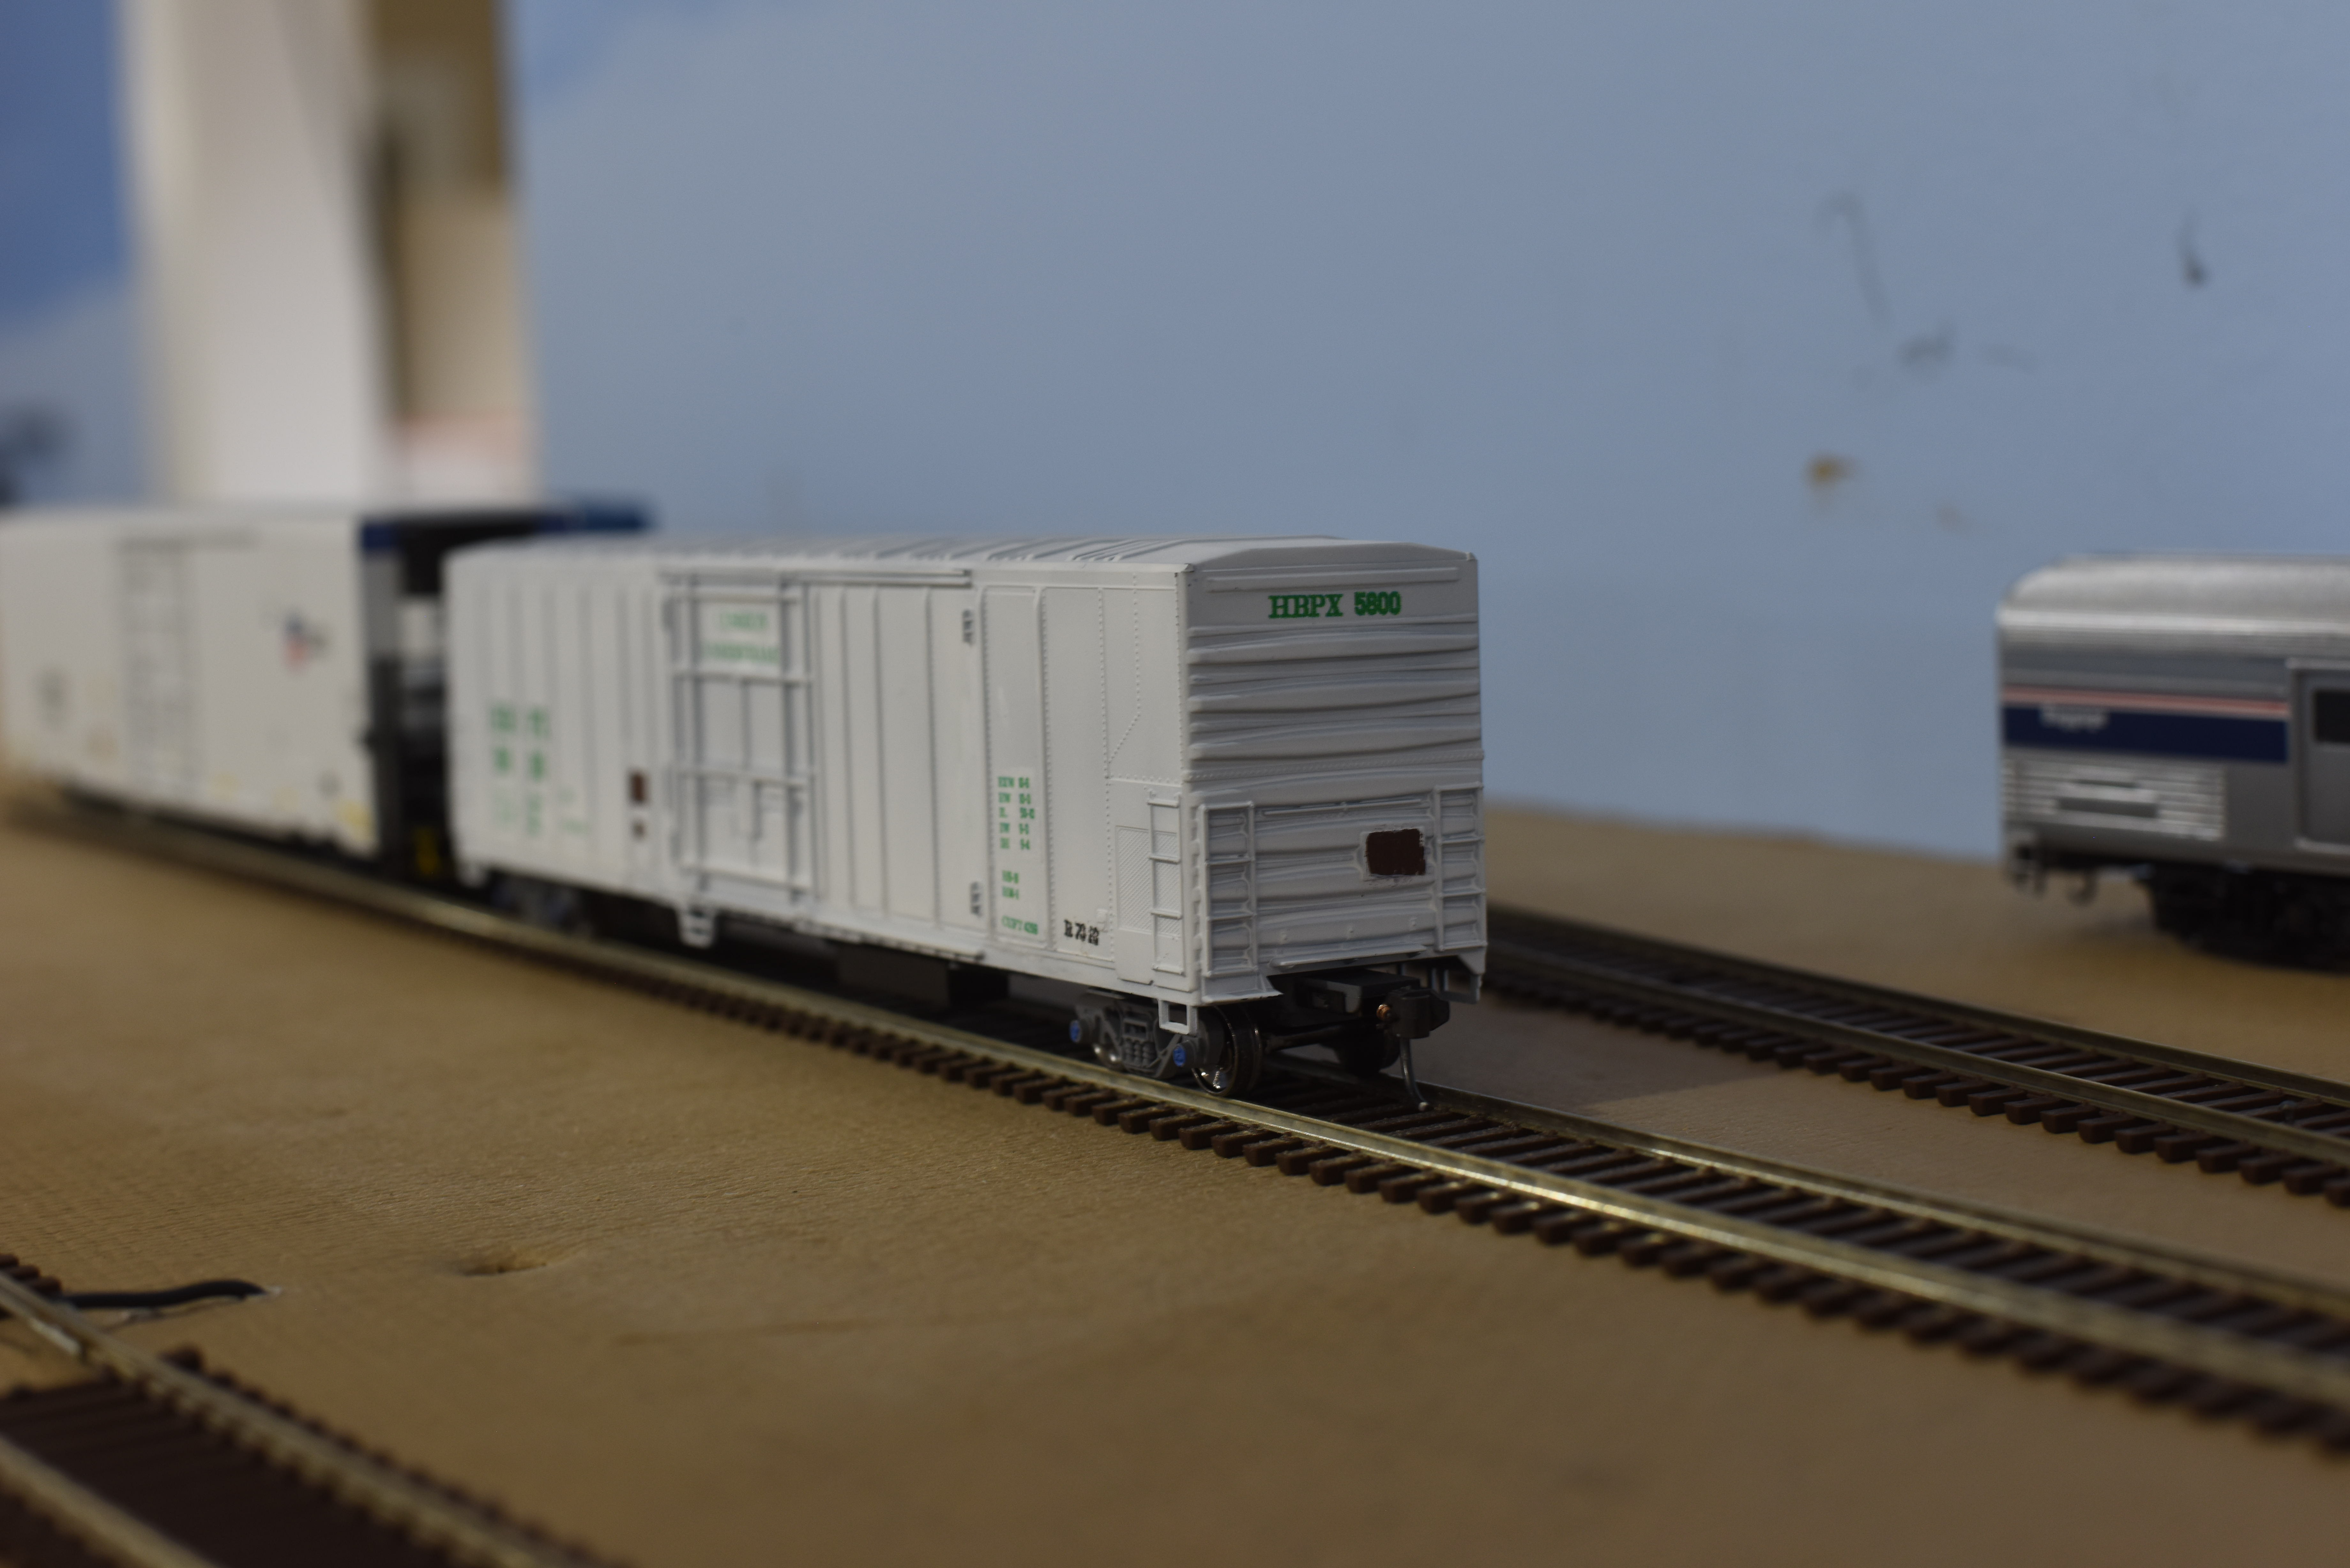
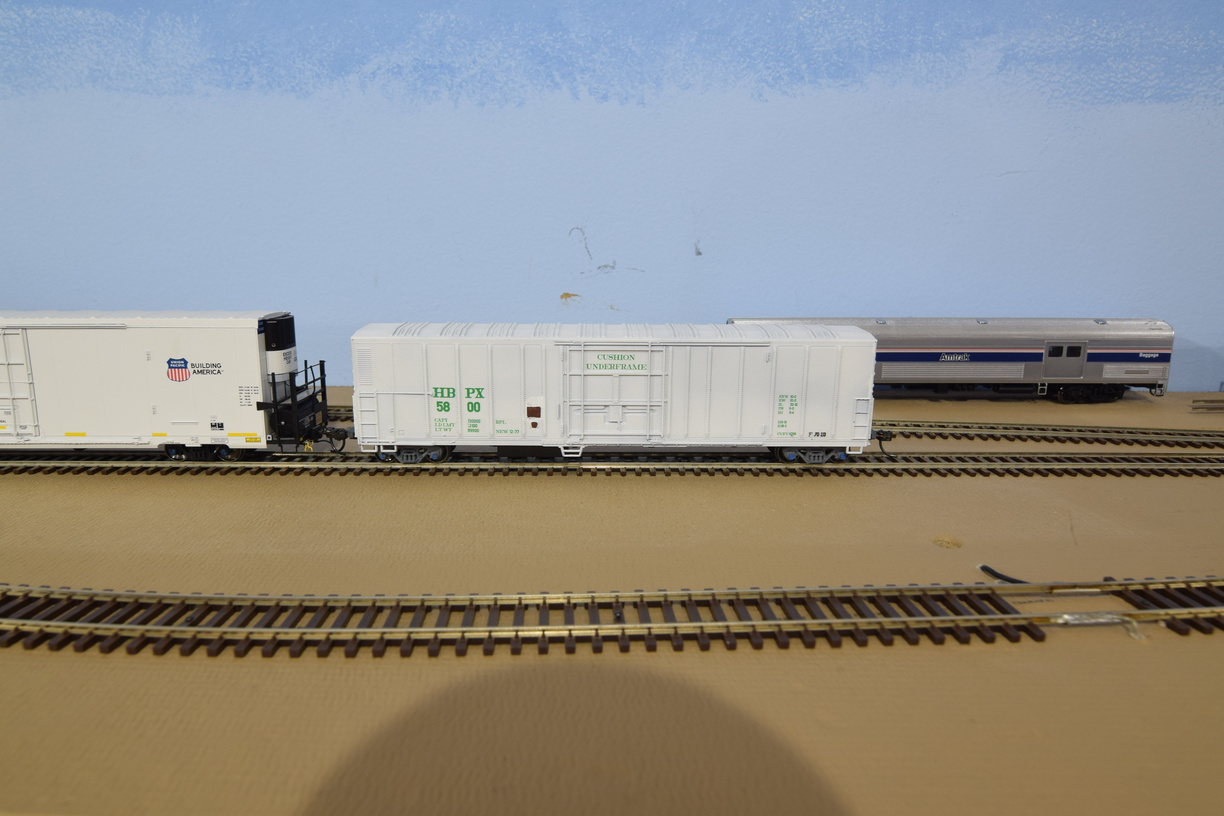
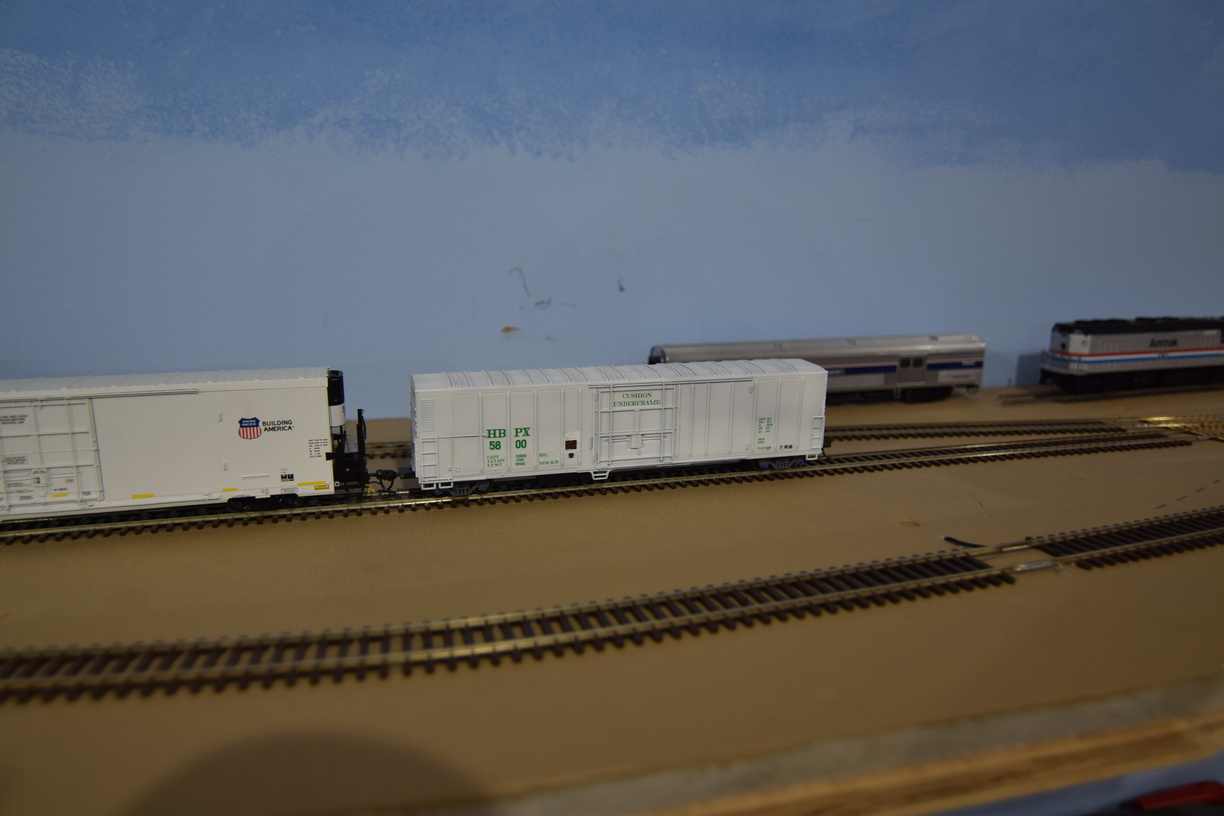
Car 5800, double zero, was my original test car for this - a proof of concept to use a technology term.
I really like the white body, gray underframe, black fuel tanks, and blue roller bearing caps.
Next to a current production style reefer built by Trinity (this model is probably BLMA), which are 64' long and excess height to boot, these cars seem small, but this encapsulates railroading in the 1990's - there is lots of change as the 40' long standard boxcars finish fading away, and many of the 50' cars begin to show their age and hard lives as the allowable total car weights rise and shippers ask more from the railroads.
As I expect these cars to be a part of operations, I made sure to include reporting marks on the ends, high enough to be read from either side from an angle.
 |
I airbrushed the body, underframe and trucks. (A separate, longer post about airbrusing and painting is in development) The tack boards and roller bearing caps were brush painted. Paint was a mix of old Polly Scale (reefer white and MOW Gray) and Vallejo Model Color. Going forward, all the paint will be Vallejo, as my stock of Polly Scale is a few bottles, of which I've used all my reefer white up..
After Double Zero was done, I realized I was missing decals for the COTS lube plates and I needed to finish any touchups, before I sealed up everything with a matte spray varnish. You can pick out where I used Vallejo Model Color white to clean up around the tack boards after the fact.
I also realized that I should put some spaces in the decals so I could apply the reporting marks and car numbers with one decal, versus trying to line up 4 different smaller decals. Same story for the car data, such as cubic feet, weight and similar.
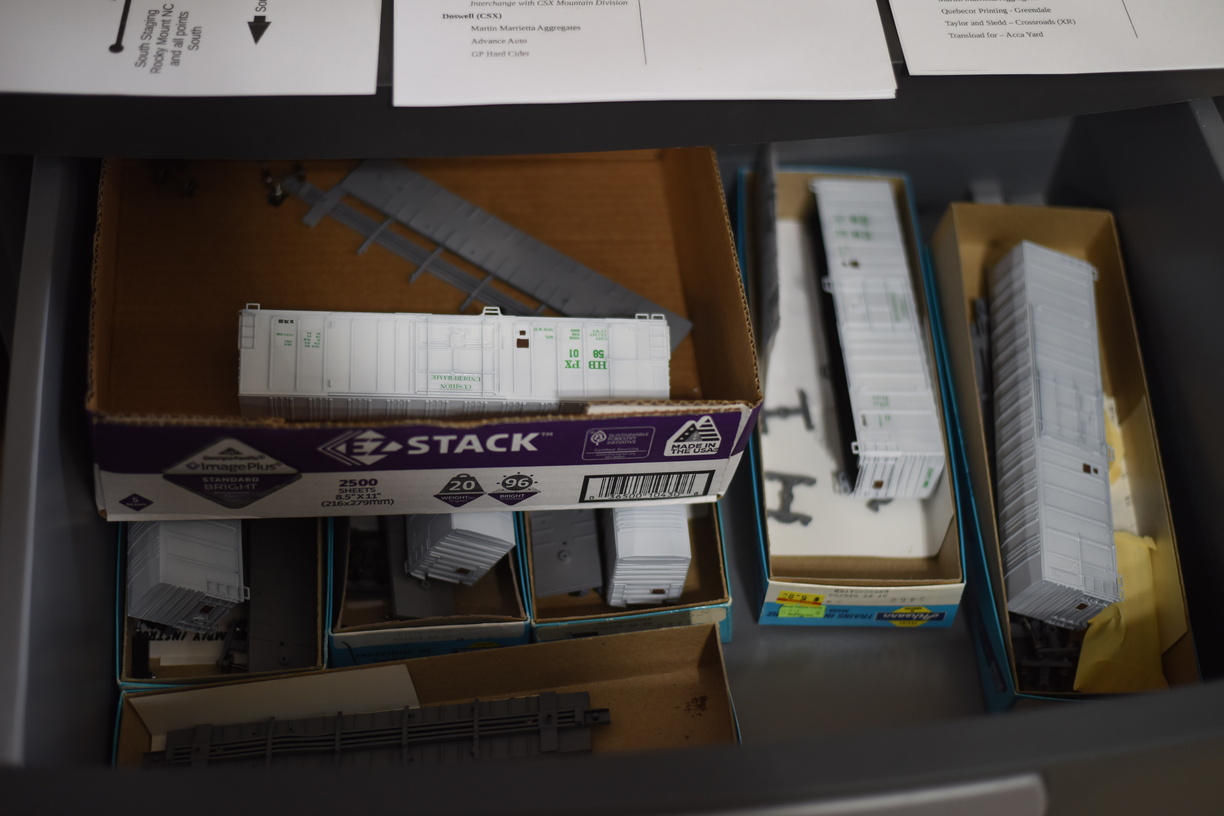
Here's the drawer of the cars in progress. The cars with decals applied are from the first run of 3; the 4th car had been assembled as a plain black car and put on the layout by a child so I couldn't find it until after I had painted the first 3 cars, so it was rolled back to the next run.
You will note in this shot some painted car bodies but not decaled. I sourced another couple of cars from eBay to make it worth getting the airbrush setup for car #4 that I had to find and disassemble.
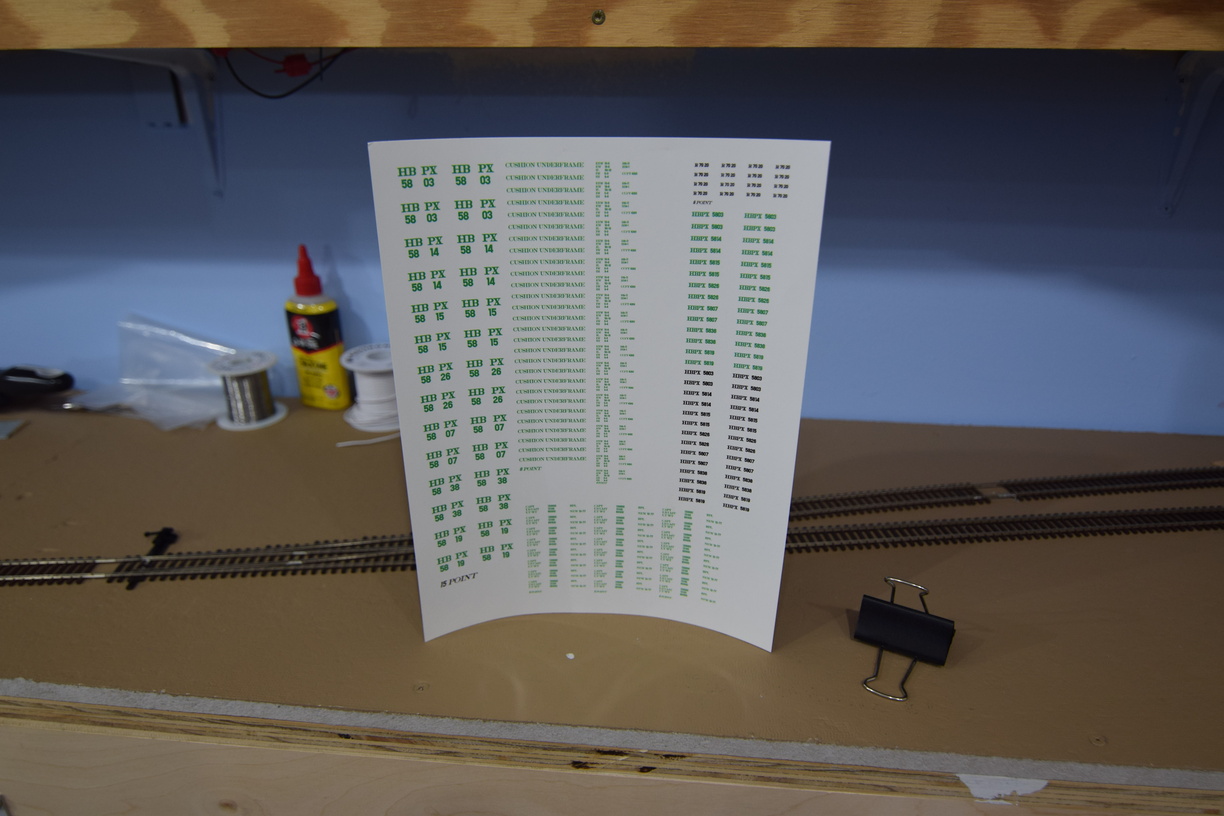
Printed decal sheet for the 2nd phase cars that will be built - I ended up sourcing 6 cars from eBay, to bring me up to 10 cars total. I spaced the numbers out to make it look like way more cars are in service, but just not on the layout.
More pictures on richmond-terminal.org.
No comments:
Post a Comment