All this research certainly can take away from modeling time, I will admit, but this isn't 100% the case. Sometimes I am collecting information during a time that I can't do any direct modeling, such as during my lunch hour, or when I'm traveling. It is true that if I take a Saturday afternoon to stand trackside and shoot pictures, I am not in the basement laying track, or detailing locomotives, or fixing cars on the RIP track from last session.
I've also been able to snag additional materials by keeping my eyes open. A recent win was finding a RF&P book from Morning Sun on sale from a dealer; this book is out of print so a bit harder to find, especially at a discount. I also was able to score a new (to me) ACL book that was saved from an archive at the C&O Historical Society. (I will be putting a review up on the site about these books and mentioning it here too.)
While I have been researching to make my modeling better, one of the big pieces is being able to document what I see on a daily basis around town, such as when signals get replaced.
At first glance, this point may or may not be obvious to everybody, but I believe that once you consider it at length, you will realize this is simple, yet powerful.
Prototype modeling is all about replicating the normal, day to day business of railroading. Some may even say that you are copying the mundane, and that may or not be a strong word depending on one's point of view, but no matter what, first hand knowledge of the subject is vital to prototype modeling efforts.
How is it vital? It makes it easier!
Collecting this information is done on a couple of fronts - noticing what is taking place, networking with other railfans, railroad employees and modelers to get the latest gouge, and documenting what is going on.
I think the first two are fairly basic so I will leave them as they sit and we will go a bit deeper into the 3rd piece - the actual documentation.
As the cliche goes - a picture is worth a thousand words. Memories can fade or change as time goes along, but having photos in hand is almost as good as being there again. Capturing good pictures also allows you to fill out other documents, such as consist information, locomotives used, routing information, and car/container reporting marks.
Up until this point, I had just been using a simple point and shoot type of camera. These cameras are good at taking snapshots, but they do have limitations.
With a standard pocket camera, your lens is only so good and then the sensor itself, is only so physically large (don't get too hung up about the number of megapixels), so this makes getting photos with lots of useable details at 100% or larger size, a bit challenging when you are further away than say 20 or 25 feet. If you are hundreds of feet away and can't get any closer, your little pocket wonder will really show its limits. Don't forget that these jewels mostly autofocus and have no ability to do anything manual, so trying to shoot a train moving past you quickly can be hard as the camera tries to work on a continually changing view. Also, the list of settings you can change that directly affect the picture (ISO, Shutter Speed, f/stop, plus white balance) is somewhat limited, as these cameras are built to get good photos in common situations, but this means that covering edge cases is difficult.
So, now that we've talked about what I'm trying to do, you can see that getting good results a bit challenging. A fact of railfanning in the post September 11 era is to ensure you stay off railroad property and not become threatening or suspicious. (And I'll save the snark about who actually won this war for a different forum).
So let's plan to stay on the sidewalk or at least off of railroad property. Our requirements are now a camera with interchangeable lenses, as we can tailor our choice to how far away we are. We can get a lens made for wide shots if we are close, such as on a passenger platform, or a zoom if we up on a road overpass with good sidewalks.
There are boatloads of options from a camera standpoint (manufacturer, mirror or mirrorless, lens mount type, storage type, saved picture format, etc) and discussing them is outside the scope of this blog post, but if you start out, I recommend a base level DSLR (Digital Single Lens Reflex) with its included lens. If you know that a good spot to stand if a bit farther away, feel free to add a zoom lens that has a max zoom of 200 or 300 mm. Often you will get money off an additional lens if you buy with the camera.
Then, charge your batteries (you did buy a second one, right?) and go out and shoot pictures.
Don't expect awesome results as you get going; it takes time to learn what to do (and what not to do).
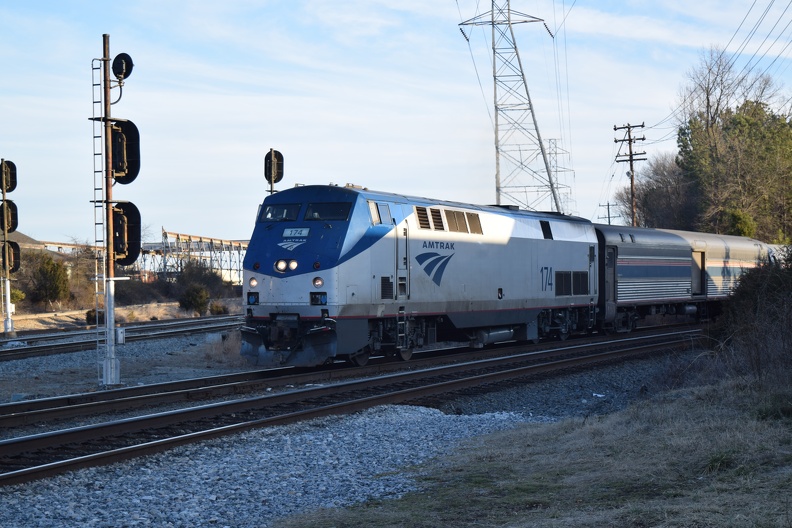
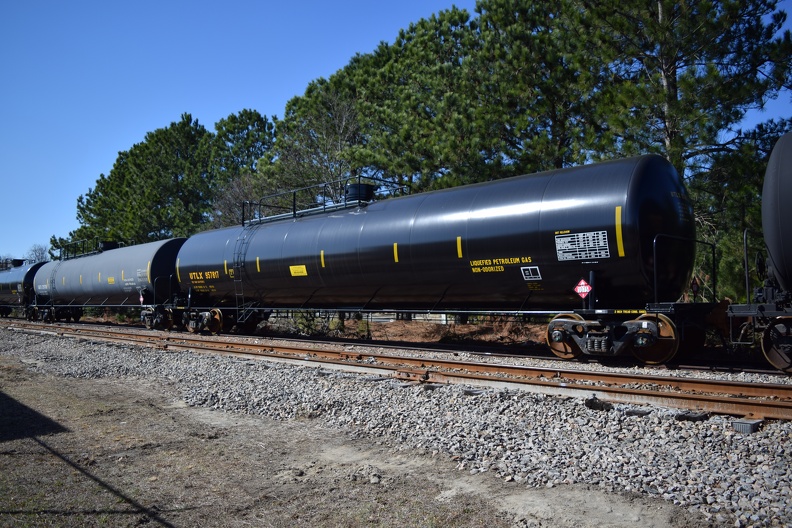
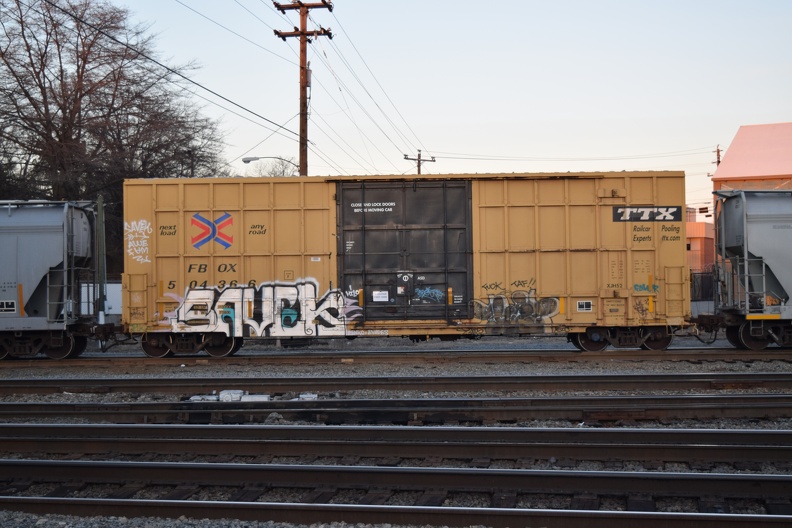
What follows are some sample photos I've captured since starting this last December.
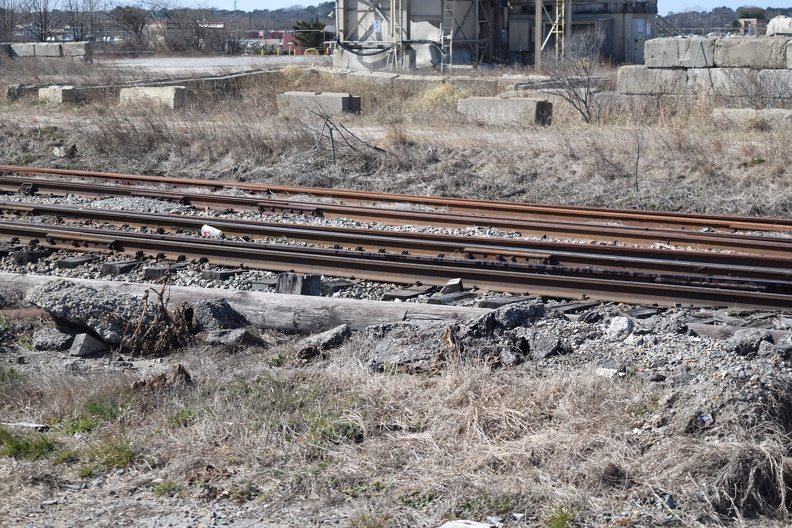
Quite interesting comments Rick. Prototype modeling certain is enhanced by period photos which are sometimes hard to find. In my own prototype modeling of railroad subjects from the mid 1960's to mid 1970's requires a good bit of research which can be a hobby in itself. Time consuming however as you are finding. Locomotives, freight cars and cabooses can usually be found within one's era of interest, but often takes examining several photos of the same unit at different eras trying to determine what has changed over time. Enough study and you begin to get the hang of it. The hard part I think, is finding good photos of infrastructure in a given era. Like the photo above of the track structure can be difficult to find say in 1995 as an example. Anyway, a good post and good to know what you are working on at the moment.
ReplyDeleteAll the best, mike-g