I was a pretty heavy user of the Atlas #8, primarily in code 83 and before I began building, I had spend some coin at various train shows and stocked up on track. I was able to build up a stock of #8s and #6s at less than $10 a turnout, so I was doing pretty well.
Once I started building, I got the to point where I exhausted my stock and got some sticker shock at purchasing more turnouts. You can read my old post here that covers all that and my initial impressions of using the Fast Tracks jigs to build single turnouts, crossovers and ladders.
At this point, I've expanded my stable of fast tracks jigs to include #6 and #10 turnouts, to match the #8 I started with, and I've built every configuration of #8 (including a scissors crossover) and also #6 (no crossovers, as I don't have a need).
Expanding the staging yard and making four of the tracks through meant that I needed to build a closing ladder. I did some measuring and realized that if I used standard (straight) turnouts, I would have much shorter tracks than I would like and I would probably have an S curve or two as well. I wasn't enthusiastic about either option so I thought I might go the curved turnout route.
I had a curved #7.5 from Walthers/Shinohara on hand already, so I used that to test fit and see if it would work. It looked doable, so I looked to see where I could pick up 2 more.. Reality smacked me in the face, as Walthers was out of stock, with no estimated date for stock and when I found them at a couple of online hobby shops, pricing was near $50 each. Ouch! With the train budget being tight after a splurge at the National Train Show in July plus the show in Virginia Beach coming up, I thought that maybe I could give it a try and build a couple from the templates that you can download from Fast Tracks. It would only cost me some time as I had everything else I would need and I had a Saturday free, so I gave it a shot.
Without the experience of building all the turnouts from the jigs, I never would have had the confidence to attempt this build.
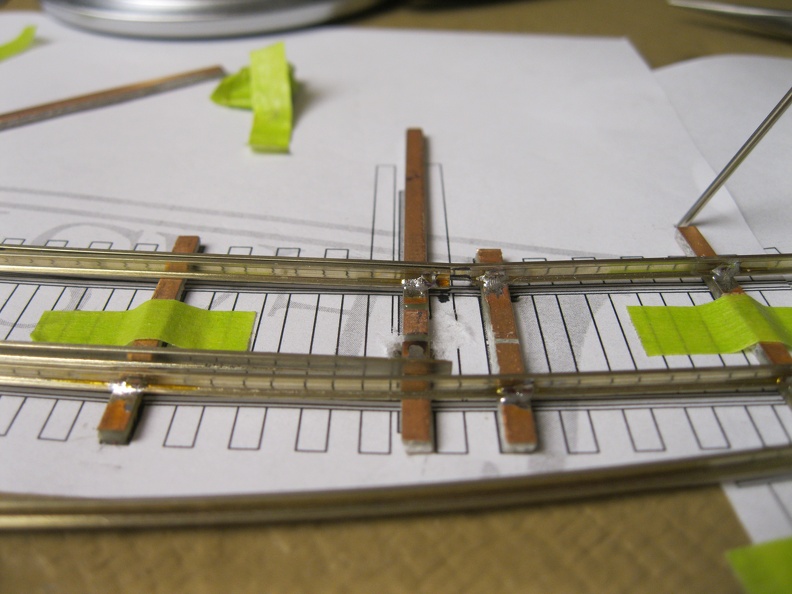
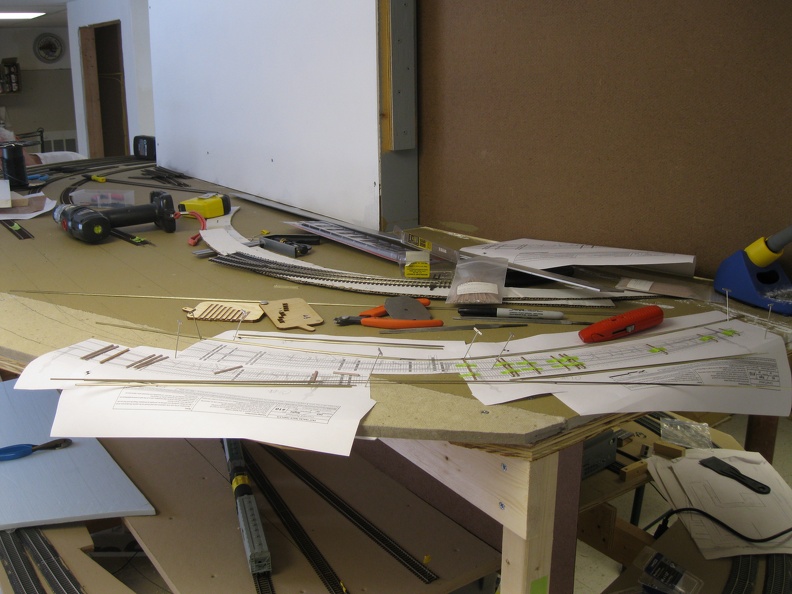 |
| Templates down and starting to place PCB ties |
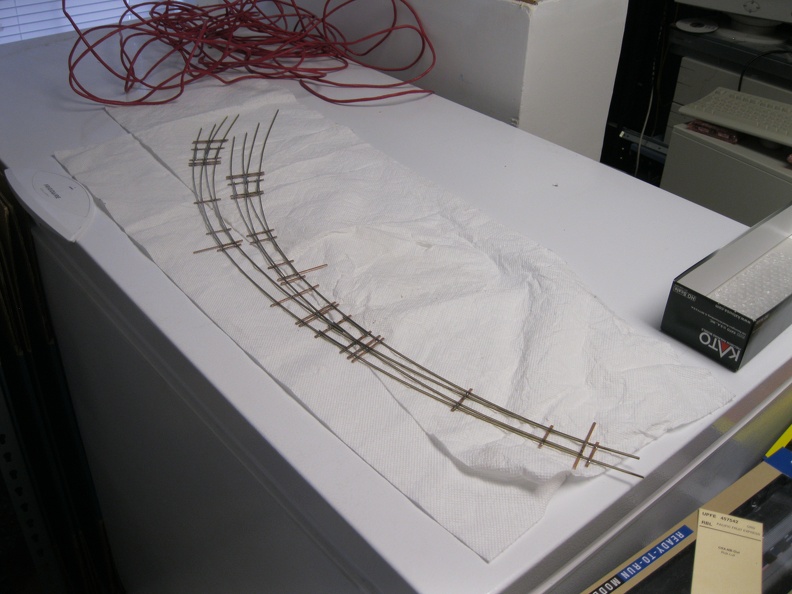
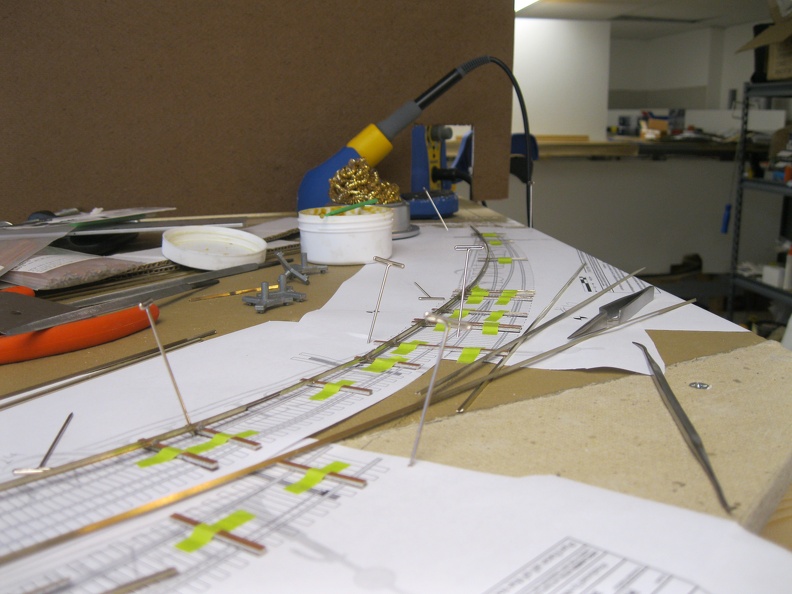 |
| When you build from 3' rail sections, smooth transitions are also automagic! |
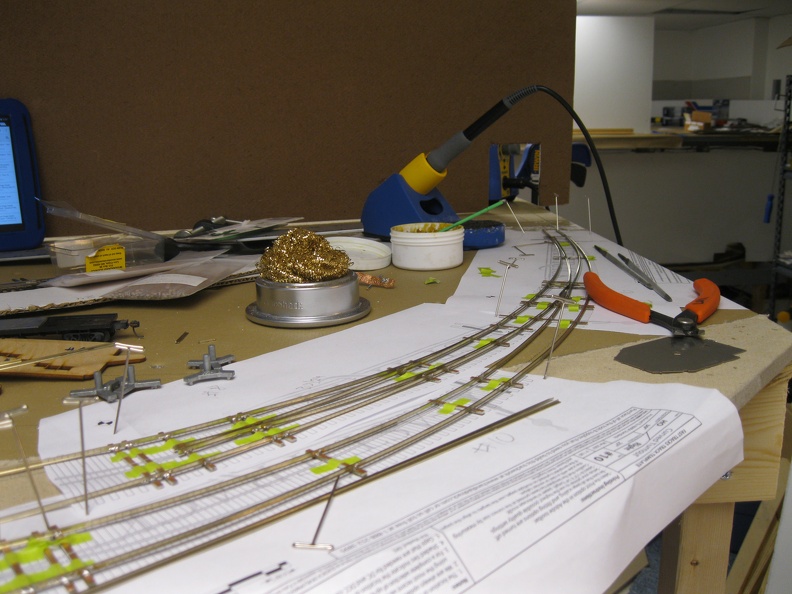
 |
| Contemplating my next move |
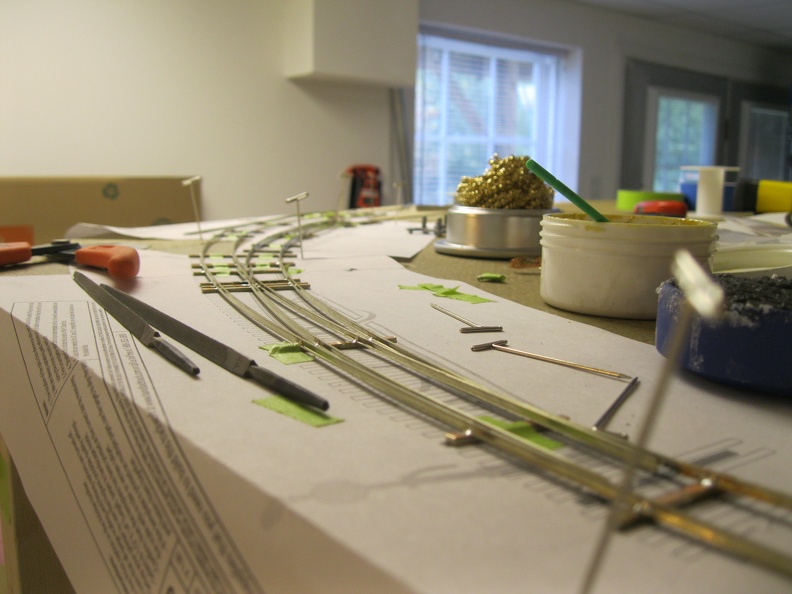
 |
| Leading turnout just about complete, 2nd set of points in |
 |
| Throw bar in place |
 |
| Completed assembly after I cleaned the flux off. |
A very rewarding project and one that I'm maybe just a bit too proud of, or maybe not. :)
No comments:
Post a Comment