Tuesday, April 7, 2020

Bridge Update and Spot the Error

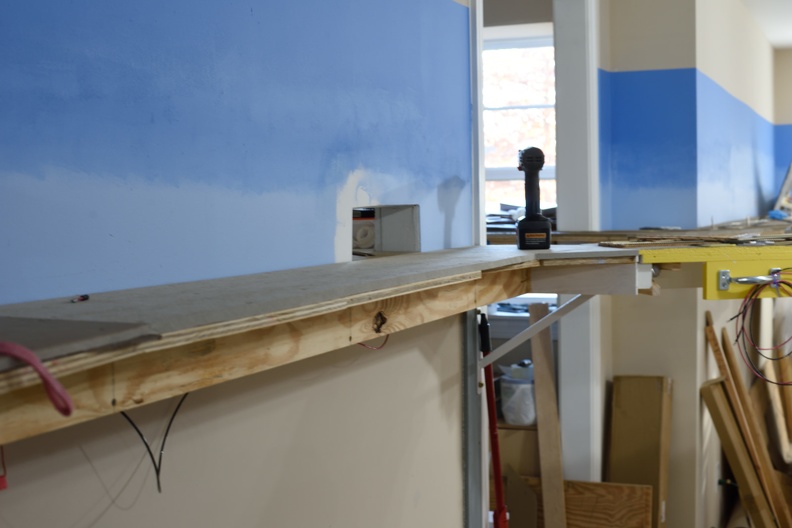
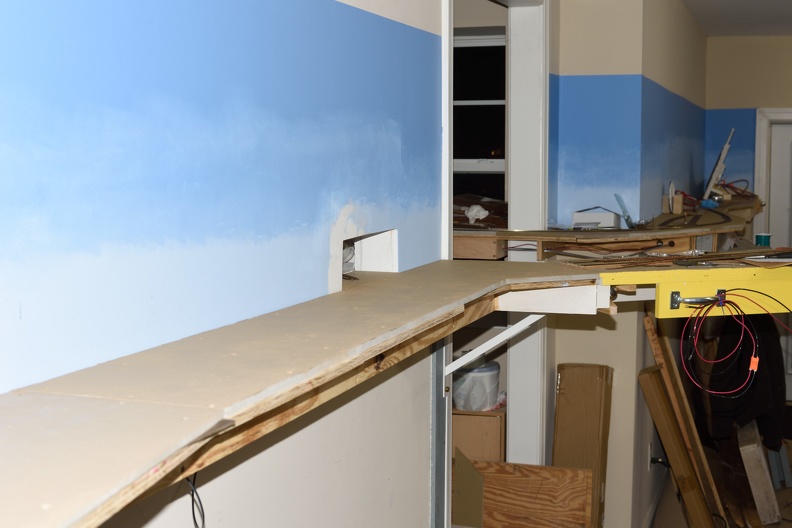
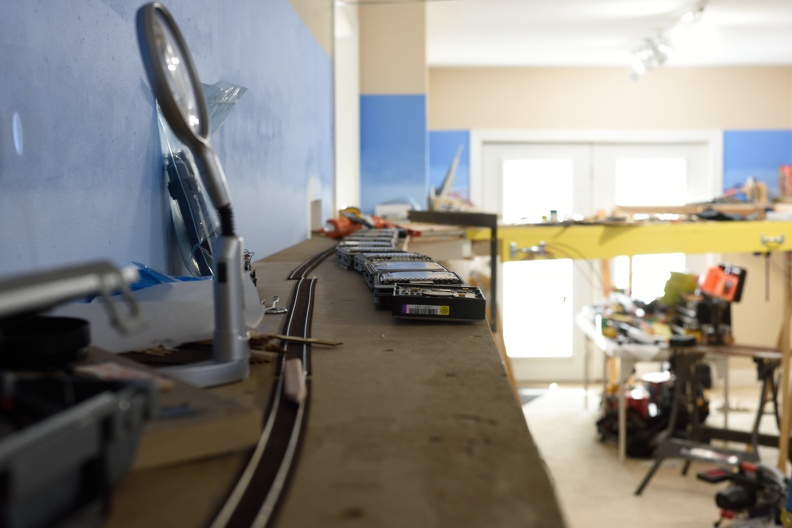
Permanent track installation on Bridge #1 has been done.

This bridge carries 3 tracks over the room entrance at a high that makes this a cross between a nod under and a duck under as there is about 50" or so of clearance from the floor to the underside.

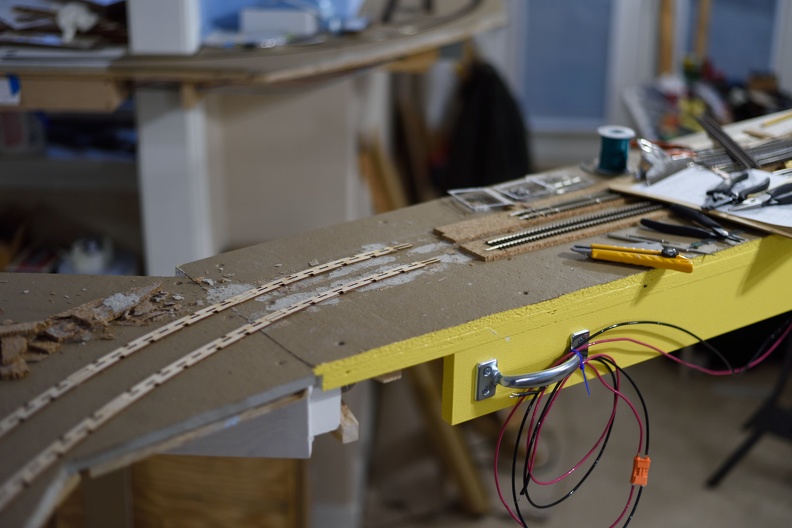
At the joint between bridge and permanent benchwork, I soldered PCB ties in place to help fix the rail in place to prevent any movement that would cause the track to misalign, making derailments and other operational issues a possibility.

Once soldered and secured, I used a cutoff disk in the Dremel to cut the rail.

It mostly worked and I got in a hurry with the soldering process, and used the gun instead of the iron.

So, take a look at this picture and see if you can spot the error.
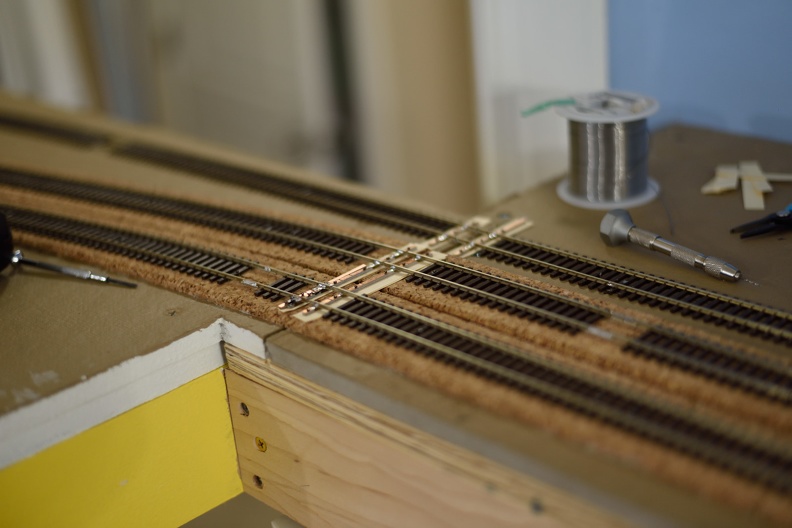

If you said, on the track nearest the camera, those PCB ties look destroyed, you'd be right.

Sigh.

I had to rip that apart and redo it totally since the ties would not hold the rail in gauge anymore since they'd been delaminated by the high heat from the soldering gun.

Sunday, April 5, 2020

Doswell and North End Staging Benchwork, Re-Work

As mentioned in a previous post on the blog here, the area of the layout that hosts South Doswell as well as the entrance/exit to the north end staging yard, required a rework.

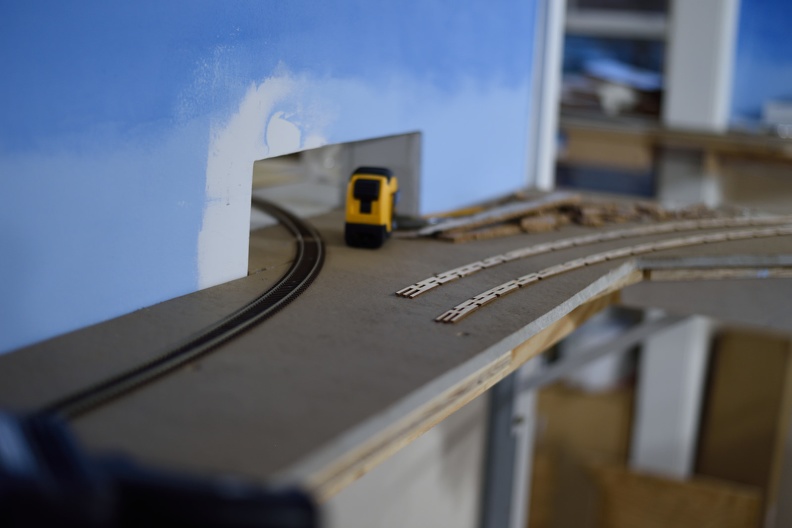
The area was torn down to benchwork and new plywood subroad installed.


This also gave me a chance to use larger pieces of homasote, reducing the number of joints in play.

New homasote down.
All things considered, this wasn't all that bad of a job to do. I wish I would haven't had to do it, but that's water under the bridge.

Painted and ready for roadbed.


Saturday, April 4, 2020

Block Detection

Quick block detection shot to share with my readers.


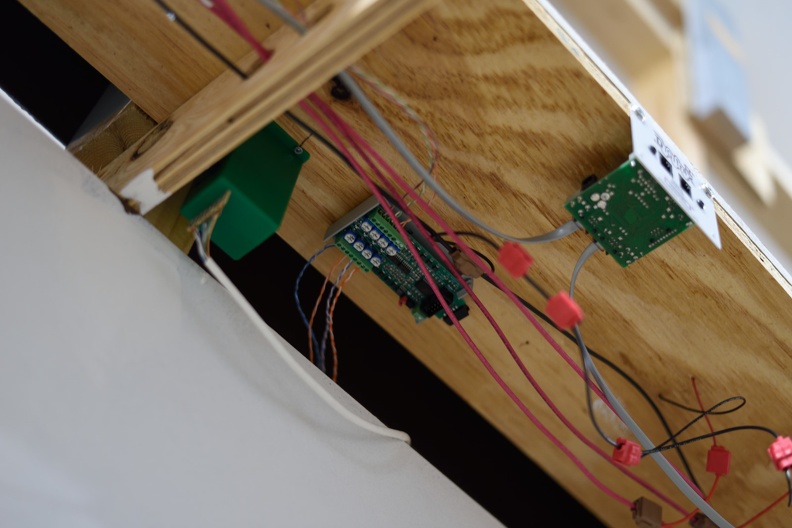
What you are seeing here at the center of the shot is a RR-Cirkits BOD-8 board. This is a board made to detect occupancy of up to 8 blocks, using current transformer coils that get placed on the DCC feeder for a rail of your choice. Also in the picture - Tortoise switch machine and Digitrax UP5 panel.

You can see that I use red for DCC Rail A and Black for DCC Rail B as the DCC bus and use 3M suitcase connectors to go from bus to feeder gang to feeder.

Per detected block, this is a probably the cheapest commercial way to do this. $35.40 is their direct NMRA pricing so that's $4.425 per block. A Digitrax BDL168 (which I used a bunch of on the previous railroad) runs about $120 for 16 blocks, which makes the math $7.50 a block there.

Once you figure out how many blocks even a smallish railroad requires, you try to figure out ways to maximize your ROI...

Thursday, April 2, 2020

South Doswell Track Rework

As mentioned in the previous post, the track in this area had to be totally redone as well.

40" radius curves or larger, as is standard
Cork was pulled out and various test fit operations were performed before more glue was commited.


As of now, this area is complete, but as always, documentation is lacking.


Cork being glued down for the main line here. Track to staging is directly laid on the homasote, to hopefully aid the operator in knowing where they are..

Wednesday, April 1, 2020

Reuse or Model Railroaders are Cheap, Act VIII

Model railroaders can be a particular bunch.

A group that will spend $100 or more on the locomotive that gets run for maybe 40 hours a year, but shies away from spending $5 more a sheet for better grade plywood that is supporting thousands of dollars of stuff and hundreds of hours of effort every second of the day is certainly an odd one.

Version1 had backdrops that were painted, not so successfully, as a sky scene.

When it was torn down, I didn't want to throw away these pieces of Masonite (a whole $10 per 4x8 sheet), even if they had been trimmed a bunch to make them fit.

I saved them and figured that I would eventually figure out something to do with them.

I decided that with some black paint, I could turn them into fascia.

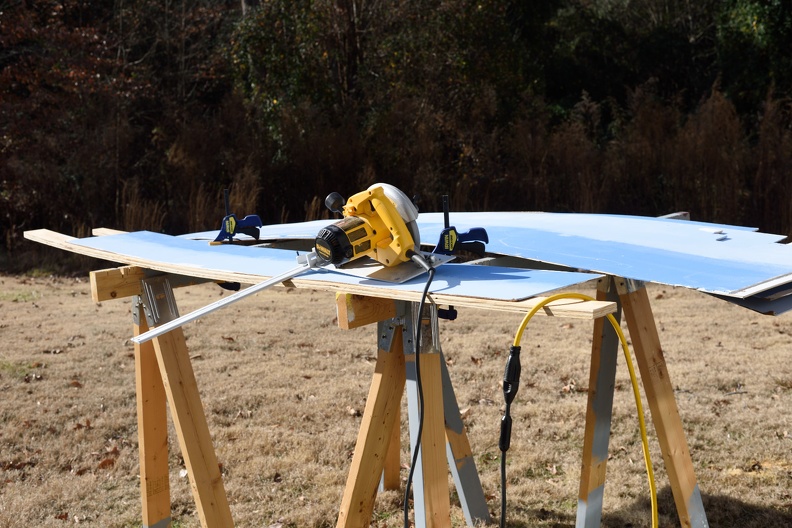
A sunny day this January let me take some of the stuff out and slice it down to 5" wide strips to be used.

Getting setup

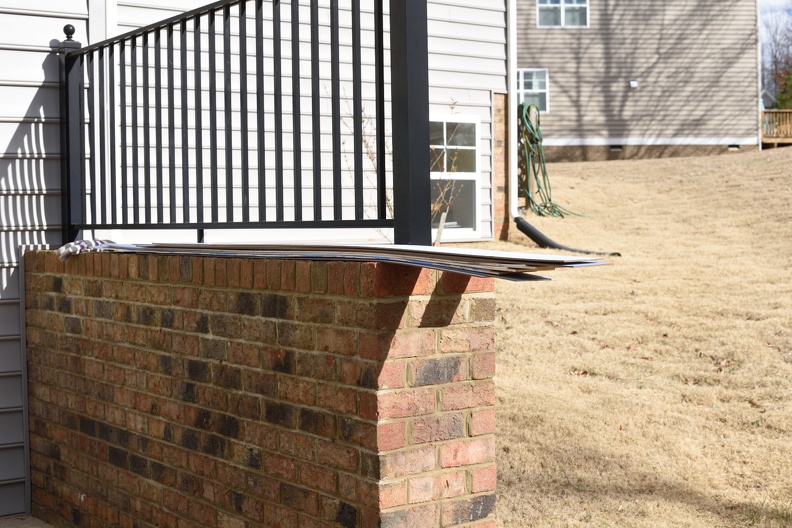
Stack ready for some paint.
On a slightly warmer day a few weeks back, I painted these strips flat black; I remember taking a picture of that process, but can't put my fingers on it right now, so this one, pre-painting, will have to do.

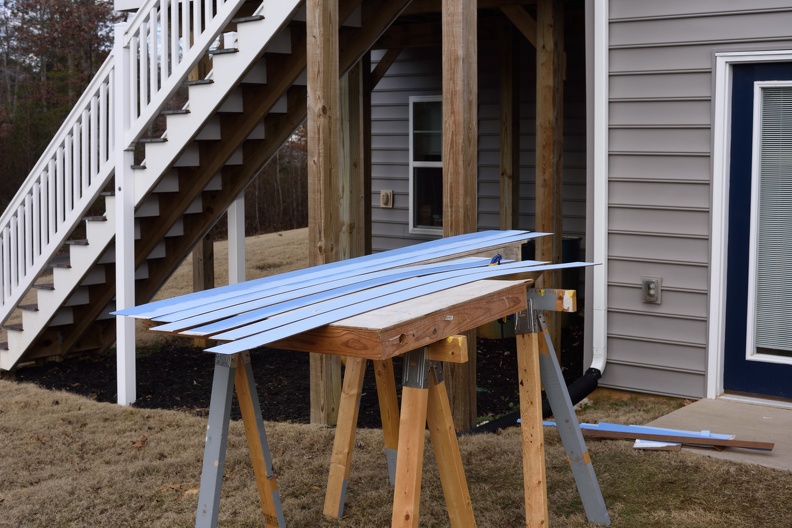
Used benchwork from a 30+ year old layout that wasn't ever built to support painting. Masonite doesn't have a bunch of strength to sit on a set of sawhorses so you have to work out other ways to make it happen.

Tuesday, March 31, 2020

A couple of words about roadbed and benchwork

Anybody who has built a model railroad using conventional materials - dimensional lumber, plywood and other sheet goods, such as homasote, will tell you that there are variances in size of product.

Working through construction is sometime like a endless grafting project working to get stuff lined up level so your trains don't have to suffer through uneven track that causes operational problem like uncouplings, derailments and other problems.

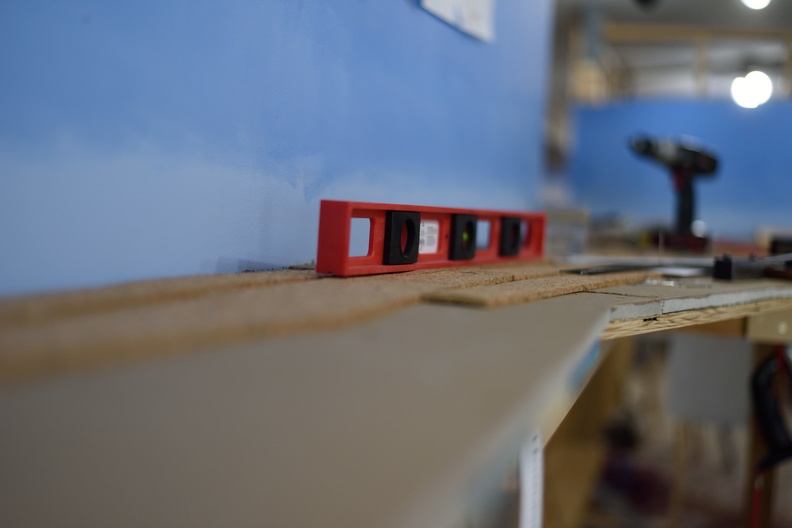
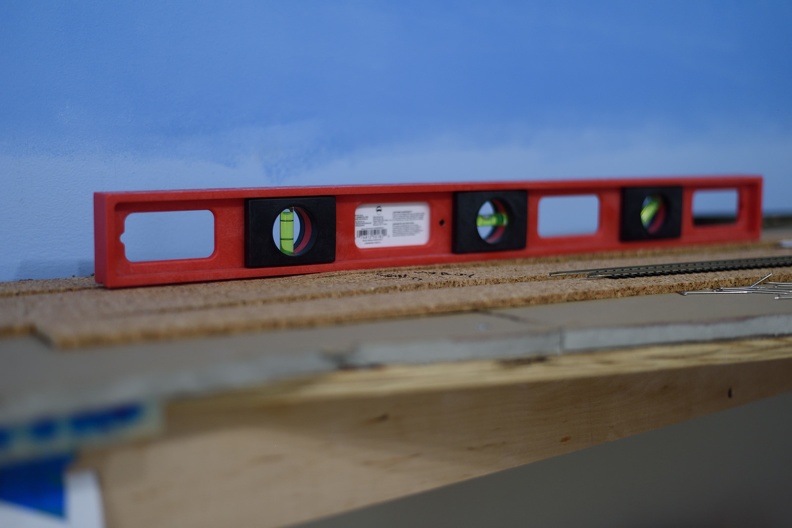
One of the steps I take before track goes down is hitting the cork with a belt sander to take these variations out.

Case in point from Doswell from the previous fall season (2019)


You can see the high and low spots by just looking, so that tells you some remediation is called for here.

Note my sharpie'd notes on what needs to be done.

Monday, March 30, 2020

Quick Progress Update

Progress is being made on the railroad on multiple fronts.

Put a fascia up in a spot. 

Wired a bunch of signals and LCC gear. 

Putting up and reworking lower level benchwork. 

Built actual model bridges. Cats and dogs living together!

I hope to start sifting through pictures and posting a couple of updates this week.