Monday, February 26, 2018

Staging Ladder Build Start

Now that I've finished up getting track inbound to the north end staging yard, next step is to build the ladder for this side of it.

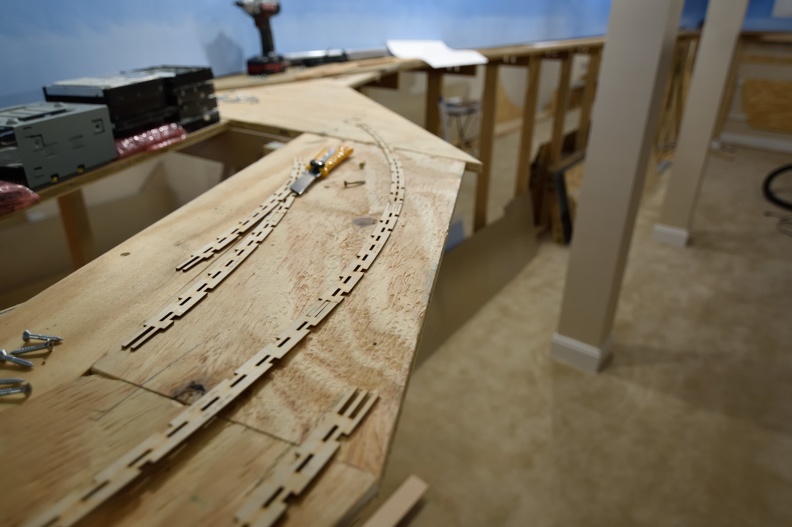
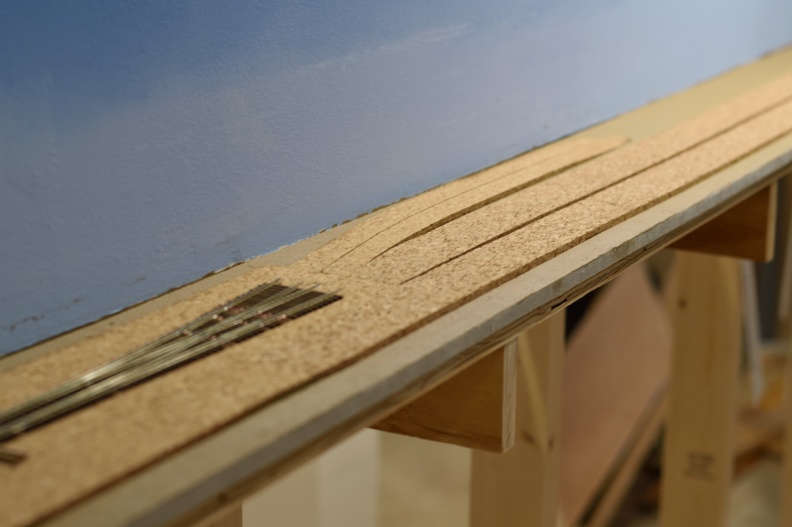
The ladder will be put together using the fast tracks jigs to give me skeletons of turnouts to solder into the correct place to give me the 2.5" track spacing that I'm using here.

The ladder is a compound #6 design for 9 tracks.

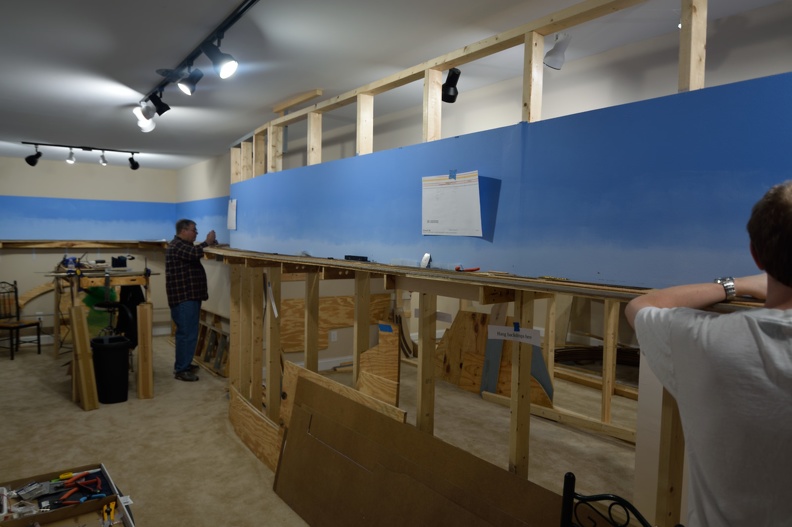
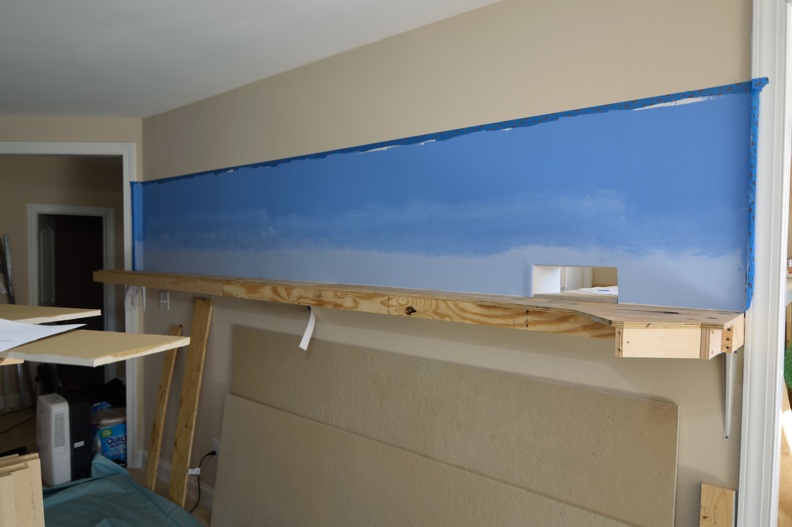
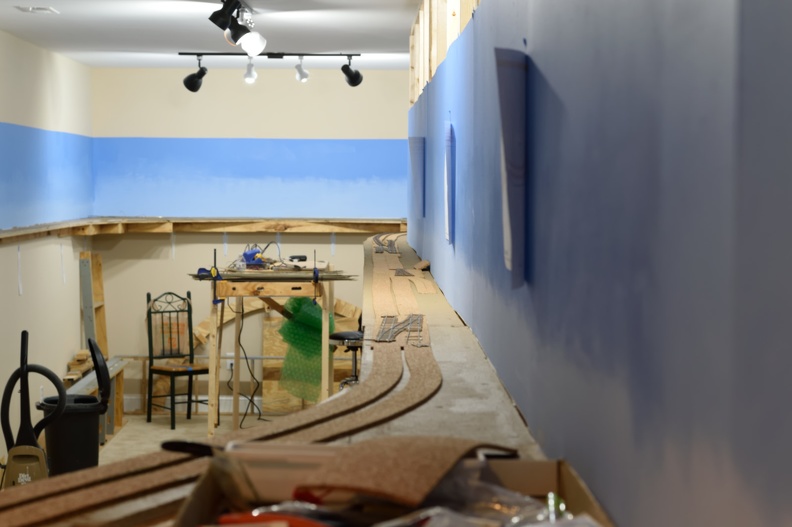
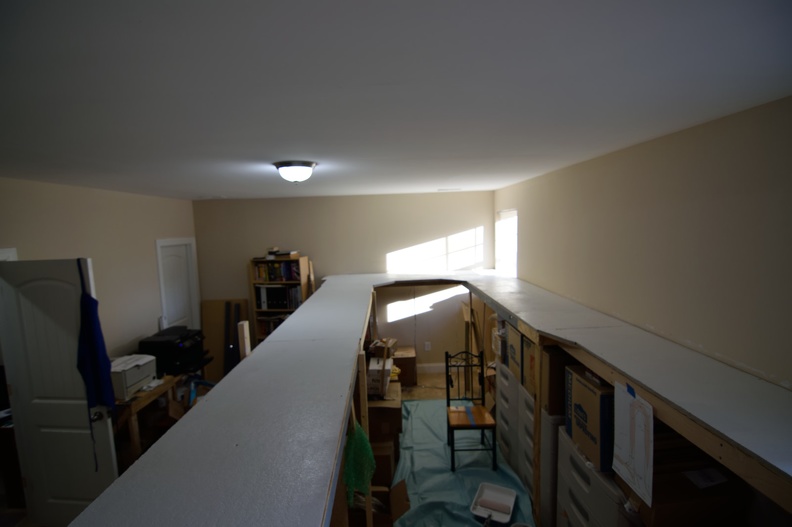
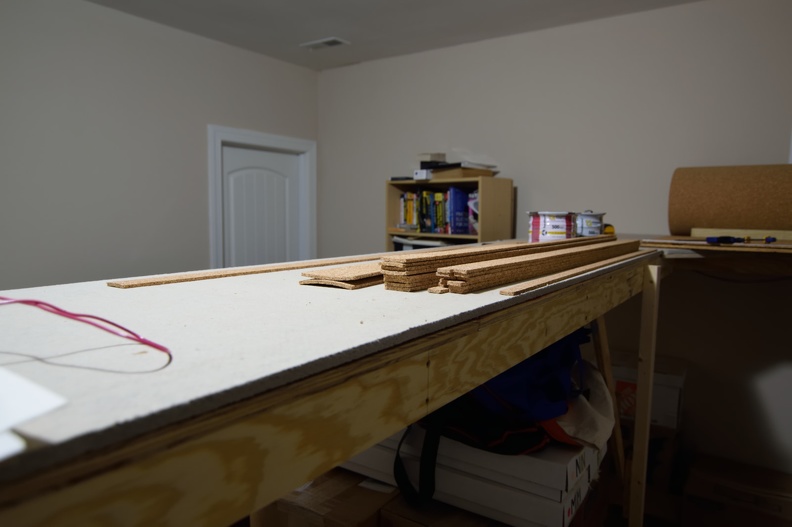
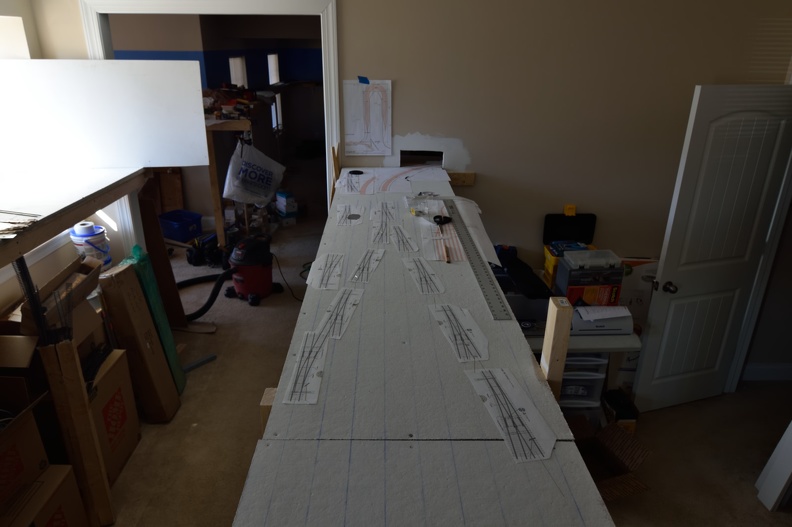
First shot is a quick overall look, but due to the height of the yard, it isn't a great angle to see any detail.


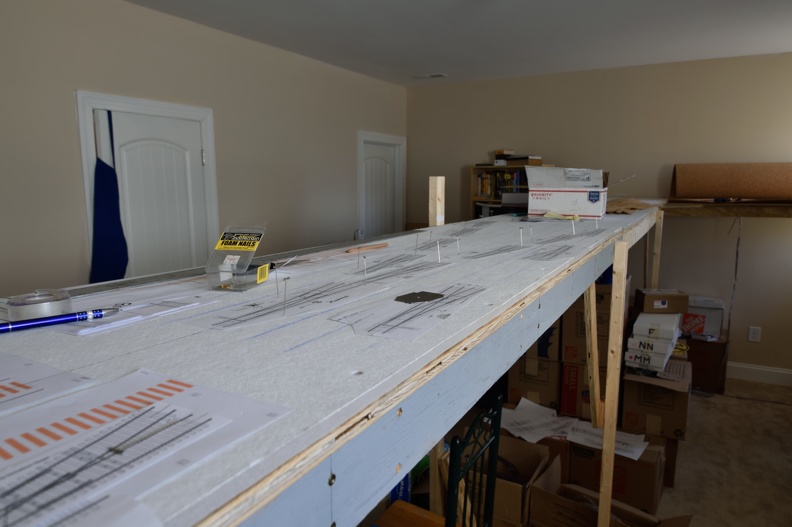
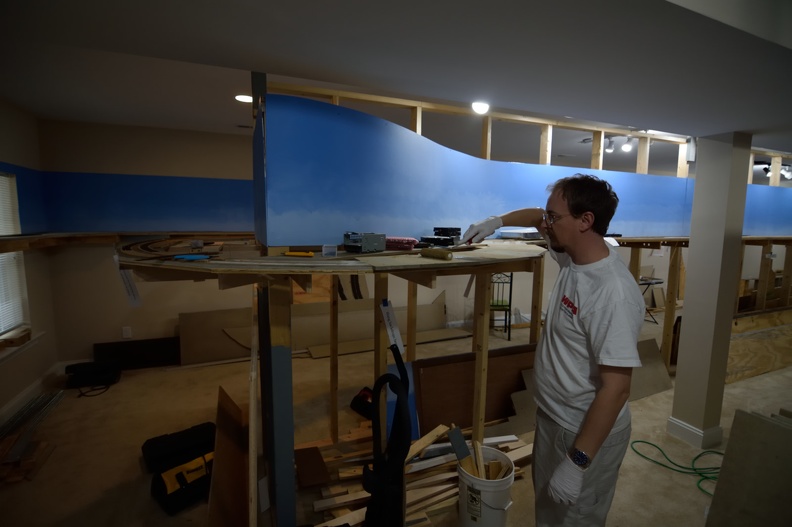
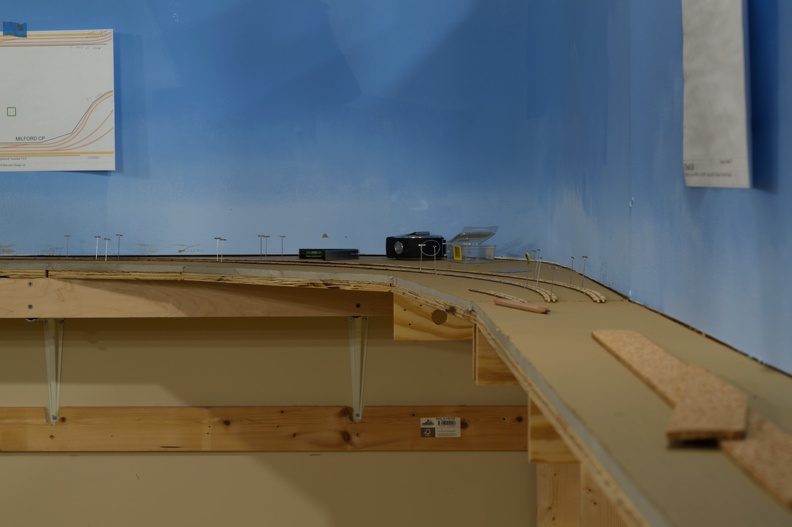
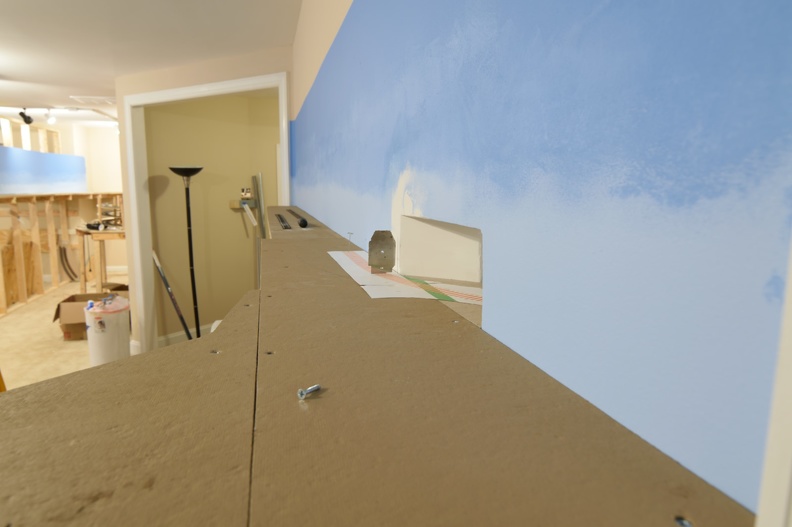
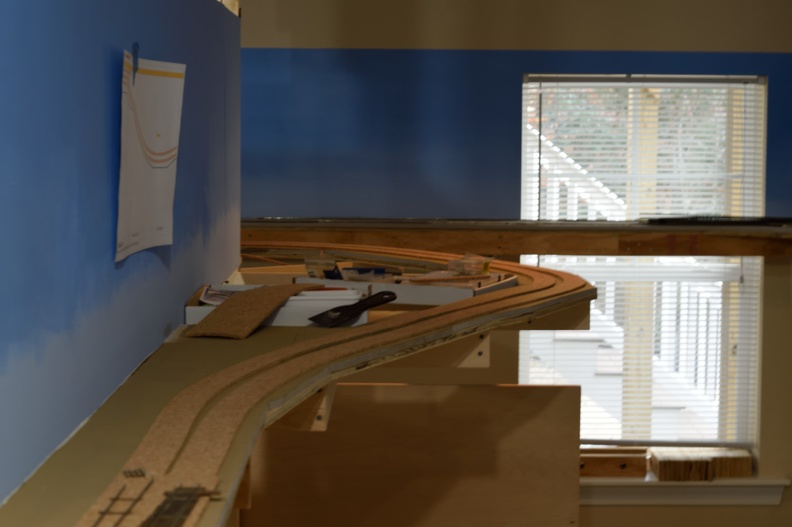
Here's a look down the inside ladder.
Note the capping of the ladder with a RH to give me a lead to some stub end storage tracks.
Now, a center, high angle view to give a look at the overall design.

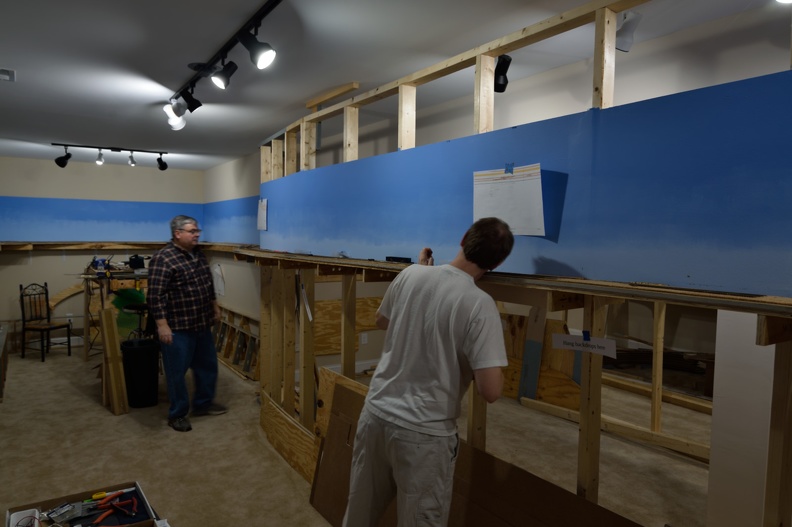
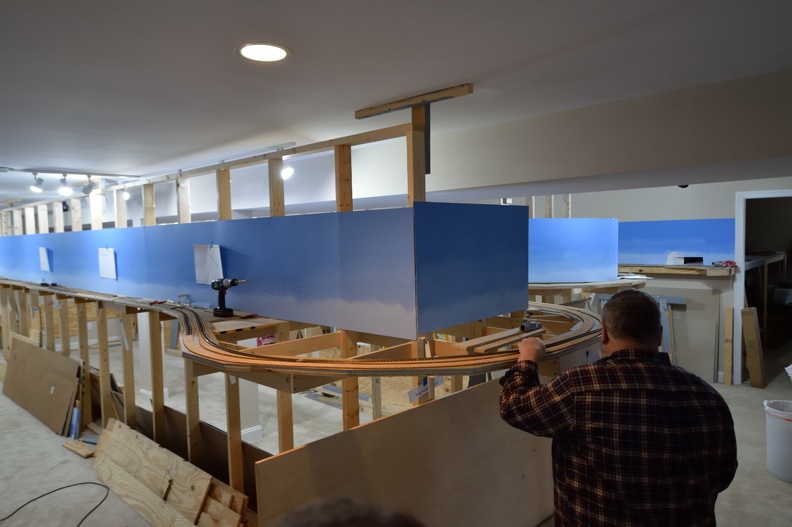
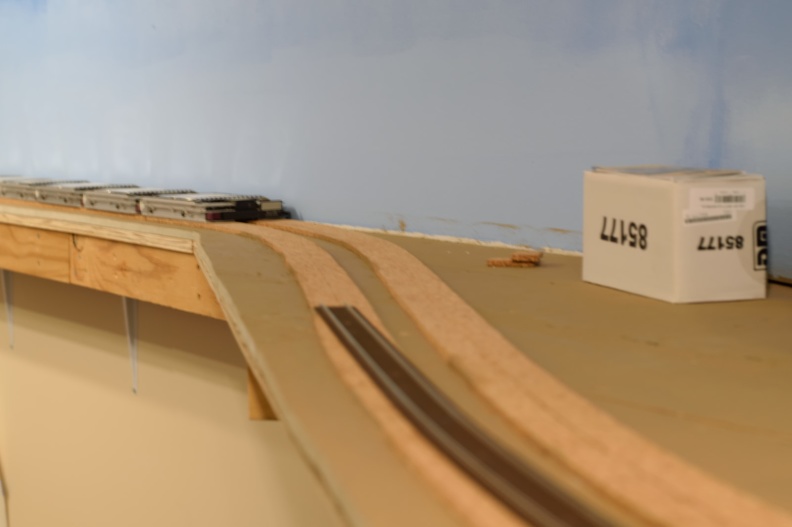
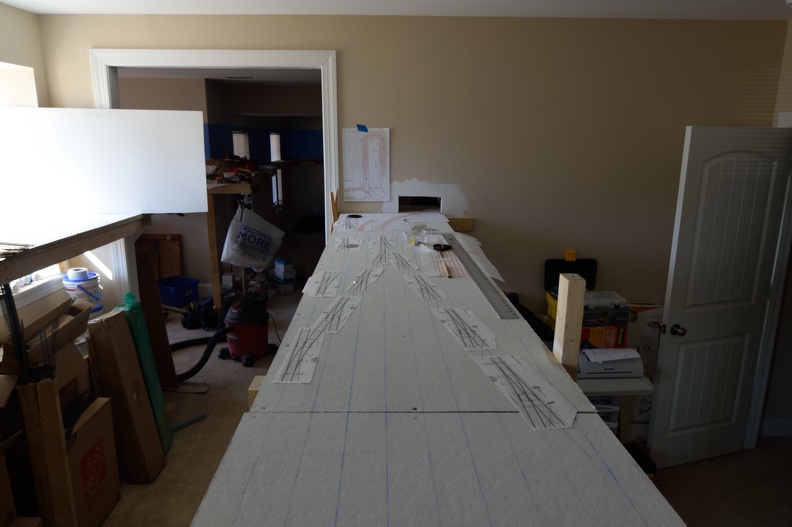
Shot from the tripod on the benchwork; also using a 11-16 wide angle lens so this skews the perspective a bit.
Here's a bit of a better angle.


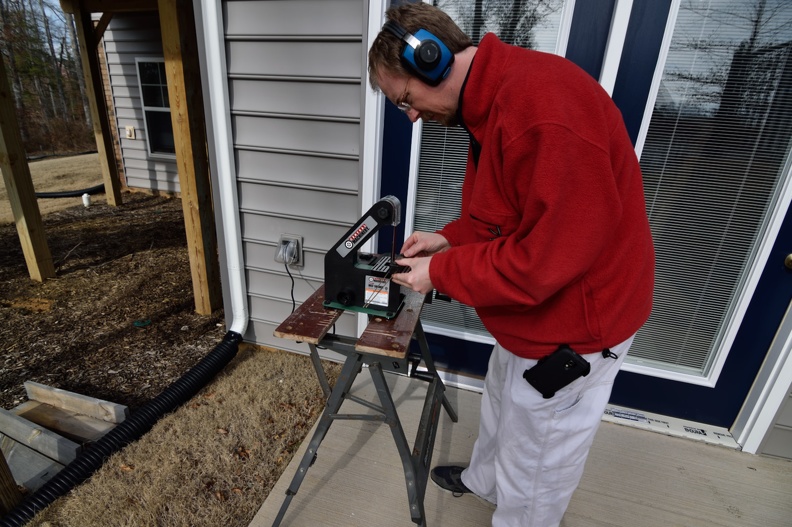
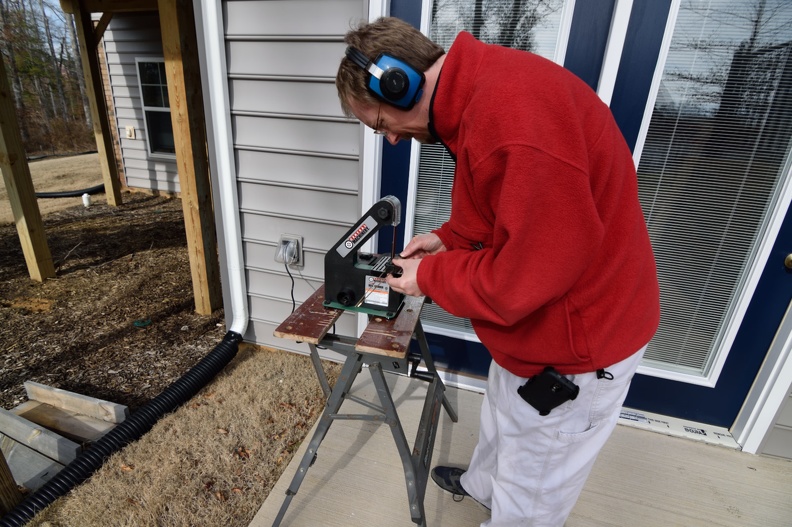
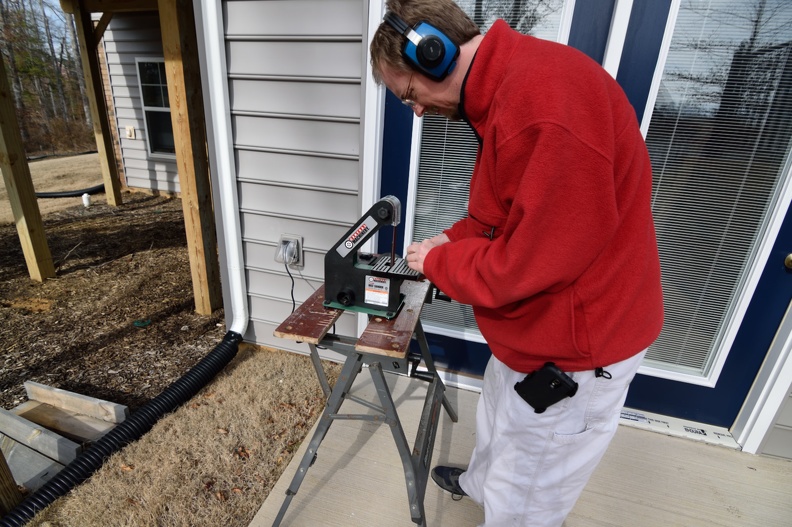
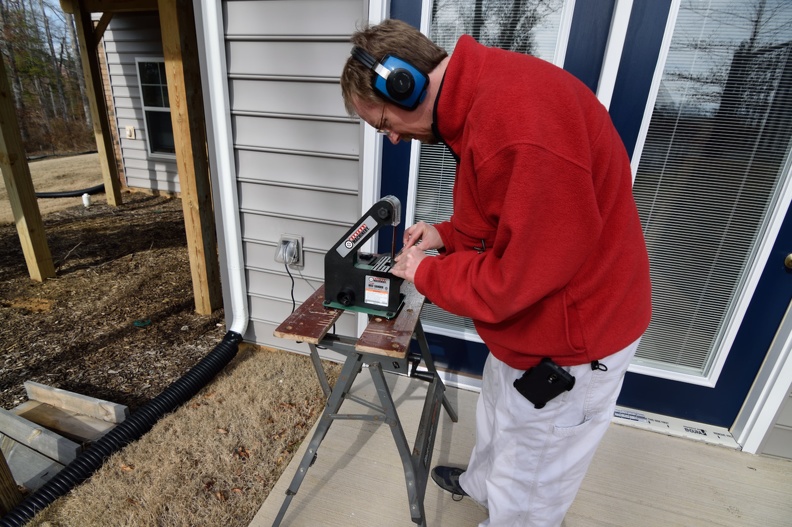
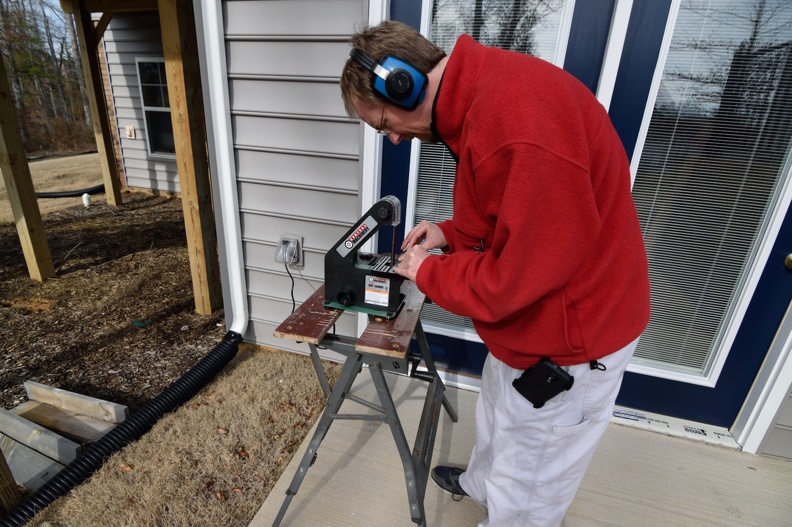
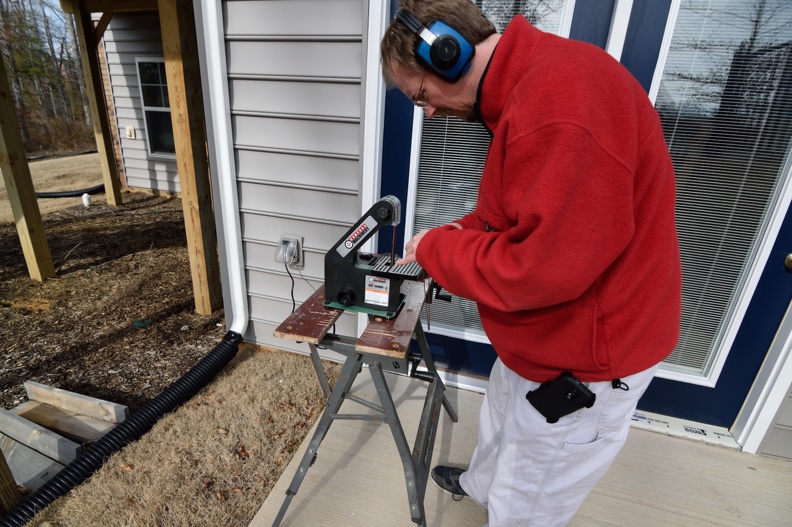
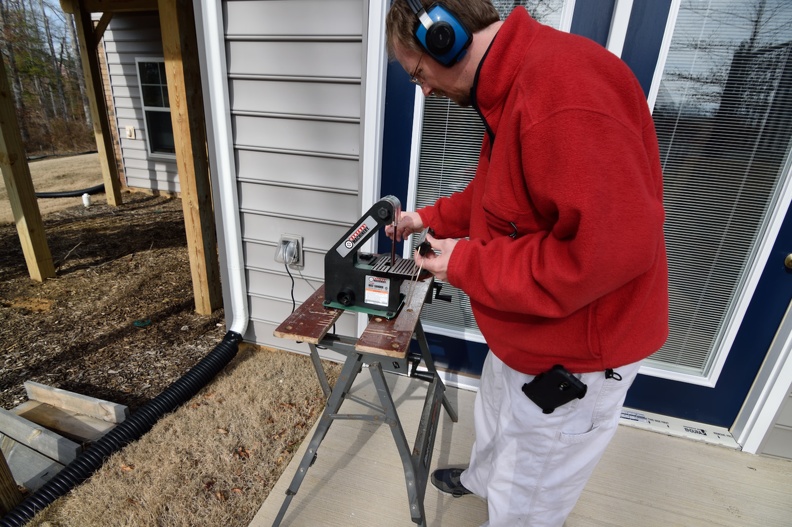
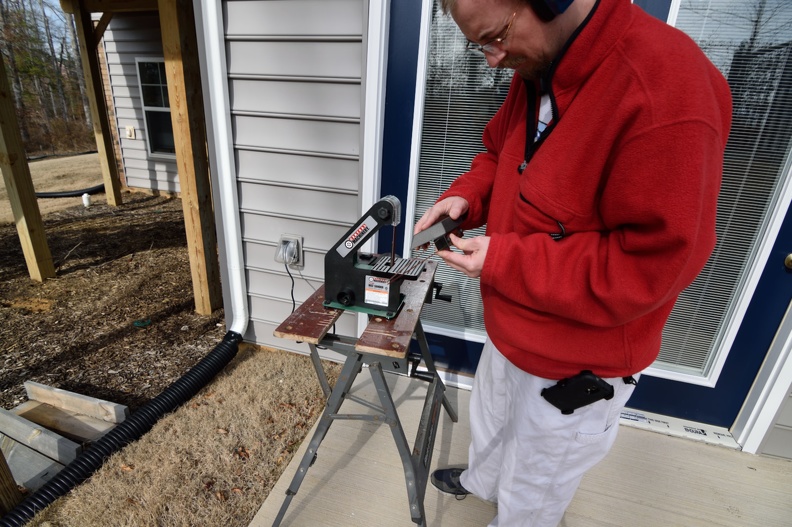
These pictures don't show it, but I've already started to layout the rail components I need and hopefully I will get a non-rainy, non-sick day (rained today and both kids are sick with norovirus. Sounds as fun as it is..) to start getting the joints prepared so I can start piecing this together.

Sunday, February 25, 2018

Another tool for the toolbox or How to speed up your handlaying

One of the downsides about handlaying is that it can be a bit slow. Results can be outstanding, but it takes time.

You might remember that set of 3 curved turnouts I had for the staging yard on version 1. "handlaying track or what confidence can get you" is the post about it. (That was in September of 2014, BTW...)

That took an entire Saturday that that did not include getting ties down so it could be installed.

So, take it from me that shaping points and frogs manually with a file is time consuming and even when you use the filing jig, after you have the point filed down, you need to clean it up with either a jeweler's file or a sanding stick or a sanding block or some combination of all three to have a usable product.

I normally use a bastard file, then a long single cut file to form these rails so the tools you need aren't exotic by any means, but again it takes time.

I was discussing some build experiences with a fellow modeler a couple of years back now, and he mentioned that he started using a bench top belt sander to speed his build progress. I found that idea intriguing and filed it away for future reference.

During a Christmas sale, I bought one of the cheap Harbor Freight 1" x 30" bench top belt sanders. It is a very basic machine, but at $50 before a 20% coupon, I could take a flyer on it and if I found that it really helped, I could then research and purchase something at a higher quality point from Dewalt or Delta or whatever without slowing down my build progress as 10 scale miles doesn't exactly build itself.

I finally got it out of the box this last week and had a sunny afternoon to give it a try.

Amazing!

I had a set of points shaped and only needing a quick pass with a sanding block in less than 2 minutes.

I setup the camera and hit the timer to give me a 20 second delay before starting and then click off 9 pictures. The delay between pictures is around 5 seconds (not set-able on my entry level Nikon, I've found).

1 and Begin!
2
3

4
5
6
7
8
9 and done!

Really looking forward to getting a stock of points and frogs built up so I can be ready for hand laying as the layout progresses.

Saturday, February 24, 2018

About that turnback curve

As I mentioned in the work session recap, we found where the turnback curve where it heads back in, wasn't laid out correctly.

The radius was a bit variable and was much sharper than the 40" radius that was planned.

An overview after the roadbed and homasote were removed.
You can see where the benchwork/roadbed was a miss here:

Inside is 40" radius, outside is 42.5"
After some additional measure, new homasote was cut and placed. I also took this opportunity to place the homasote onto the industrial spur behind the main line.

Dirt brown going down before I put glue cork down.
Was able to put cork down a few hours after the paint had dried to the touch.

Wednesday, February 21, 2018

Work Session Recap

I had a work session on last Saturday (the 10th). I was joined by Dick M who joined the Terminal's track gang for an afternoon.

Track was started between the Milford and North Doswell Control Points. We ran track over the completed roadbed, headed north.

Pictures are a mix from the self timer and my budding miniature photog.


Your intrepid small shooter found the supervisor asleep:


Working around the first turn back corner. This is a shot with the timer with the camera on a tripod on top of the benchwork opposite where we are working.


When we got track around this side, we realized that the curves weren't laid out correctly and checking with a radius gauge revealed the benchwork missed the target. I took it as an action item to rework this area.

Additional pictures inside the main site gallery: richmond-terminal.org

Tuesday, February 20, 2018

Track Layout

Trying to keep a layout build to plan can be a bit of a challenge.

One of the tools I use to help me is track templates. On version 1, I cut out a cardboard template in a couple of common radii that I used.

On version 2, that doesn't really work since I've got a couple of turns way bigger than I can make out of a poster board.

I went with the sweep sticks from Fast Tracks and ordered multiple sets for radii that are used often and a single set for a radius that might be used once.

Laying out the curves inside the two peninsulas
Doing good work with the self timer.
Additional pictures on the main site gallery: richmond-terminal.org

Friday, February 16, 2018

Another day, another delay and another change

My track laying methodology has been:

  • Mark center lines or other roadbed path marks
  • Lay cork roadbed via gluing down
  • Sand any cork ramps down
  • Sand top of cork to ensure good transitions
  • Install track

Most folks probably remember the access hole I cut in the drywall to get track to the north end staging yard.


As seen here

I tried to layout the track so I could start laying out the roadbed and staging yard ladder. I figured that starting on the ladder would allow me to rehone my turn out building skills in a spot where it doesn't have to be pretty, just functional.

Step 1 was getting the track arrangement through the way right.

I printed out the track plan in 1 to 1 scale and got it taped together.


The planned 33" radius curve didn't fit. A 30" radius curve wouldn't fit either.

Queue the head scratching and out comes the tape measure. Turns out I had mis-measured during benchwork and hole building so I didn't have the clearances I needed.

Out came the drywall saw for a fix.

Note the 110V cable
After some additional trial track placements, I had something that worked.

 I put the cut drywall piece back in and proceeded to get it mudded.

NMRA Gauge to help provide scale


Ready for a bit of paint.

 More pictures inside the website gallery: richmond-terminal.org

Thursday, February 15, 2018

Updated the theme colors a bit

Decided that I didn't like the orange anymore.

More content coming soon.

Wednesday, February 14, 2018

Roadbed and Track Layout

I picked a place between the Milford and North Doswell CPs to begin laying out my center lines and putting down cork.

I did this since it was a fairly simple area, from a track layout perspective, and it was also where I could lay track quickly since the crossovers and turnouts in this area were covered by what was recovered from version 1.

Note the split cork used here.

Not great quality - should have bumped the ISO and used the tripod, but these were quick snaps anyway..
I've hit some of this with a 120 grit belt in the belt sander (Santa brought me one for Christmas) so I get a nice working surface for track work that hopefully won't have any big time vertical bumps that cause problems later.

Probably hard to tell, but here's the delineation between sanded and not.

Do note the sanded ramp down to homasote level for the industrial spot here.

First industry track. Once the cork goes down, I come back and quickly hit it with the belt sander to make it smooth for flex.
Down and around.

Note the work area for track way back there.


Monday, February 12, 2018

Staging Prep - Getting Ready for Track

Got homasote put down onto the staging yard late December and needed to get it more finished than just plain gray.

Painting the surface would hopefully provide a better background to rail cars against, as well as find parts that might have fallen off.

I was just going to go for the standard dirt brown color but then thought better about it, so plain Kilz white it went.

Self Timers are great when you mostly work solo


Wet Paint!
Used the remainder of the can I had opened so I'll have to get my hands on another can before I start painting the backdrops for the main level, but that is a task for another day.

More photos are in the gallery on richmond-terminal.org.

Sunday, February 11, 2018

The Brass Bug, Part IV, the Surprise and a Throwback


As posted before on the blog here, back in November,  I found that OMI had produced a Amtrak Viewliner in HO scale.

This model is enough of a rare bird that the brass printed brass guide doesn't list it, and the only online listing is a set of 5 cars which is the only reference to it that I've found.

The OMI number is 3345.1 as a reference point for everybody else. Ajin in Korea produced the model and it appears as though multiple road numbers were produced.

I hope that we will see an additional run of these made, as well as the Viewliner II cars which will be baggage and diners as I understand it.

On a similar subject, I added a Union Terminal Imports (website) Amtrak Dome Coach Car to the roster. It is in Phase I paint, which is a bit older than my modeled era, but the production on these cars was very small so I felt it was best to get my hands on one now.

When I was a teenager, my family took a trip on Amtrak to visit family in the midwest for Christmas one year as Dad was deployed, I believe this was during the run up to Desert Storm. We rode the pre-Superliner Capitol Limited which included dome cars in its consist so I've always wanted one as a model.

Frequently, you see the full length dome cars that were used out west as models, (I believe those are ex MILW) but the eastern domes do not seem to be as well represented.

This particular model is superb. The detailing is exhaustive and the quality is extremely high.

 A couple of shots from this morning; thankfully I had some morning light in the basement and didn't have to resort to the flash.

A nice overview of the car. You can make out the interior through the glass.

Note all the detail on the end of the car. Amazing.

You can just make out "2 of 4". The beveled box edges are a great touch as well.
I hope to see UTI produce more Amtrak offerings in the future and I'll be keeping a look out for what shows up on eBay.

Saturday, February 10, 2018

The Brass Bug, Part III, A Pictorial

In our last episode, I mentioned the bug bit way hard this past summer.

I felt that I should take a couple of shots to show the state of the fleet at that point last summer.

The first piece - the Overland P42:

Ah, golden sunset light..
An absolutely stunning rendition. The Kato in Plastic is great, but this is superb.
P40 Number 818. Note the chip in the blue stripe.
P40 Number 820. Paint is in much better shape. I think that stripe might be a decal..
F40PH. Nothing screams Amtrak in my mind louder than these units.

Thursday, February 8, 2018

Why the upper level benchwork isn't done

Eagled eyed readers will note that there has been a gap in the benchwork in the area of the walk out door.

Rest assured, there is a reason, and a good one, for that.

We needed a new door.


The original assembly wasn't put in correctly, so the door didn't latch without pressure. I wasn't upset until I realized one afternoon that you could see light between the door and the jamb.

We aren't talking a paper thin highlight here. We are talking something around 1/4".

So, enough complaining got us a new door installed mid January. The news has been a bit delayed so they could get it painted.

Tuesday, February 6, 2018

Roadbed, Part II

In our previous installment, I shared that I am using cork underlayment as roadbed material.

To cut, I suggest a straight edge, a sharp utility knife and a cutting board.

I'm using 1/4" plywood.

Initial setup

Started the timer via a phone app linked to the Nikon...
I changed my methodology slightly from this shot - I've gone to cutting from the far side of my straight edge so I don't have to try and work around the clamps.

I decided to cut everything at a 90 degree angle to speed and simplify the process. I might eventually make a cutting shoe to give me a 45 or 30 degree angle, but that might be for a portion of a railroad used for rolling stock glamour shots - that's probably well into the future..

Production give me the following stock:

4" wide for double track or crossovers
1 7/8" wide for single track
 (Doing that gives me a chance to show a small valley between parallel tracks)
15/16" strip for single track around curves

Here's the end result of my first slicing session.


More photos are in the gallery on richmond-terminal.org.

Monday, February 5, 2018

Roadbed, Part I

One of most common roadbed materials in model railroading is cork.

Many different styles and sizes have been offered over the years; and I've personally used plenty of the strips that give you a ballast profile, if wanted, as well as the sheet style offerings that can you cut switch pads and the like out of.

If you use the pre-split stuff from midwest, make sure you sand the top of the bevel cut so you don't get any material poking out through the ballast you put down.

Work-ability is variable, I've found, as sometimes you get a box with what seems like a higher cork content that you can sand and form nicely, and other times it seems like the cork is a suggestion at best in the mix.

When I started figuring out what buying the normal stuff from Midwest would run me, I started to consider alternatives.

One of the local modelers suggested purchasing the cork flooring backing; normally available on a 4' by 50' roll from the home centers as well as specialty stores.

A roll of this, 1/4" cork, 200 square foot, runs about $108, plus tax. So, that makes it .54 a square foot.

A box of split cork is comes to 10.9 square feet. (Midwest says 1.75" by 36" long, 25 pieces in a box, so 1575 square inches, which divided by 144 (to get square feet) gives us this 10.9 number) Midwest's MSRP is $39.75. (No, seriously, I'm not kidding) That makes it $3.64 a square foot. Now, let me state that I've never paid that for this product, ever, and never heard of anyone that did. Checking some listings via google, shows $24.95 from MB Klein (out of stock right now) which seems to be the normal going rate. That brings it down to $2.29 a square foot.

Seems like no contest there. 😁

Two rolls, ready to go

The label, if you are so interested.