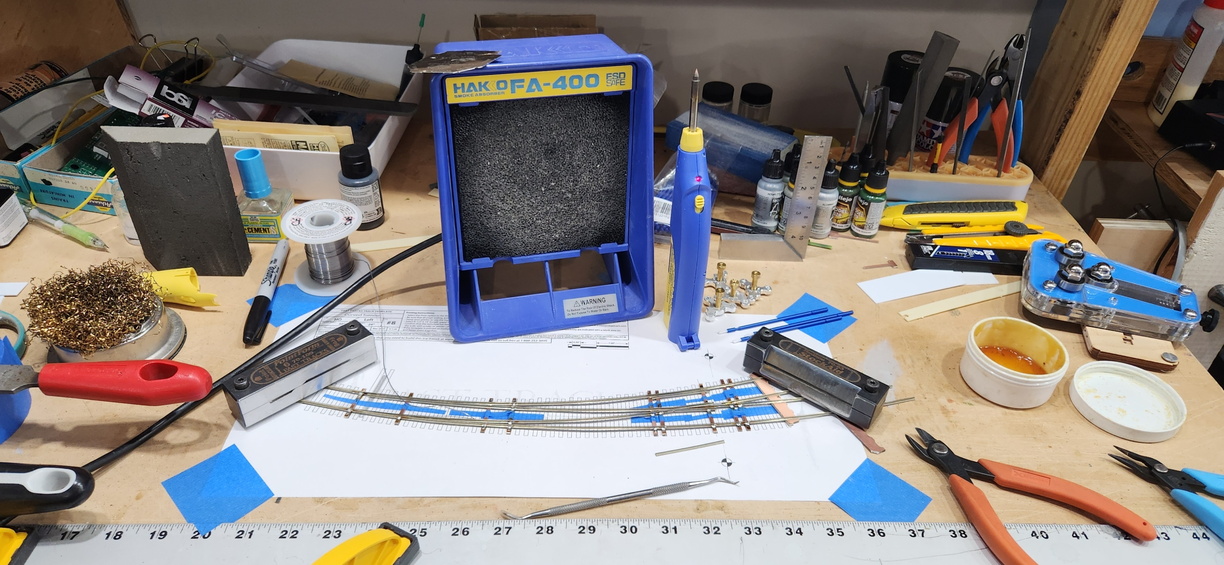
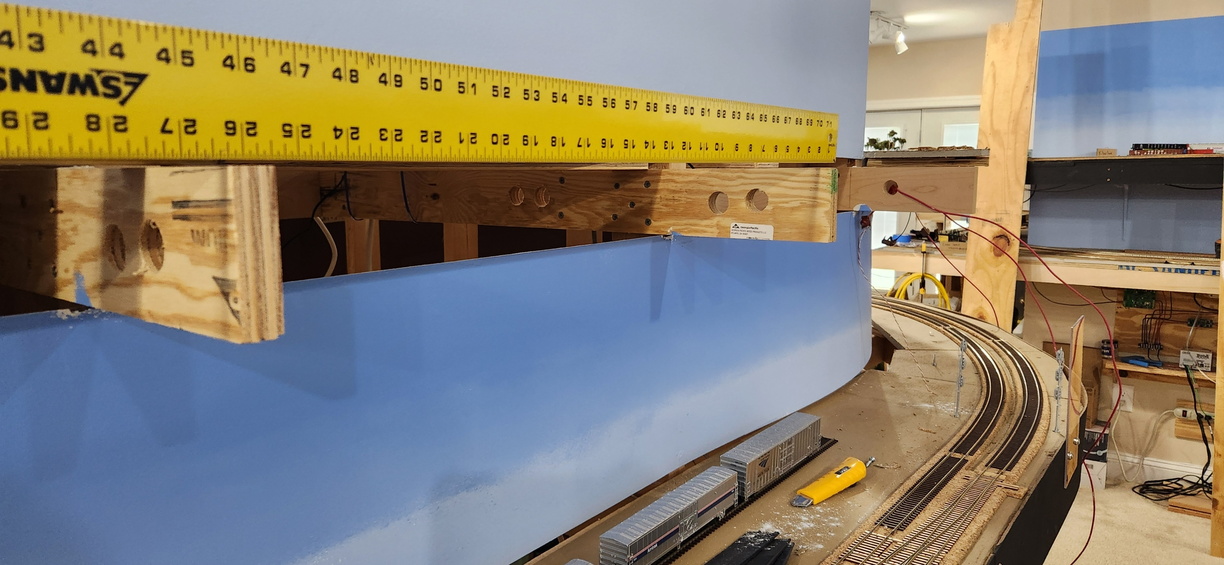
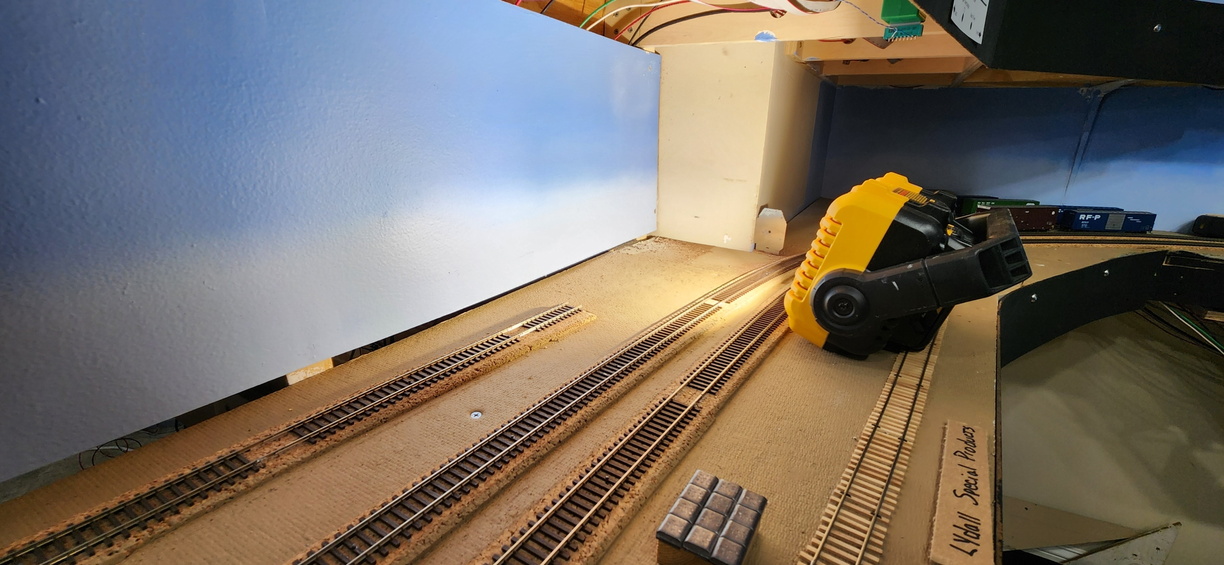
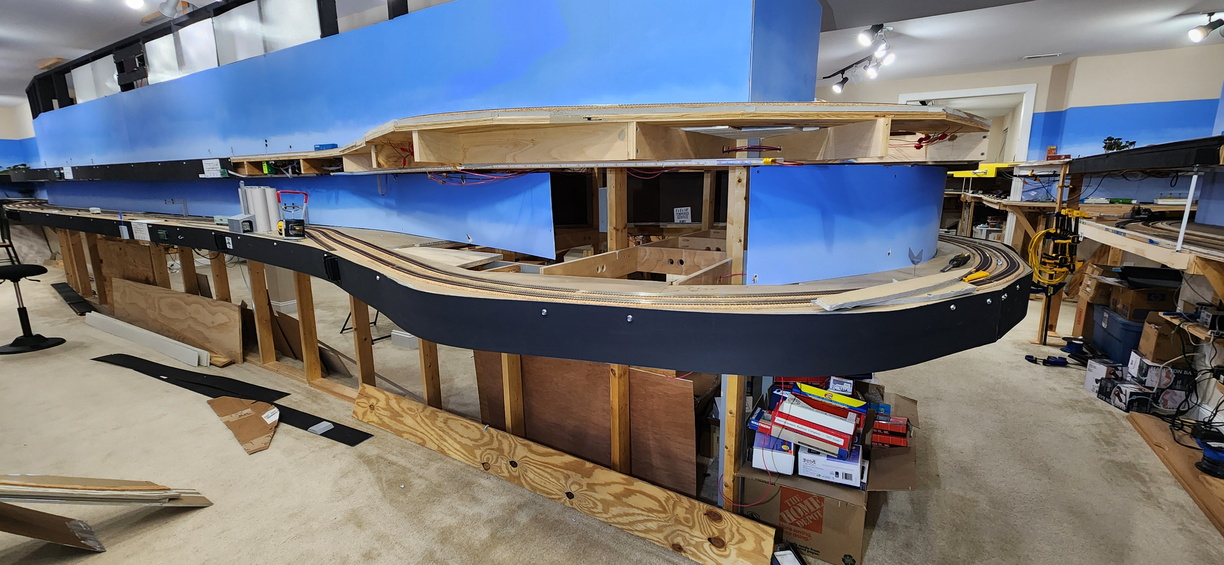
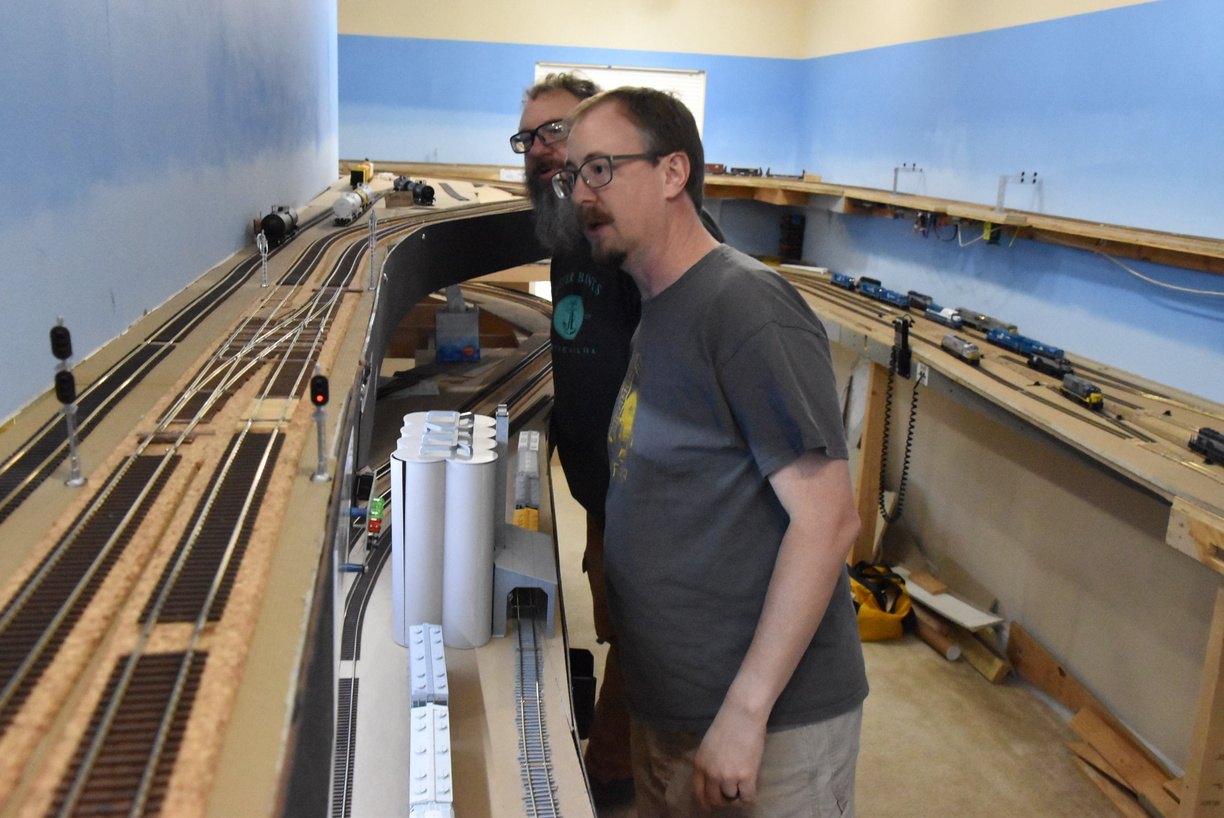
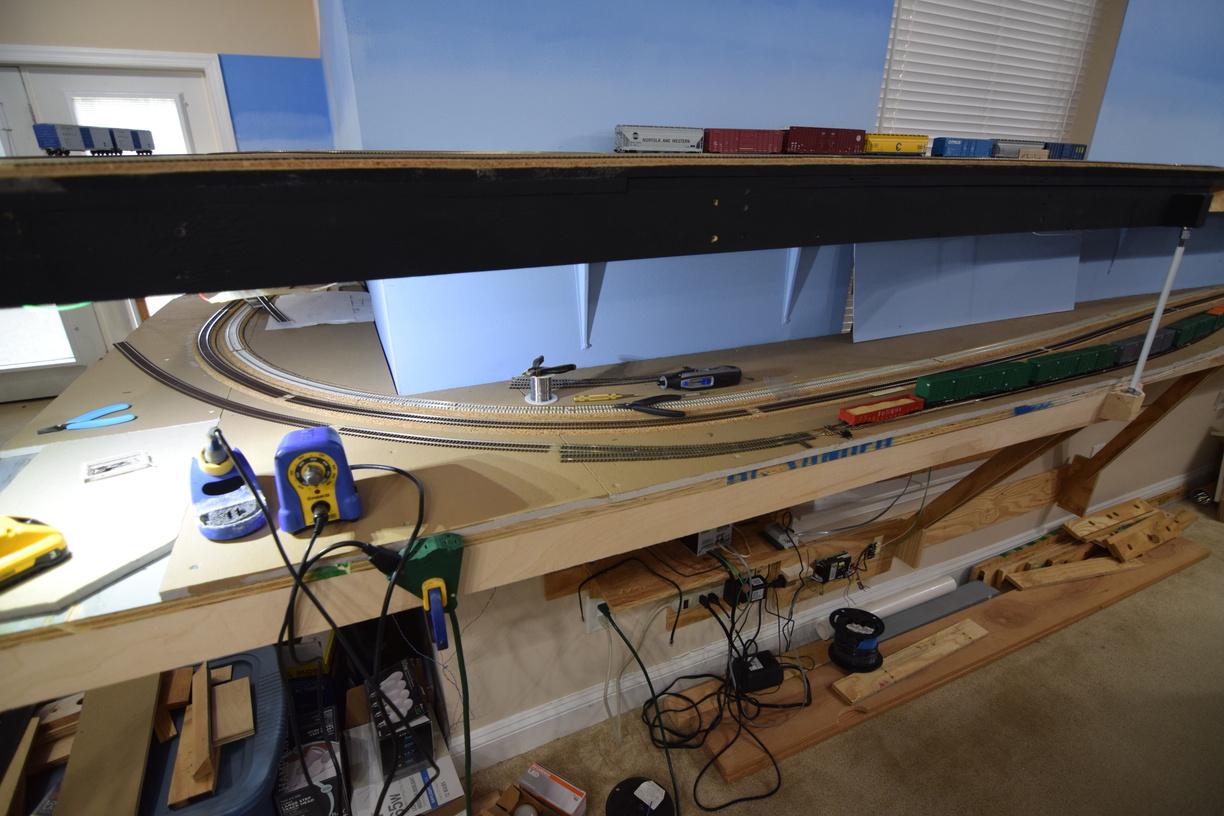
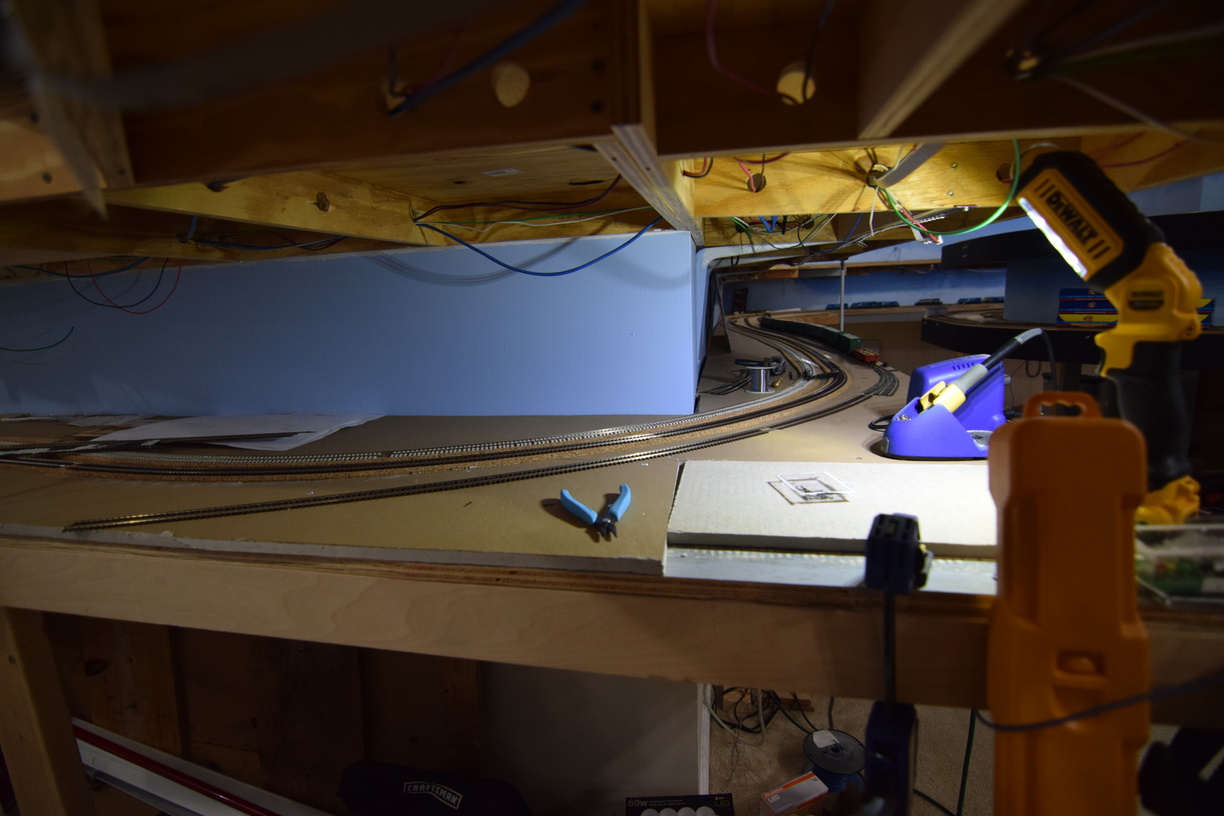
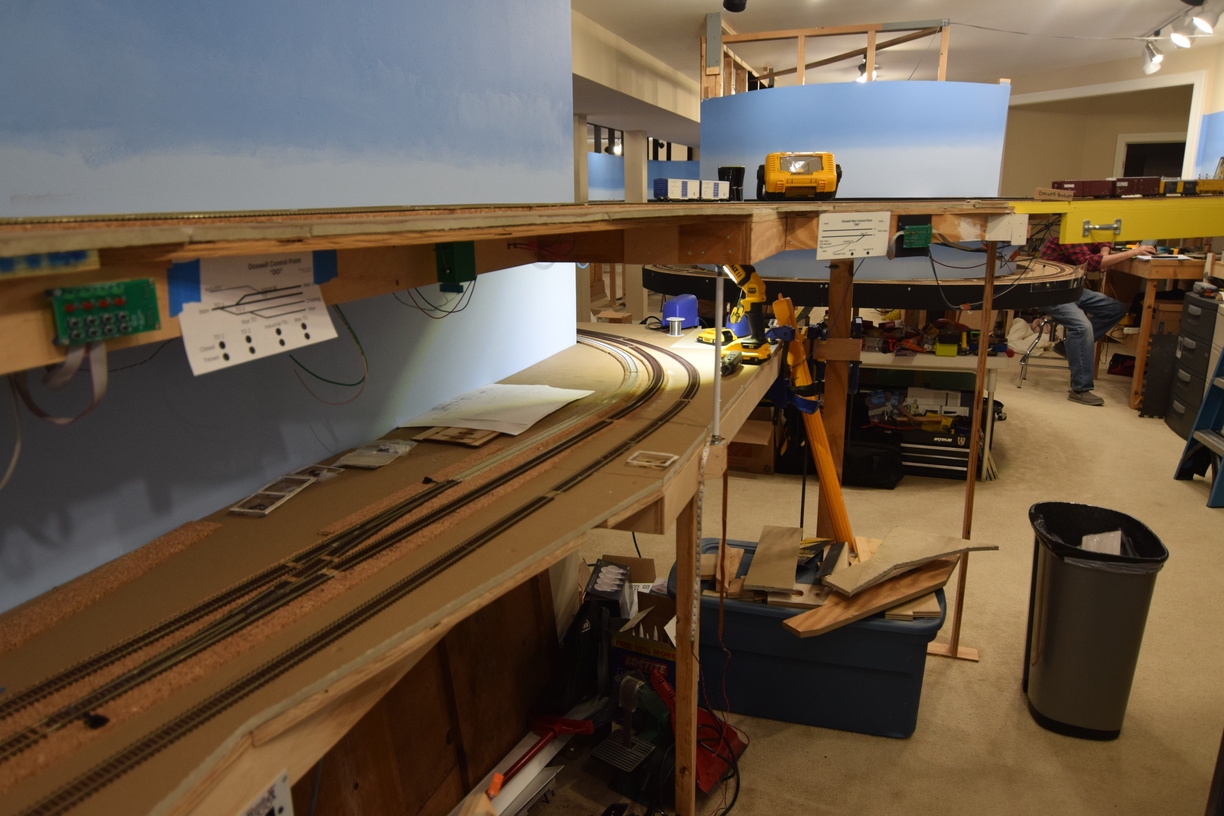
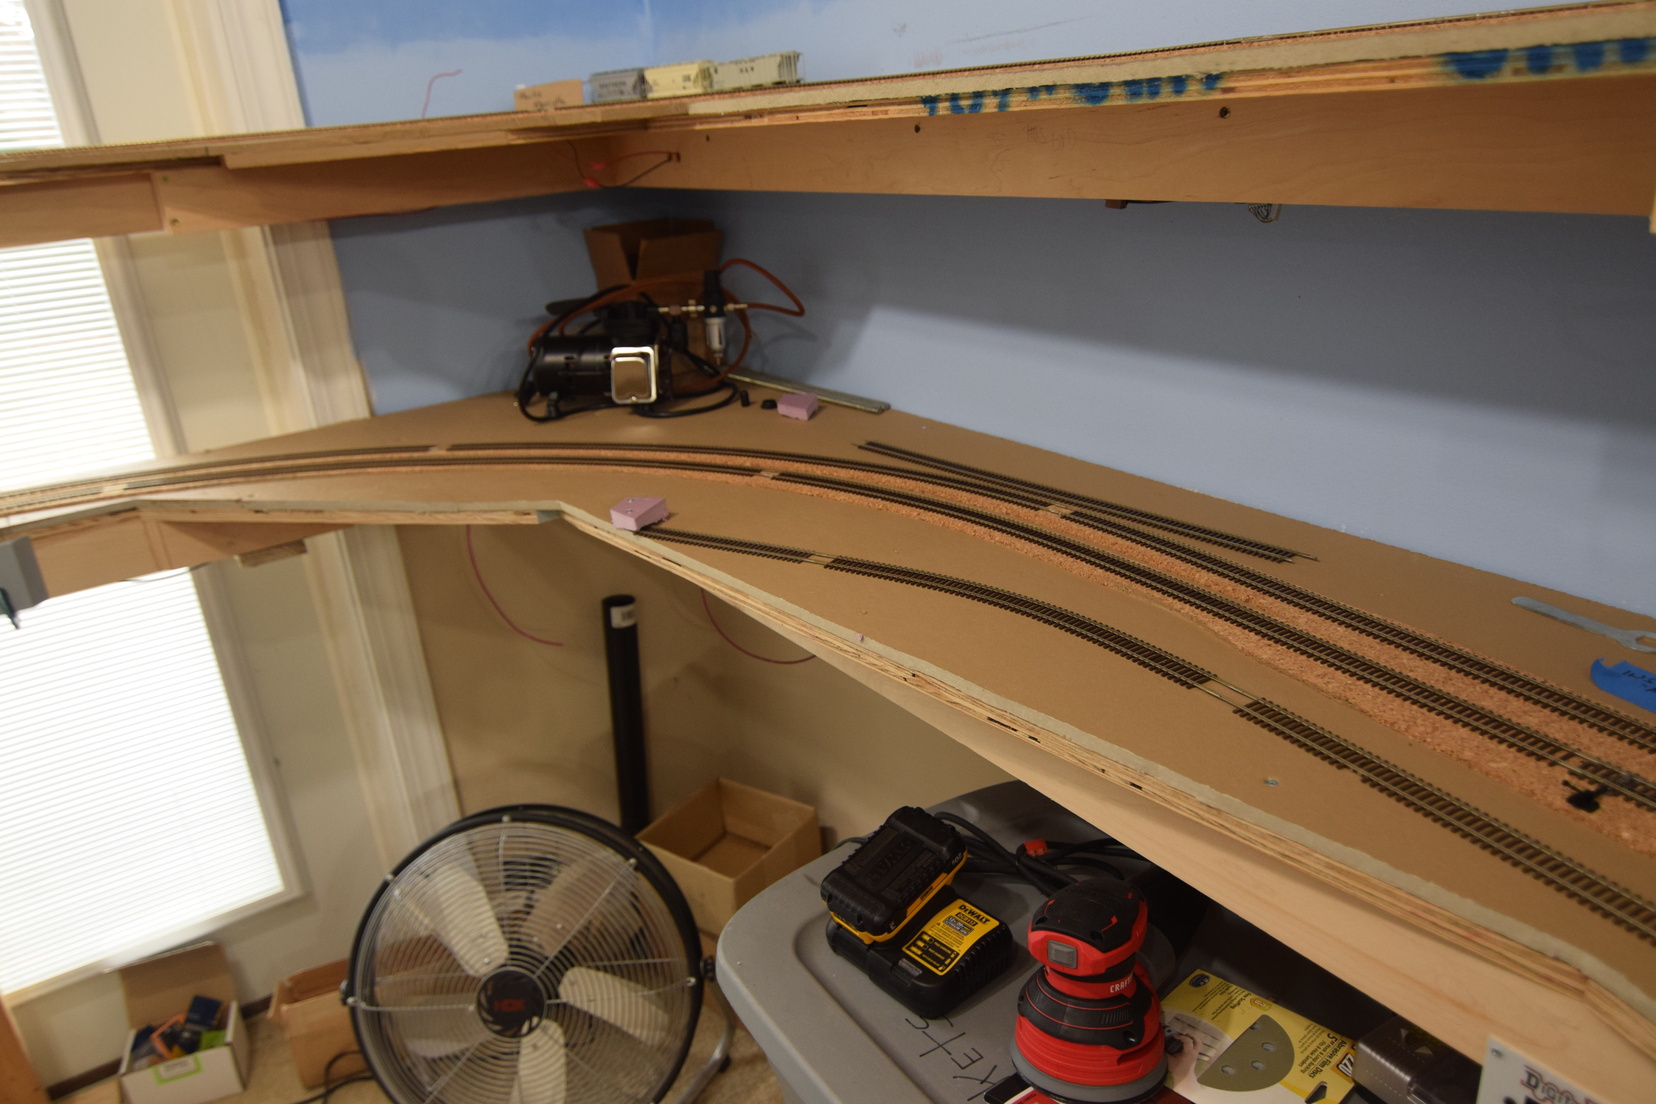
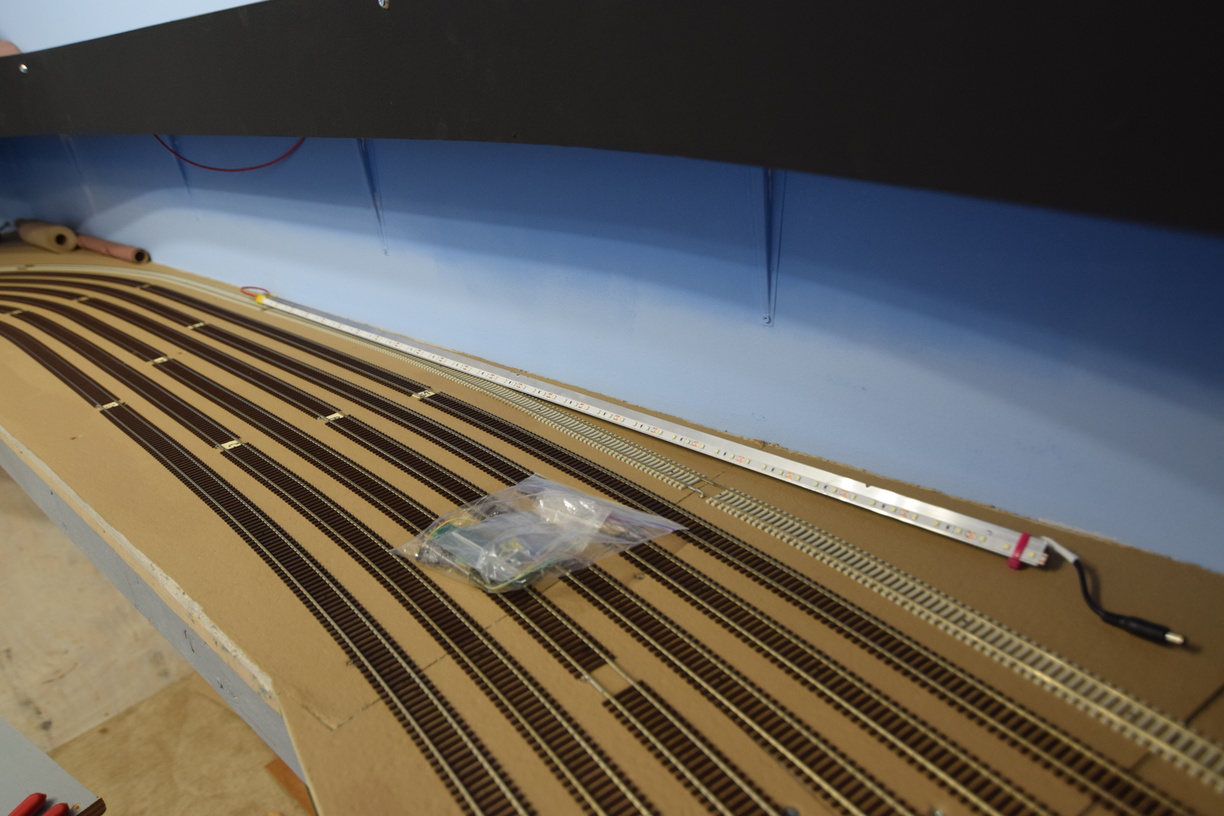
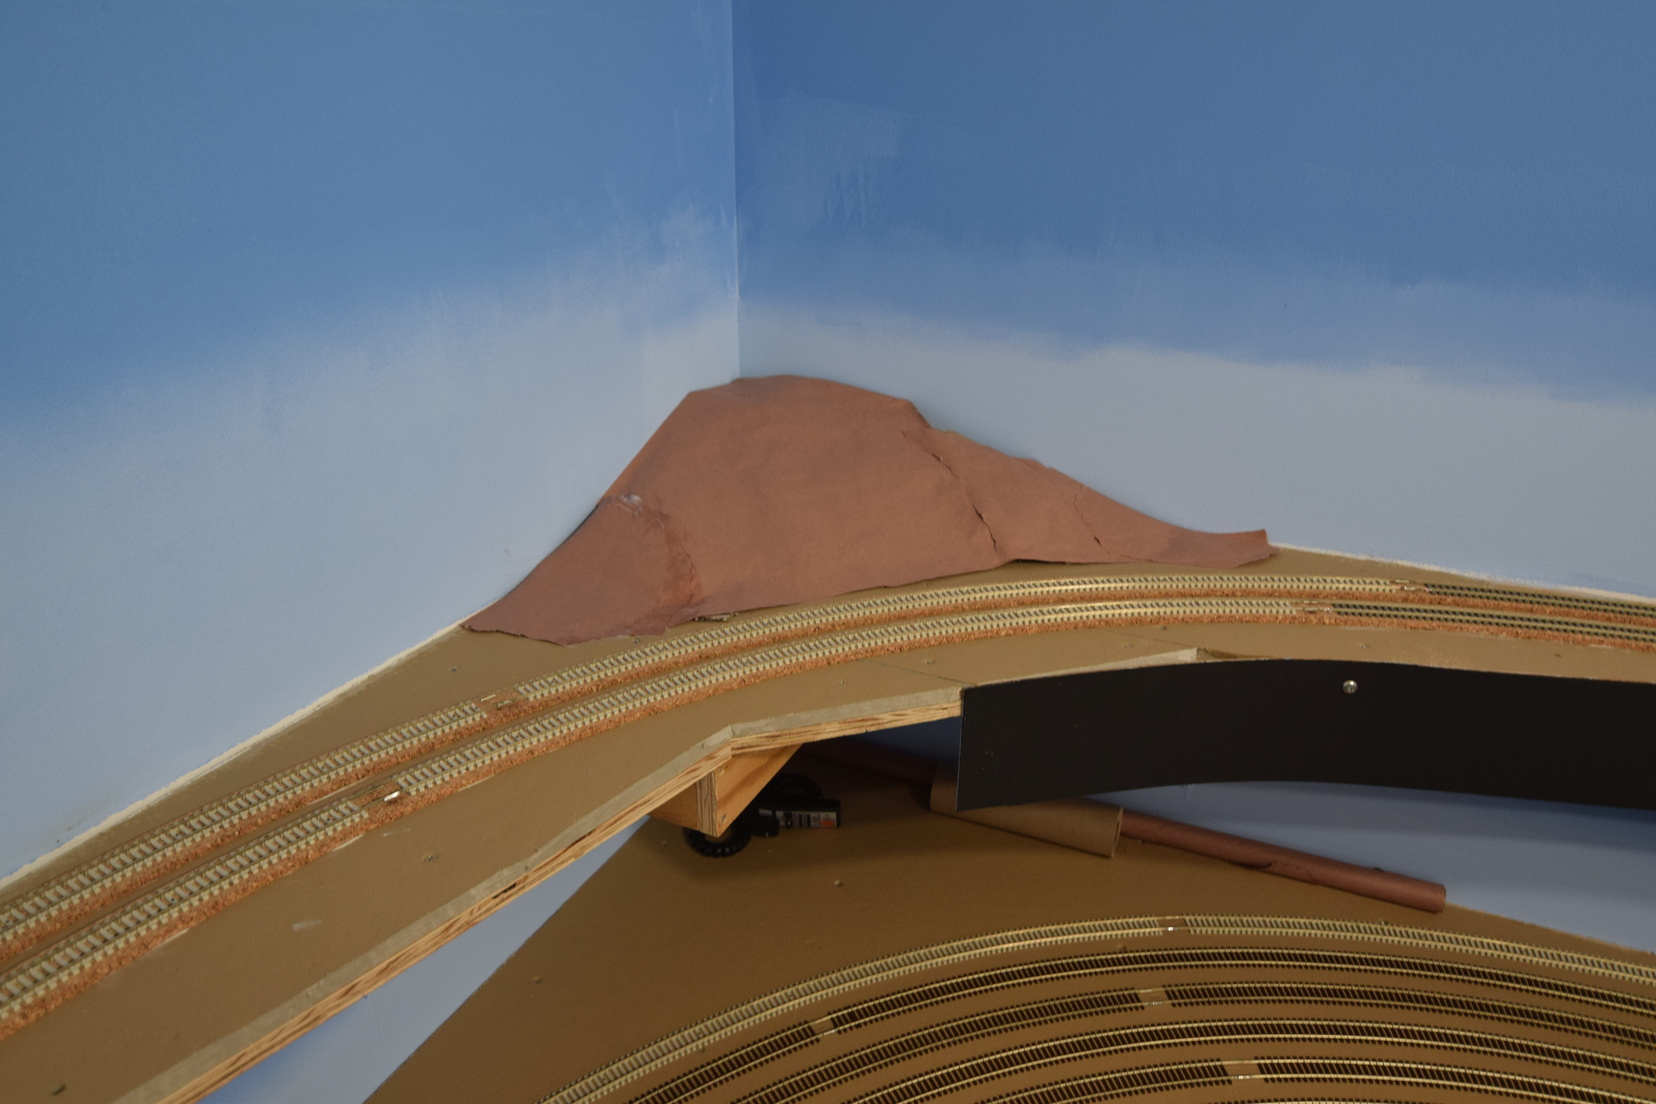
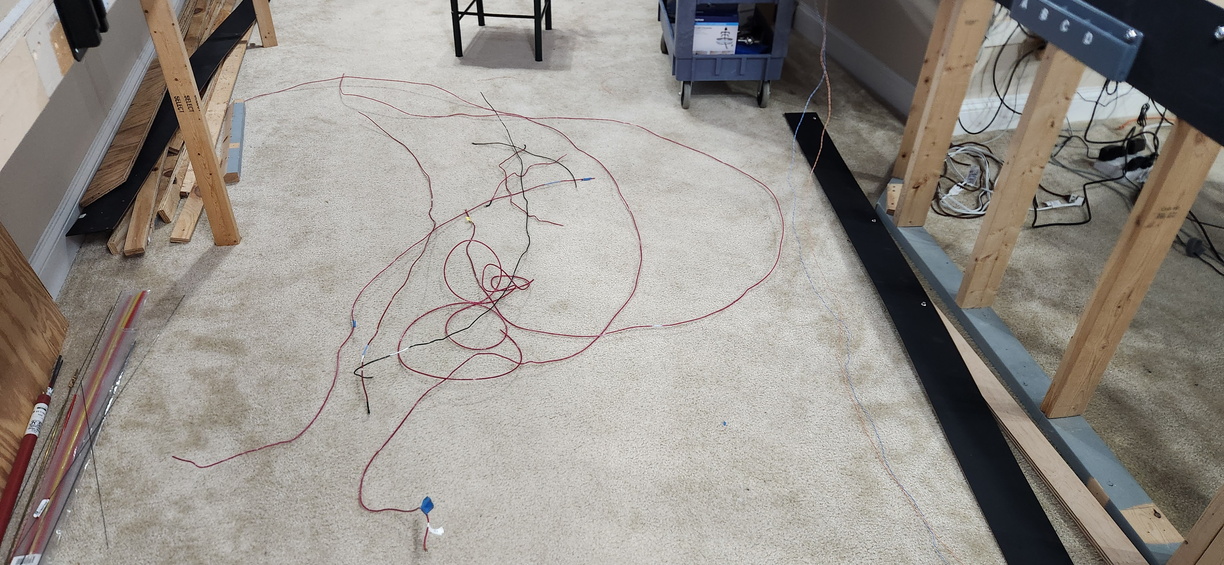
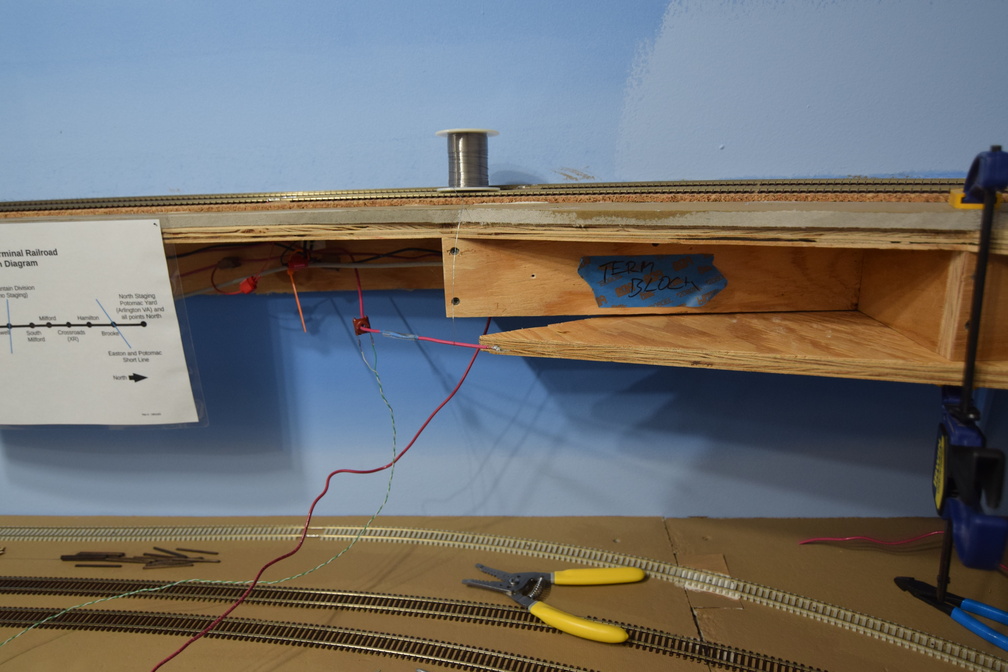
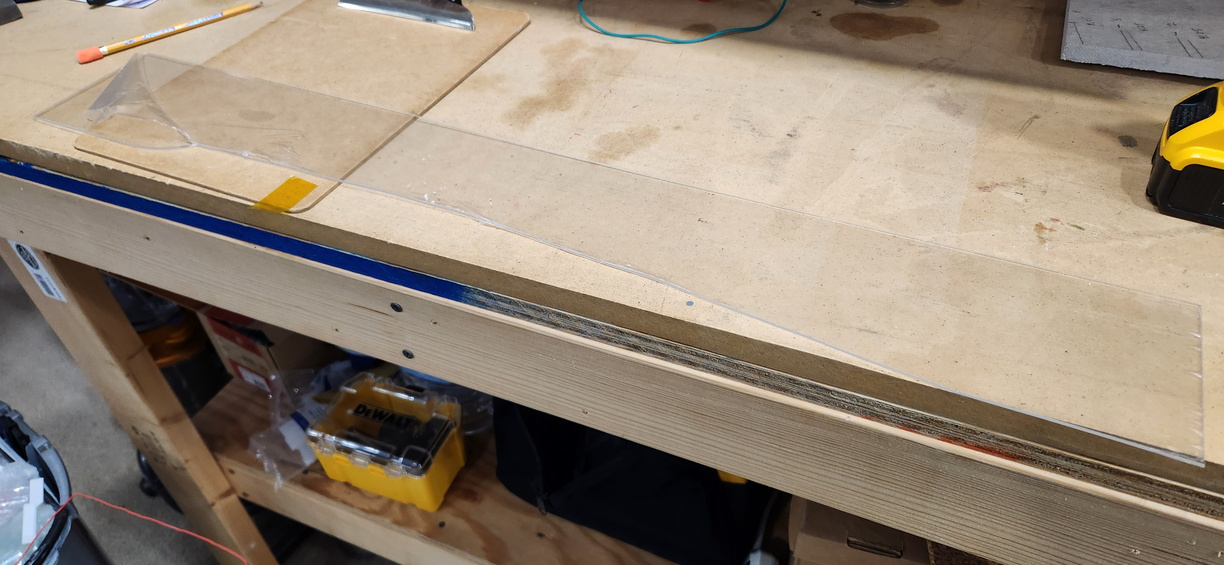
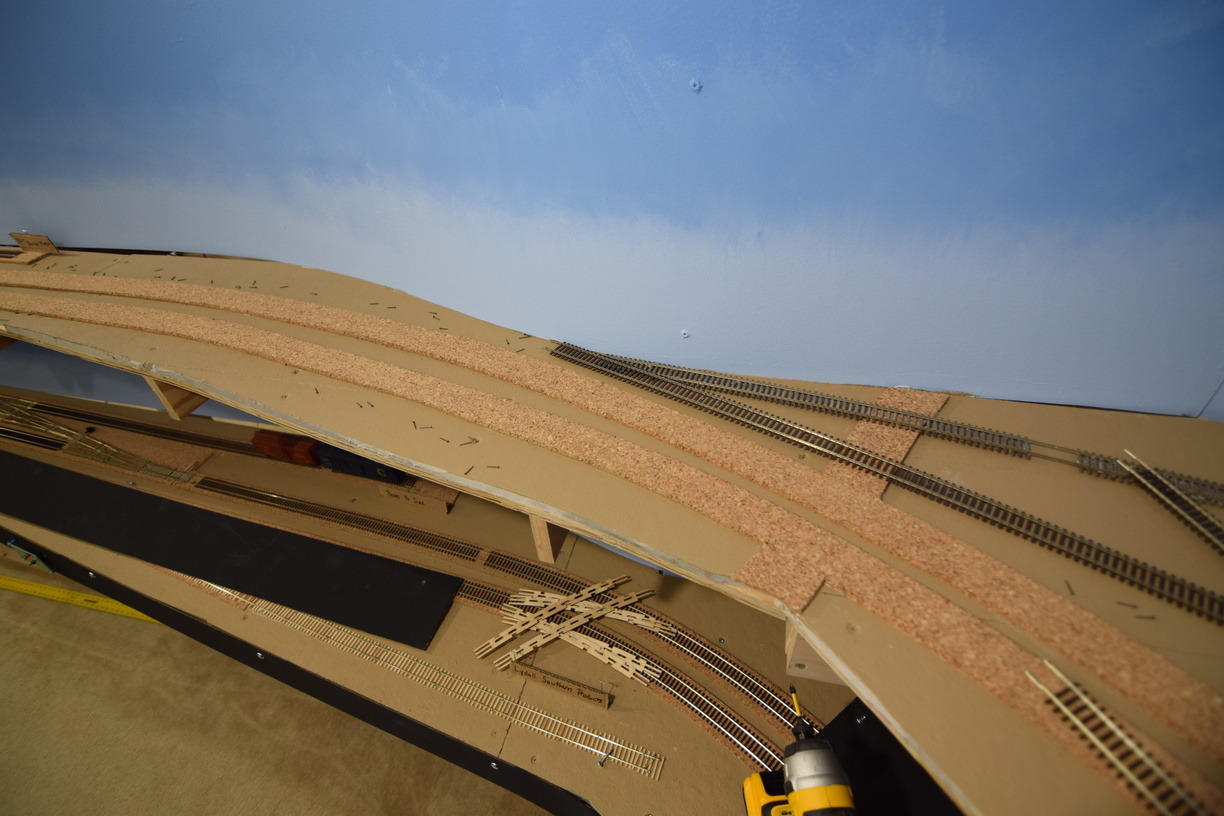
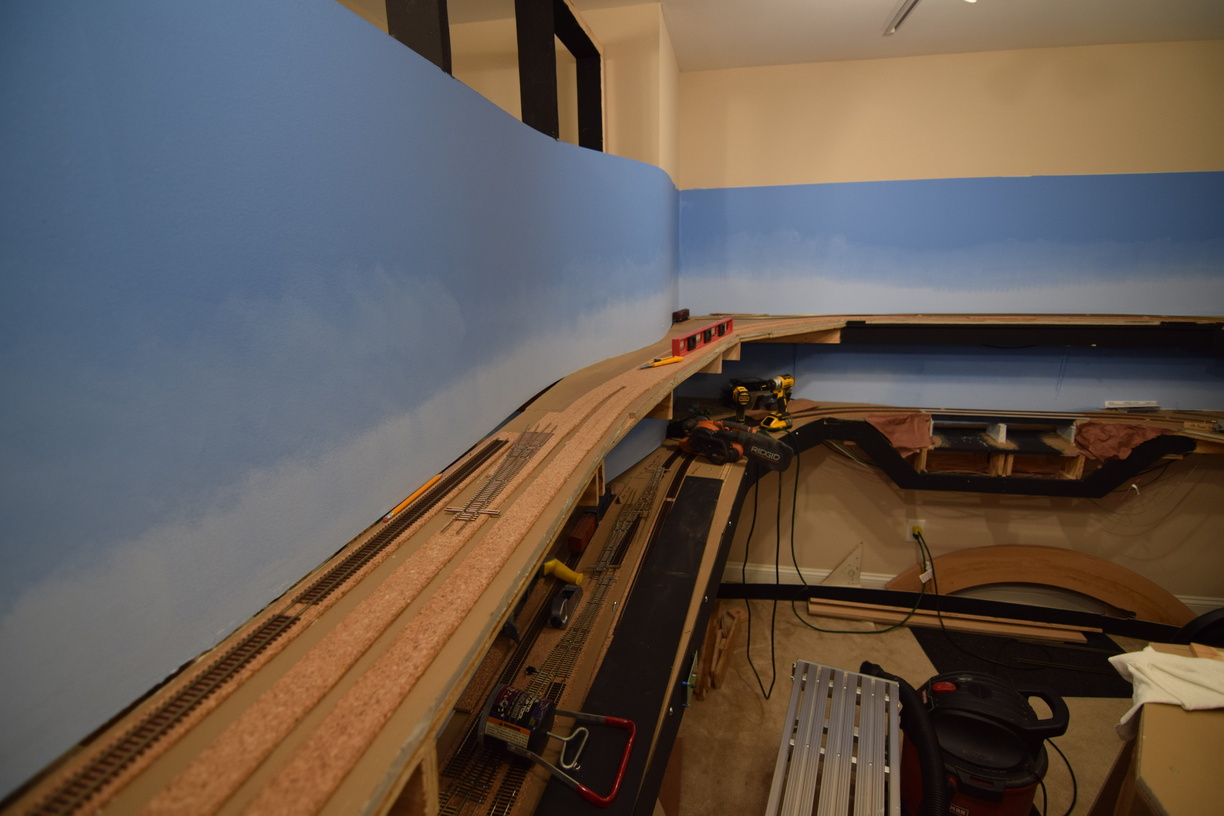
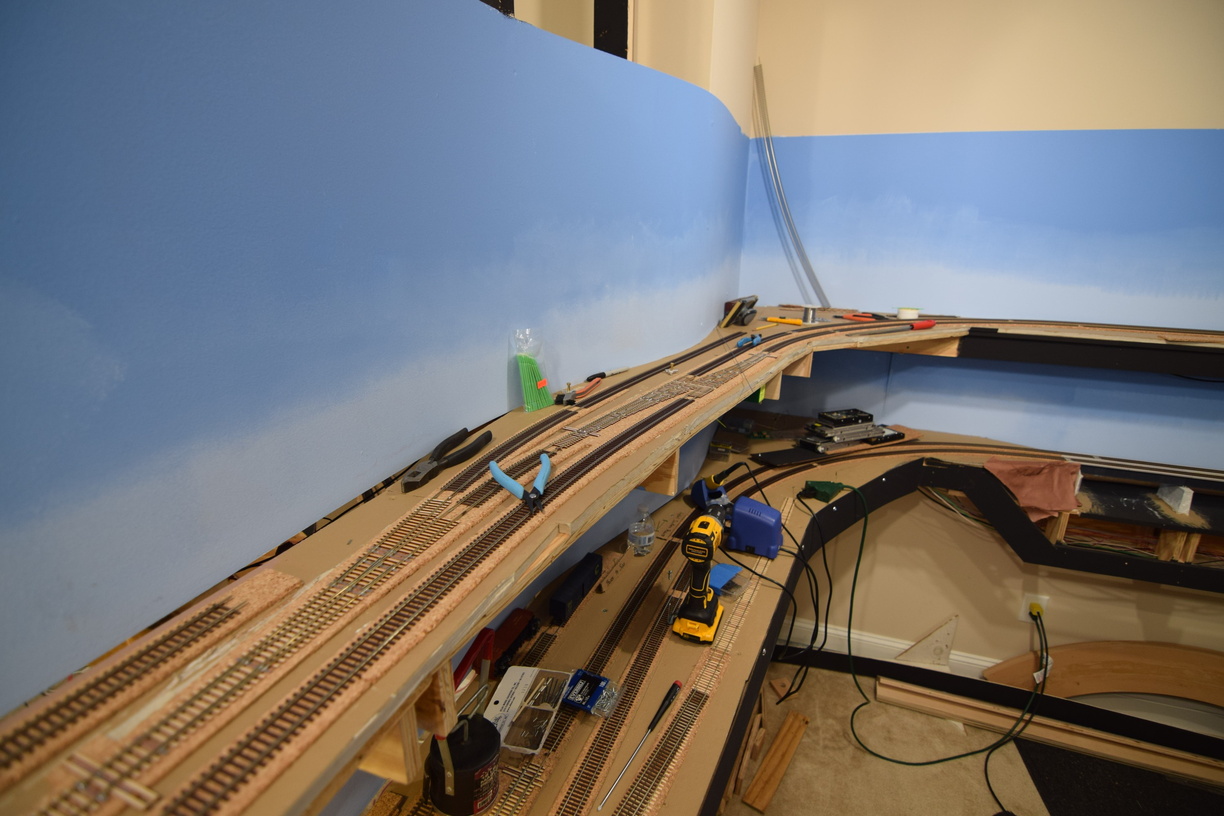
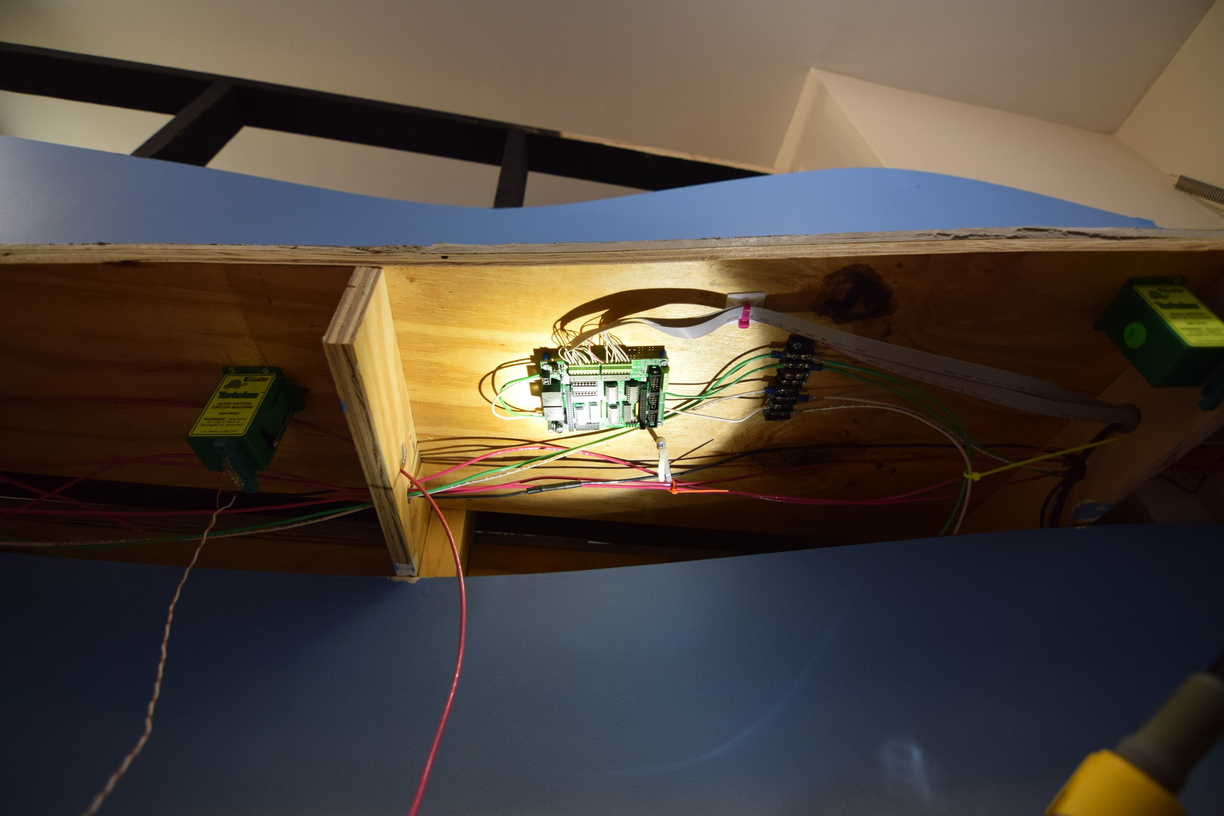
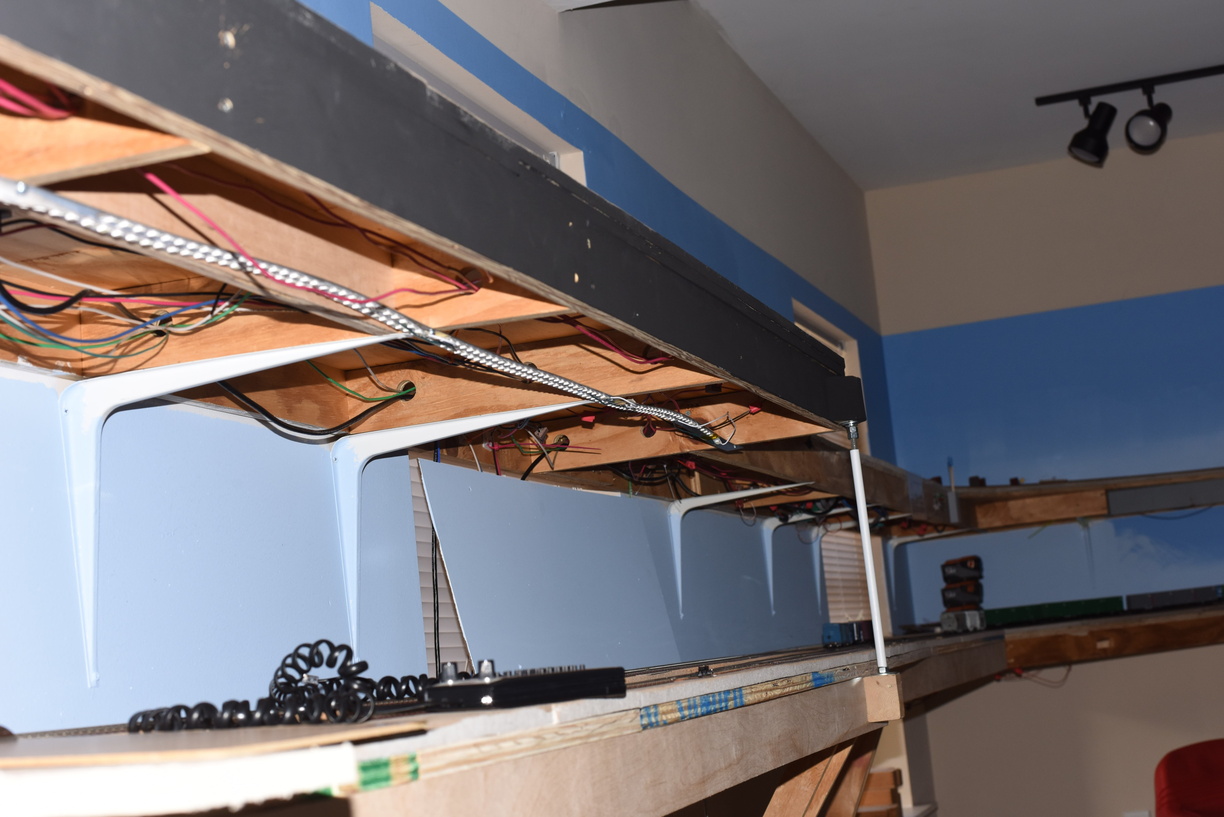
Even though I have a workbench in the staging room, I do a lot of work on the taller bench that is inside the layout room proper, as I can stand instead of sit. I do too much sitting during working hours, hence my desire to stand when I work on things for the layout.
Monday, June 1, 2026
Wednesday, May 27, 2026
XR Rebuild
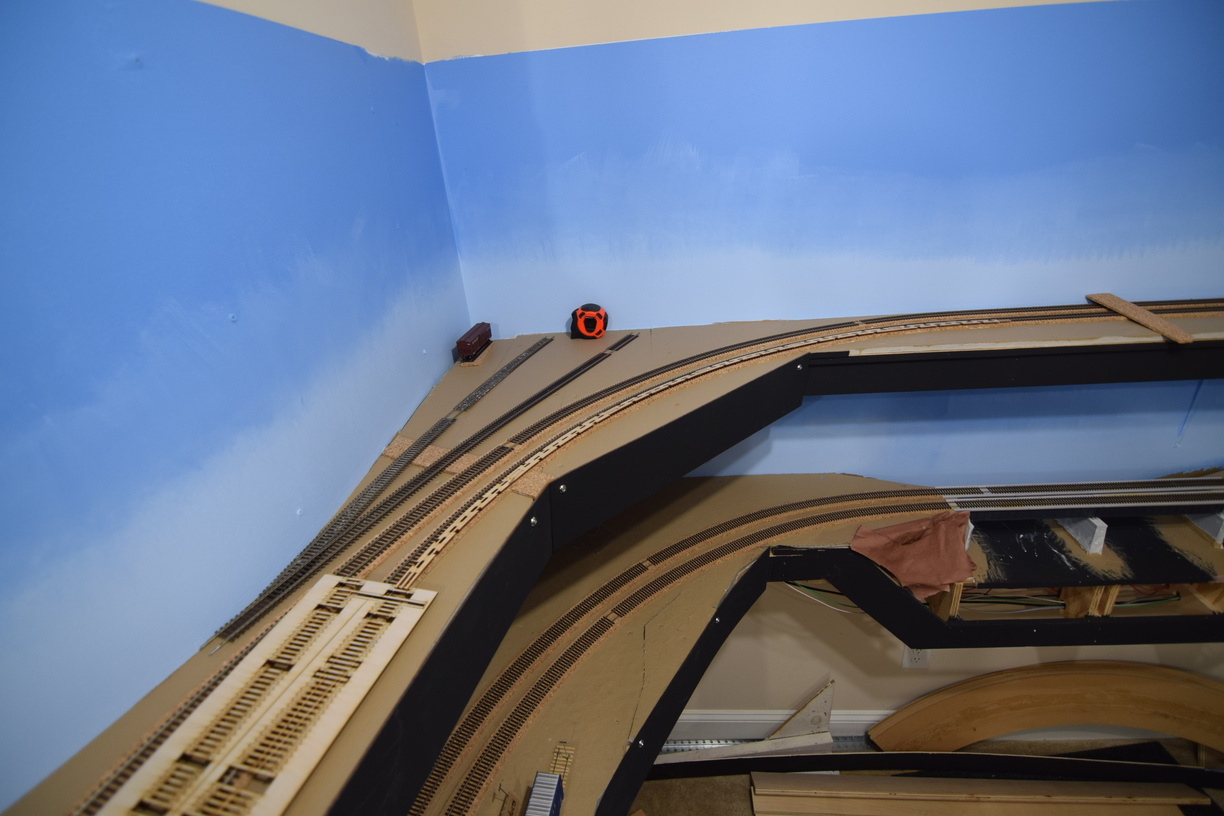
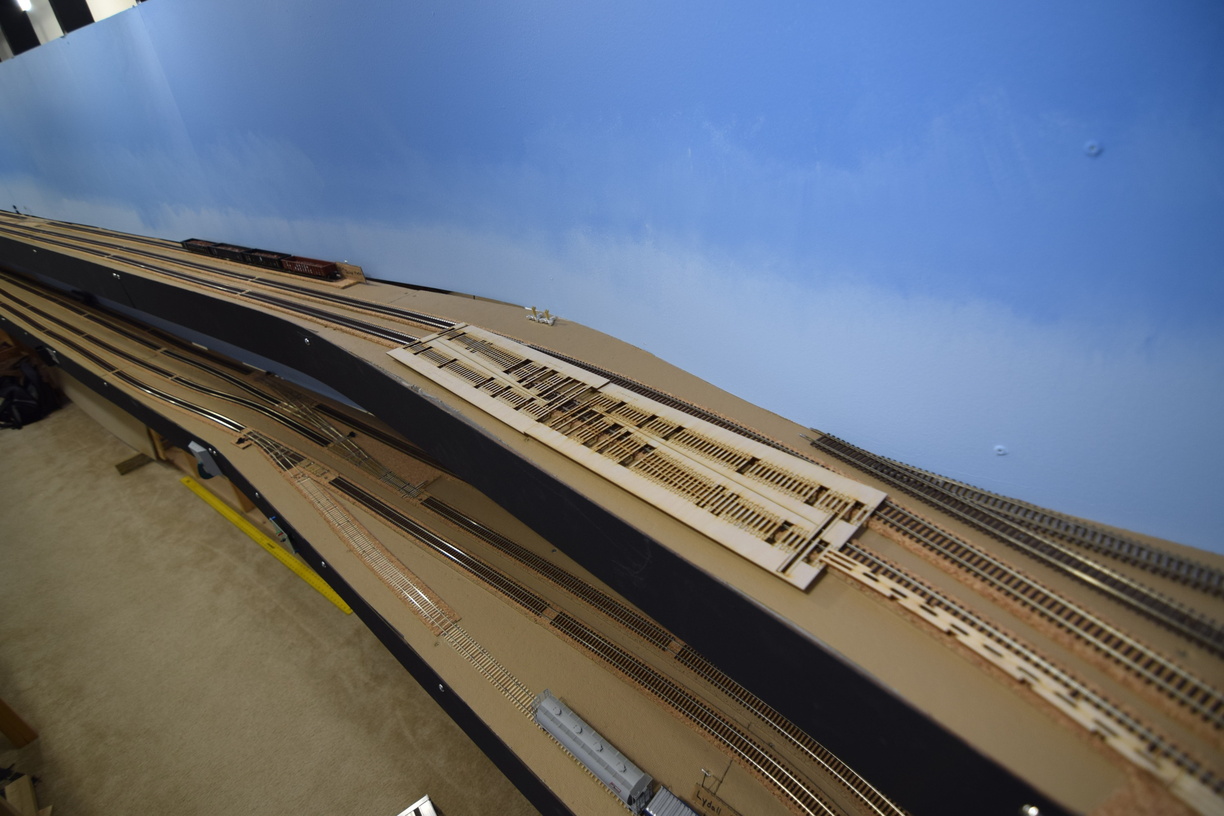
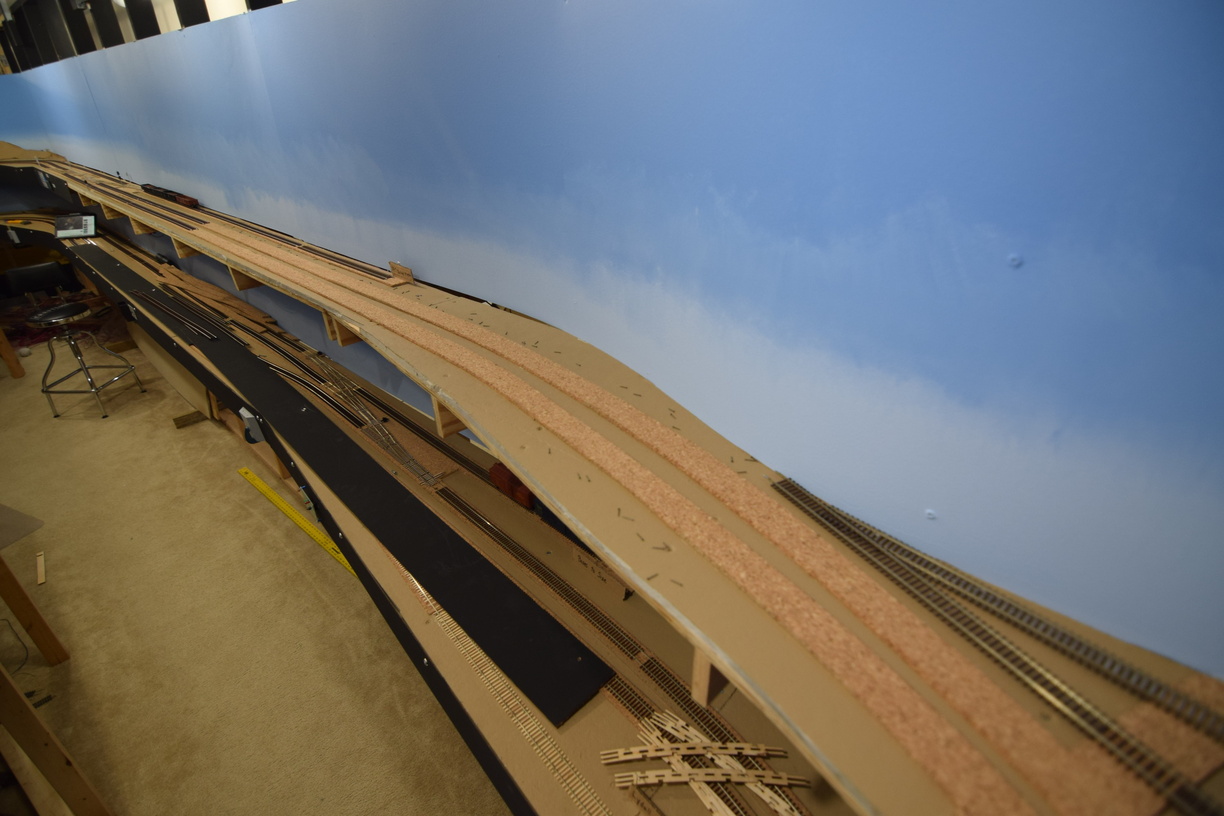
One of last summer's efforts were related to the Crossroads (XR) control point.
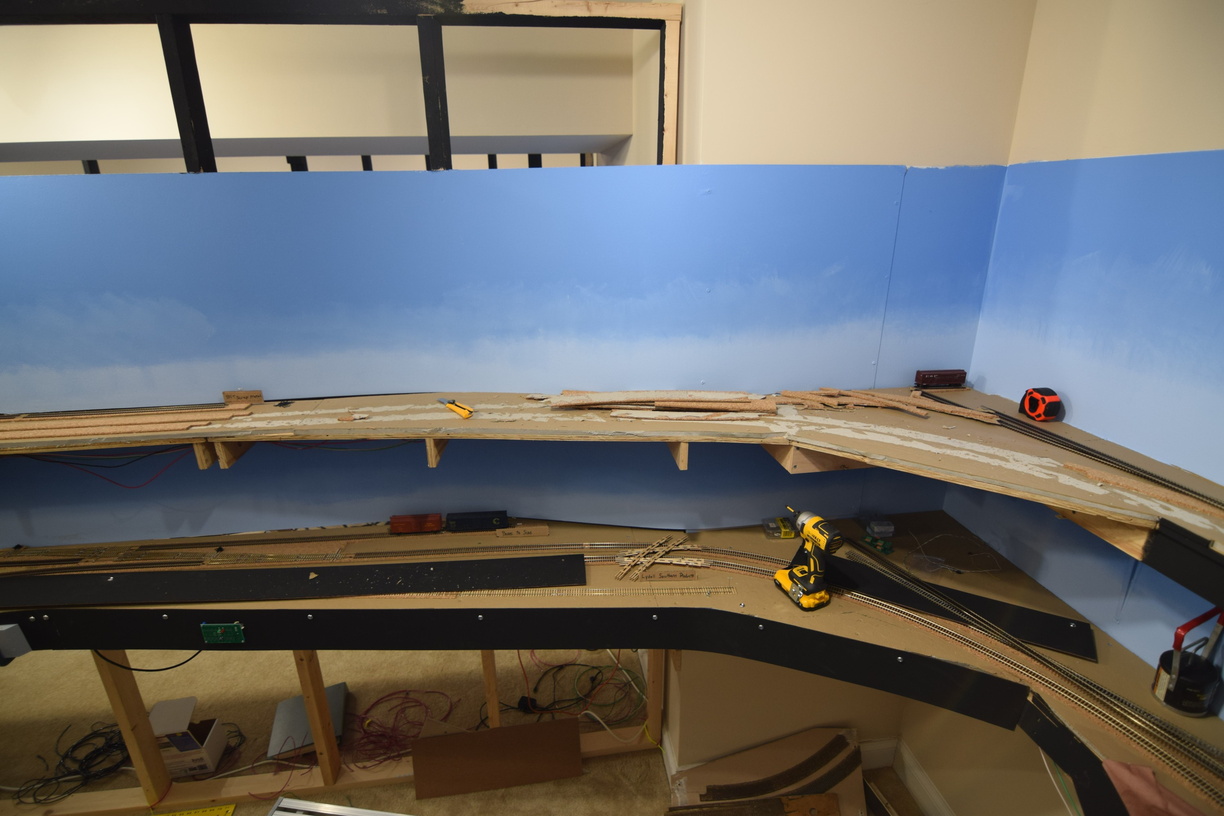
This area has been plagued by various issues over the life of the layout that I trace back to the crappy plywood that I used as subroadbed here. This plywood had separated plys and inconsistent thickness over its run, which caused phantom uncoupling and other operating annoyances over the years.
When I went to put in scenery, I realized that it was going to be just about impossible to add in any structures.
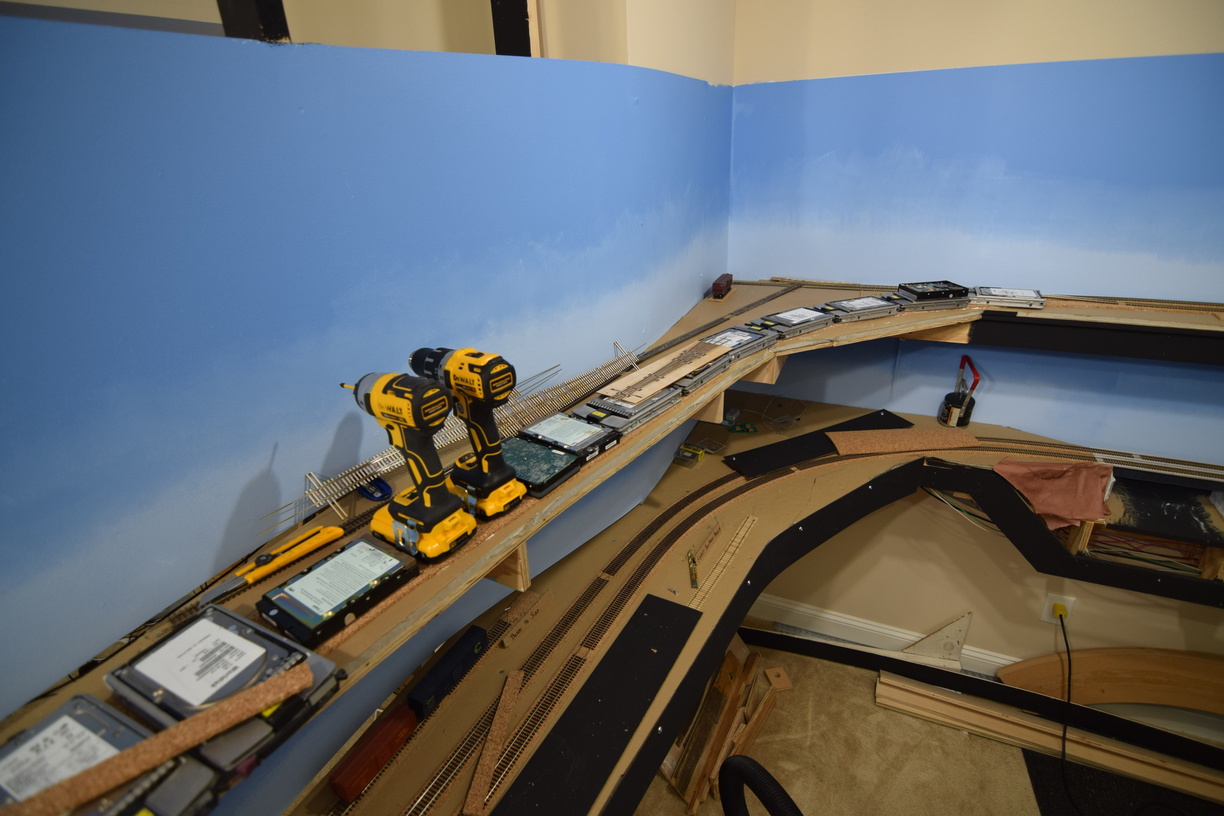
So, the obvious solution was to rebuild from the ground up.
I made the area wider, matching the width of the lower deck, across the entire area. I also updated the track layout to better match the prototype.
I moved the crossover south around 6 feet, and angled it, to make sure that I could make the mainline match the curve to Hamilton smoothly.
This has been in place for the last 6 sessions and I have gotten good feedback from the crew, so I will put this down as a success. In a future post, I will talk about the structures that I've installed in this area.
A few more photos can be found on the gallery at richmond-terminal.org.
Monday, May 25, 2026
Scenic Satisfaction OR How to realize your original choices weren't optimal
One of the things I keep discovering is that even background structures need at least 1.5 inches between the edge of the track and the backdrop to be installed.
Many of my switching areas has less clearance than that, and in some cases, there is 0 between track edge and backdrop.
One of those places is in Greendale.
After multiple attempts to fit a backdrop structure in at Boxes to Size, out came the oscillating tool.
Here's an aftermath shot:
Note the standard wall color - this had been covered my the masonite backdrop previously.
Saturday, May 23, 2026
More Changes - Backdrop at North Acca
There was a huge open space at north Acca that I'd thought about turning into an industrial switching area, but the reach in distance was going to preclude anybody but folks that were tall from working there.
After thinking about it, I decided to make the backdrop curved and closer to the track, making more of a shadowbox effect in the area.
Here's a shot of this work in progress:
Wednesday, May 6, 2026
South Milford Rework
As frequent readers and operators can attest to, the area of South Milford wasn't optimal from a track perspective. It was one of the first areas that I built when I started construction in early 2017, so what I thought was a challenging configuration, ended up being very time consuming to switch, and awkward to install scenery and structures. I decided to make some changes to better reflect the prototype layout of track in this area, which would also make the scenery easier to deal with.
Here's a shot of what it looked like before, taken by the famed photog, O. Missing Link:
You can see the switchback tracks at upper center left, and the large space between the industries and main line.
The area around the corner to the left was empty. I had eventually planned to put an industry in there, but had never solidified my plans.
This rebuild neatly sewed this all up:
Monday, October 20, 2025
A Structure!?!
Please contain your shock and surprise. As part of the rebuild of XR, structures were to be installed.
Here is a pair of teaser photos for Taylor and Sledd food distribution warehouse.
Monday, January 27, 2025
2024 Recap
2024 by the numbers:
5 operating sessions
2 work sessions
1 major rework - Doswell
Multiple small signals changes and tweaks
Multiple operational tweaks
In 2025, my goal is to move to dispatcher control, operationally. From a build perspective, I plan to rework the XR area significantly.
Maybe this year will see some light scenery.. It could happen.
Tuesday, September 17, 2024
Doswell Changes, Part 1
After multiple operating sessions, I decided that the track layout inside of Doswell wasn't what I wanted.
So, I ripped up all the track and roadbed, to start afresh.
After a bunch of measuring and test fitting, I realized that I needed to revamp the benchwork as well.
Here's the benchwork re-completed:
Thursday, February 15, 2024
Adding an Interchange
A suggestion from one of the usual suspects around Christmas time was to add an interchange track in Acca to add another "universal industry" to the railroad.
Long time readers and operators will remember that version 1 of the Richmond Terminal had a Norfolk Southern interchange south of Acca off the mainline.
Since the tail of the drill track wasn't being used much at all, I figured would could use that as a base and proceed from that point.
I dropped in a curved turnout recovered from the previous layout to give an additional industry track, or be used as a deconflict between the drill and new interchange track.
A couple pieces of flex carried me around the corner.
When I decide to complete the Acca Wye, this track will need to be removed, but with the fact that I do not have a timeframe on that currently, this makes a bunch of sense to add, operationally.
And done. I made a custom bumper out of some foam sheet I had laying around.
I didn't realize that I didn't complete the DCC wiring until this last op session, but I have already fixed that.
A few more pictures can be found in the gallery on richmond-terminal.org
Friday, February 9, 2024
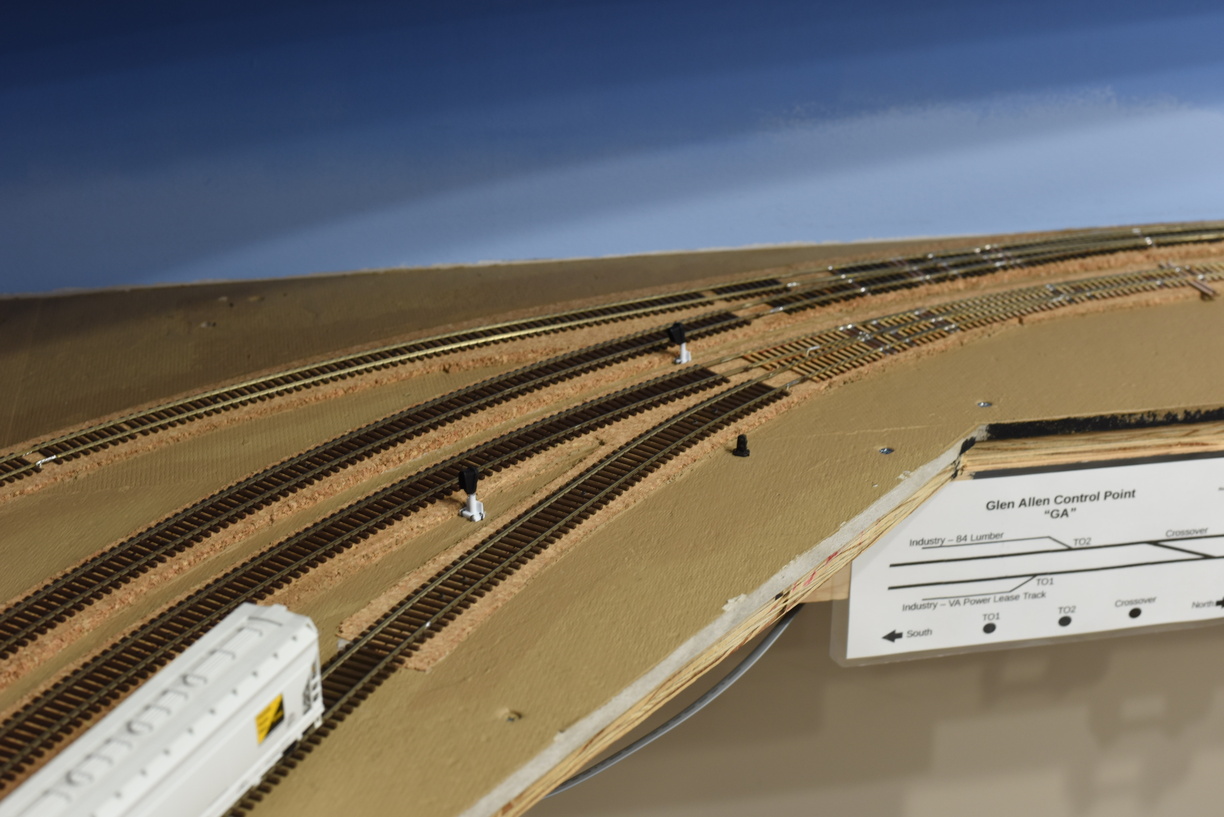
Dwarfs in Glen Allen
Built two dwarfs, using Atlas heads; used one Tomar head.
These signals are controlled by a Nucleo, so the signal head driver is a combo of a logical signal head inside JMRI, and a Nucleo DevKit under the layout.
Tuesday, February 6, 2024
A few words about switch machines..
As I assume most readers know, my turnouts that aren't manually controlled by Caboose Industries ground throws (mostly in Acca, with a few others here and there), are thrown by Tortoise machines from Circuitron.
The Tortoise is probably one of, if not the most, well known "slow motion" switch machine in the hobby. The green case is instantly recognizable.
There hasn't been any competitors with similar footprints and motion that have had what I would call significant success in the market. There have been options, certainly, and one of those is the Cobalt machine.
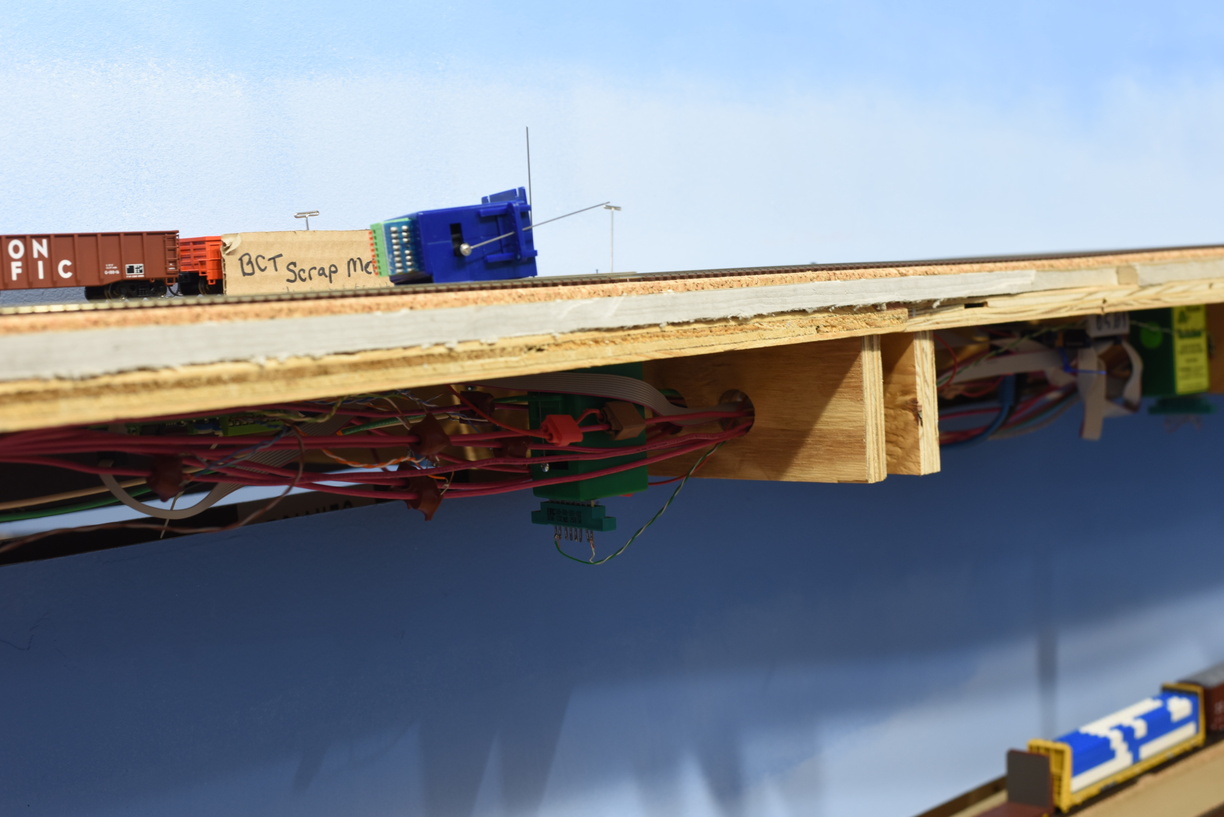
I bought one to try some years ago. I installed it on a turnout in Brooke that goes to the E&P interchange, as at the time, I did not have any more Tortoises available to install, and it felt like a great time to try it, as the area where it needed to be installed has a bunch of DCC bus wire, LCC cables and other assorted stuff in the physical space.
After a couple of months and 4 or so sessions, I can report that you should save your money.
Yes, the cobalt is smaller. Yes, making the connection is super easy with the spring loaded connector.
But it isn't as powerful, and it is too slow to respond, causing your operators to hit the button multiple times, making it appear to be broken.
Maybe as a semaphore driver, it would be better. I don't know. This one is free to a good home.
| Cobalt out, Tortoise in. |
Saturday, February 3, 2024
Lighting Follow Up
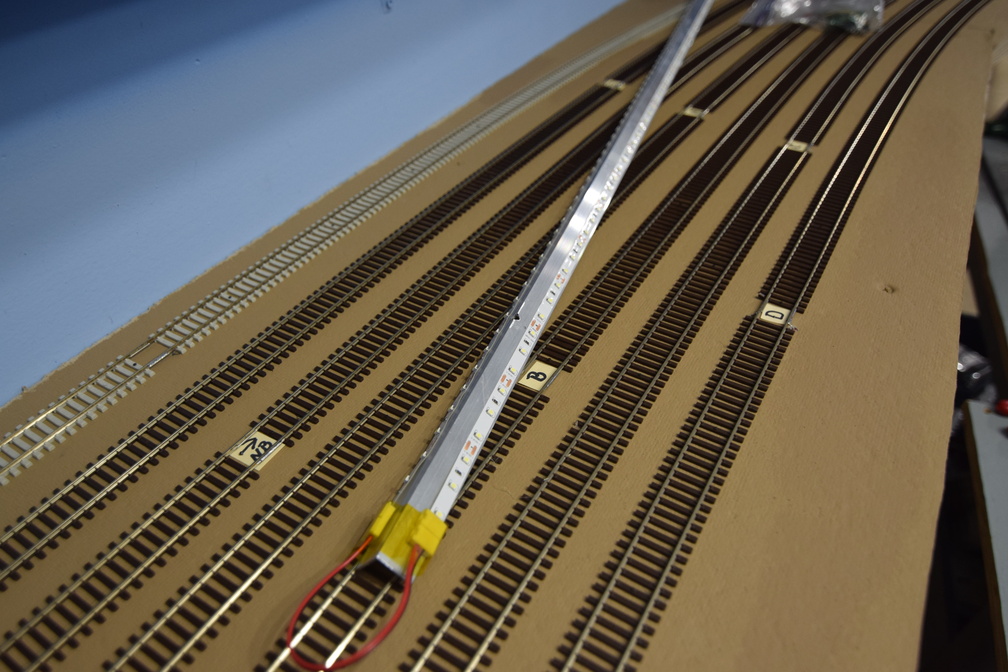
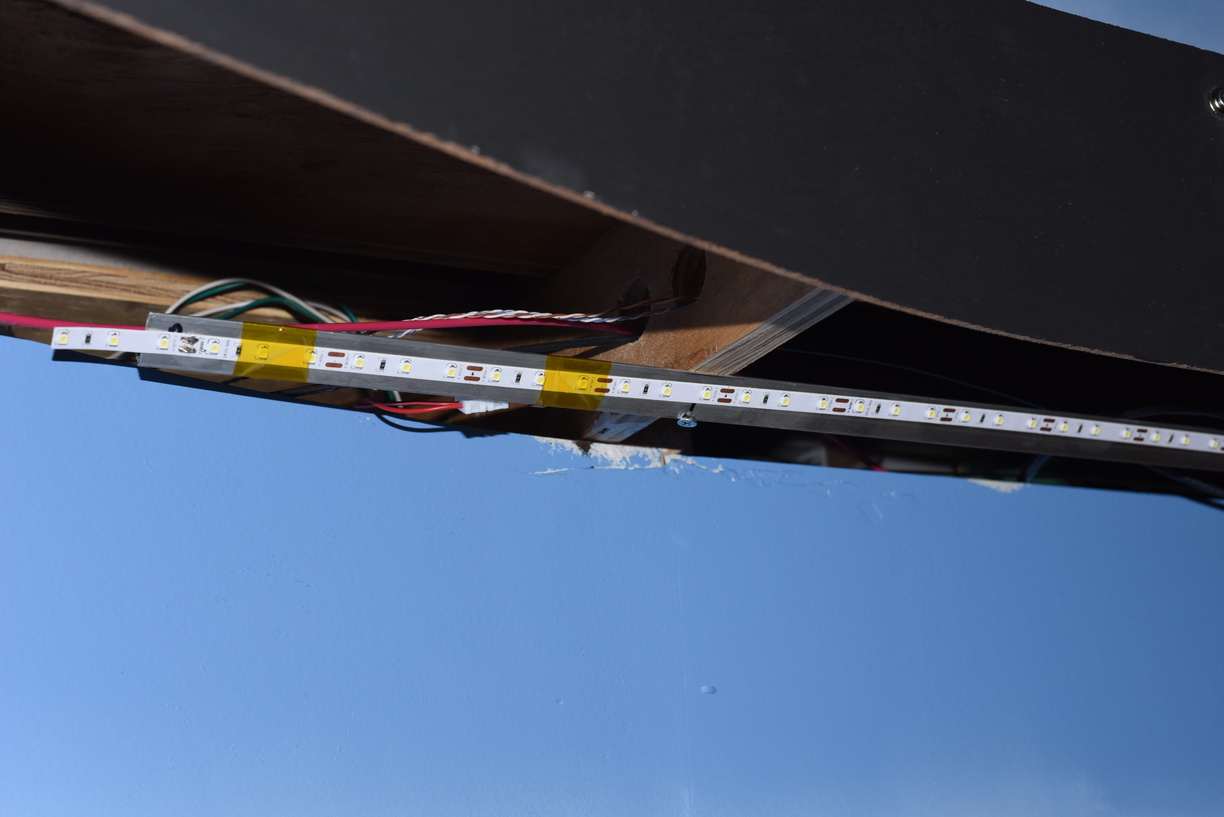
This is a short follow up to my original underdeck lighting post here. As I was reworking the block detection, I had to move the LED lighting around a bit, and took the opportunity to take another picture.
This is a great example of how I used the aluminium L bracket, and stuck the LED strips to it, and then bridged from one strip to another.
The yellow tape at the end closest to the camera is kapton tape. Very handy for stuff like this, as well as decoder installs, etc.
I buy the channel in 8' lengths, generally, and cut it to size with a hacksaw. You can see this has the factory barrel connector end at one side.
Thursday, February 1, 2024
Tidying Up
Got tired of looking at it, so out came the white glue and a acid brush.
Maybe there will be paint and grass and trees at some point..
Monday, January 8, 2024
Reworking Block Detection for Signals
The Richmond Terminal is a signaled railroad. The end goal is to have a functional CTC system in place like version 1 did. Version 1 used a virtual CTC panel based on the Union Switch and Signal components inside JMRI.
As we are still working on the operating scheme, I decided that an Automatic Block System (ABS) would make the most sense to implement at the start and once the operating scheme was solidified, I would pivot to setting up the CTC system.
ABS is currently running based on the LogixNG inside JMRI. As I have worked through the configuration, I realized that when I connected the track blocks, I erred.
The Richmond Terminal is a 2 track mainline railroad, which means there are crossover from one track to another. These crossovers are frequent. The railroad is just shy of 10 scale miles; there are 14 crossovers total.
I setup 1 detection section per crossover. This meant a couple of things - detection of the crossover section would prevent a dispatcher from throwing one under a train, but the detection state would not help me drop to red until a train moved through the crossover and hit the next block, and I could not test the crossover occupancy to set a signal aspect, either.
Consider this example - a train is southbound on track 3, approaching a crossover. On track 2, a northbound train is moving through a crossover section, on a straight route. The crossover shows occupied, which is true for track 2, but NOT track 3.
This meant that I needed to go back and break apart the detection for each crossover and connect my blocks so that each component turnout of the crossover was detected separately.
I took advantage of this and did some rationalization of my DCC bus as well.
That's wire I pulled out from a part of 1 peninsula...
Here is a shot where I shortened bus wire and soldered new ends on. Had to clamp up a piece of plywood to give myself a working surface.
More pictures are in the gallery at richmond-terminal.org
Saturday, January 6, 2024
Protecting the fragile stuff
Friday, December 8, 2023
Brightening Up the Space - Adding More Light
One of the downsides of having a large layout and the large room that goes with it, is that you end up with a bunch of model railroad to light up so you can see. Even with natural light coming from your windows (and thankfully, I have 4 windows plus 2 glass inset doors), it can be a challenge to get those back corners sufficiently bright.
Having task focused lighting while you are working on something is easy - bring over a flashlight/lantern/etc and done.
However, having enough lighting for operating and photography with or without the sun can be a challenge.
The builder installed a couple of pot lights around the room, but even with 125W bulbs, we couldn't even hit dive bar levels of illumination.
Check out the first lighting post I put together a few years back for some more information.
I had three areas that needed help - the staging room, the back corner behind the helix, and the area at South Doswell.
Staging room got a T fitting and then a 4' and an 8' track added. Moved some heads around, plus added another 4 of them. Have space to add some more if I think it needs it after I get used to the new level of light.
| Staging yard. Note the heads off to the far right to help brighten up the yard throats. |
South Doswell was lit by a combination of what was installed over Hamilton and on the peninsula end between there and XR.
Here, working from the original 4' track, I added another 4' track at an angle that looked good (using a flexible coupler) and then terminated in a 8' track running parallel to the track at South Doswell (and the crossover I installed there last year).
| Trying to source the hardware all the same color is tough. As I don't care if it matches or not, you can see the mix and match effect. |
The far back corner was one of the spots where I initially tested out the track light idea. I put the original 4' bar at an angle, thinking it would be enough.
| This corner is much better than before. |
Wednesday, December 6, 2023
A bit more staging
Long time readers and RTRR operators are aware that the lower level (south) end staging yard is approximately 50% complete, with all the rails truncated at about half of the planned and intended length. The yard ladder for the other side is missing as well and the physical space has been used for storage of tools and supplies since the benchwork was completed last year.
This was done for a few reasons:
- To get the layout operating with south end staging
- Give some run time to focus on other tasks, such as signalling
- Allow for more planning time for the last bridge needed
Thursday, November 30, 2023
Adding an Interchange - Easton and Potomac at Brooke, VA
Interchanges on a model railroad have been termed "universal industries" as they could take any car type, from boxcars to flatcars to tankcars to gondolas to covered hoppers and anything else you might desire.
They also add some operating interest, as it can be a reason to have some foreign road power on your layout (assuming that is not common in your era; in the RTRR's era, foreign power is somewhat common as trailing units, due to the cab signaling requirements on the RF&P mainline), as well as a reason to signal a crossing.
Brooke, VA is a location in the real world. It is in Stafford County, south of Quantico and north of Hamilton, and is not all that far from the Potomac river. Today, there is a Virginia Railway Express (VRE) station in this general area.
The late Keith Stillman drove the Easton and Potomac's mainline through this area when he designed and built his layout, giving him an interchange with the RF&P, and allowing him to logically lengthen the run between Hood and Thorny Point by installing signals to protect the diamond crossing.
As an operator, you would hit a button to request permission to cross. A script ran on a computer under the layout and eventually would give you the light. It was random-ish, and more than a few engineers found themselves cooling their heels for many minutes waiting on the signal to go green.
As the Richmond Terminal goes through this area, I felt it appropriate to add an interchange to honor Keith and his railroad. I assumed that a few of the industries would still be going concerns, mostly in the Hood, Flat Top and Thorny Point areas. The steamships would be long gone by the 1990s, but I assumed that Thorny Point would develop a robust boat building industry for small pleasure and working craft, taking advantage of the sheltered location on a major river that fed into the Chesapeake Bay, and also pick up a few military and government contracts due to their proximity to DC. I assumed that Hood Brothers packing in Hood continued to go strong and continued to send refrigerator cars of pork products out to the larger world. The line all the way to White Hall wouldn't have survived, as it was mostly a bridge line at that point, as modeled, and as the railroads consolidated in the 1960s, it wouldn't have enough business to be a going concern, but the eastern end would survive as the E&P Short Line.
Now that I knew where it needed to go, I just needed to build it.
I tried a couple of different track layouts to make it fit. Originally, I planned to copy the layout from the E&P and put the interchange track on the NE quadrant of the crossing.
This would only give me a foot or two of interchange track, which might be 3 cars, if they are short.
So, I had to take a bit of modeler's license and move it.
I added a crossover to help keep traffic moving, and give a train working the interchange a way to stay off at least 1 of the mainline tracks, while giving the dispatcher a way to work around it.
| #8 RH Crossover; Fast Tracks quick stick ties out to help me gauge sizes and locations. |
Once I way happy with the plan, I pulled up the mainline.
Note the perpendicular cork down for the location of the originally planned set of diamonds.
| Note the crossover leaned up on the backdrop. |
Tuesday, November 28, 2023
Let There Be Light! Brightening Up The Lower Deck
One of the challenges of a multideck railroad is providing appropriate lighting.
You have overhangs and shadowing to grapple with, and whatever solution you select needs to fit into the space you have without potentially impacting the modeling area.
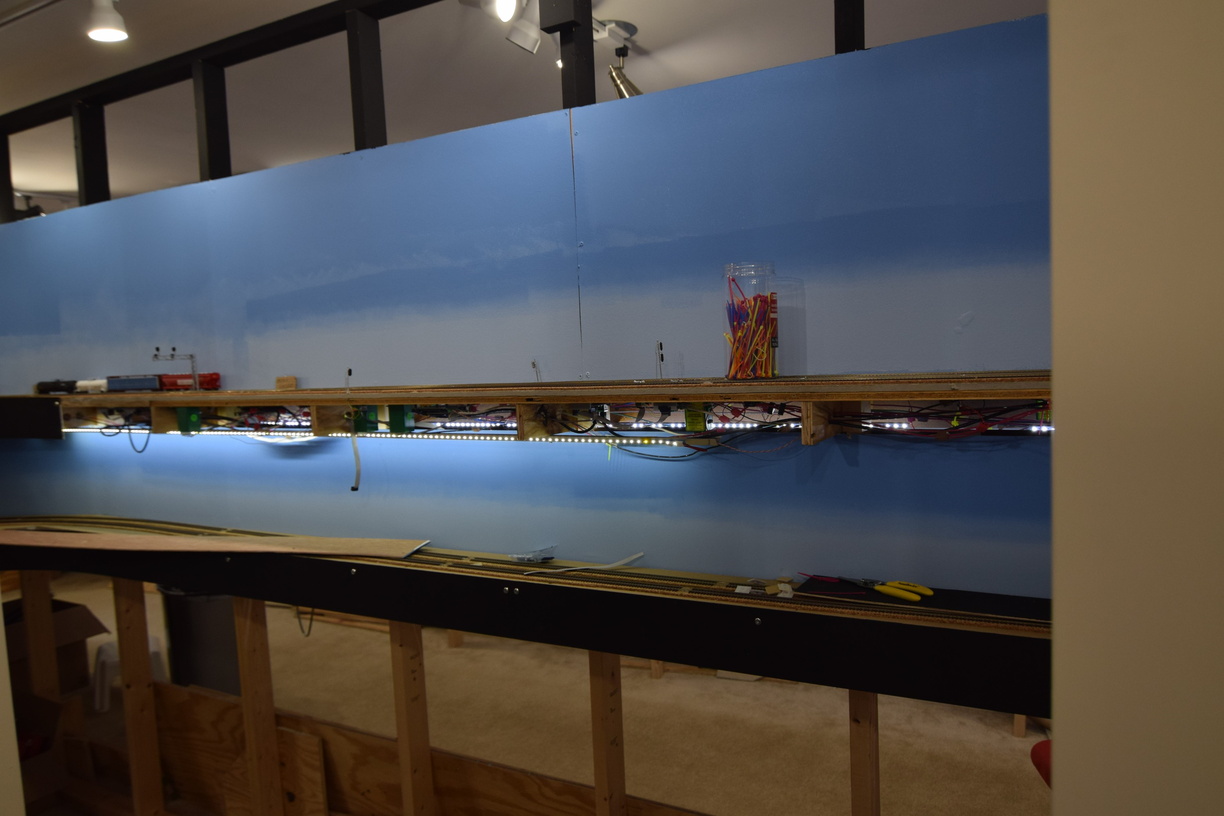
Thankfully for this layout, the stick on LED strip lights have become cheaper and more available, and the color of the light seems to be consistent across multiple lots of strips, which wasn't always the case.
I use a "daylight" strip, which is around the 5000K "temperature" of the overhead lighting source (in my case, LED bulbs in track light heads). Working to get the light to spread out evenly, while being mounted in as small an area as possible took me a couple of tries to figure out.
I started with a strip of aluminium bar. This did provide a bit of a heat sink, but it did not have the rigidity that I wanted. Note the "wavy" in this photo:
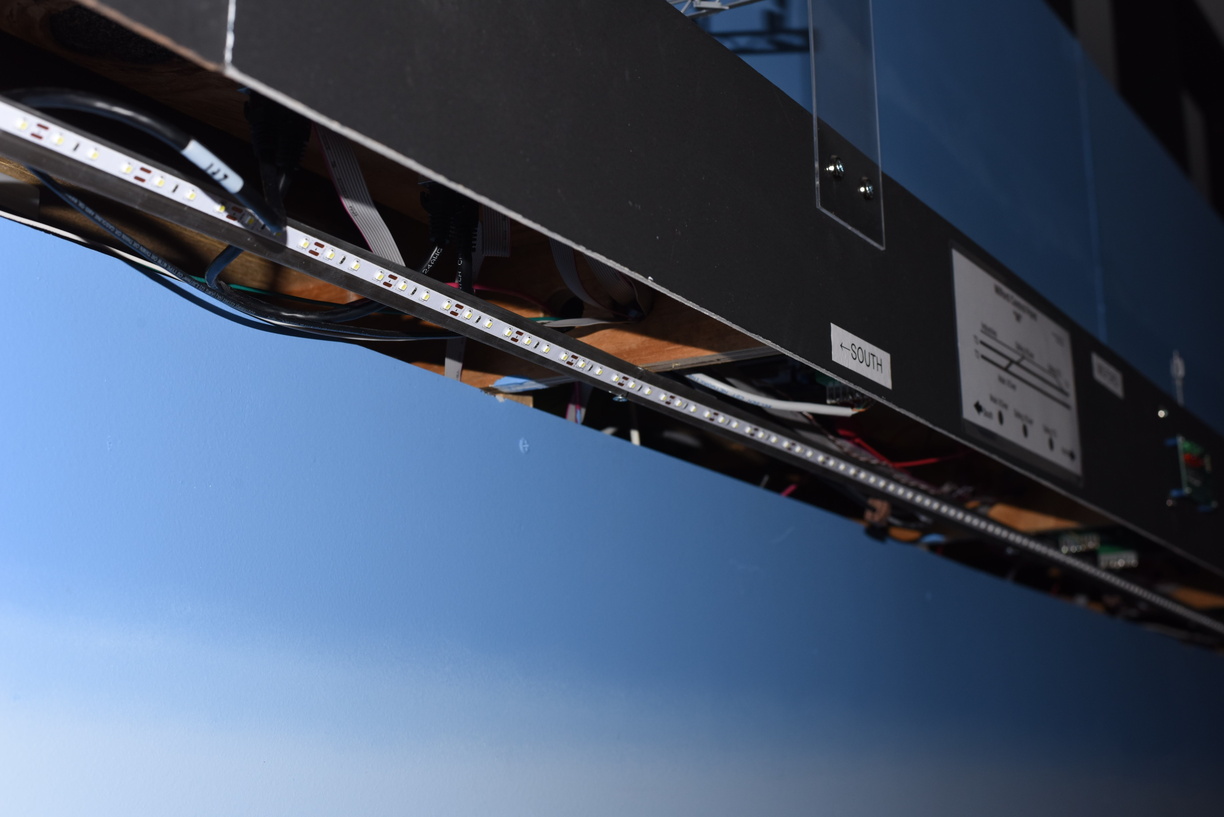
This brought me to using aluminium angle stock instead. My first though was just to use the angle stock to provide the solid mounting surface I wanted. After some testing, I realized that mounting the LED strip to the outsides of the L would give me a spread of light - letting some of the light hit the models directly, but also bouncing off the backdrop to light what would potentially be in shadow in the light was coming from straight overhead.
| Note the light for Acca behind the front light. |
I share the same 12V DC supply for these lights with the LCC nodes or accessory boards that require a dedicated DC supply. There are 3 of these supplies installed around the layout. I use an open frame supply that I recovered from old IT equipment that was being e-wasted and retired. Similar supplies are available commercially or offered by online auctions off of eBay for anywhere from $15 to $50. The supplies I have are set to give +5V, +12V, -5V and -12V DC. I only use the +12V rail.
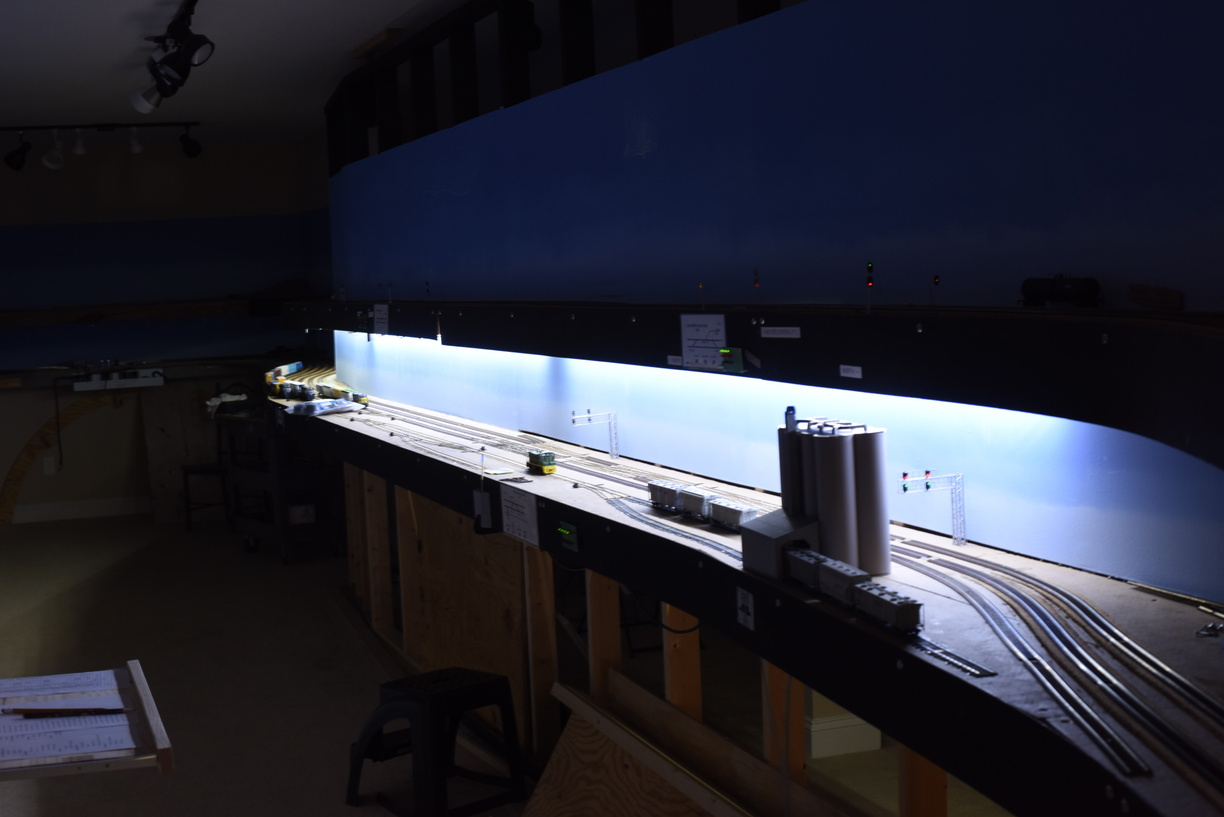
| LED strips only, no room lights. |
More pictures in the gallery at richmond-terminal.org.
Saturday, November 25, 2023
Backdrops, again
During a work session a few years ago, the crew and I repositioned the backdrop on the upper level, on the inside of the XR & Hamilton peninsula.
As I had filled in screw holes and painted, it required a bit of deconstruction before we could move it down to eliminate a gap between the subroadbed's homasote, and the bottom edge of the backdrop.
We then refastened the backdrop and went along with the rest of the work session.
I came behind later, and filled in all the new screw head holes with joint compound and did a first pass of sanding once it dried.
I had left it like that for probably a year before I got sick of looking at it this past May, and finished the patching, and then painted.
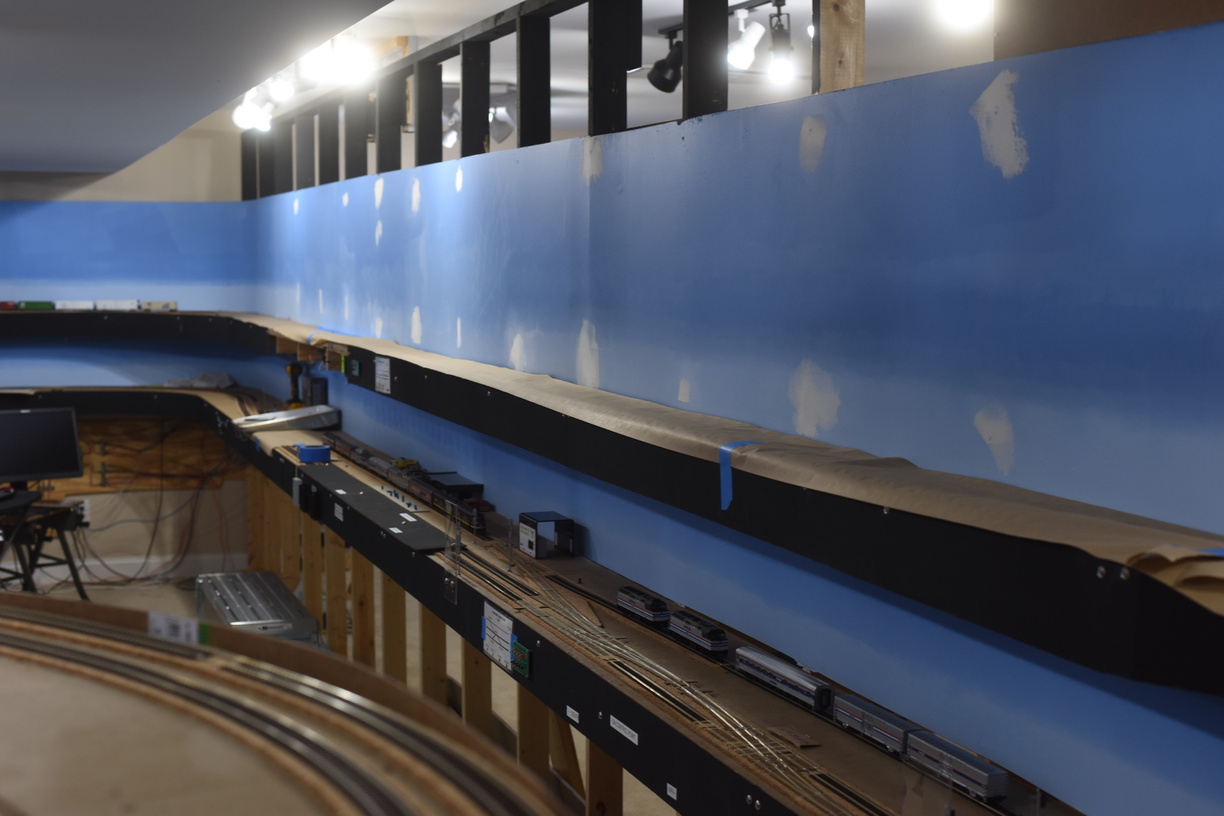
| Before. |
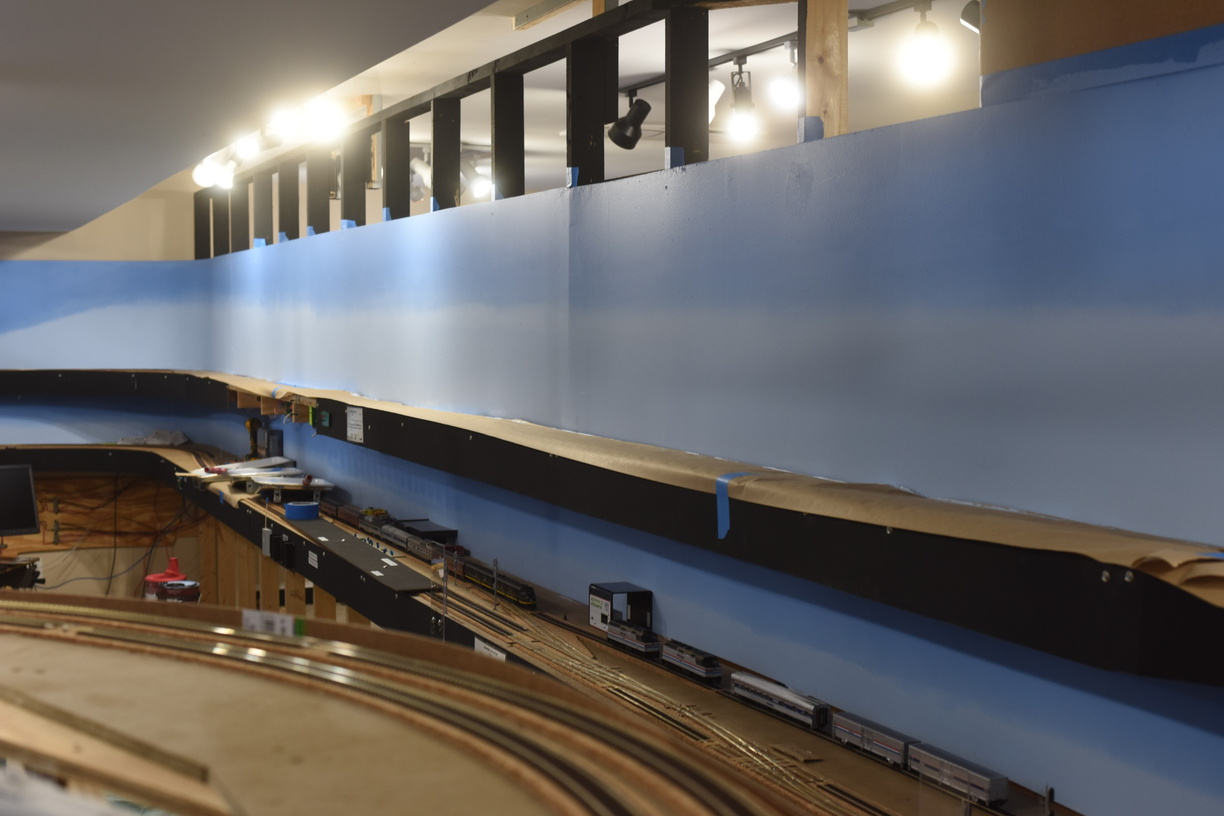
| After. |