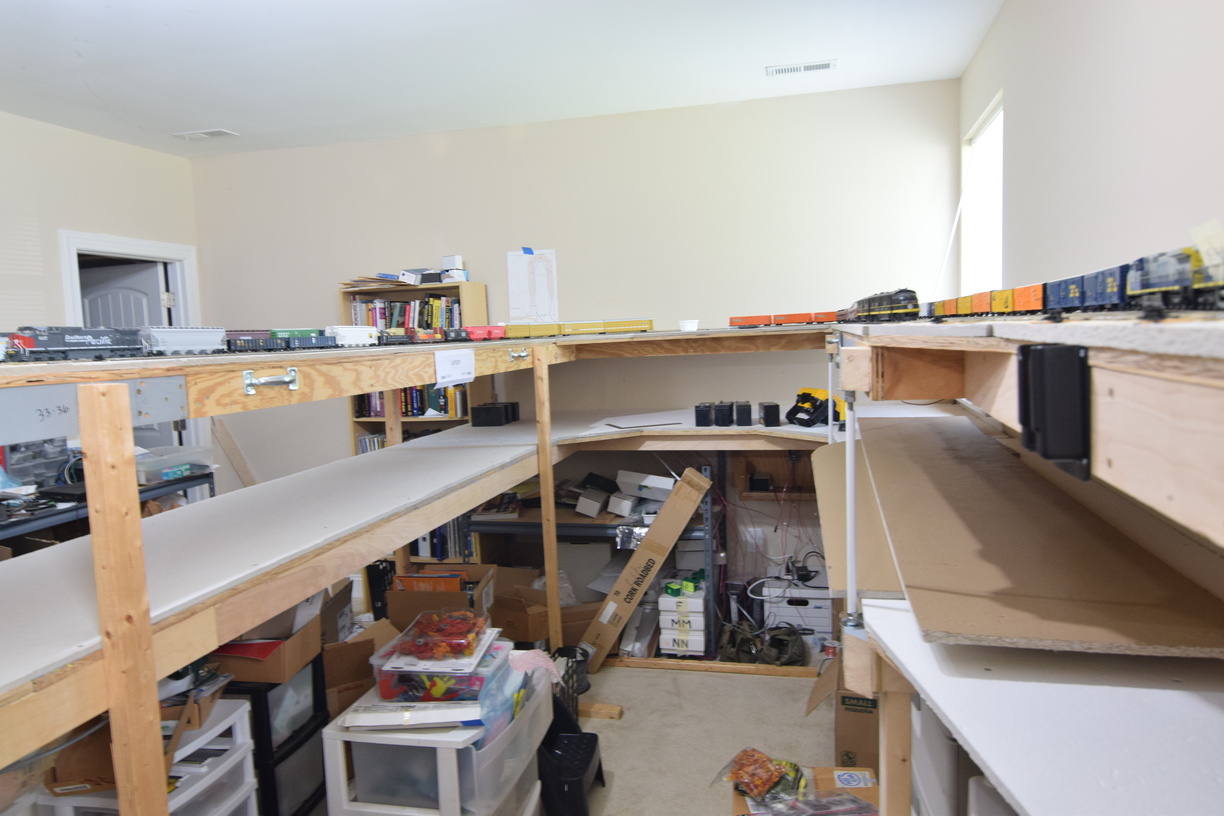
Saturday, January 6, 2024
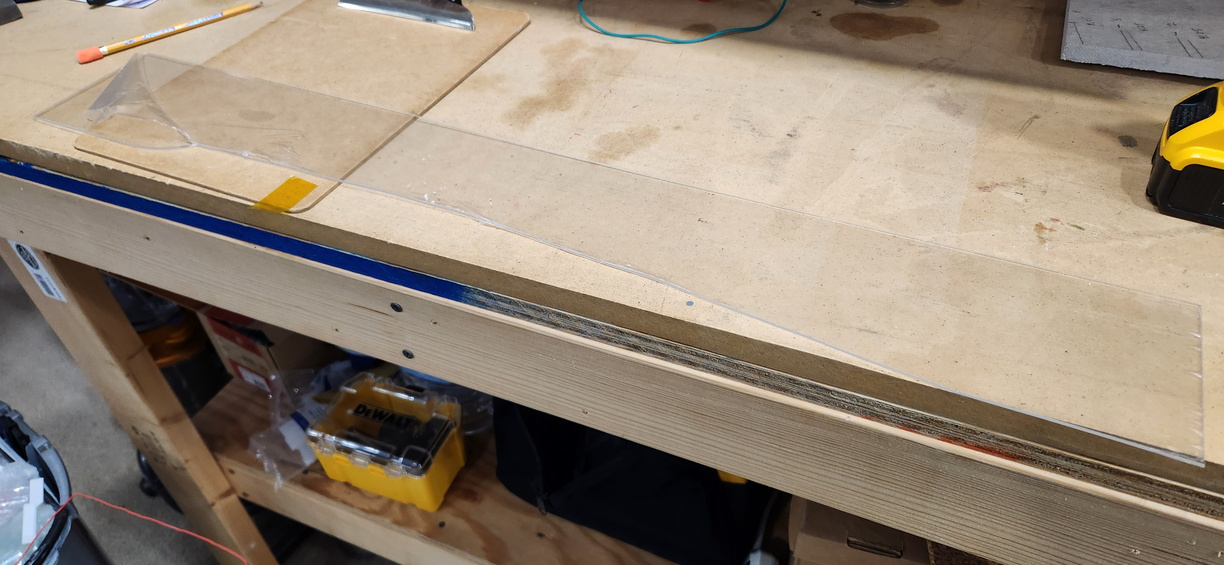
Protecting the fragile stuff
Friday, December 8, 2023
Brightening Up the Space - Adding More Light
One of the downsides of having a large layout and the large room that goes with it, is that you end up with a bunch of model railroad to light up so you can see. Even with natural light coming from your windows (and thankfully, I have 4 windows plus 2 glass inset doors), it can be a challenge to get those back corners sufficiently bright.
Having task focused lighting while you are working on something is easy - bring over a flashlight/lantern/etc and done.
However, having enough lighting for operating and photography with or without the sun can be a challenge.
The builder installed a couple of pot lights around the room, but even with 125W bulbs, we couldn't even hit dive bar levels of illumination.
Check out the first lighting post I put together a few years back for some more information.
I had three areas that needed help - the staging room, the back corner behind the helix, and the area at South Doswell.
Staging room got a T fitting and then a 4' and an 8' track added. Moved some heads around, plus added another 4 of them. Have space to add some more if I think it needs it after I get used to the new level of light.
| Staging yard. Note the heads off to the far right to help brighten up the yard throats. |
South Doswell was lit by a combination of what was installed over Hamilton and on the peninsula end between there and XR.
Here, working from the original 4' track, I added another 4' track at an angle that looked good (using a flexible coupler) and then terminated in a 8' track running parallel to the track at South Doswell (and the crossover I installed there last year).
| Trying to source the hardware all the same color is tough. As I don't care if it matches or not, you can see the mix and match effect. |
The far back corner was one of the spots where I initially tested out the track light idea. I put the original 4' bar at an angle, thinking it would be enough.
| This corner is much better than before. |
Saturday, December 31, 2022
Multiple Deck Layout Construction - Support Options for the Upper Deck
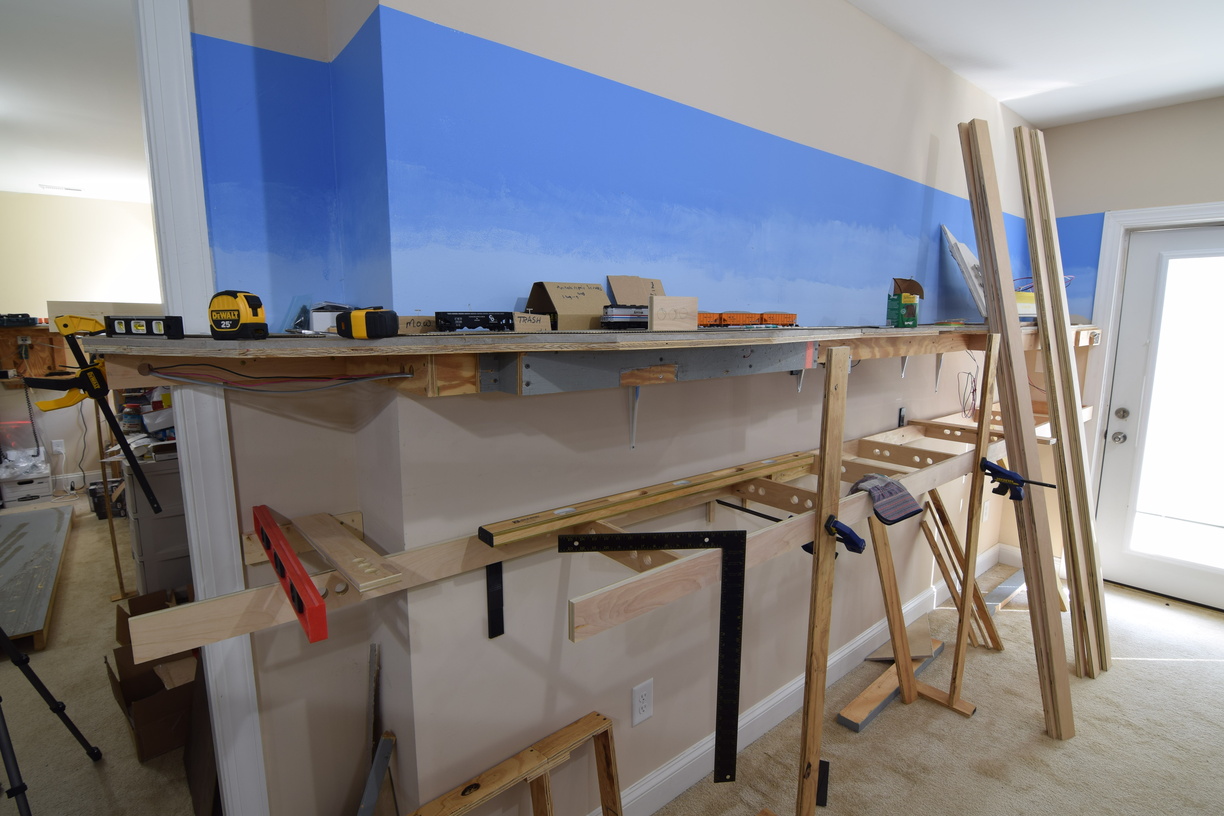
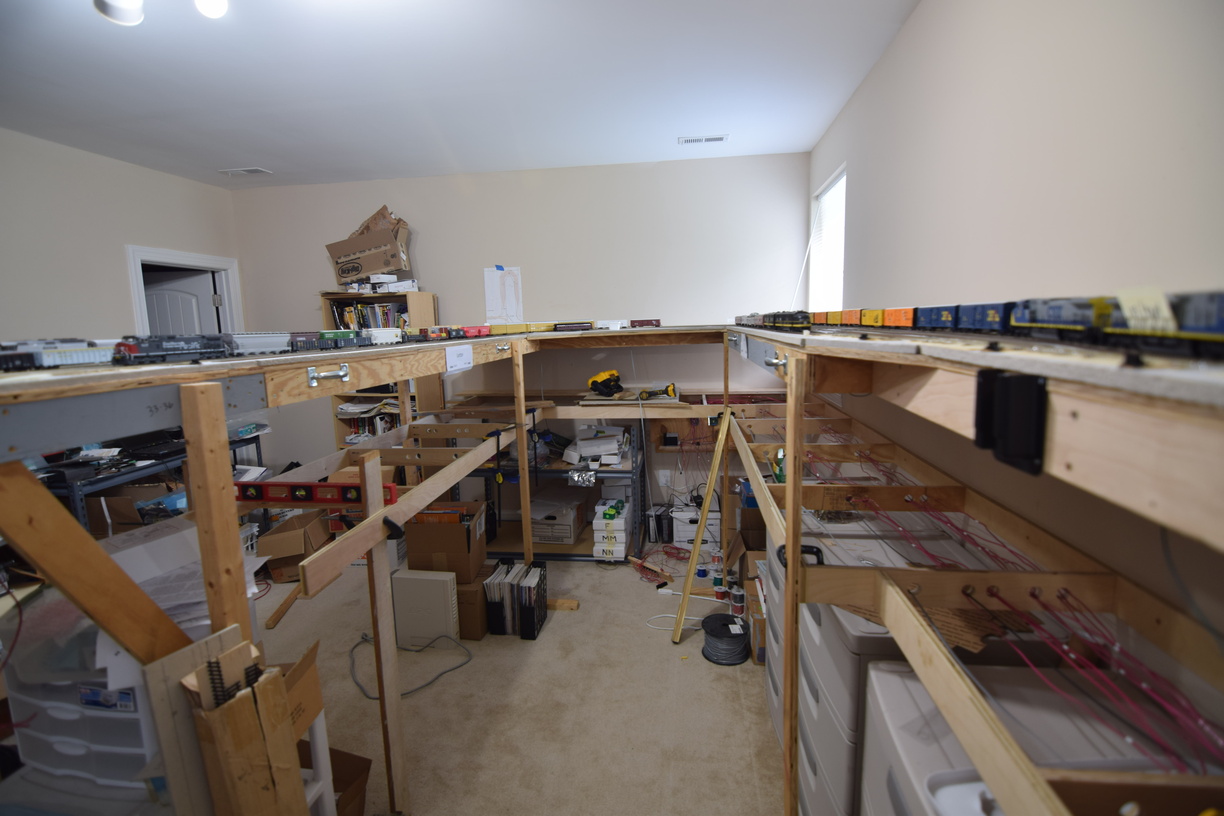
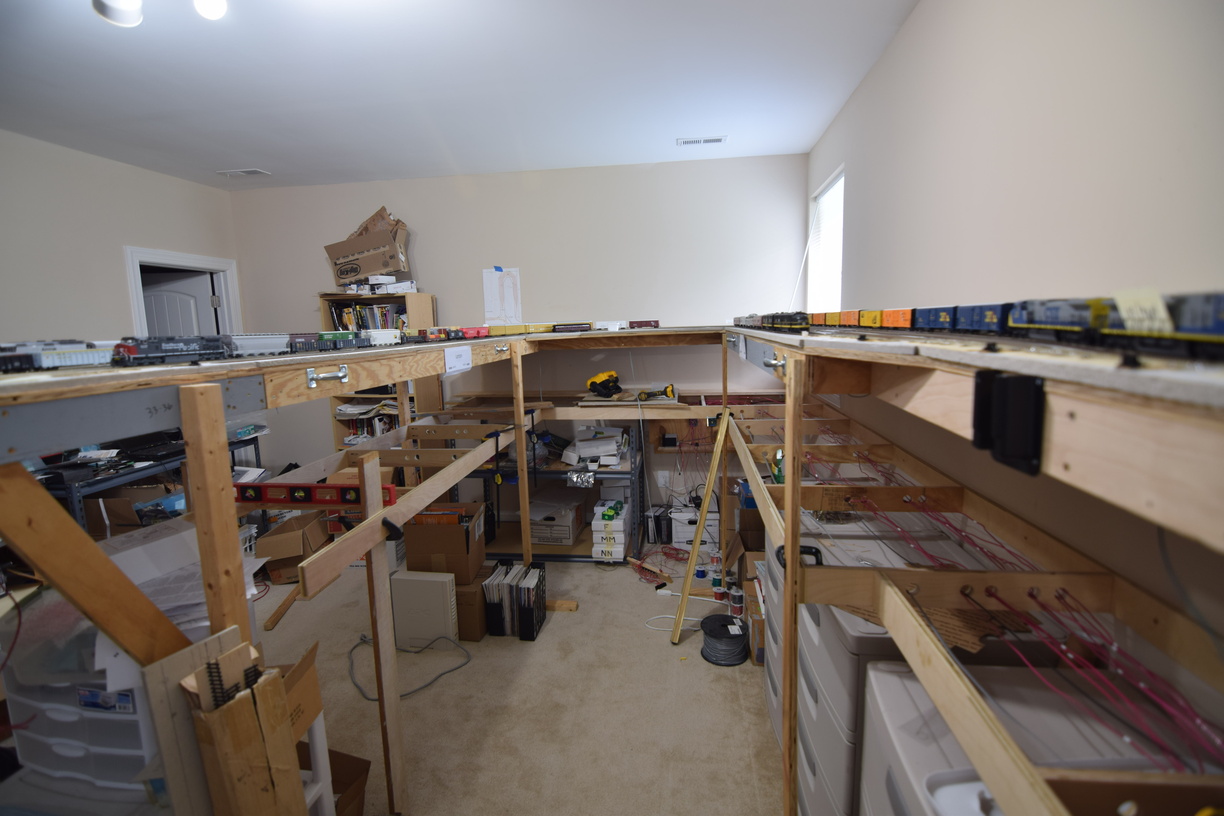
As the layout was built, we added support legs where we needed them, generally in areas where the span of the structure was too long to effectively cantilever from the center line structure or the wall.
Most of these spots got "temporary" legs made from the same 3" wide ripped strips of 3/4" plywood that was not straight enough to use elsewhere.
As an aside, we realized a few years in that our ripping technique was causing non square cuts near the end of the rip cuts, causing all sort of issues. Once we had a tablesaw to use, our accuracy was improved immensely.
Now, a 3" wide support will impede the view and can potentially made access a bit tricky, depending on some other factors as well.
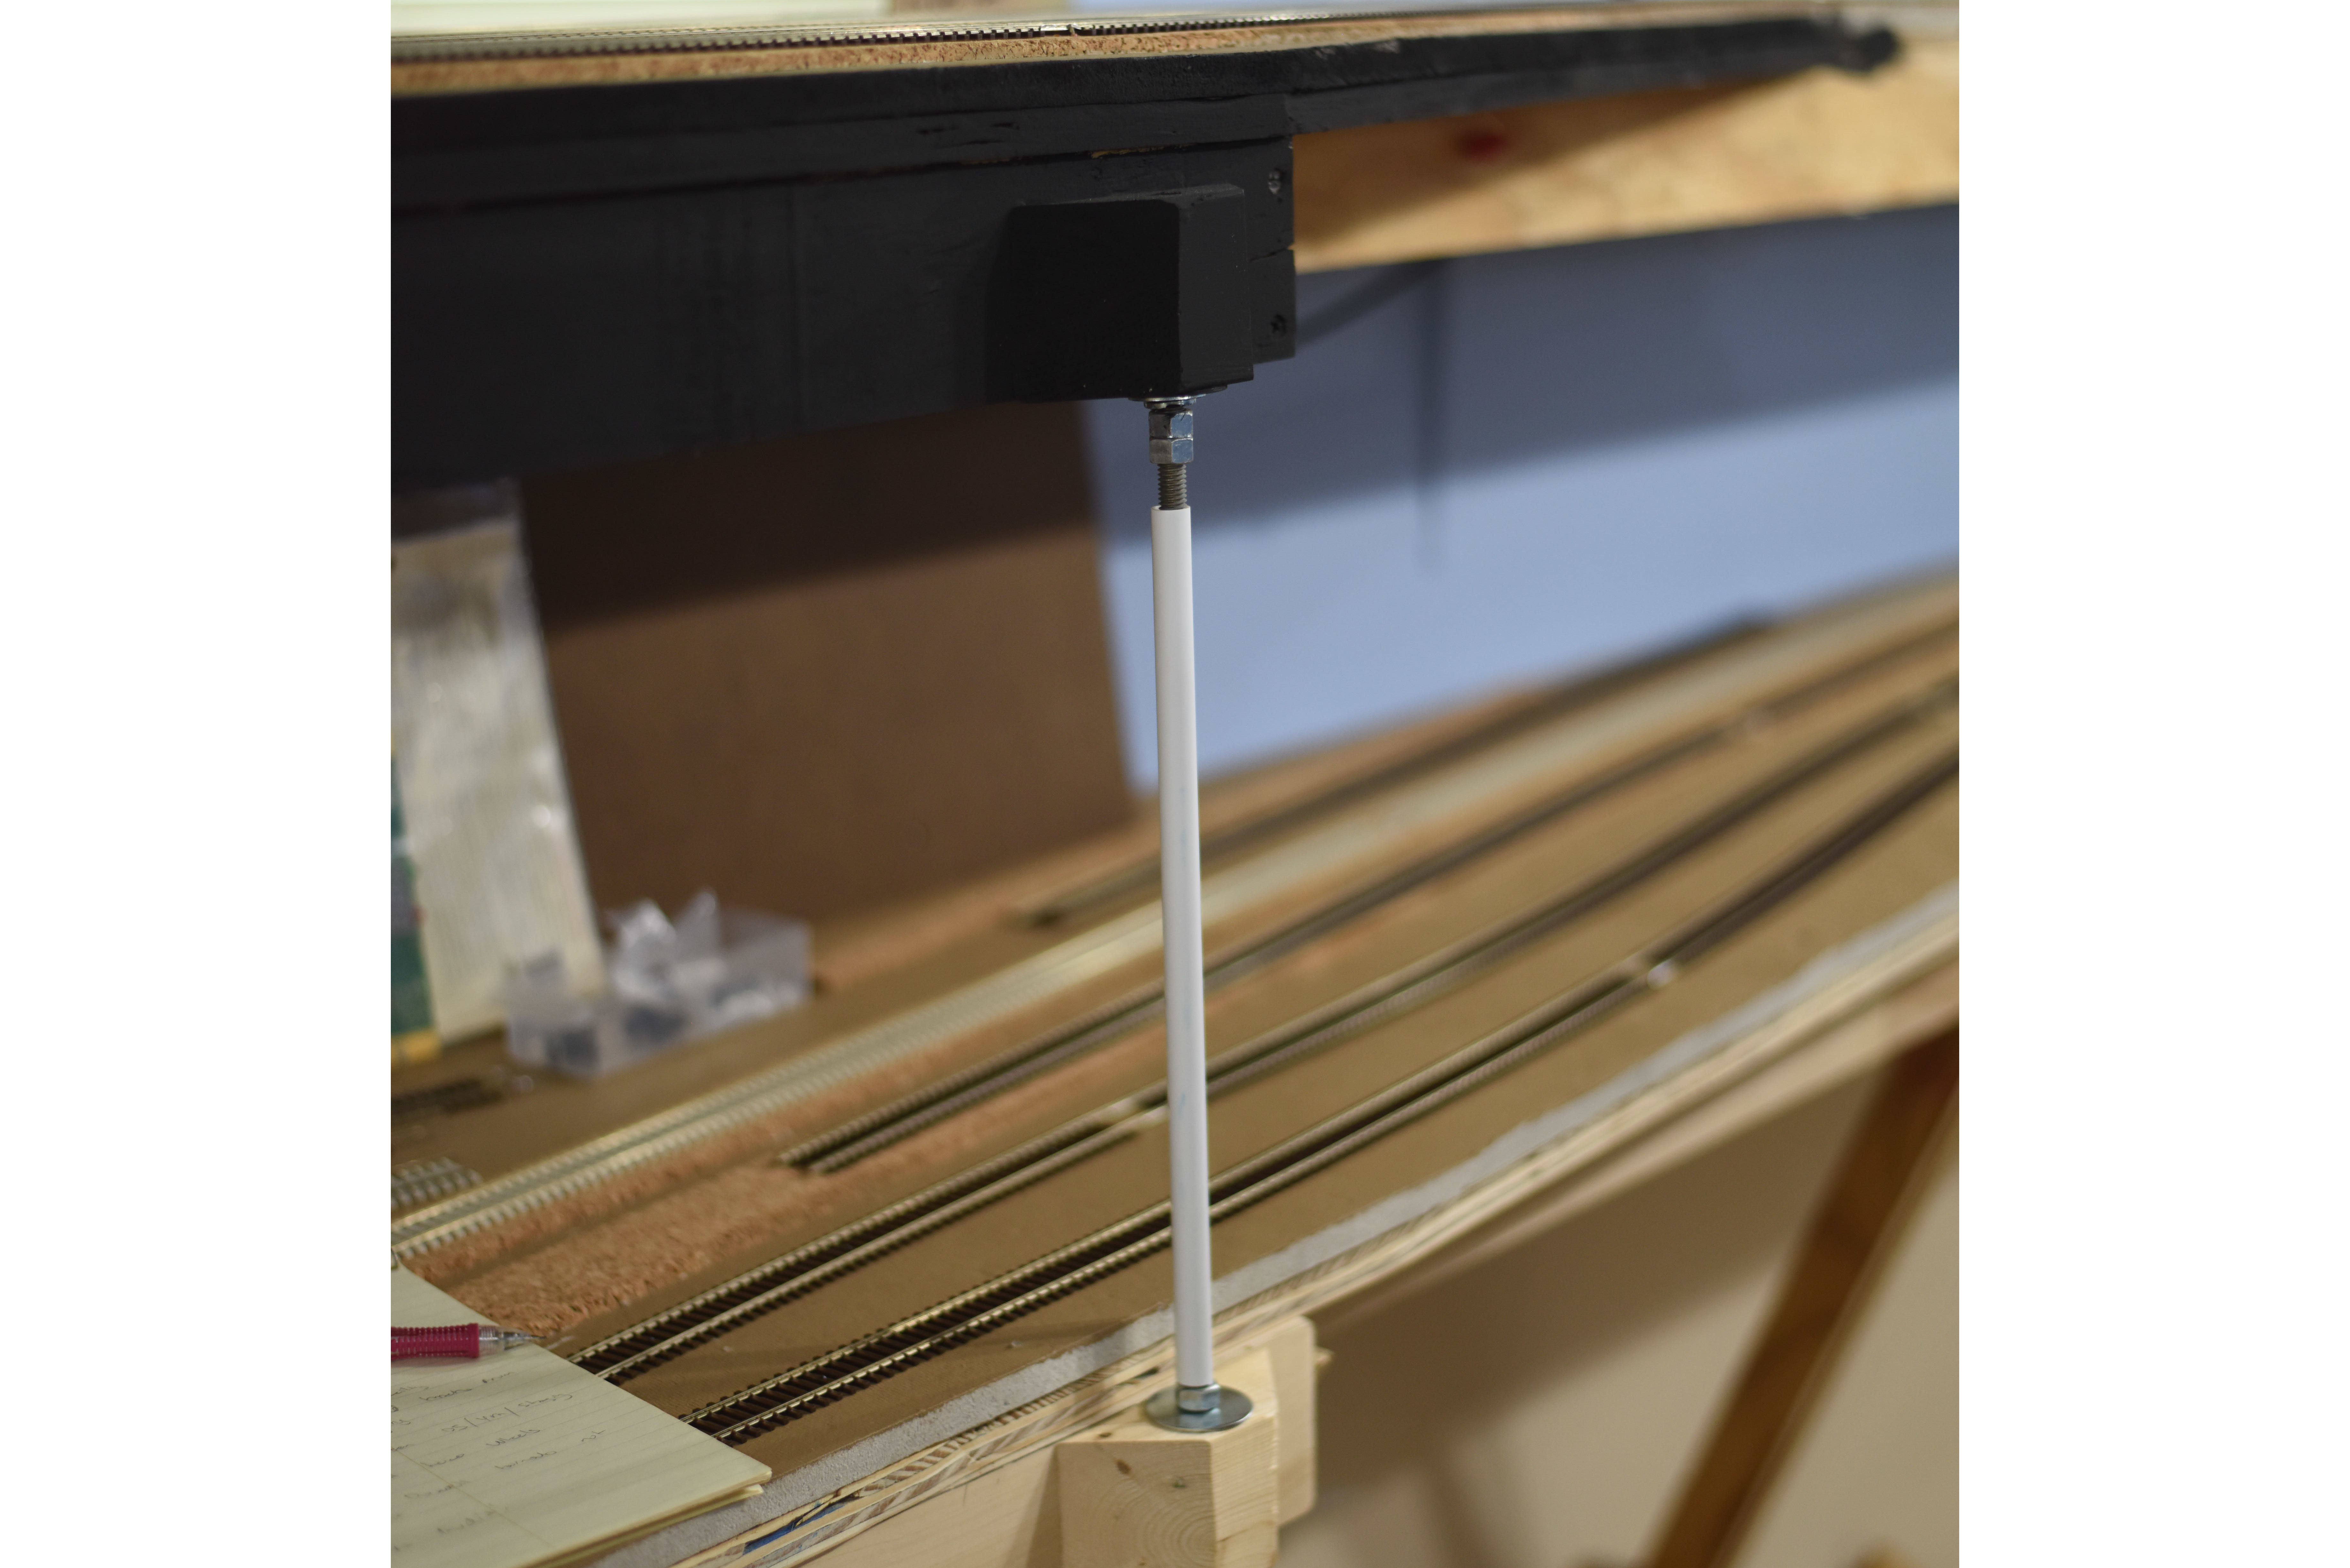
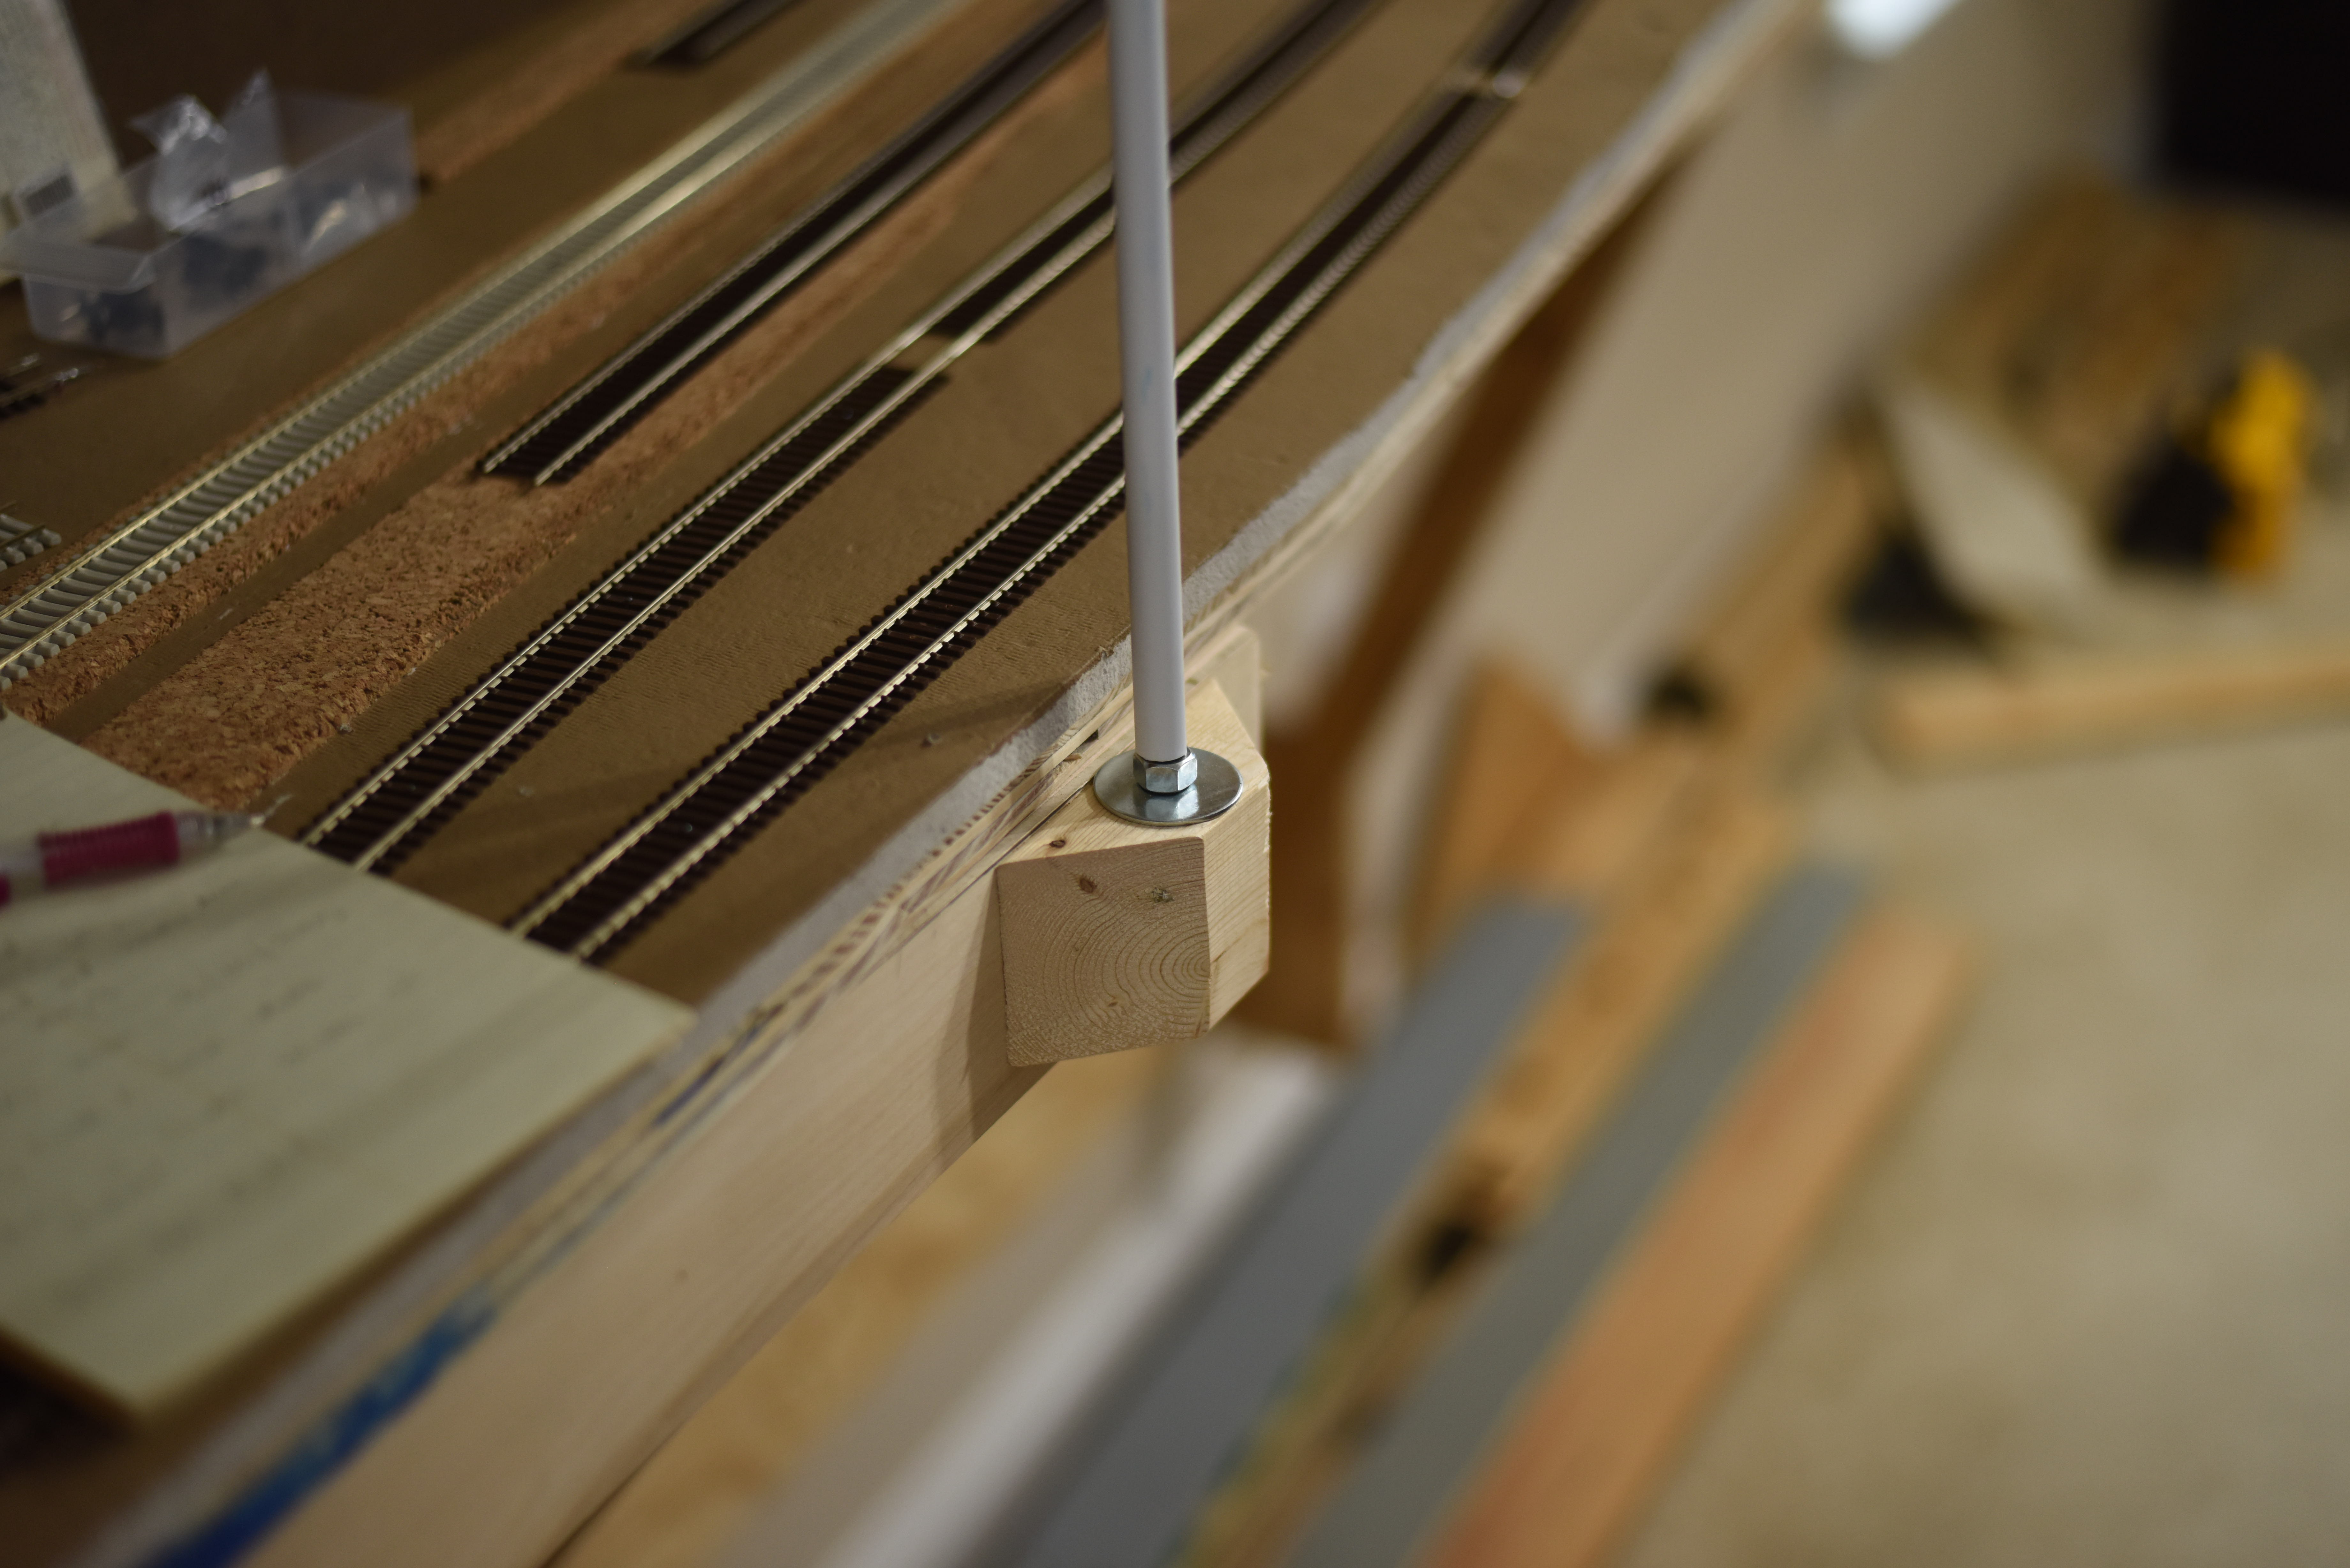
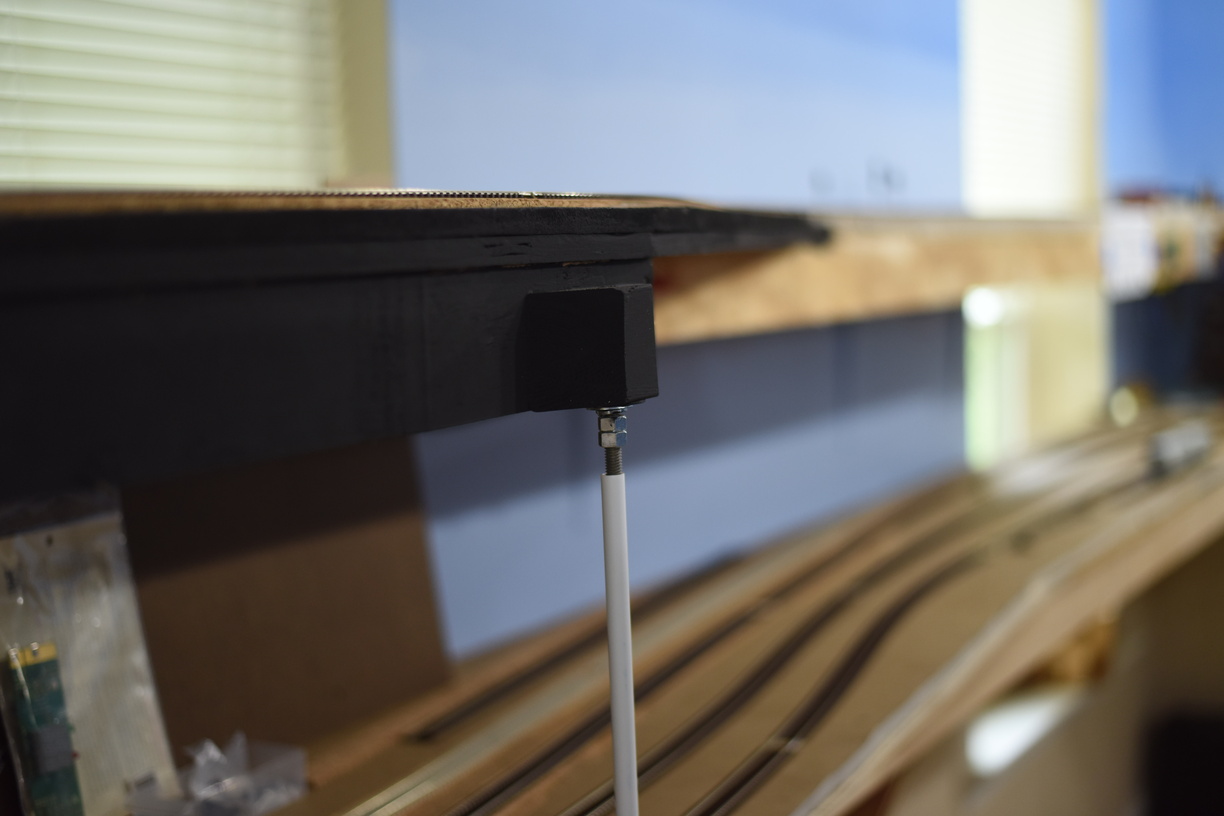
Readers familiar with Version 1 will remember that one of the helixes was suspended above another helix via a system of 3/8" threaded rod (aka all thread) and metal straping. When Version 1 was torn down, all that metal was saved for potential use on the next layout.
I am now getting to where I can remove the temp support and install some permanent ones, so I broke out the hacksaw and cut the 3' long pieces in half to 18".
Having nipped myself on the threads, I decided that I needed to figure out a way to protect people from the threads if I was going to use it again.
I came up with an idea to use styrene tubes (1/2") to protect the threads, which is working great.
Thursday, September 15, 2022
Lower Level Staging Yard Build Out
Most long time follower will remember that the layout is intended to terminate in a staging yard south of Acca Yard, that will simulate traffic from Rocky Mount, NC and points south. The staging area is also built to support traffic to/from the former Seaboard and C&O lines that are east of Acca so we can simulate trains being transferred off of the CSX James River Sub and the CSX "S" Line.
Framing is the normal 3/4" plywood that is ripped into 3" tall strips and screwed together. An innovation that we've recently started to use is the Kreg pocket screw system. There are significant advantages to this paradigm - no screws or fasteners into end grain, which also minimizes the chances of splitting. Since you are fastening from the "inside" of the structure, out, the assembly steps are flexible and you can move supports as you see fit to work around all the under table stuff that you have on a model railroad (Tortoises, DCC and LCC pieces, wiring, etc) It also provide a very nicely finished look from the aisleway, which is a nice bonus.
Here is a nice shot of the benchwork that supports the approach to the staging yard. Note the lack of visible fasteners from the aisleway.
As plywood is still highly priced, for only a nominal amount more money, you can purchase higher quality birch faced 7 ply, which is what we did for this final push of construction.
We've also found that this stuff is more consistent than the sheathing grade we've used in the past and it also seems to be less prone to splintering.
We have to build the support in situ for the legs that support the top staging level, so that adds to the challenge.
Got smart this time, and pulled DCC bus wires BEFORE the benchtops went on. Learning from the top (North End) staging yard, a bus per track was installed to enable us to turn it off track by track.
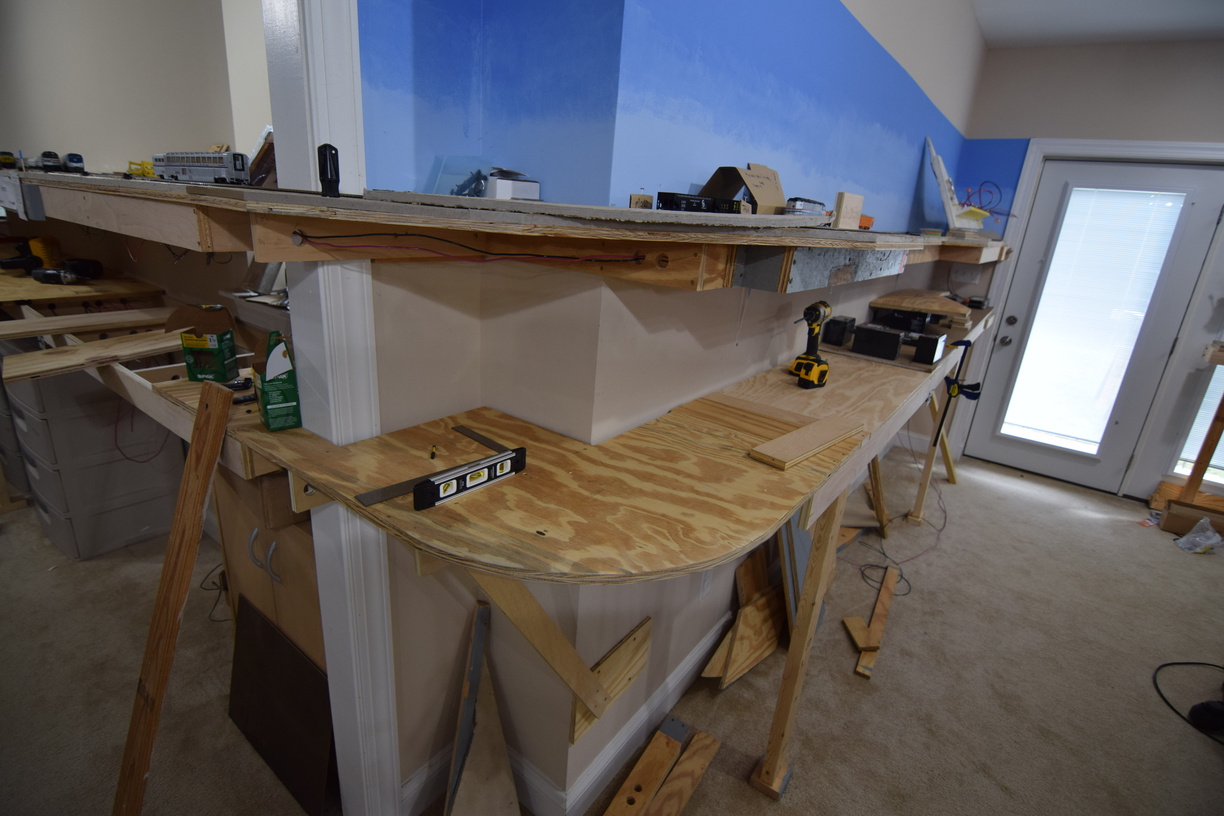
From a suggestion of an operator, we rounded the outside corner to make it less likely to jab you in the small of your back.
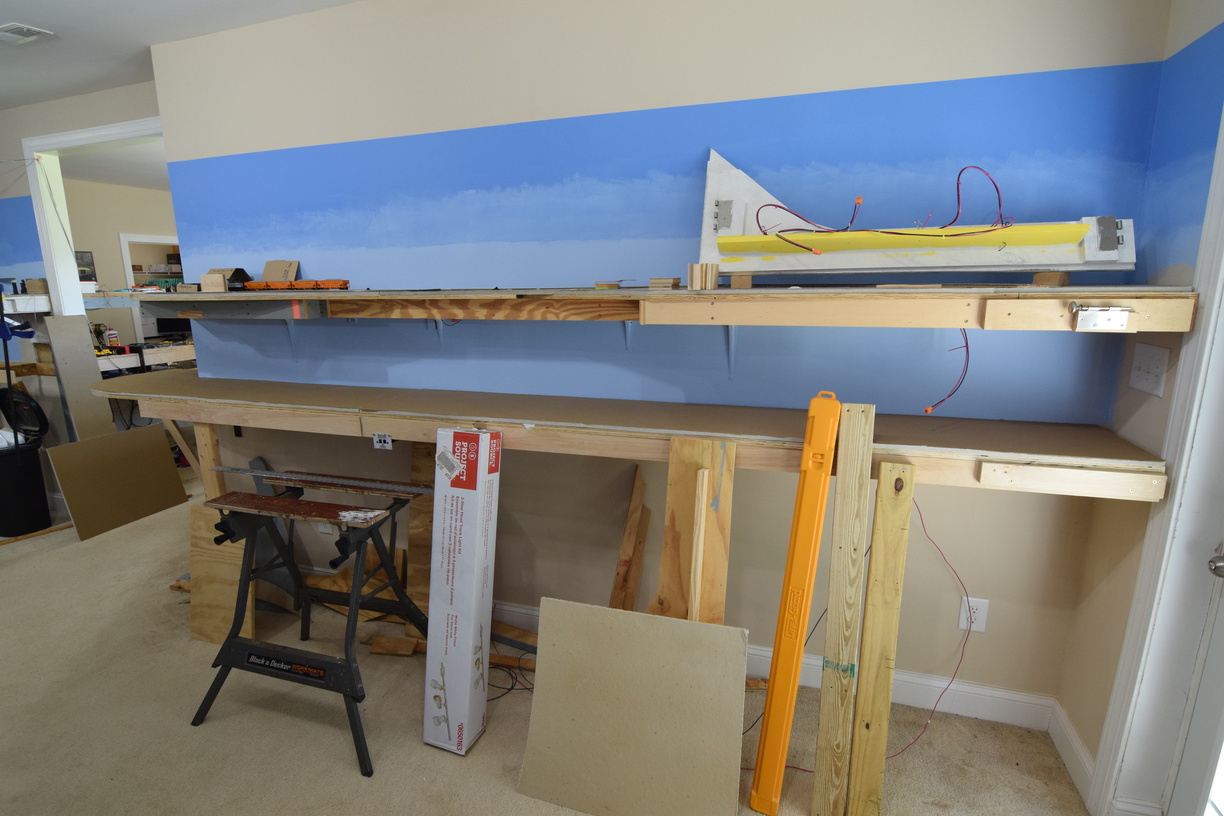
Here's the approach, with homasote painted and installed. Note the cleat for the removable bridge across the door in place.
Ready for track mark out!
Monday, July 4, 2022
Structures? Inconceivable!
I am building many of the kits that I salted away over the years for installation on the railroad. Certainly, I am not the world's best structure builder, but you can only improve by doing it.
I know this violates my "not a pound for air to ground" mantra about scenery, but as the layout presents significantly more finished than raw, unlike version 1, I think I should embrace the change.
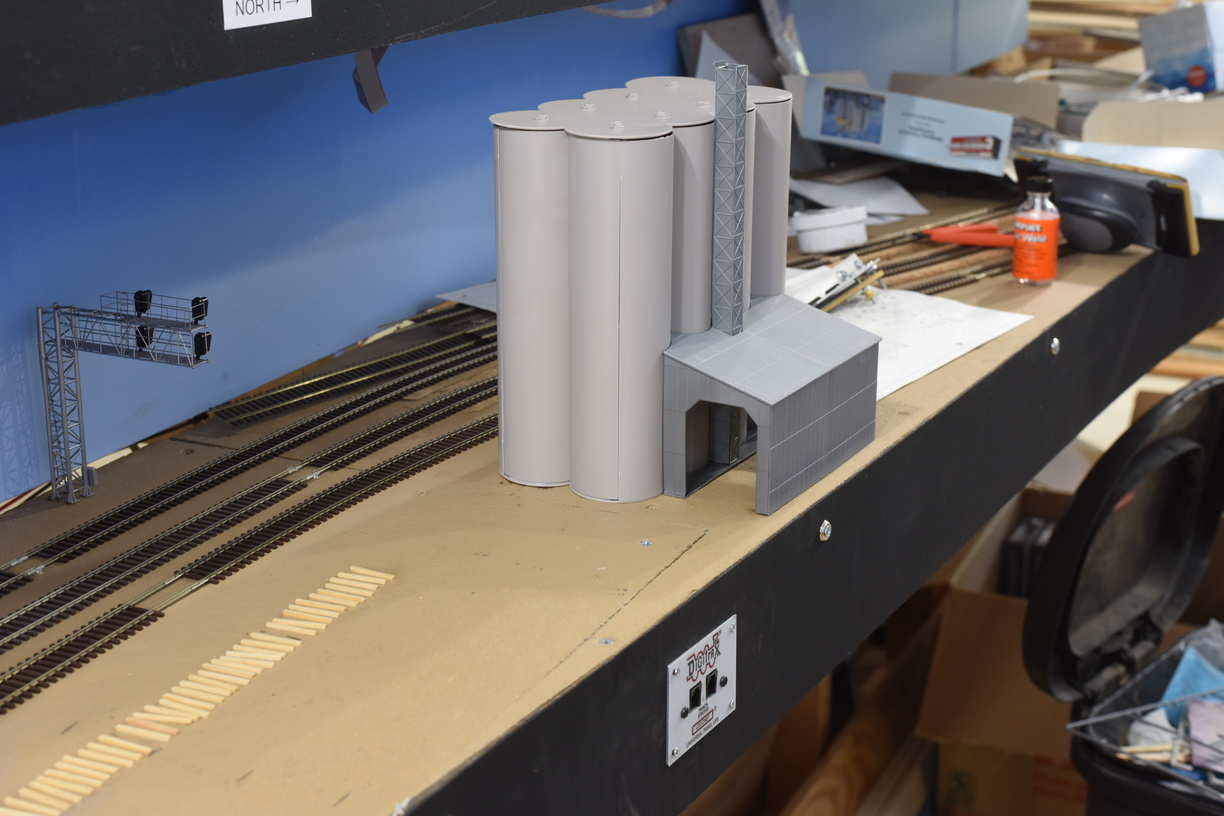
Here's the concrete plant on the North end of Acca. Prototypically, this should be more towards the center of the yard, and on the opposite side of the tracks from where it is here, but as model railroading is a compromise, it sits here, on the end of what will be a long spur using smaller than mainline rail.