Thursday, October 31, 2019

Tortoise Install at North Doswell

I've started to install Tortoises around the layout, as I've found that my work crews don't like doing it. As it's a very fiddly thing that requires contortions, I can understand why.

I started a North Doswell at the cross over there, and moved towards Doswell proper, which is railroad south.

The eagle eyed among us will note the back support notch to fit the left side tortoise.

Monday, October 28, 2019

Final Bridge

The final bridge was going to be the most challenging, as it needed to be at an angle for both sides.

The previous paradigms served us well, as we used the 1x4 stringers under 5/8" plywood supporting the homasote.

Once assembled, the bridge got 2 coats of oil based Kilz to seal before color was applied.

Test fit

Bridge Line Up
A bunch more pictures can be found in the bridge gallery at richmond-terminal.org

Sunday, October 27, 2019

October Work Session

The largest work crew ever was on the railroad in October.

Significant progress was made and the railroad is rapidly approaching upper level completion.

So much work was done that I was only able to take a few pictures so enjoy these couple of snaps.

William is showing that he can lay track even in small scales.
John, using his eye like an experienced track hand.
Dick did absolute yeoman service on the soldering iron.

Tuesday, October 22, 2019

Why I belt sand my cork

As most readers of the blog know and certainly the work crew knows, that I use cork flooring underlayment as roadbed vs the Midwest product.

The underlayment is cheaper and can be cut appropriately, giving you wide areas for track without having to build up turnout areas and other special work support, piece by piece.

It is a big rough off the roll, so I do run a belt sander with a 120 belt over it before track goes down, after I knock off the square corners with a rasp.

Sometimes, more sanding than standard is called for.

Note the gap on the left
A bit of a hump..

Saturday, October 5, 2019

More Helix work

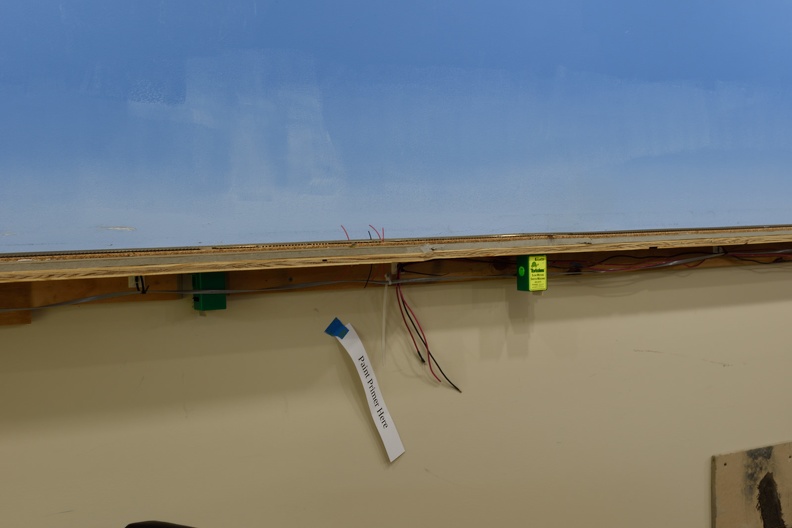
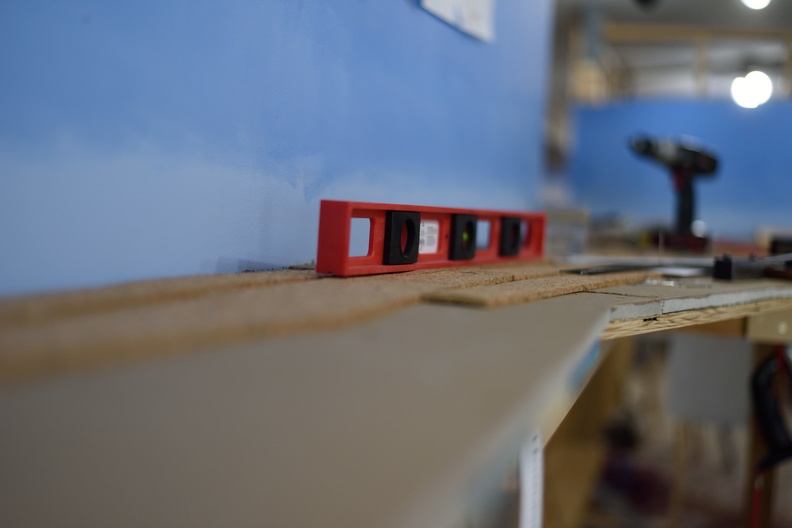
Since we were putting homasote under the helix, but the helix is made of 1/8 inch MDF, that left us a bit of a curb to bring the roadbed and track over.

As trains don't like climbing up a curb, we had to come up with another option.

How about insetting the MDF?

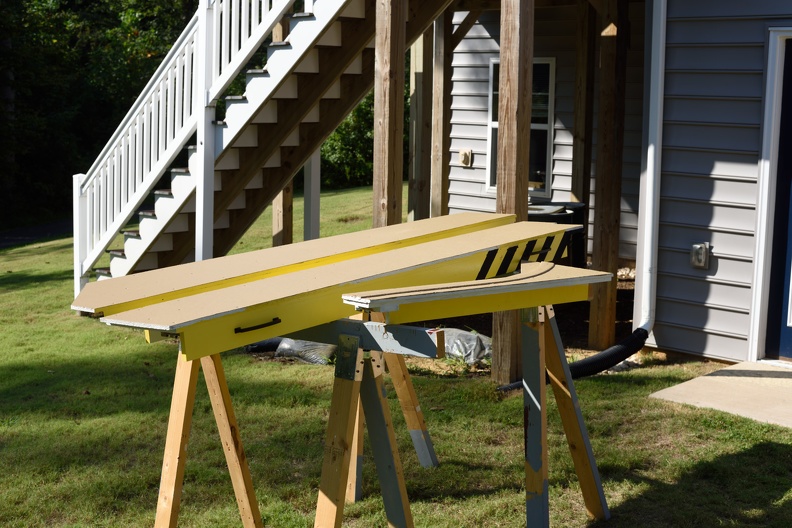
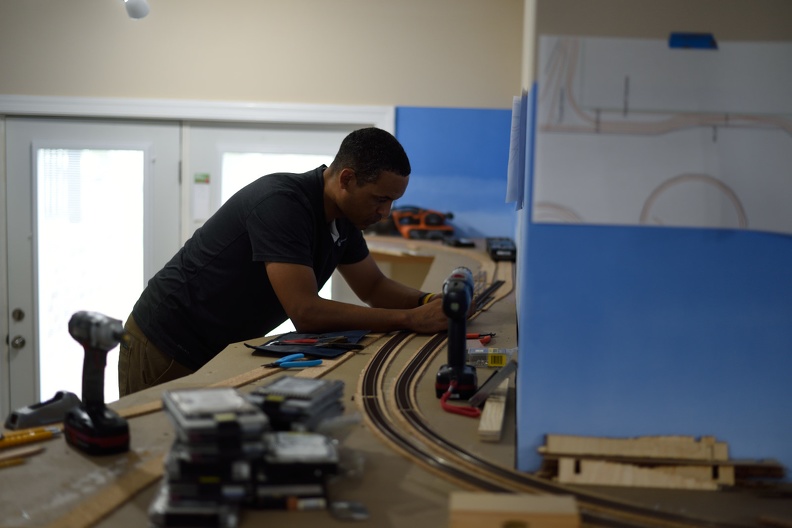
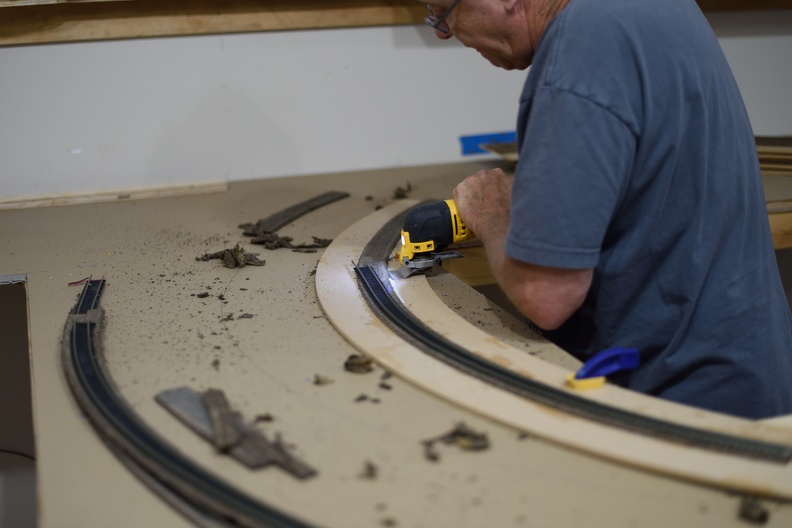
We were going to try it with chisels and a utility knife, but then decided to consider power tools so this would get done before the sun cooled.

A buddy had loaned me his router to let me clean up a couple of other places on the railroad, so we took a test plunge with it on homasote. We learned that routing homasote makes a tremendous amount of dust, so you must run a vacuum around the same time and be prepared to continue to vacuum up stuff after the router is off. (Even better would be trying it outside, BTW, but I've killed a bunch of grass doing that..)

But it worked.

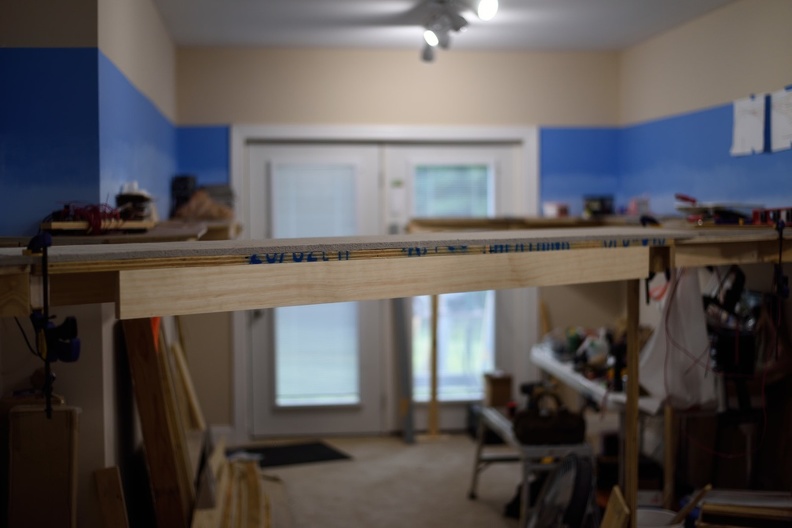
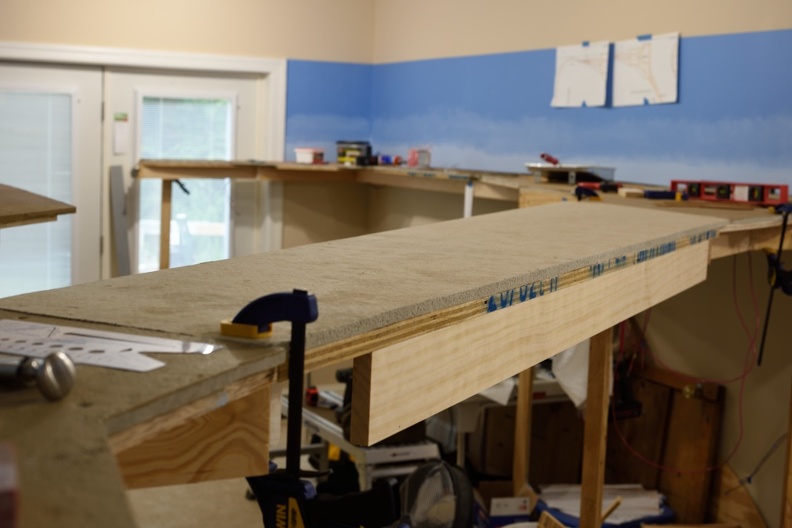
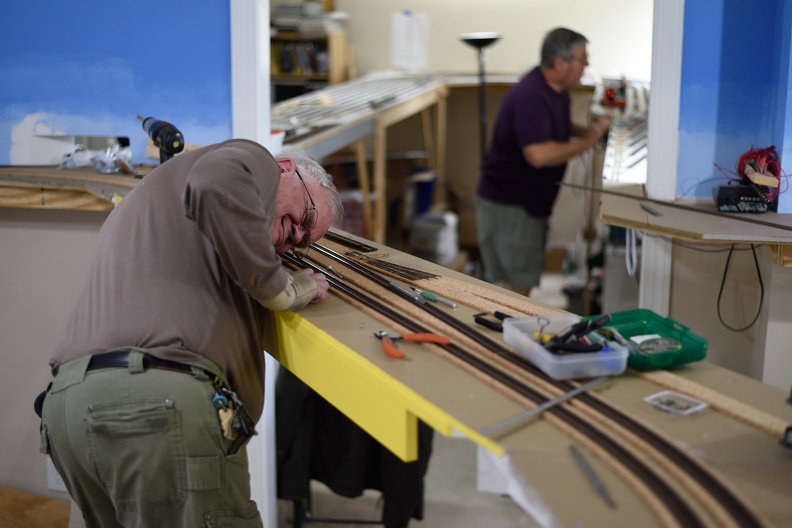
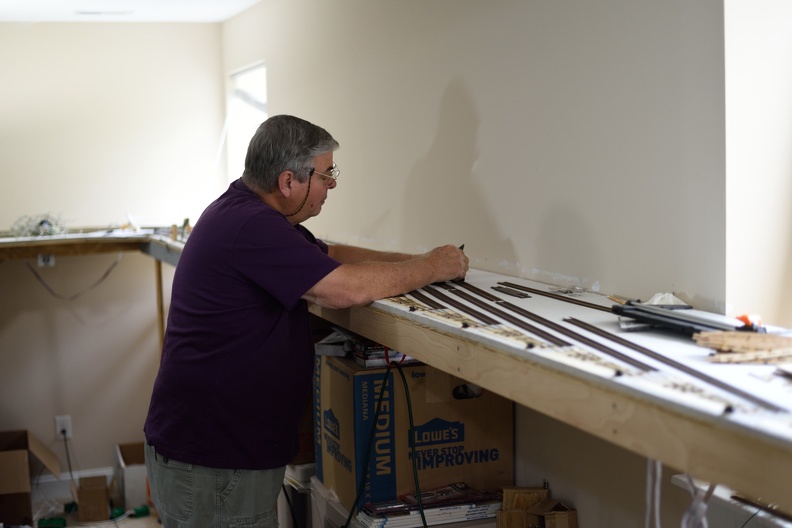
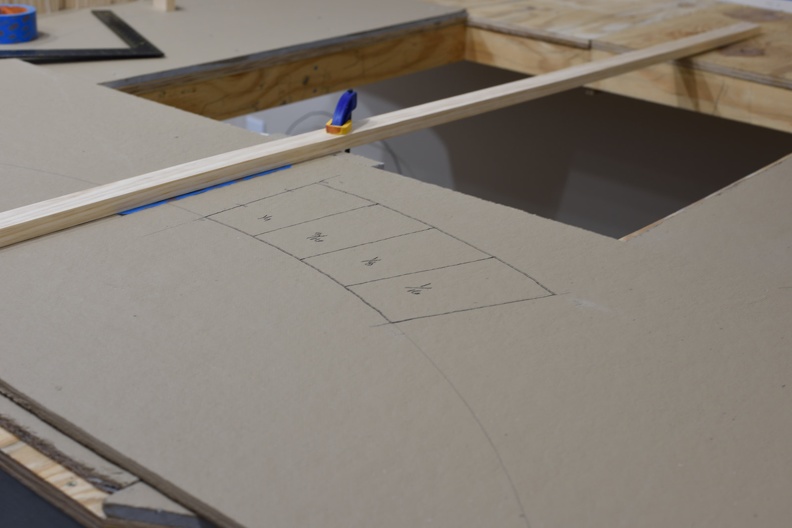
As we needed a sloped inset, a test fit and measurement was called for.

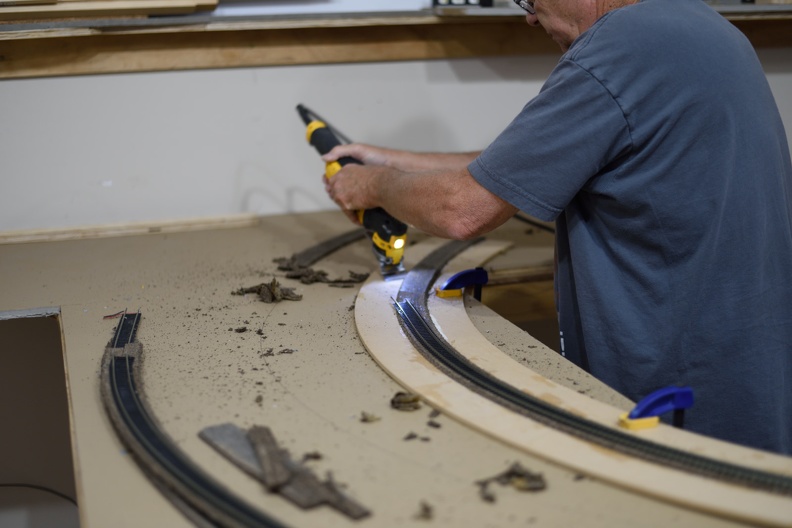
Getting ready to route.
 Next helix update will show the end result.

Thursday, October 3, 2019

First LCC board mounted

I have a long post that has been in a draft form for months about LCC so eventually, look for that to appear on the blog and also be posted on the main site.

Until then, here's a shot of the first LCC DevKit node placed on the layout.

Of course, a Tortoise is nearby...

Tuesday, October 1, 2019

Block Detection Board, Version 1

Many folks know that I'm a bit handy with circuit design and board layout and try to make stuff easier on me and my fellow model railroaders.

As I've got a lot of screw terminal blocks from the Digitrax adapters I made years ago, I had to think of another way to use them up.

This is version 1. Version 2 is going to integrate the DCC block detector circuitry.