Somehow the camera got set to take lower quality JPGs instead of RAW images.
Working through content currently and discovered this fact. Double grr...
Expect some additional posts over the next week once I can get back to the camera and take some better shots that can be used; even shrunk for the blog or website they aren't up to snuff.
Wednesday, November 29, 2017
Saturday, November 25, 2017
Future Content - NMRA Orlando Convention
Just a friendly teaser as I get a chance to wade through all the pictures I took.

Wednesday, November 22, 2017
Backdrops Update - A True Blue Sky
Got a chance to get some blue onto the backdrops this past weekend.
On the previous layout, I didn't meld the colors at all, making the backdrops, at best, a horrible caricature of what you see in real life. See the blog post here for what I did for version 1.
Using a couple of Youtube examples to pump my enthusiasm up, I decided to give one of the techniques a try, which I think worked fairly well.
The video I say mentioned just starting with a deep blue and then lightening it up with additional white paint.
Since I still have the two different blue hues from version 1, I decided I might as well keep that same paradigm on the current layout.
The technique is as follows:
Start with your dark blue - pour into your paint try and roll from the top of the backdrop down about halfway to two thirds of the way.
Now, pour some white into the tray and mix with your roller.
With the much lighter paint, cover the part you didn't before.
Use a brush with some of the white to feather the line between your colors.
Then take a dry roller and go over where you brushed to erase the brush marks.
I had pretty decent success using this method, as you can see below.
I think the next time, I am going to have separate trays for my blues and just mix on the roller itself.
As I've started lately, additional pictures are on the full site in the construction gallery.
On the previous layout, I didn't meld the colors at all, making the backdrops, at best, a horrible caricature of what you see in real life. See the blog post here for what I did for version 1.
Using a couple of Youtube examples to pump my enthusiasm up, I decided to give one of the techniques a try, which I think worked fairly well.
The video I say mentioned just starting with a deep blue and then lightening it up with additional white paint.
Since I still have the two different blue hues from version 1, I decided I might as well keep that same paradigm on the current layout.
The technique is as follows:
Start with your dark blue - pour into your paint try and roll from the top of the backdrop down about halfway to two thirds of the way.
Now, pour some white into the tray and mix with your roller.
With the much lighter paint, cover the part you didn't before.
Use a brush with some of the white to feather the line between your colors.
Then take a dry roller and go over where you brushed to erase the brush marks.
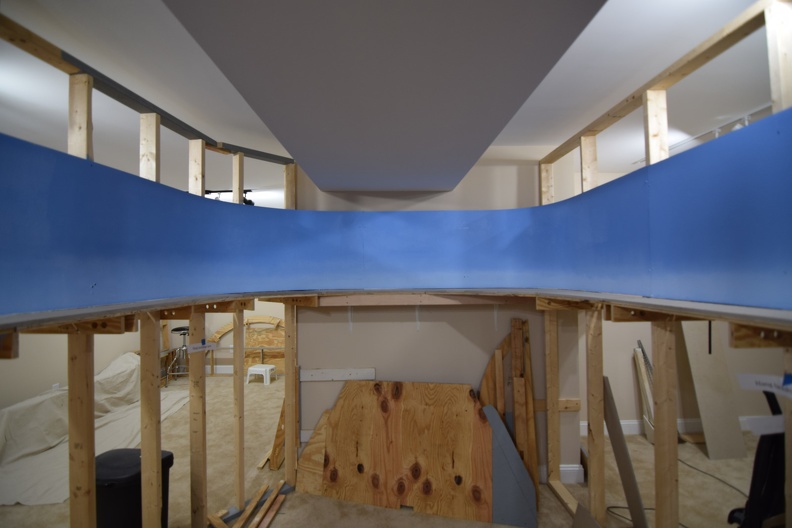
I had pretty decent success using this method, as you can see below.
I think the next time, I am going to have separate trays for my blues and just mix on the roller itself.
 |
| A view down the middle aisle where I started. Note the original backdrop at far left from version 1 and the obvious, sharp line between colors. |
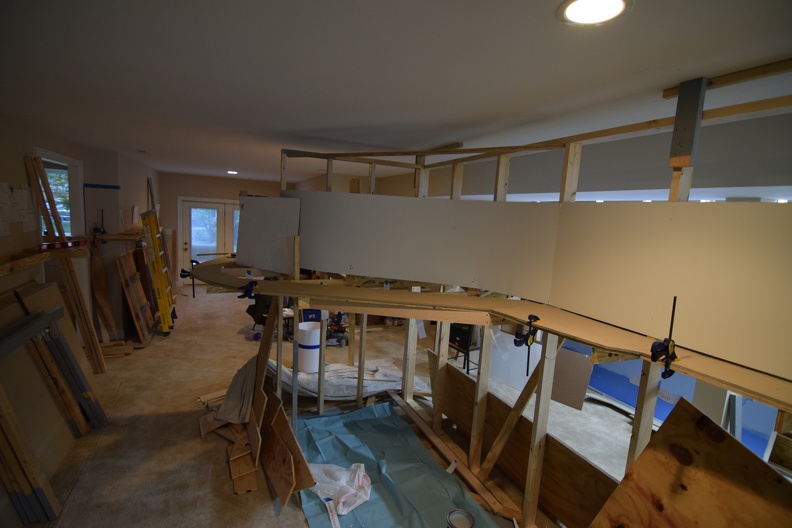
 |
| Down the aisle now. I might need to try and move the lighter color higher up the backdrop on the next pieces I do. |
 |
| My favorite shot of this batch of photos of the effort. |
As I've started lately, additional pictures are on the full site in the construction gallery.
Wednesday, November 15, 2017
Website Update
Some additional small tweaks to the website have been made.
I'm working through trying to get the track plans into a good format so I can post them up in a way they are understandable.
I'm working through trying to get the track plans into a good format so I can post them up in a way they are understandable.
Monday, November 13, 2017
Progress Update
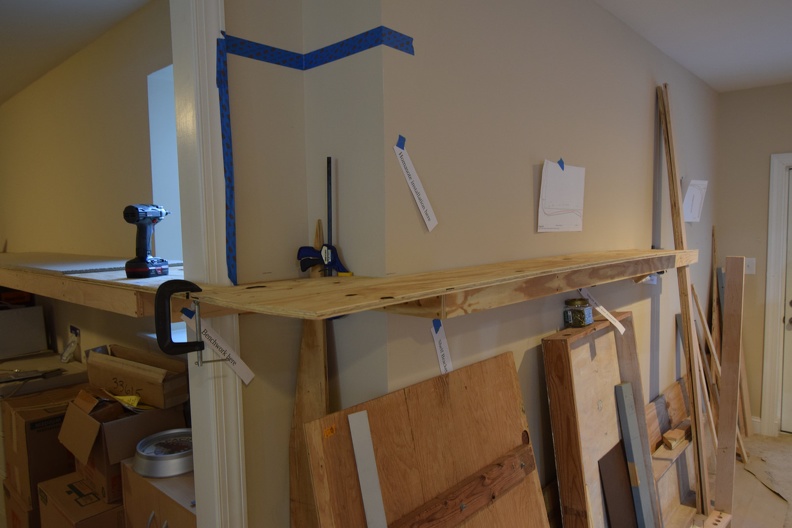
Got some additional pieces installed this weekend. I mostly worked around where Doswell will be and then around the corner.
Plywood for subroad has been installed at Doswell.

Sharp eyed readers will note that the benchwork into the corner here is missing. It was taken down to accommodate some work to the basement door by the builder sometime in the near future.

Working around the corner where the Buckingham Branch will enter staging.

Homasote is down around this final turnback curve and heading toward the helix.
Additional pictures can be found on the website: http://richmond-terminal.org/
Plywood for subroad has been installed at Doswell.

Sharp eyed readers will note that the benchwork into the corner here is missing. It was taken down to accommodate some work to the basement door by the builder sometime in the near future.
Working around the corner where the Buckingham Branch will enter staging.
Homasote is down around this final turnback curve and heading toward the helix.
Additional pictures can be found on the website: http://richmond-terminal.org/
Saturday, November 11, 2017
Working on backdrops
A lesson learned from the first iteration of the layout was putting backdrops in BEFORE anything else.
Accordingly, progress is being made getting the setting ready for the track installation and then the fun part - the trains!
 |
| Looking down the center aisle. |
 |
| I am very proud of that curved backdrop; fit it into place by myself. |
Friday, November 10, 2017
Modeling Amtrak, Part V, Models Part III
In the mid 1990's, Amtrak started the process to replace the sleeping cars on the east coast trains.
Due to tunnel clearances north of Virginia, the Superliners were not an option. (Note that the Auto-Train runs from Lorton, VA southward) So something else had to be done.
The sleepers were a mix of pre and post war cars so as you can imagine, by the 1990's, they had significant miles on them.
Amtrak designed the cars and had them produced by Morrison-Knudsen with final configuration at Beech Grove. Of course, nothing with Amtrak could be easy so in the middle of the order, M-K went through bankruptcy and Amerail ended up finishing the order.
I've been under the impression, and it is a mistaken one, that nobody ever produced Viewliners in HO scale.
I am happily wrong.
eBay searching last Month (October 2017) showed a set of Viewliners in plastic (a Walthers offering; pre the seriously detailed offering that run $70 to $80 a car) and a single, Overland imported, Ajin produced, Viewliner in brass.
I missed the plastic Viewliners, but scored the brass model.
It has a bit of wear, but is still a good representation. A couple of sample pictures follows; the site gallery has more of them. There is a link to that at the end of the post.

The complete gallery is on the picture portion of the website here.
Now that the Viewliner 2 is a thing, I wonder if we will see another run of them produced. Hmm.
Due to tunnel clearances north of Virginia, the Superliners were not an option. (Note that the Auto-Train runs from Lorton, VA southward) So something else had to be done.
The sleepers were a mix of pre and post war cars so as you can imagine, by the 1990's, they had significant miles on them.
Amtrak designed the cars and had them produced by Morrison-Knudsen with final configuration at Beech Grove. Of course, nothing with Amtrak could be easy so in the middle of the order, M-K went through bankruptcy and Amerail ended up finishing the order.
I've been under the impression, and it is a mistaken one, that nobody ever produced Viewliners in HO scale.
I am happily wrong.
eBay searching last Month (October 2017) showed a set of Viewliners in plastic (a Walthers offering; pre the seriously detailed offering that run $70 to $80 a car) and a single, Overland imported, Ajin produced, Viewliner in brass.
I missed the plastic Viewliners, but scored the brass model.
It has a bit of wear, but is still a good representation. A couple of sample pictures follows; the site gallery has more of them. There is a link to that at the end of the post.
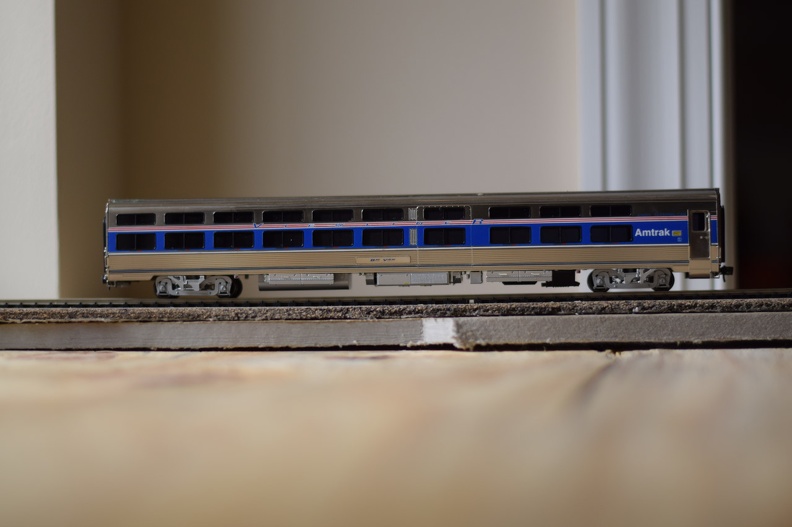 |
| The fall sun is a fickle thing. I need a lightbox, but don't have the space or money for one. |

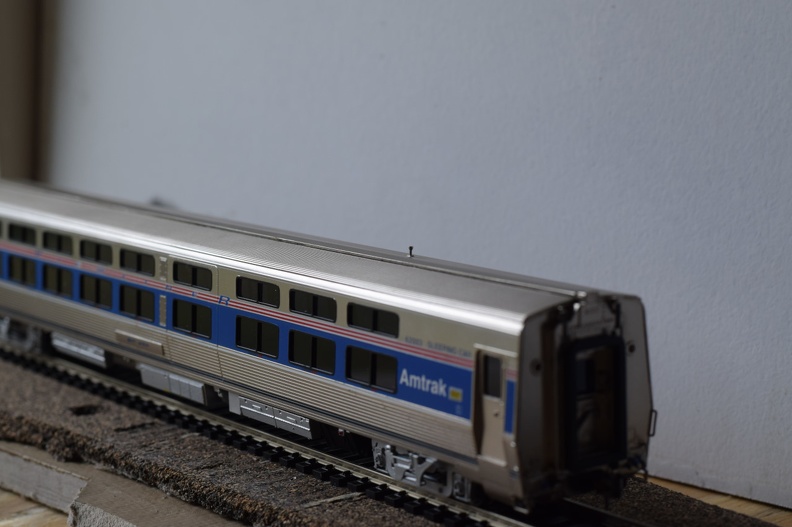 |
| Vent is present. |
The complete gallery is on the picture portion of the website here.
Now that the Viewliner 2 is a thing, I wonder if we will see another run of them produced. Hmm.
Wednesday, November 8, 2017
Everybody's heard of miniature track gangs, but what about a small carpenter?
Just asking for a friend.
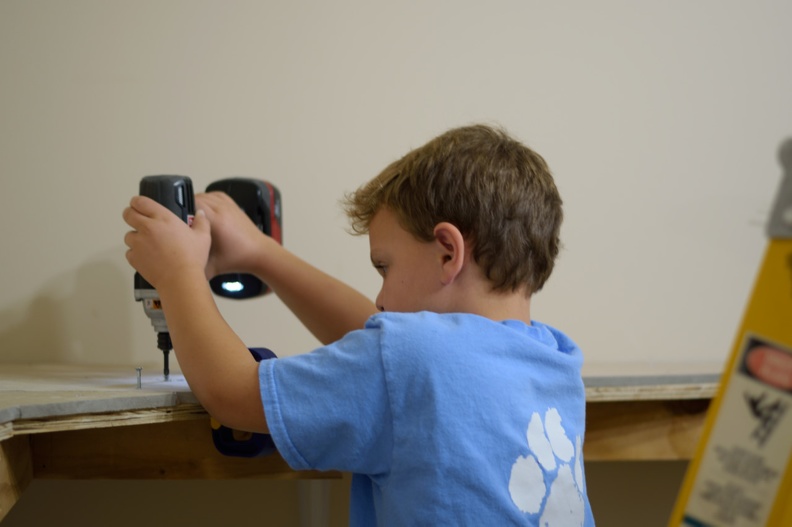 |
| Note the light on, in the base of the impact. This wasn't posed - he's driving screws that Dad presets. He's not quite tall enough/experienced enough to see the pre-drilled holes. |
Monday, November 6, 2017
More Fast Tracks Jigs
Recent eBay scores have included a #8 double slip jig and point form tool as well as a 60 degree crossing.
I hope to be able to capture some images of them and test them out fairly soon.
I've been considering seeing if I can work a trade in on my #10 turnout jig for a #10 cross over jig.
Maybe I should put in a #12 somewhere.. Hmm.
 |
| #8 puzzle switch jig. Current track plan calls for 4 of these inside Acca to maximize body track length |
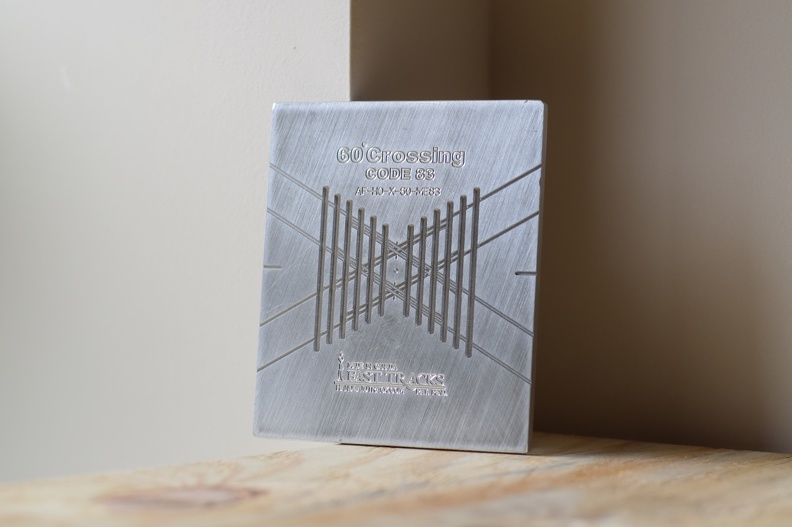 |
| Doswell crossings, here we come! |
I've been considering seeing if I can work a trade in on my #10 turnout jig for a #10 cross over jig.
Maybe I should put in a #12 somewhere.. Hmm.
Saturday, November 4, 2017
A quick follow up
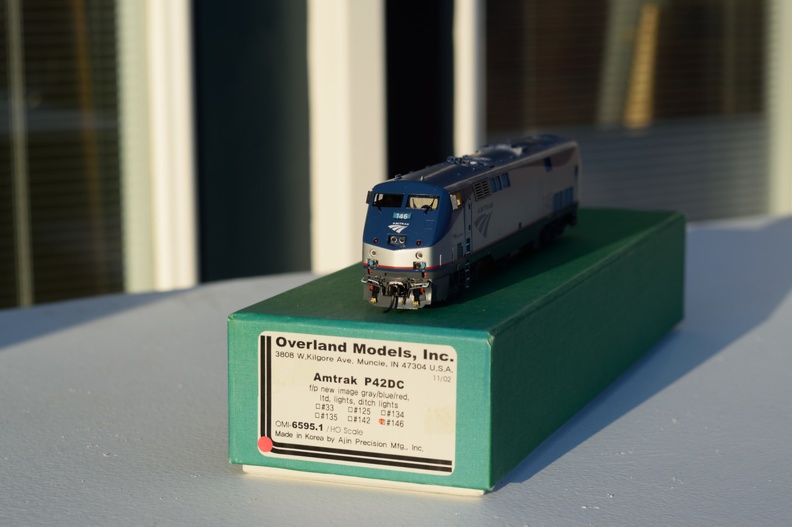
So, way back in August of 2012, I mentioned I had purchased a Overland Models P42, in brass, and promised pictures.
Never let it be said I don't deliver, but let's agree to not talk about timeliness. 😀

I'll make a promise to put a bigger post about it and some other recent buys in the future. Hopefully, it will be the near future. 😏
Never let it be said I don't deliver, but let's agree to not talk about timeliness. 😀
I'll make a promise to put a bigger post about it and some other recent buys in the future. Hopefully, it will be the near future. 😏
Friday, November 3, 2017
Track Planning for Version 2
Editor's Note: Some of this content is going to be submitted to the LDSIG's Journal whenever I get time to finish the article up so don't be surprised to see it again.
I believe the refrain "make only new mistakes" applies to a fair amount of the human condition but let's focus on how it relates to model railroading.
One of the chief complaints about version 1 was the short mainline run.
In trying to fit a super sized adaptation of the original railroad into the new space, I wasn't really fixing that problem, but putting a band aid on it.
I stubbornly continued to try to make it work; even with some serious contortions, the outputs were never good enough to grab me and say "build this!"
It took multiple people, including a LDSig member during a consult at the Indianapolis NMRA convention to tell me to consider a "one way" approach before I finally listened.
I'm glad I did since I ended up getting a design that have 9.5 scale miles of mainline run, generous curves (40" is the mainline standard), the wye at Acca and the Amtrak station at Staples Mill.
Thursday, November 2, 2017
Version 2 - The Space and Environs PreView
As I've briefing mentioned, the original Richmond Terminal is no longer with us.
In 2016, we sold our house in Chesterfield and moved east of town into New Kent.
We purchased a good size ranch that, most importantly to me, included a full size basement. As a bonus, the basement was going to be finished when we moved into the house.
I had to finish the basement or at least make it livable for a railroad at the old house, so that took about 4 years worth of work before I started screwing together the first pieces of plywood.
At the new house, the original design of the basement was cut up into multiple rooms. One of the walls was load bearing which was going to be a complicating factor.
For the space's use as a model railroad, this just would not do.
A LVL beam was specified and installed and the other walls were removed, giving a large open space for a railroad.
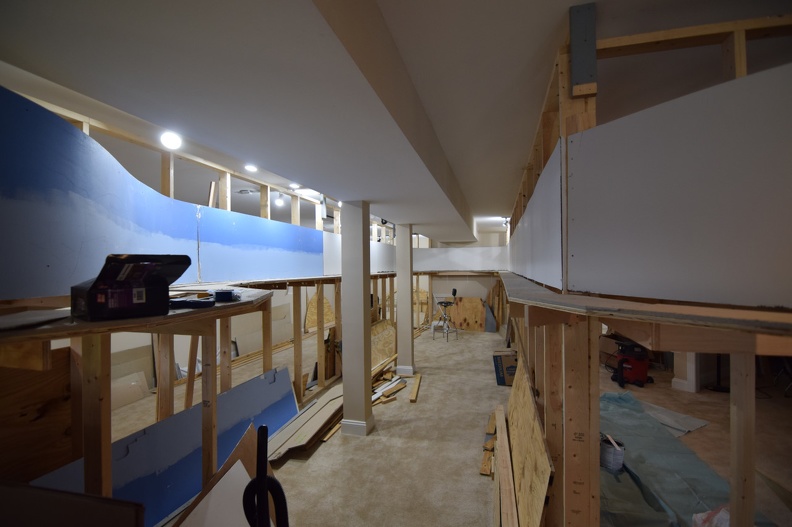
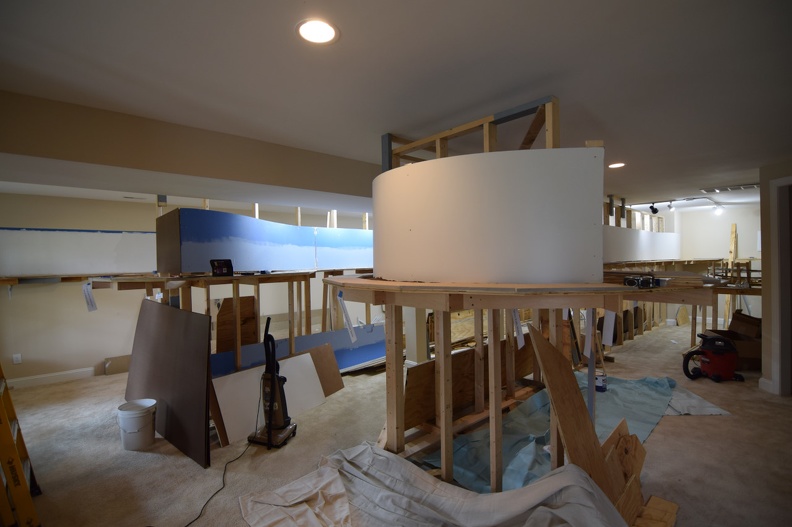
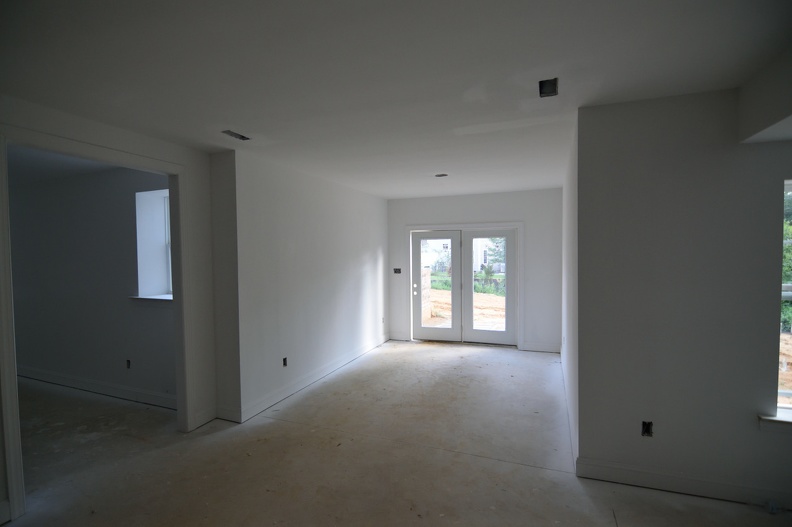
These shots are from right after drywall was finished and painted, but before the carpet was put down.
Walk out space; the sunroom was a $12.5K option, but we added space on both levels so it was a strong value.

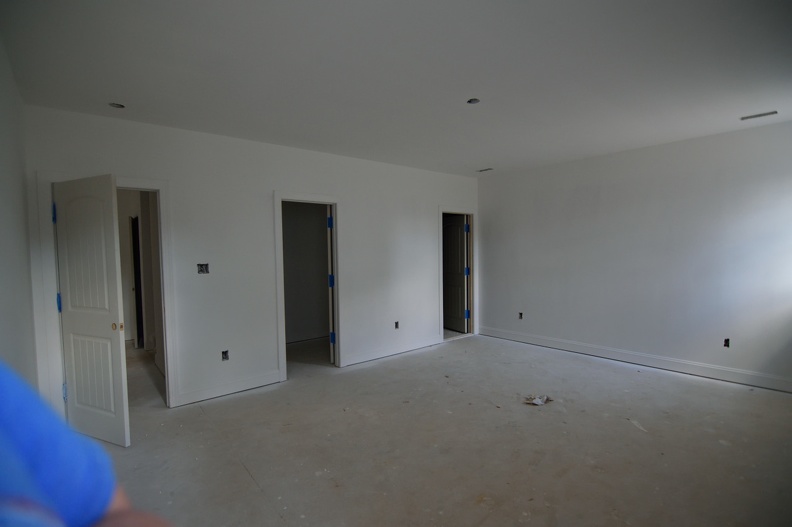
The bedroom space; the breezeway opening you see above was another request to the homebuilder.

In 2016, we sold our house in Chesterfield and moved east of town into New Kent.
We purchased a good size ranch that, most importantly to me, included a full size basement. As a bonus, the basement was going to be finished when we moved into the house.
I had to finish the basement or at least make it livable for a railroad at the old house, so that took about 4 years worth of work before I started screwing together the first pieces of plywood.
At the new house, the original design of the basement was cut up into multiple rooms. One of the walls was load bearing which was going to be a complicating factor.
For the space's use as a model railroad, this just would not do.
A LVL beam was specified and installed and the other walls were removed, giving a large open space for a railroad.
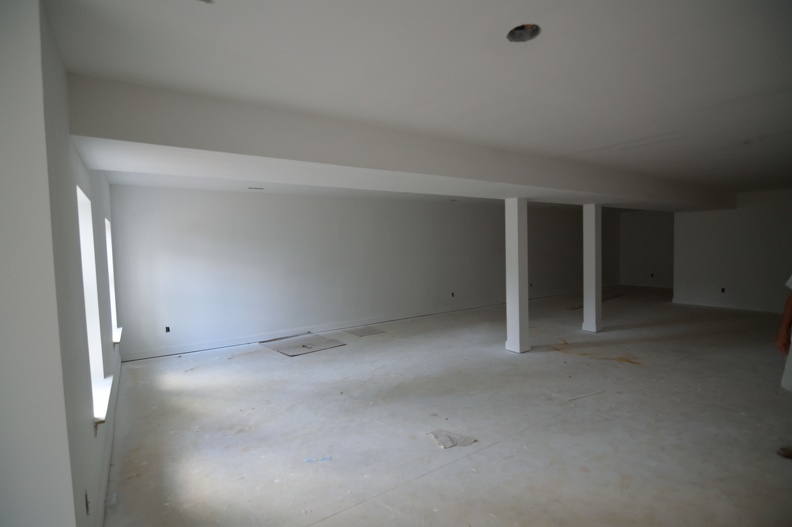 |
| We are looking into the larger portion from the walkout area under the 1st floor sunroom. |
These shots are from right after drywall was finished and painted, but before the carpet was put down.
 |
| Entry to the basement from the stairs to there on our right. The two doors are a full bath and coat closet, from left to right. |
The bedroom space; the breezeway opening you see above was another request to the homebuilder.
Subscribe to:
Posts (Atom)