One of last summer's efforts were related to the Crossroads (XR) control point.
This area has been plagued by various issues over the life of the layout that I trace back to the crappy plywood that I used as subroadbed here. This plywood had separated plys and inconsistent thickness over its run, which caused phantom uncoupling and other operating annoyances over the years.
When I went to put in scenery, I realized that it was going to be just about impossible to add in any structures.
So, the obvious solution was to rebuild from the ground up.
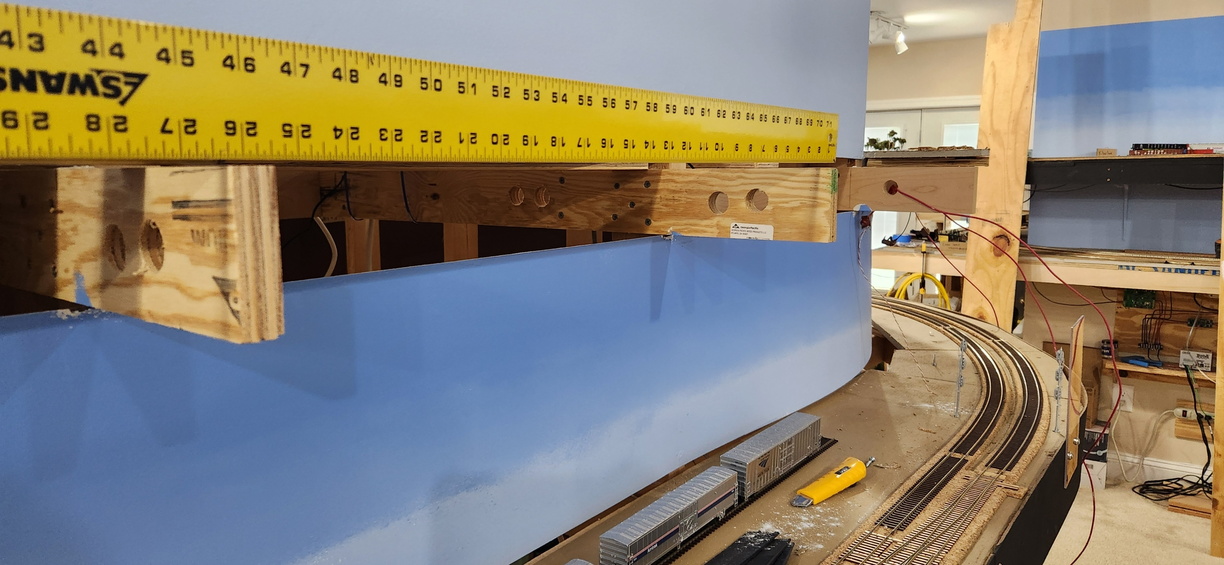
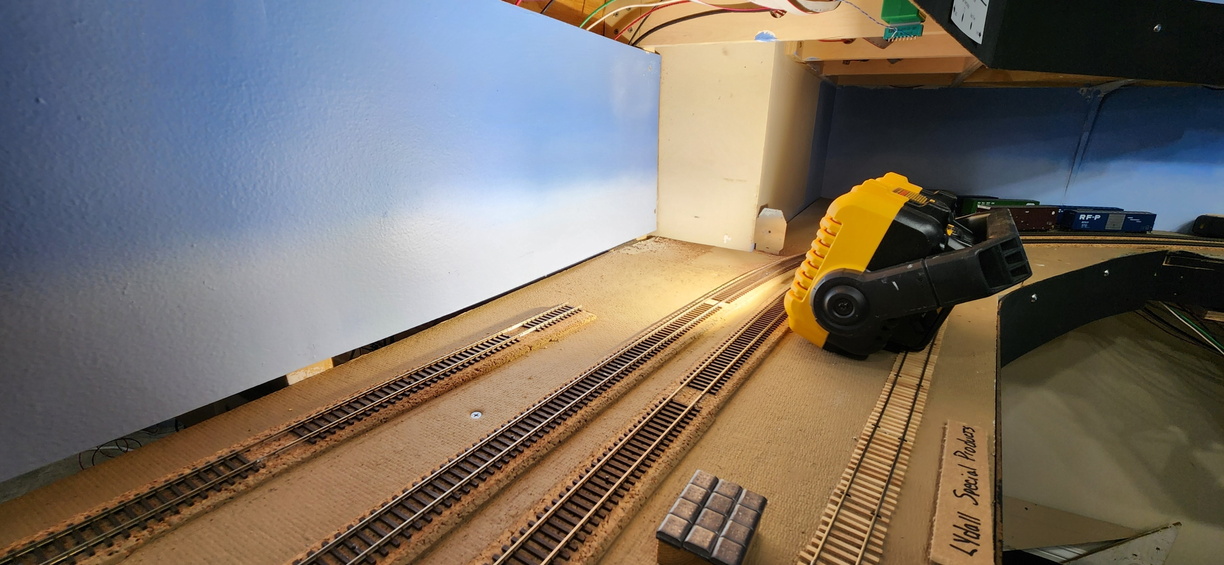
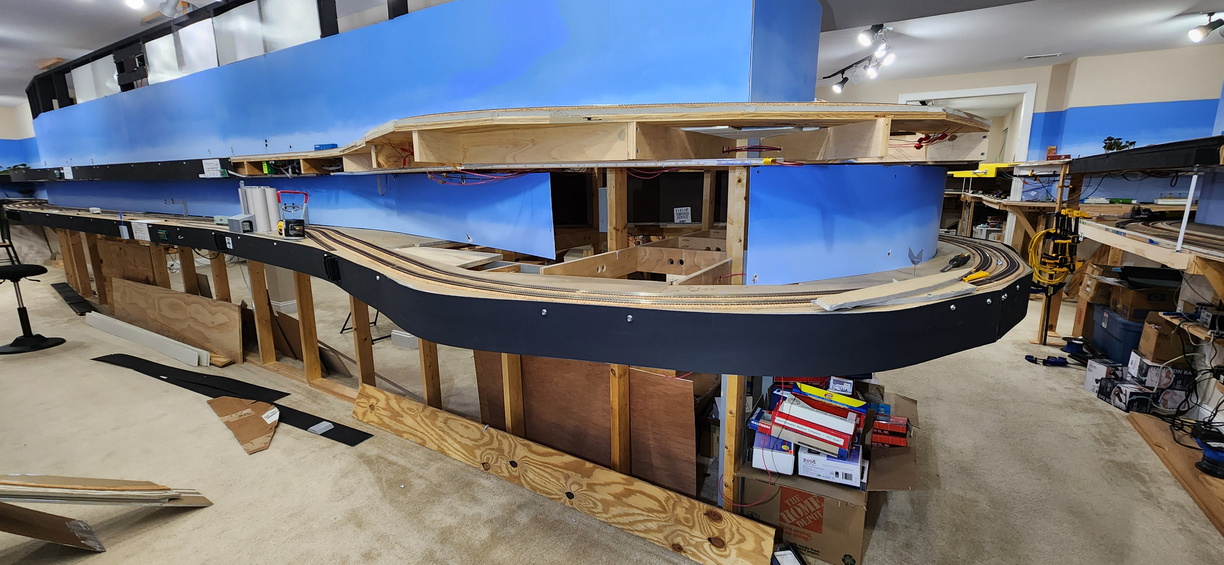
I made the area wider, matching the width of the lower deck, across the entire area. I also updated the track layout to better match the prototype.
I moved the crossover south around 6 feet, and angled it, to make sure that I could make the mainline match the curve to Hamilton smoothly.
This has been in place for the last 6 sessions and I have gotten good feedback from the crew, so I will put this down as a success. In a future post, I will talk about the structures that I've installed in this area.
A few more photos can be found on the gallery at richmond-terminal.org.