Showing posts with label dcc. Show all posts

Thursday, August 20, 2026

Motive Power Updates

 As time has gone on, the motive power on the Richmond Terminal has become closer to the prototype's mix versus the initial "whatever we found" paradigm.

Part of this is having RF&P decorated units available from the various manufacturers, another part of this is being able to actually source them.

Recently, Rapido launched a GP40 in the late 80's, early 90's scheme, and Walthers put out a GP35 in thir Proto line. The GP35 has the slightly older paint scheme, but that's acceptable for now.

Here's a shot of a new GP35 being put through a break in cycle before being assigned to a consist and speed matched.


Saturday, September 14, 2024

Customizing Resistor wheelsets

 As most readers know, the freight car fleet on the Richmond Terminal is equiped with resistor wheelsets to make sure that all cars are detected on the line, and that the signal system reflects that fact.

To do that, I've used Intermountain axles that I prepared and installed.

Some freight car truck designs do not support the IM axles and require a different approach.

These are Athearn coal cars - the bathtub style cars, BTW.


Glue a 10K 1206 size resistor, and then paint to the wheels with conductive paint or glue. Problem solved.

Tuesday, February 13, 2024

Resistor Axles, Tank Cars and working around all the different truck designs

As my long term readers and any operators of the Richmond Terminal know, the layout is signaled.

How it works is based on the system being able to detect that something - a engine, a passenger car, a freight car, an entire train - is in a block of track. Since I am using DCC, the easiest way to figure out if something is there, is by measuring that there is some amount of current draw.

Engines are easy, as they draw power, even when they aren't moving since the decoder does need a bit of power no matter what (sound decoder or not). For passenger cars, if they are lighted, again easy.

For your standard freight car, they don't draw any power, so that's a problem.

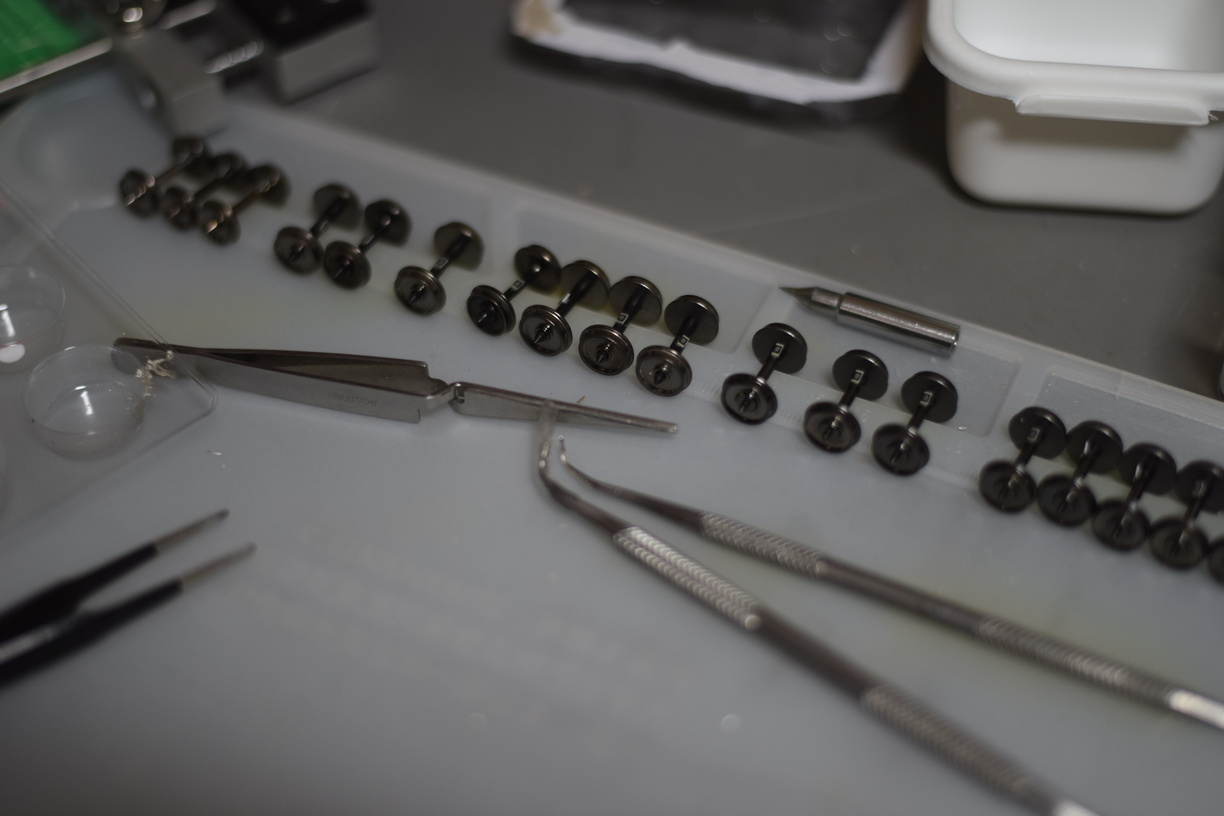
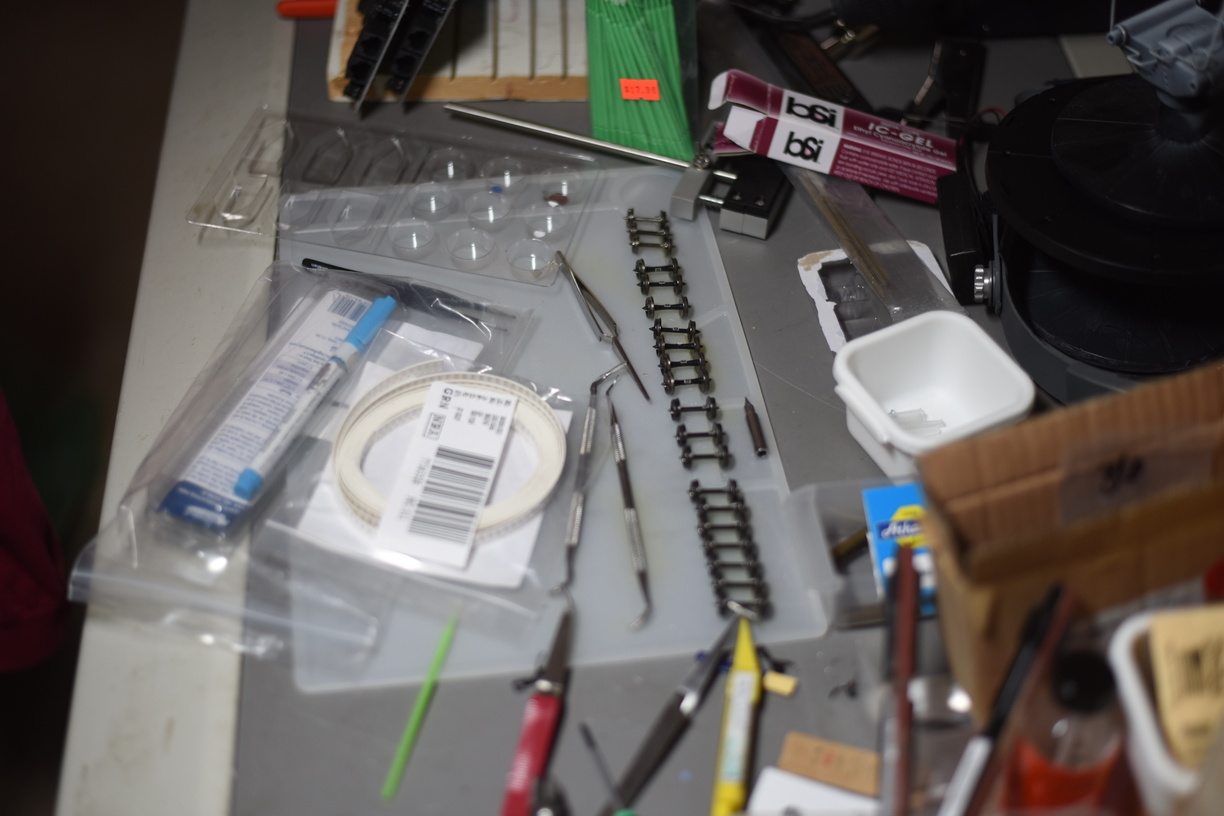
As my rolling stock is standardized on metal wheelsets, I have made a bunch of resistor wheelsets, where I glue a small surface mount resistor and then use conductive ink or paint to make a circuit. You can take a look at a prior blog post where I talk about making a batch of resistor wheelsets here. I fixed the resistor size - they are actually 1206 size SMT resistors. 10K Ohm, 1/8 watt - on that post when I realized I erred.

My standard replacement axle is Intermountain. They sell the axles in bulk packs of 100. They fit in a wide variety of truck designs, but for some truck designs, they do not fit correctly.

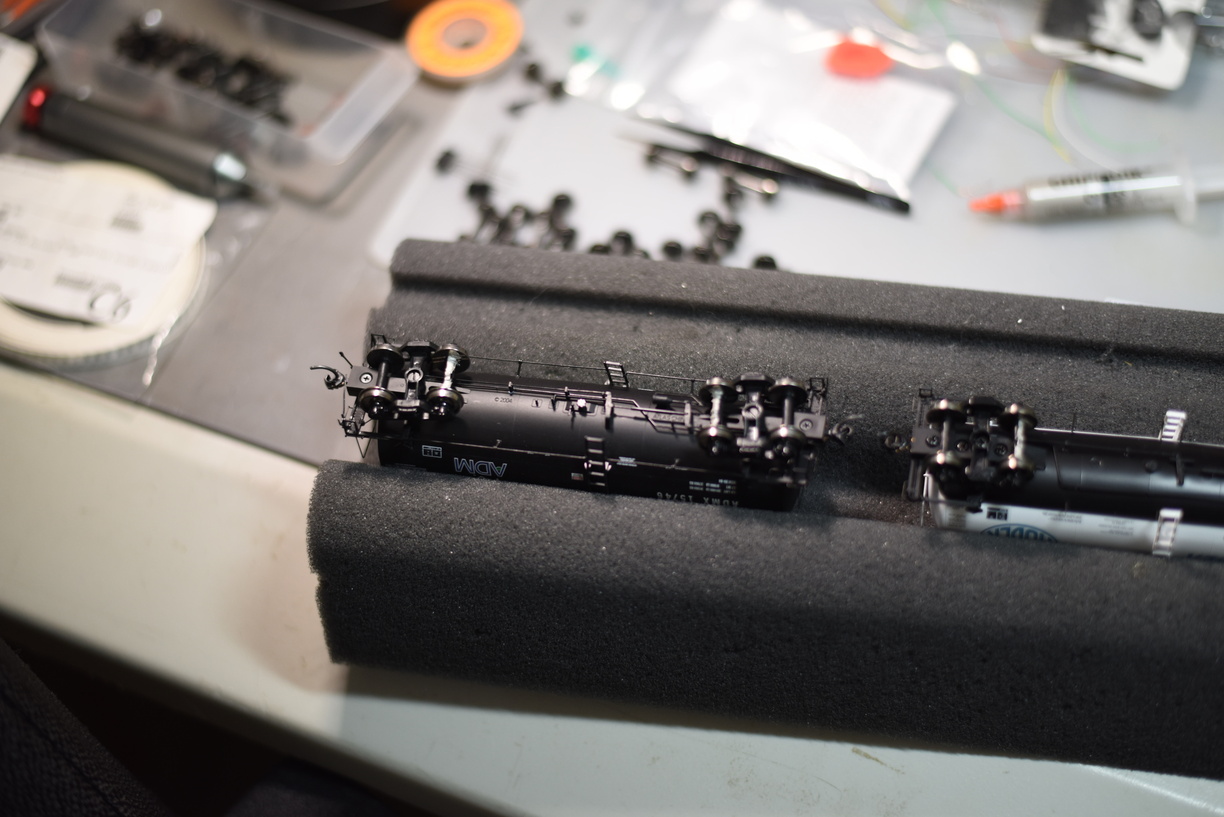
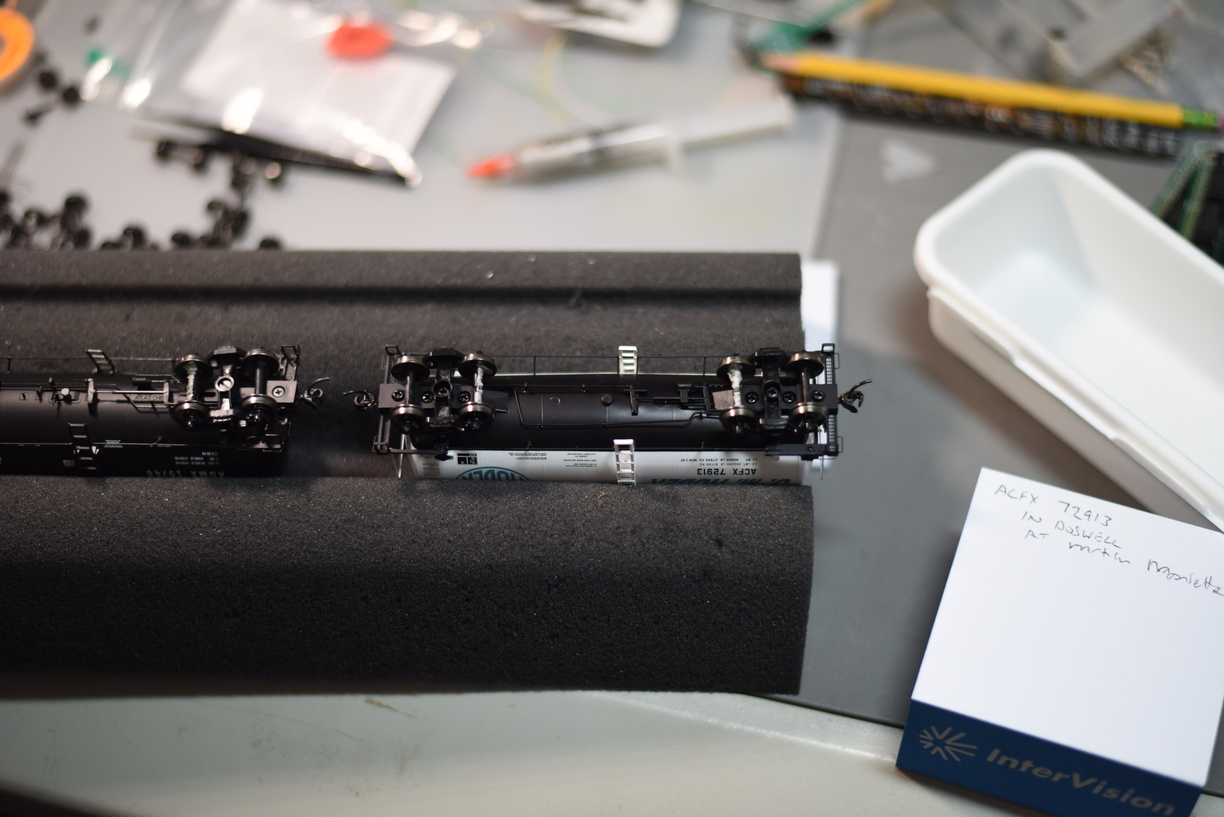
As an alternative, especially for cars that the factor axles are plastic, while the wheels themselves are metal, I glue the resistor in the middle of the axle, and then connect each side to the wheel with conductive paint.

It seems that tank cars are a consistent issue with being incompatible with the Intermountain option.

I have been checking the tank cars and also spotting any without Kadee couplers installed, so I grab them for the coupler replacement, and take the opportunity to handle the resistor wheelset issue.


The paint does take a bit to try, so doing this can tie up the foam cradle for a day.

Cradle off the bench so I can do something else.


Monday, January 8, 2024

Reworking Block Detection for Signals

The Richmond Terminal is a signaled railroad. The end goal is to have a functional CTC system in place like version 1 did. Version 1 used a virtual CTC panel based on the Union Switch and Signal components inside JMRI.

As we are still working on the operating scheme, I decided that an Automatic Block System (ABS) would make the most sense to implement at the start and once the operating scheme was solidified, I would pivot to setting up the CTC system.

ABS is currently running based on the LogixNG inside JMRI. As I have worked through the configuration, I realized that when I connected the track blocks, I erred.

The Richmond Terminal is a 2 track mainline railroad, which means there are crossover from one track to another. These crossovers are frequent. The railroad is just shy of 10 scale miles; there are 14 crossovers total.

I setup 1 detection section per crossover. This meant a couple of things - detection of the crossover section would prevent a dispatcher from throwing one under a train, but the detection state would not help me drop to red until a train moved through the crossover and hit the next block, and I could not test the crossover occupancy to set a signal aspect, either. 

Consider this example - a train is southbound on track 3, approaching a crossover. On track 2, a northbound train is moving through a crossover section, on a straight route. The crossover shows occupied, which is true for track 2, but NOT track 3.

This meant that I needed to go back and break apart the detection for each crossover and connect my blocks so that each component turnout of the crossover was detected separately.

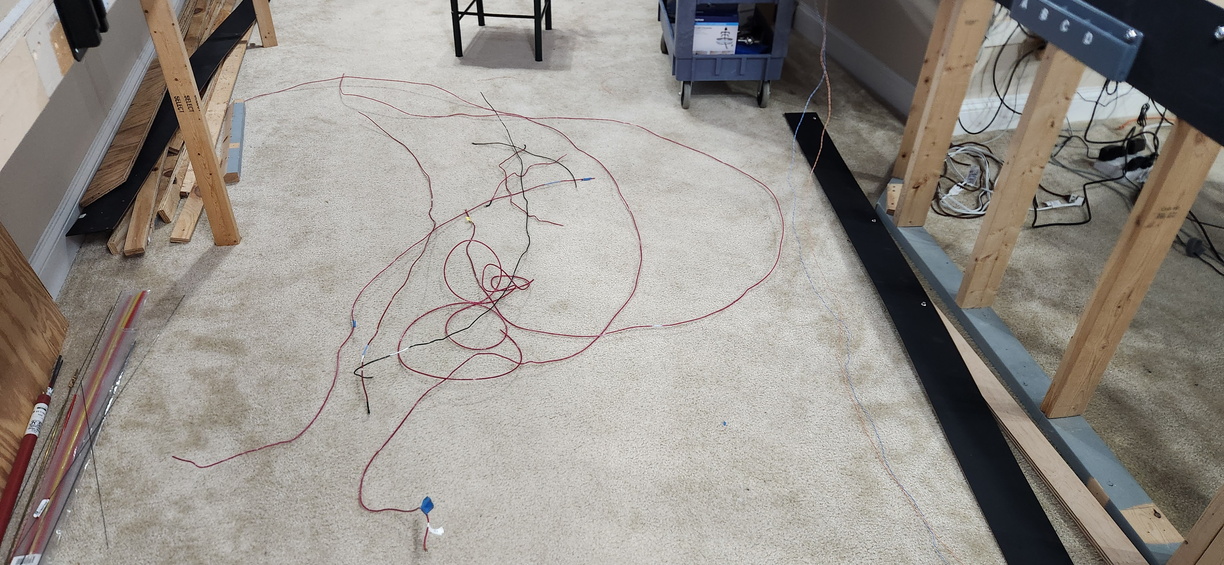
I took advantage of this and did some rationalization of my DCC bus as well.


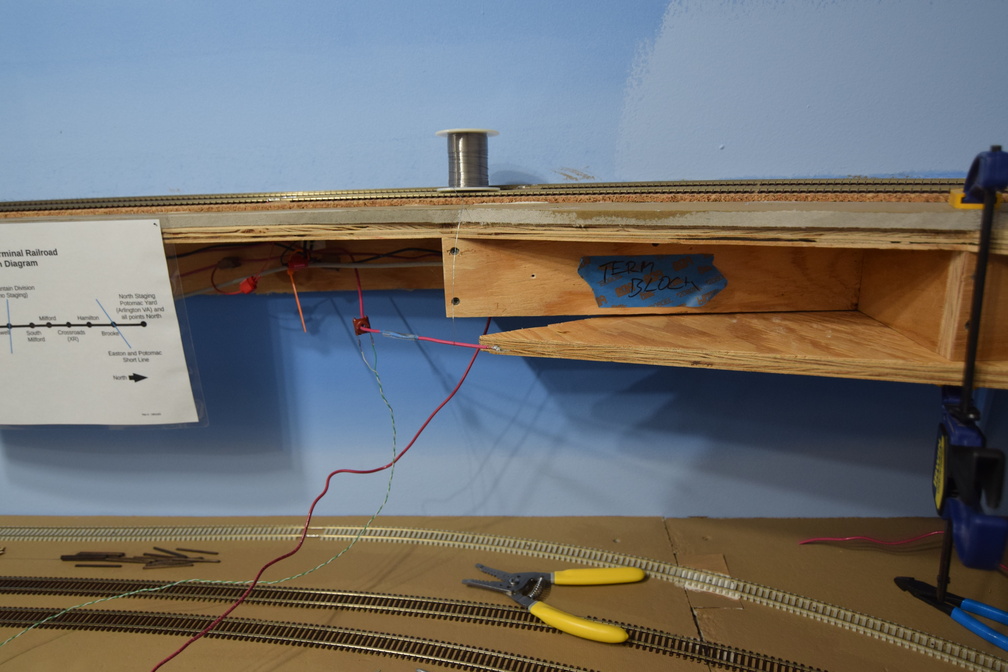
That's wire I pulled out from a part of 1 peninsula...

Here is a shot where I shortened bus wire and soldered new ends on. Had to clamp up a piece of plywood to give myself a working surface.


More pictures are in the gallery at richmond-terminal.org

Sunday, December 3, 2023

Digitrax DT400 Series Encoder Repair

 During an op session earlier this year, a DT400 was turned in as defective.

The right hand throttle knob no longer had the push button functionality and that meant that going from one side to the other didn't work correctly. It seemingly was always pushed as well.

Digitrax no longer repairs the DT400 series throttles (or the UT4 series either, for that matter). Thankfully, the encoders themselves are still sold.

It takes some effort to get it apart, but replacing the encoder was straightforward.


The connection to the battery tabs broke, so I took the opportunity to install a snap connection.


This throttle is fixed and back in service.

Friday, November 24, 2023

Cleaning Track In a Photo

As I've mentioned on the blog and website previously, the Richmond Terminal has just under 10 scale miles of mainline track.

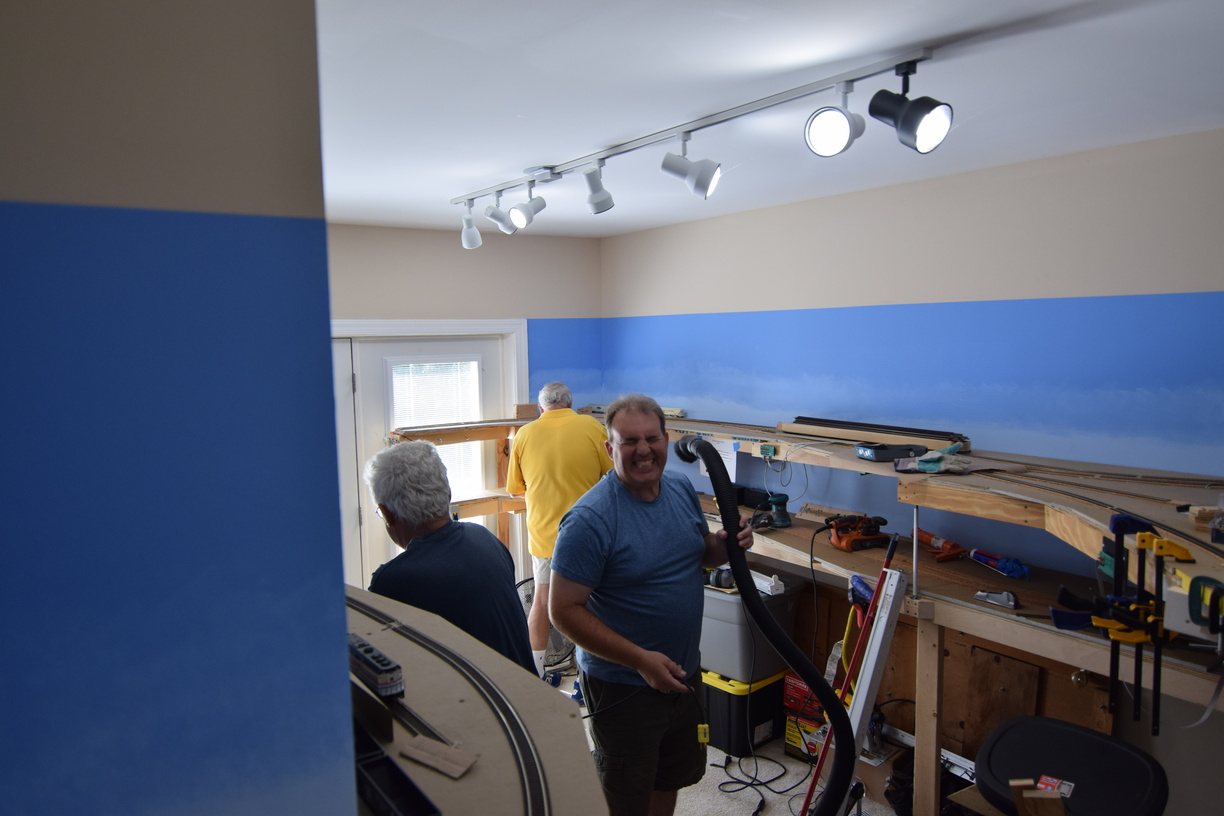
In general, it does not require much maintenance beyond a vacuum here and there, mostly to get any construction dust off.

I cut wood and homasote outside, but that doesn't stop having to drill pilot holes for screws to mount fascia or LCC nodes, install signals, etc. All that little stuff that requires a drill creates some dust.

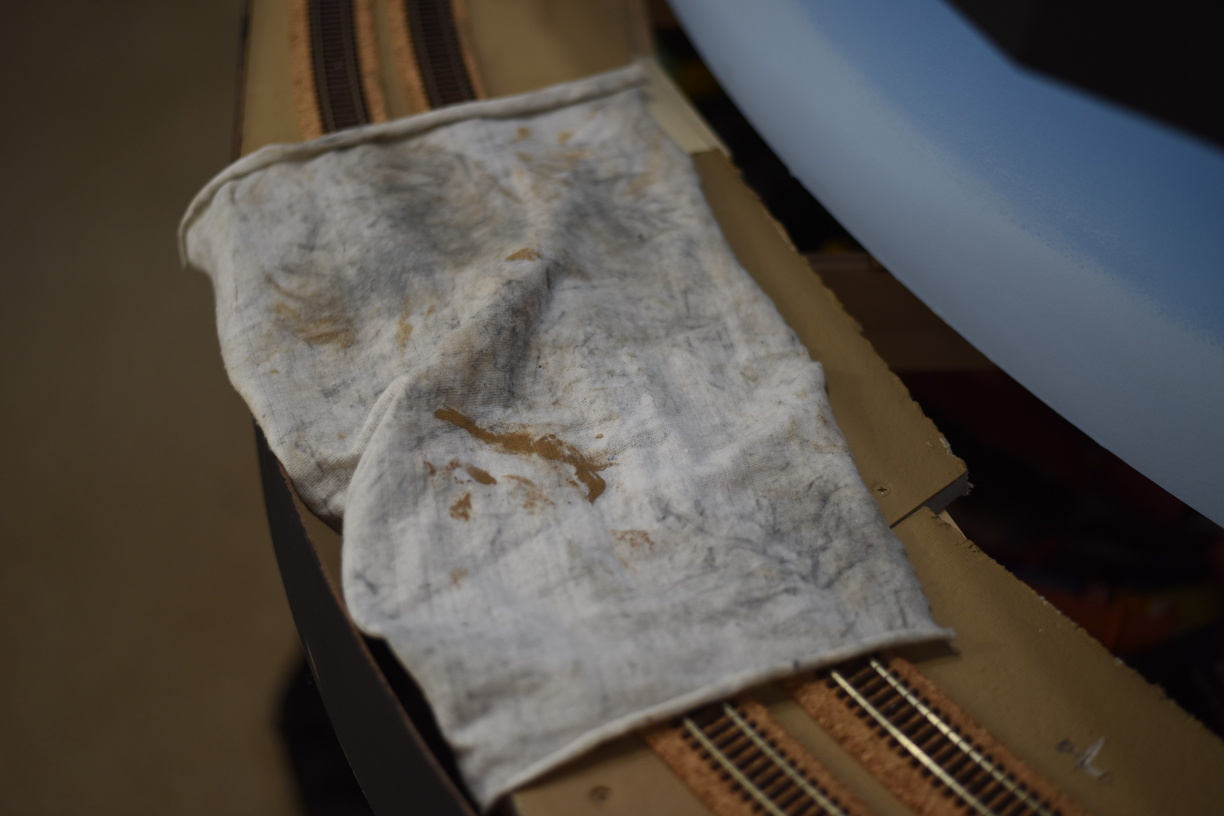
After reading an article on Model Railroad Hobbyist about polar and non polar solvents, I decided to clean my track with "odorless" mineral spirits, instead of the normal isopropyl alcohol, as it turns out that isopropyl is a very polar solvent that will attract dirt and dust, whereas mineral spirits aren't all that polar and don't.

I started with a paint clean up rag. You can see the splash of brown in the center.

I promise the majority of the rag was white when I started.


I didn't scrub, I just rubbed this lightly across the track.


Tuesday, December 27, 2022

Resistor Wheelsets Again

Some time ago, I created a couple of batches of resistor wheelsets to be used on the freight car fleet to make sure that block detection worked fully. The blog post about the first phase of this is here if you are so inclined.

I used the Intermountain bulk wheelsets, 33" diameter for the first batch back then.

After using a bunch of them, I realized that some of the car fleet had a 36" wheel size, vs a 33" wheel size.

So, that means I needed to make some 36" wheels up with resistors.


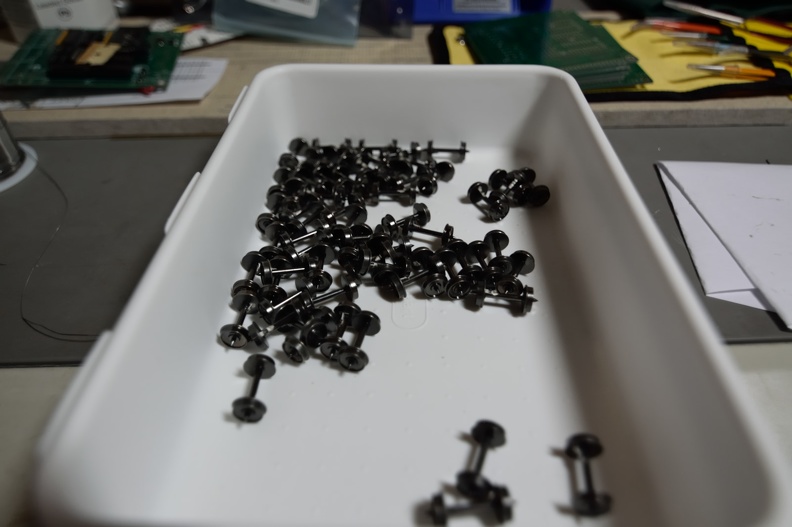
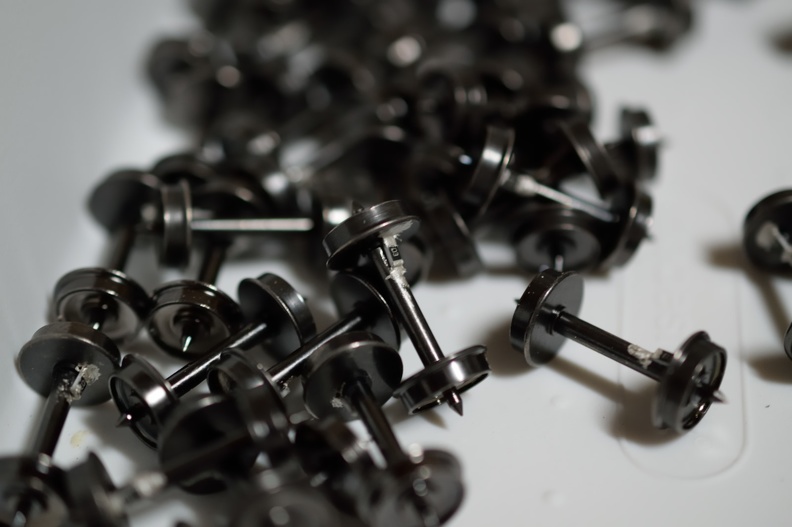
I'm still using 10K 1/8W 0805 1206 SMD with the same procedure as before.

Jan 2024 Edit to fix this. I put together a new post about it, and wanted to link to the old posts. As I pulled the old posts to link, I realized I have had the resistor size wrong for years. Whoops!


Wednesday, December 21, 2022

Smoothing Operations

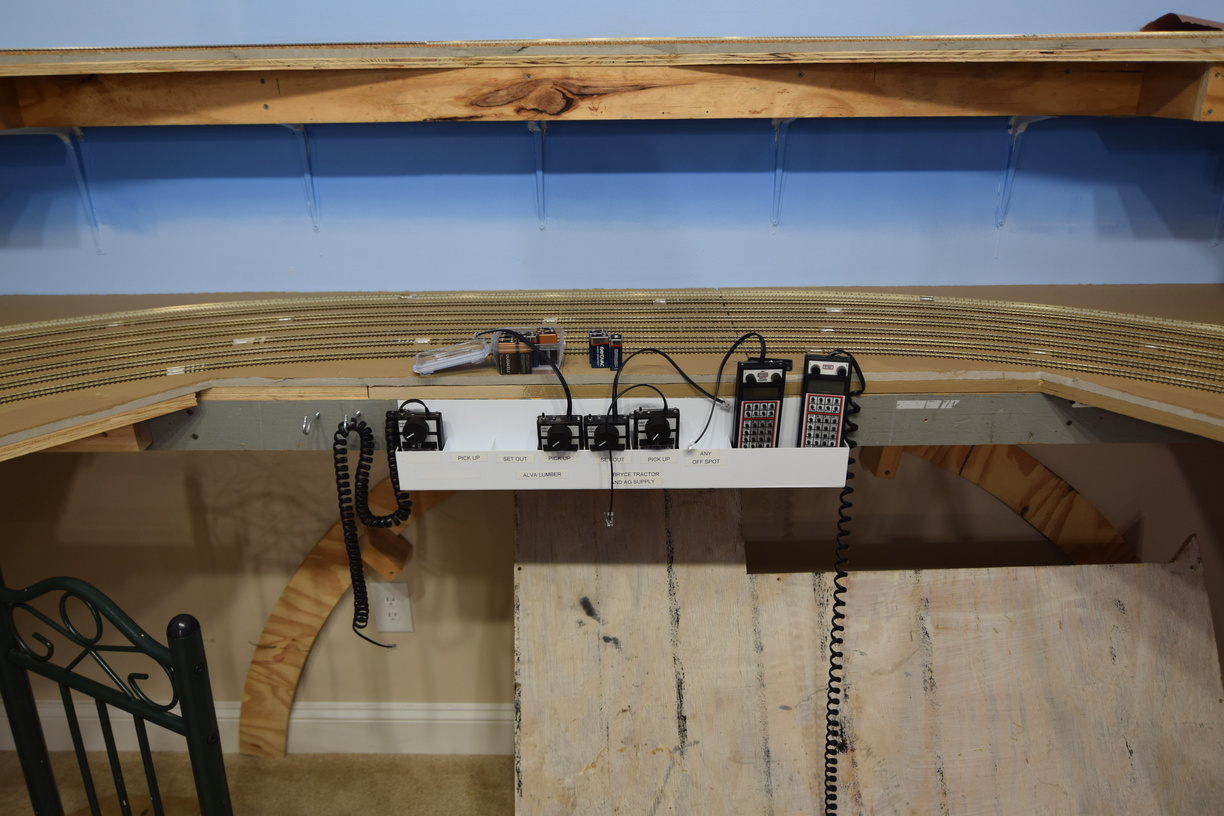
 Long time RTRR operators probably remember that the Digitrax throttles were stored in an untidy pile on the benchwork in Doswell.

Management finally tired of the situation enough to make some changes.


Those with a keen eye will realize this is a reused car card box from version 1.

Waste not, want not.


Friday, September 30, 2022

September Work Session

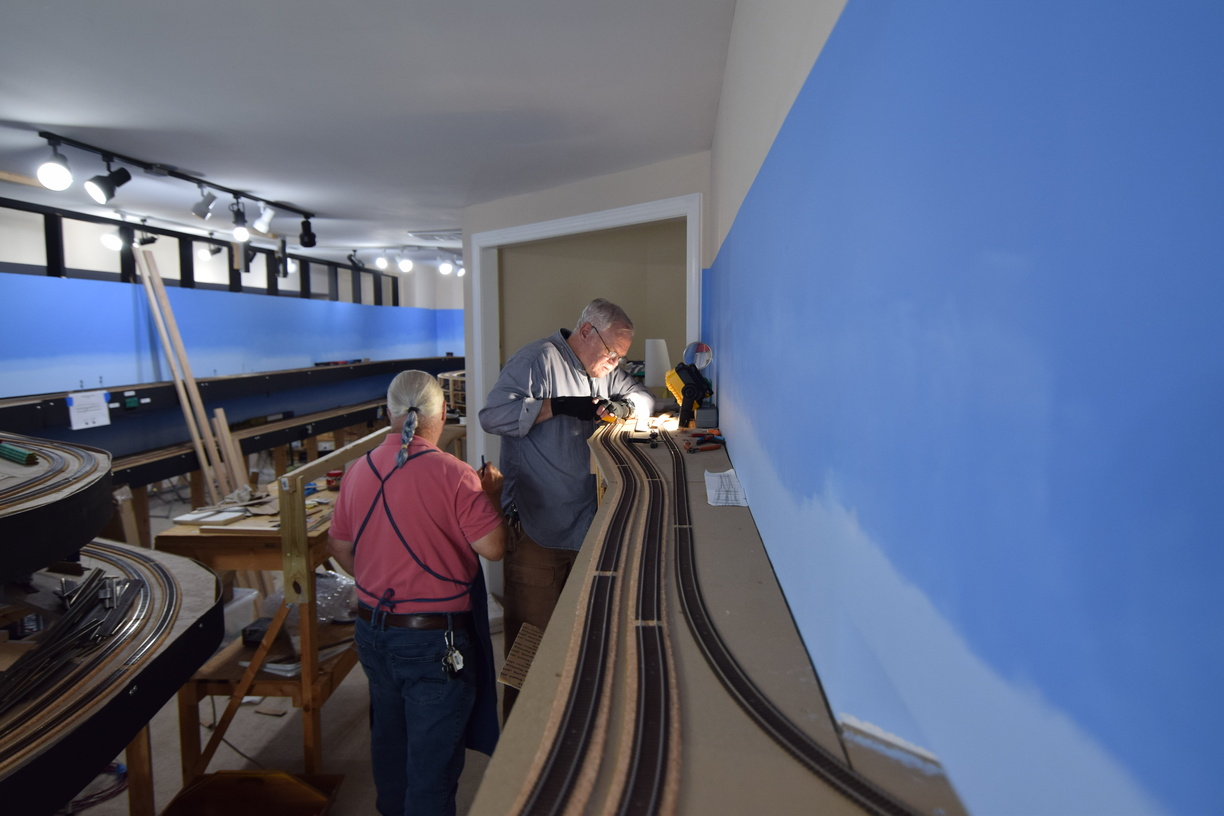
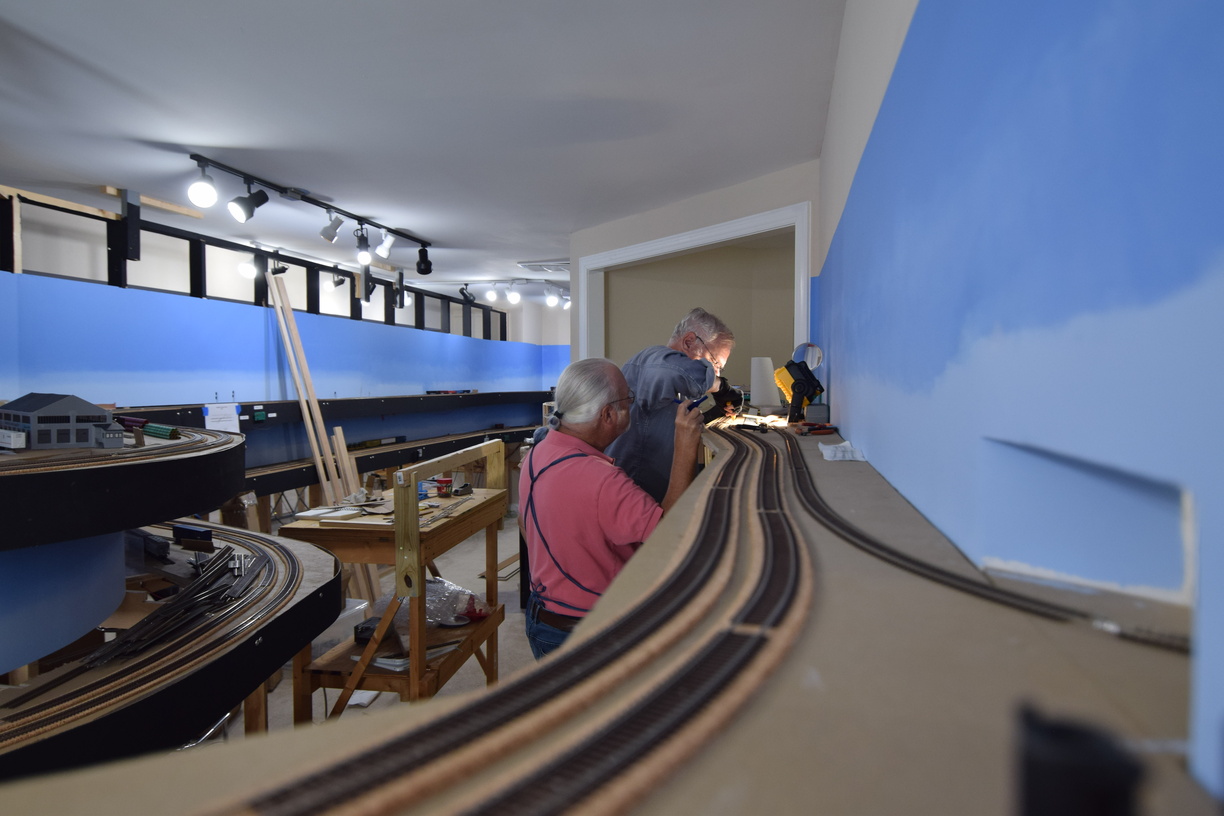
 After the August operating session was held, Management realized that significant help would be required to move the railroad forward to be ready for the next session.

The South end staging yard needed to be marked out for track centerlines, a crossover needed to be installed at Doswell (I had left it out of my initial plan. Turns out there was a good reason it was there in real life), and track needed to be laid from the south end of Acca, towards staging.

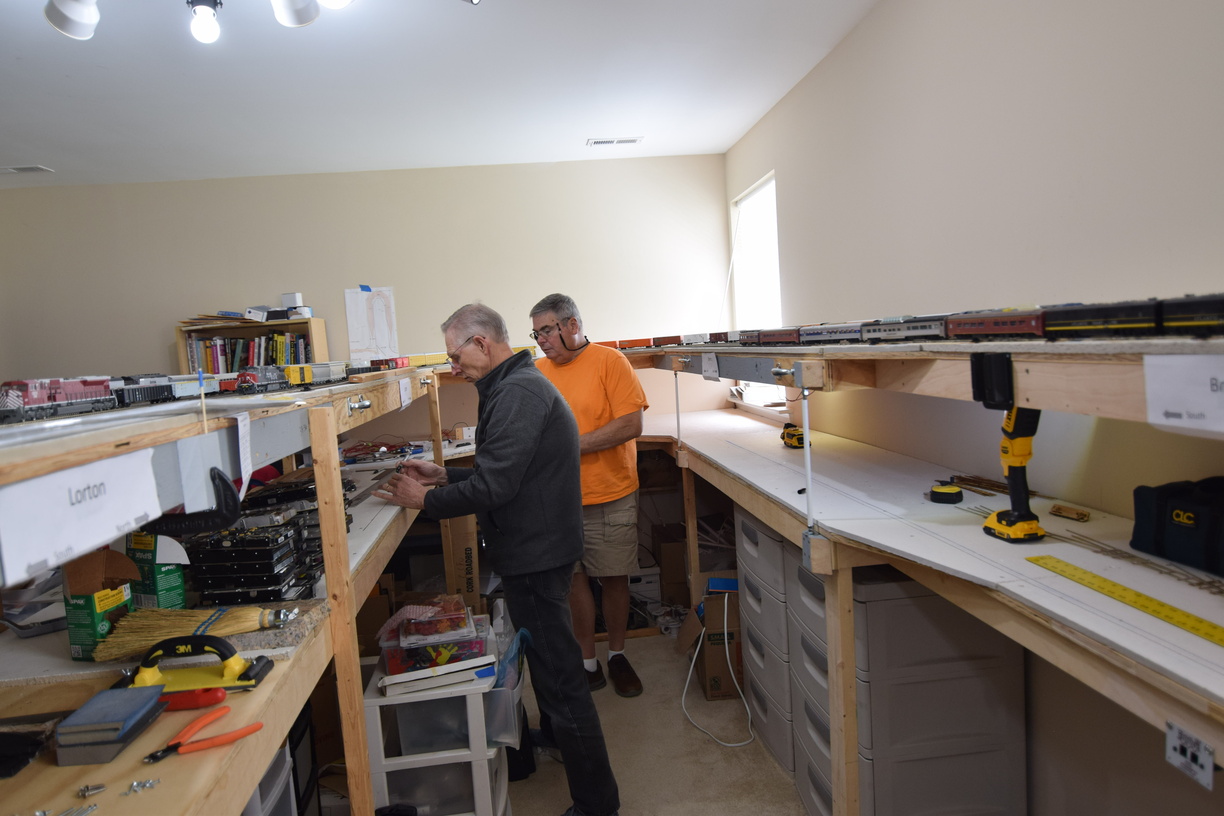
An interpid crew of workers attended a Saturday session and much progress was made!


Here at Doswell, track had to be removed, roadbed added, sanded flat, and the crossover (a #10, built via my fast tracks tooling) installed. After the crossover was spiked down, tortoise switch machines needed to be installed, and the flex track reconnected. After all that, wiring changes would need to be made the DCC feeds.

John and Bill tackle the crossover install at South Doswell

John and Bill were able to get mostly through this list of work, which is a testament to their skills.


The master of geometry, Dick, led Mike B in getting the centerlines laid out in the staging yard.


And the final crew of Tom and Mike P worked to get track laid from Acca heading south.


Note Mike mugging for the camera and everybody else working.

More pictures in the gallery here: richmond-terminal.org

Saturday, March 12, 2022

Helix Wired

 This is a bit of a catching up post, but I've got the helix wired up and running.

The helix, like all mainline tracks, is setup to be detected via the current transformer coils so a message can be leveraged by the LCC system.

Feeders connected to drops

Not the best picture, but shows the DCC blocks - one per track


Monday, March 29, 2021

Got bored and reworked the DCC circuit breaker installation

 My original install of the PSX breakers wasn't neat, but speedy.

Now with some time in the evening and having the lower level DCC wiring starting soon, I thought it was time to neat up the wallfield area where the command station is.


Much neater, I'd say!

Friday, October 12, 2018

Detecting Trains for Signaling

Something that I didn't have on version 1 was detection of any rolling stock; only the engines were detected.

As you can imagine, this caused turnouts to get thrown under moving trains somewhat frequently.

The fix for this is resistor wheelsets. I bought resistors and conductive paint years ago to get it going and never actually sat down and got it done.

I sat in a clinic by Stephen Priest at KC2018 and he mentioned where he had done his entire fleet of cars (700+ ish) in 2 half Saturdays of work. He did an axle per car and that's what I am going to aim for as well.

That inspired me to give it a try.

The conductive paint pen didn't really work, as it has a finite lifespan and it was well over it so I had to take the pen apart and use a microbrush to get the paint onto the wheelsets.

I decided to standardize on Intermountain wheelsets, and in a spot of great luck, my Dad had a bunch of them from a buy his club did a while back.

Process - use a pair of tweezer to glue the resistor onto the side of the axle joint that is insulated with gel CA and wait. Then dab your conductive paint onto each contact side of the resistor and wait to dry. Test with your multimeter. Easy!

I'm going to buy another silver pen shortly when I'm ready to do more of them.

January 2024 Update to this post:
You can source a partial reel of 1000 of these resistors, for ~$15, even at current 2024 prices from Digikey or Mouser. I use Yageo brand resistors, but any manufacturer is fine. Get 1% or better tolerance. 10K Ohm, 1/8 watt.

You want 1206 size, so they aren't so hard to deal with. You could go bigger, 2010 size, if you are in O scale, I'd bet.

Reminder - gel type CA. Trying to use the thin stuff will be an exercise in frustration.

Done so far
10K 1/8W 1206 size, if you are curious