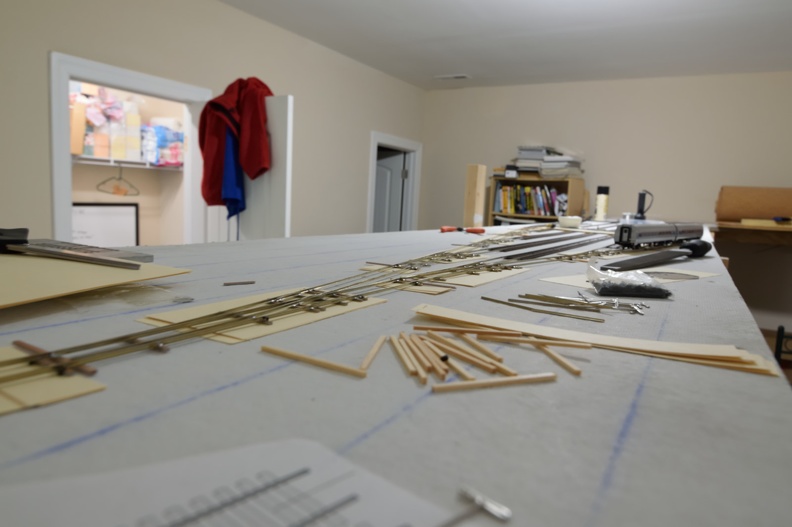
It has been many months since the Mid Atlantic RPM, but I wanted to keep up my momentum on the blog, so here is a few minutes of entertainment for you.
I'm a sucker for RF&P (obviously):
More shots on the gallery at richmond-terminal.org
It has been many months since the Mid Atlantic RPM, but I wanted to keep up my momentum on the blog, so here is a few minutes of entertainment for you.
I'm a sucker for RF&P (obviously):
More shots on the gallery at richmond-terminal.org
Longtime readers will remember that historically, the Richmond Terminal eschews scenic vistas and related stuff.
Some trees have been planted, and there are some profile boards glued to backdrops, and even some ground foam here and there.
Structures haven't been any sort of focus, and until one of the crew built some kits up for me to keep him busy, the railroad was structure-less.
With the rebuild of Crossroads, I planned to have the space for a couple of structures, based on the stock of building kits that I had.
We will dive into one of the builds in this post. This is based on the "Armstrong Electric Motors" background kit. For the Walthers' webpage on this kit, click here.
This is a 3 story, brick building that suggests a WW2 or just postwar style of construction with a loading dock for railcar spotting.
Walthers offers what I will call "standard" structure kits that let you build a "3-D" standalone building, and they also offer background kits that are a "2.5-D" building that is made to snuggle up to your backdrop. The backdrop versions are generally the full kit that is missing a few sprues of parts. This means that you can kitbash or customize what you are going to build fairly easily.
As many building kits don't have the size to properly represent an industry with rail service, combining a few kits lets you illustrate the "mass" of industrial buildings in a space that is less that 2" deep.
Out of the box, the kit is molded in gray plastic, which is pretty dull, but fairly realistic as most industries aren't exactly pretty looking. You can build it to 3 different sizes, width wise, a 2, 4, or a 6 column. If you combine 2 kits, you can get 12 columns, which is what I ended up doing.
I decided to paint the window frames a nice green (Vallejo Air 71-), and then shoot the walls a brown-red (Vallejo Air 71-) mix to make it feel more traditional masonry.
![]() |
| Cutting the frames off the sprue. I dialed the airbrush to "thorough" |
![]() |
| Note the 2 different sizes of frame. |
The kit does include clear plastic to be used for windows. I have to say that getting good results from kit building is somewhat dependent on the tools and techniques that you use. I used canopy glue to glue the windows in, which is the ONLY adhesive you should use for stuff like that. I didn't learn that canopy glue was a thing until I was well into adulthood.
![]() |
| You can see the still wet canopy glue in the corners. |
Once it was all assembled on the bench, I did a QA check and realized that I missed some spots with the airbrush, so I had to use a brush for some touch ups.
Here's the structure on the layout. I need to add the decaled signs to finish this, but this is a huge upgrade from the little cardboard sign and bare track.
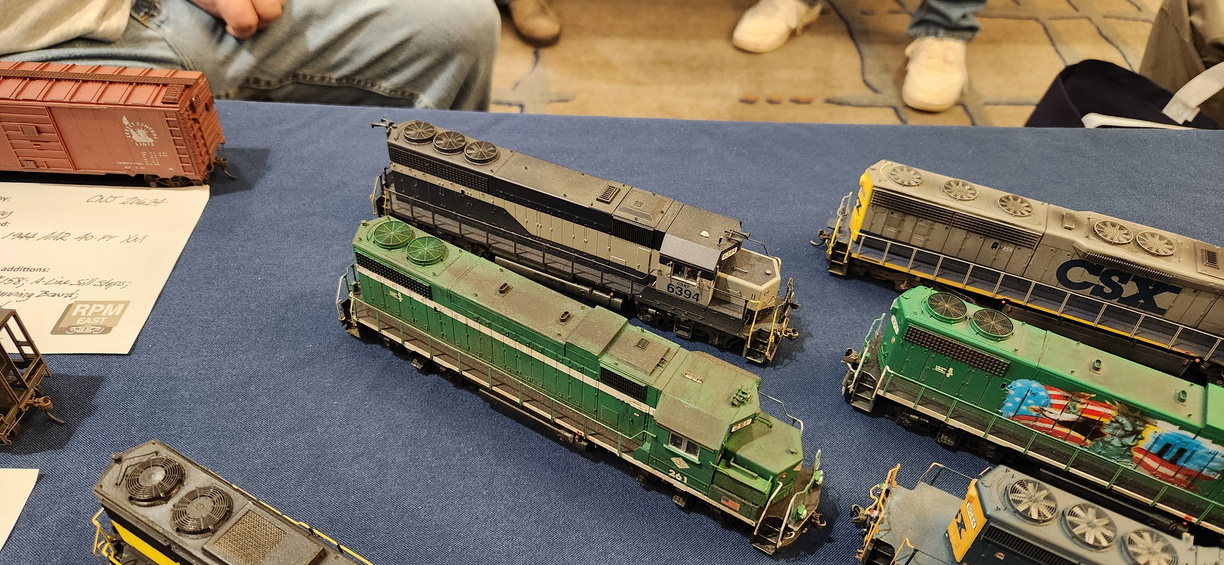
I attended the NMRA National Convention in Long Beach, CA, in August 2024.
As in some years past, I did the LDSig layout tour. One of the layouts on the tour this year was the Santa Susanna Model Railroad Club. The Club is housed in the former Southern Pacific Santa Susanna Station.
What follows is a sampling of photos that I found interesting. If you find yourself in the Los Angeles area, this is worth the ~60 minute drive up into the foothills.
Upstairs in the depot is the living area for the station agent - couldn't resist a cat on chair picture.
More shots on the gallery at richmond-terminal.org. If you are interested in more information about the club, you can check out the Club website for the depot. The Museum website here.
During my pre-session briefing, I ask all operators to handle cars carefully, and couple with care.
HO scale frieght cars are beautifully detailed these days, but all those great looking details are fragile, and subject to damage.
I show you an example of what happens when cars aren't treated gently.
One of the joys about operating sessions is having problems discovered by your crew.
During the previous session, an operator let me know about poor performance by one of the diesel switchers in Acca yard. This is a MP15 model by Atlas that I have had for many years. It has a standard TCS decoder installed, as it was a DC locomotive from the factory.
After taking it off the layout and putting a note on it, I also added it to my list of gripes.
This week, I took a look at it and noticed it was on the list from the February session.
Some troubleshooting during the session suggested that this loco had a low fuel tank, and I thought the plastic cover had just loosened, so should be an easy fix.
You can see where the tank has been rubbing on the trackwork:
After some additional investigation, I realized the frame on this engine has warped. I assume this has zinc pest, like many other engines from this time period. Very disappointing.
It will go into the case; maybe someday I will be about to source a replacement frame.
We had a full house for the operating session in September.
I tore up the trackage in Doswell in late February, and it wasn't put back together yet, so trains in and out of Bremo staging were annulled, and other trains modified.
Other than that, trains ran and the crew enjoyed themselves.
Crew Assignments
Dick M - Acca YM
Mike B - Acca AYM
John V- Acca AYM
Scott L - Traffic Manager
Road Crew:
Bryce L
Bob S
Bill W
Bob R
Jerry R
The crew identified a couple of issues for remediation during the session that I will be working on before the next session. I will do a separate blog post about the cars that ended up on the RIP track, as that is interesting in its own right.
Now, onto the pictures:
![]() |
| Bob has Amtrak well in hand as he approaches Acca yard. |
![]() |
| Bill plans his next move in Doswell, as Jerry surveys the south side of Acca. |
I wanted to share a couple of shots with the audience from the train show in Timonium, MD, the first weekend of February.
I had to do a bit of shopping, and after I finished, I took my camera through a bunch of the layouts and took some photos of things that struck my fancy.
Enjoy!
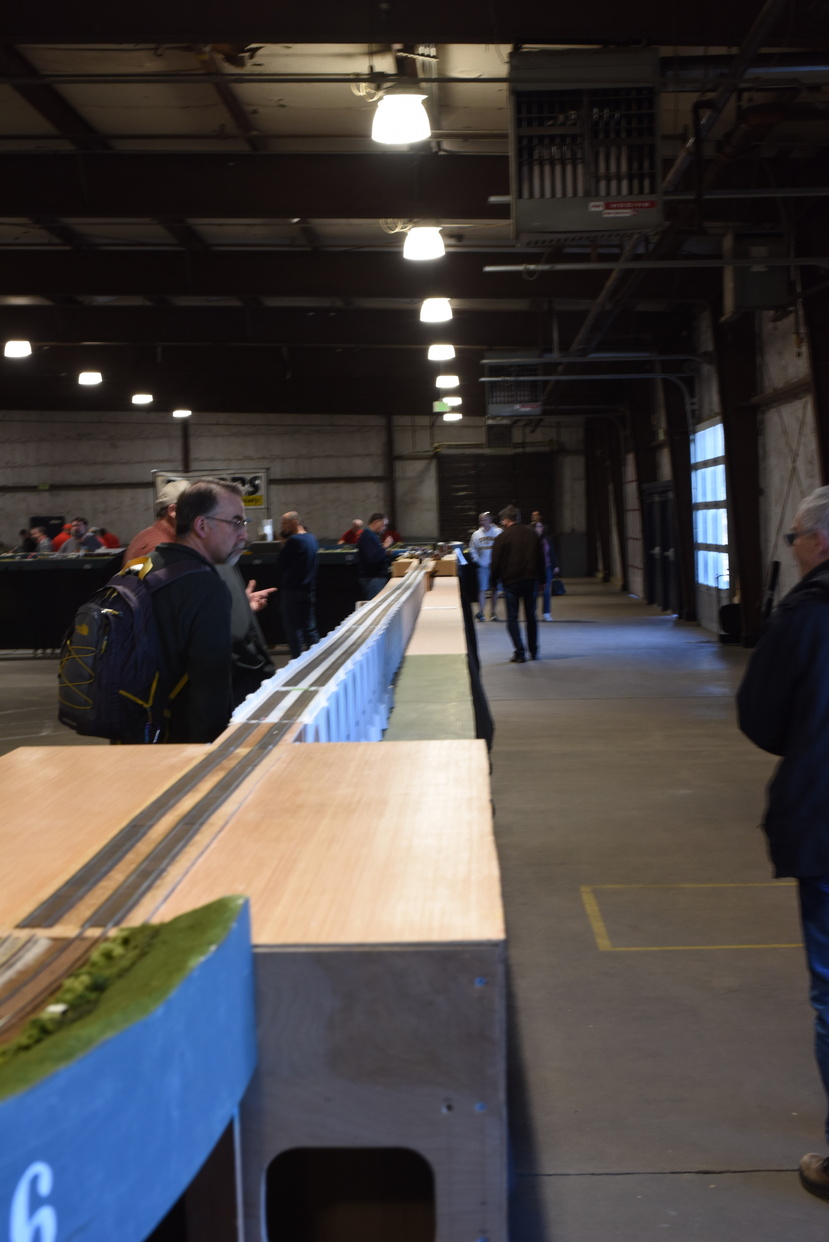
| This would have been better with a tripod and a different lens.. And yes, that bridge is VERY long. |
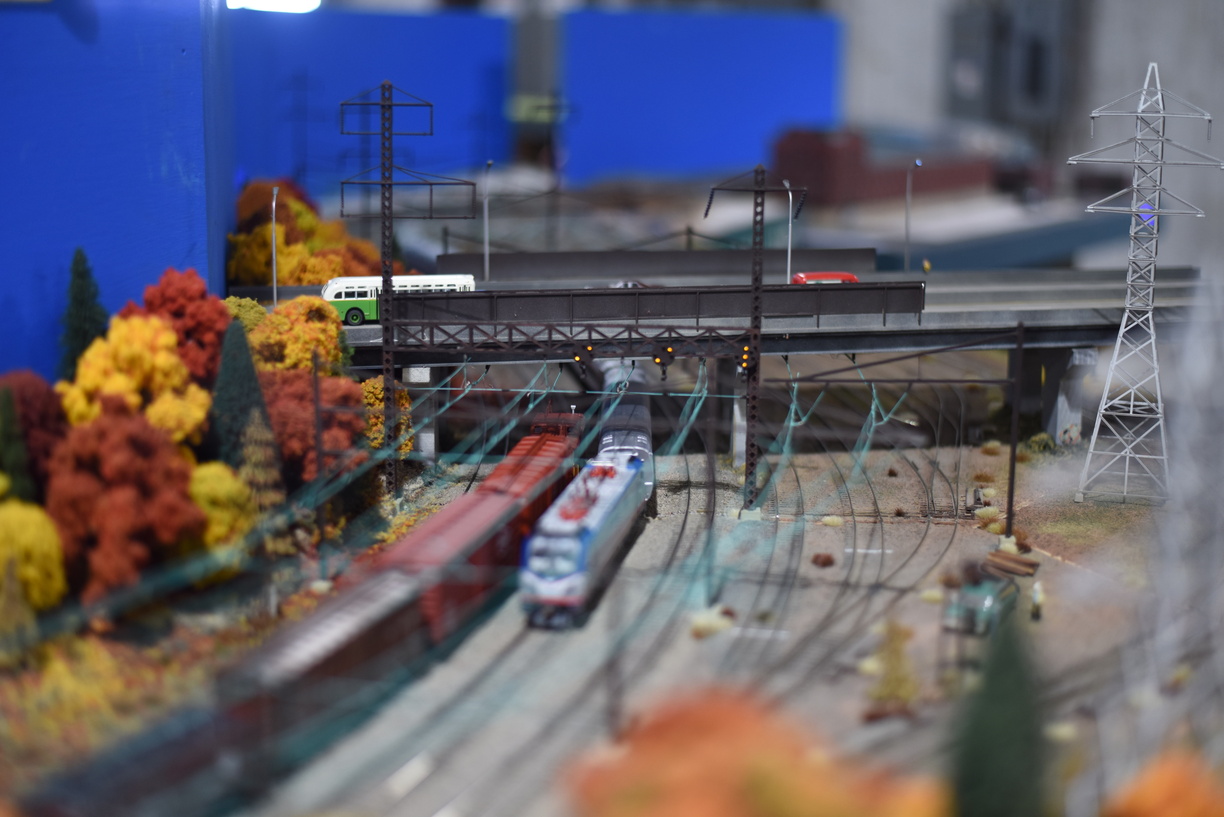
| PRR style signals and catenary. Looks great! |
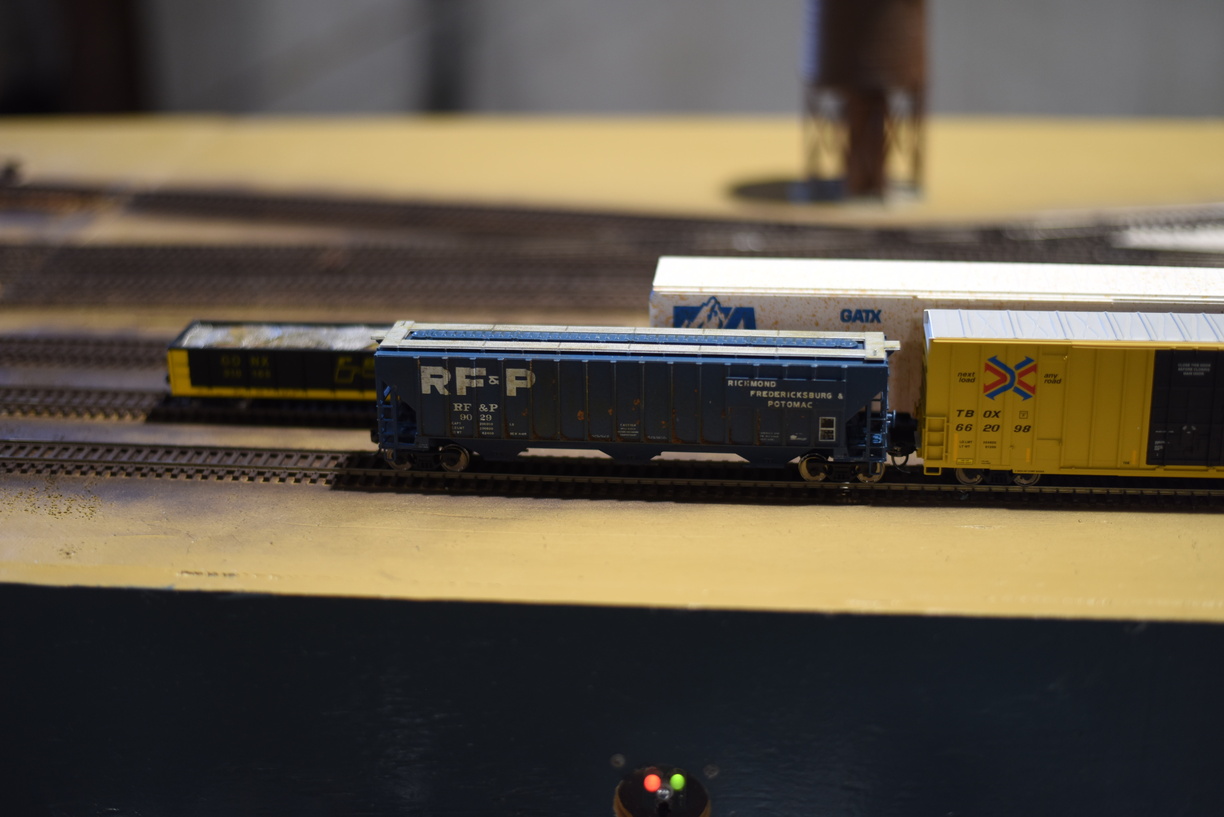
| RF&P Car spotted! |
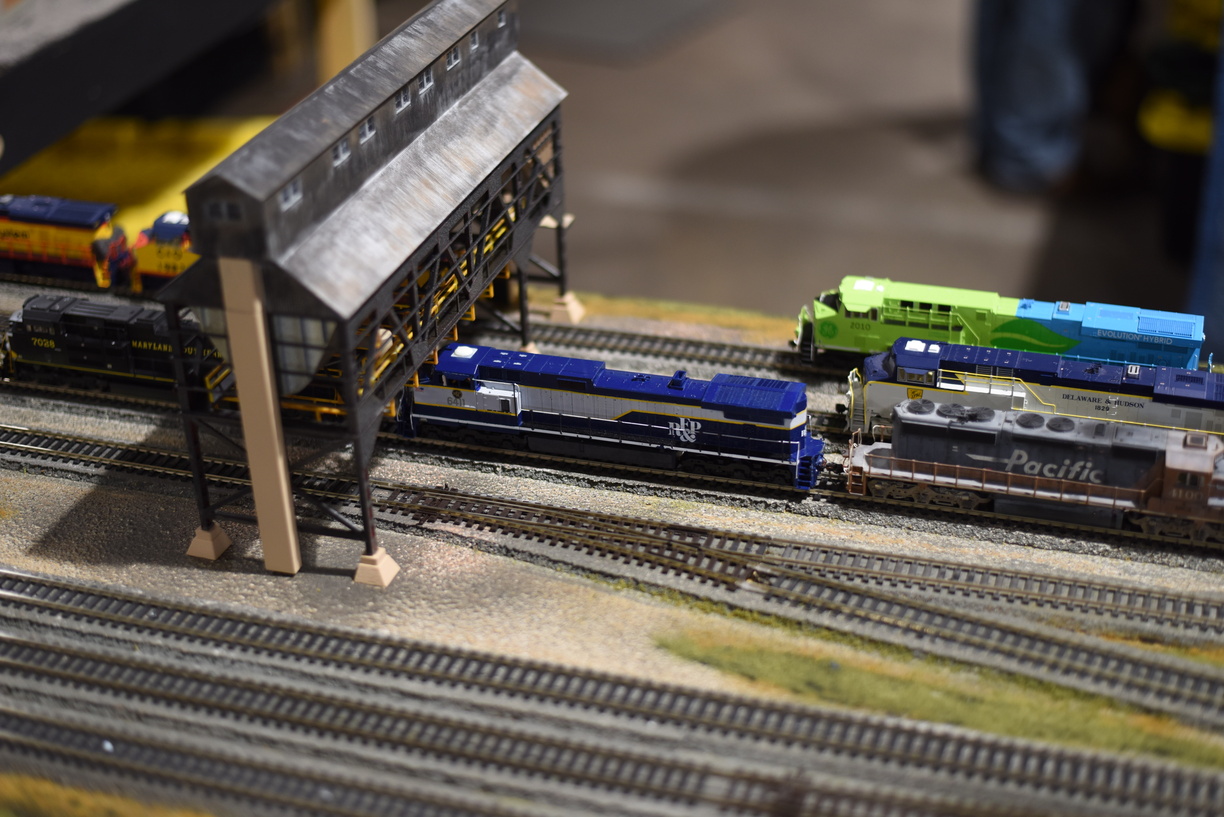
| An RF&P wide nose unit? Sign me up! |
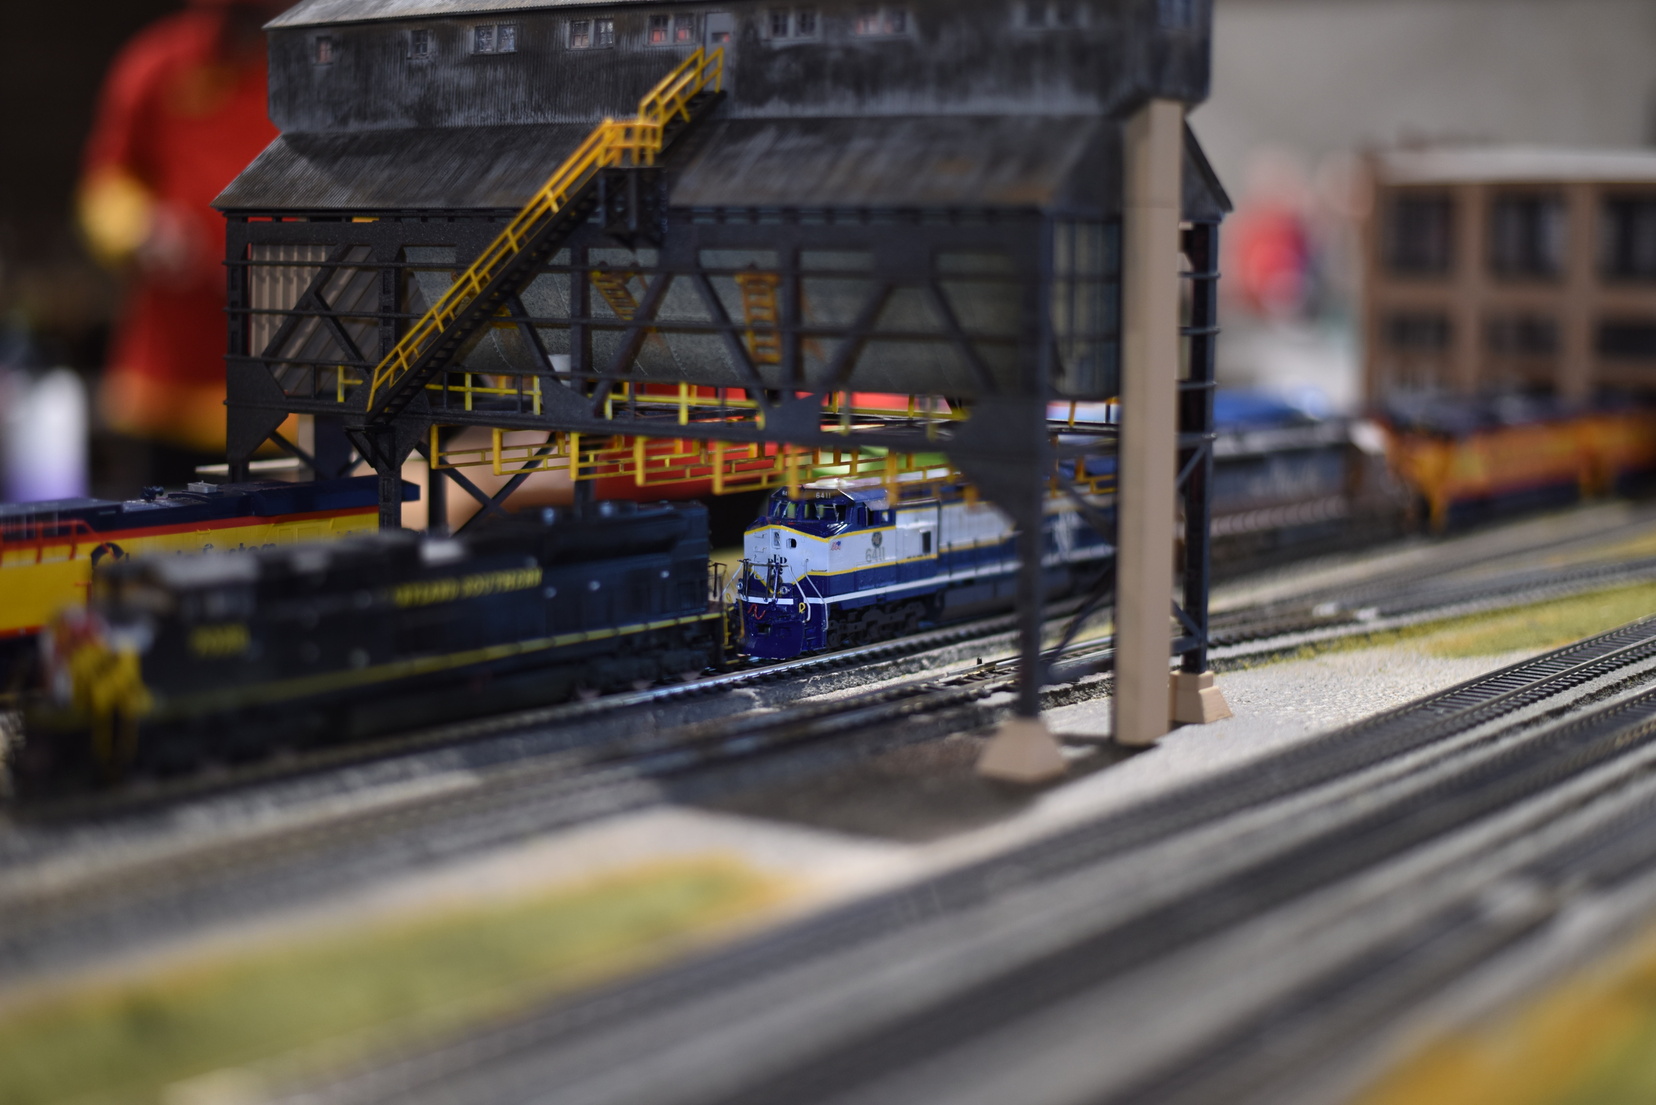
| I just wish this wasn't under the coaling tower! |
More photos can be found in the gallery at richmond-terminal.org
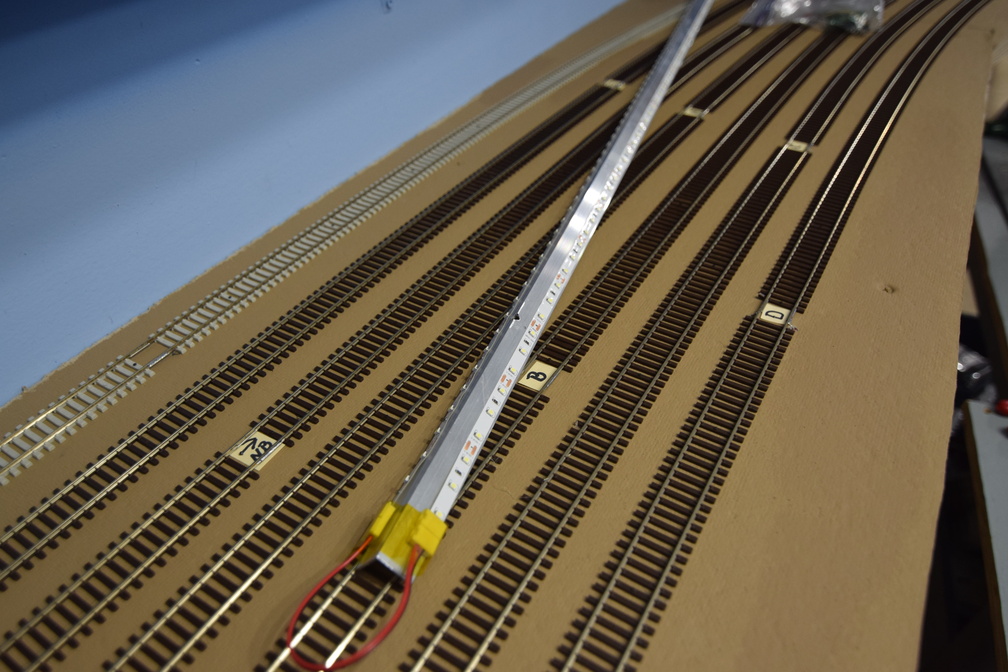
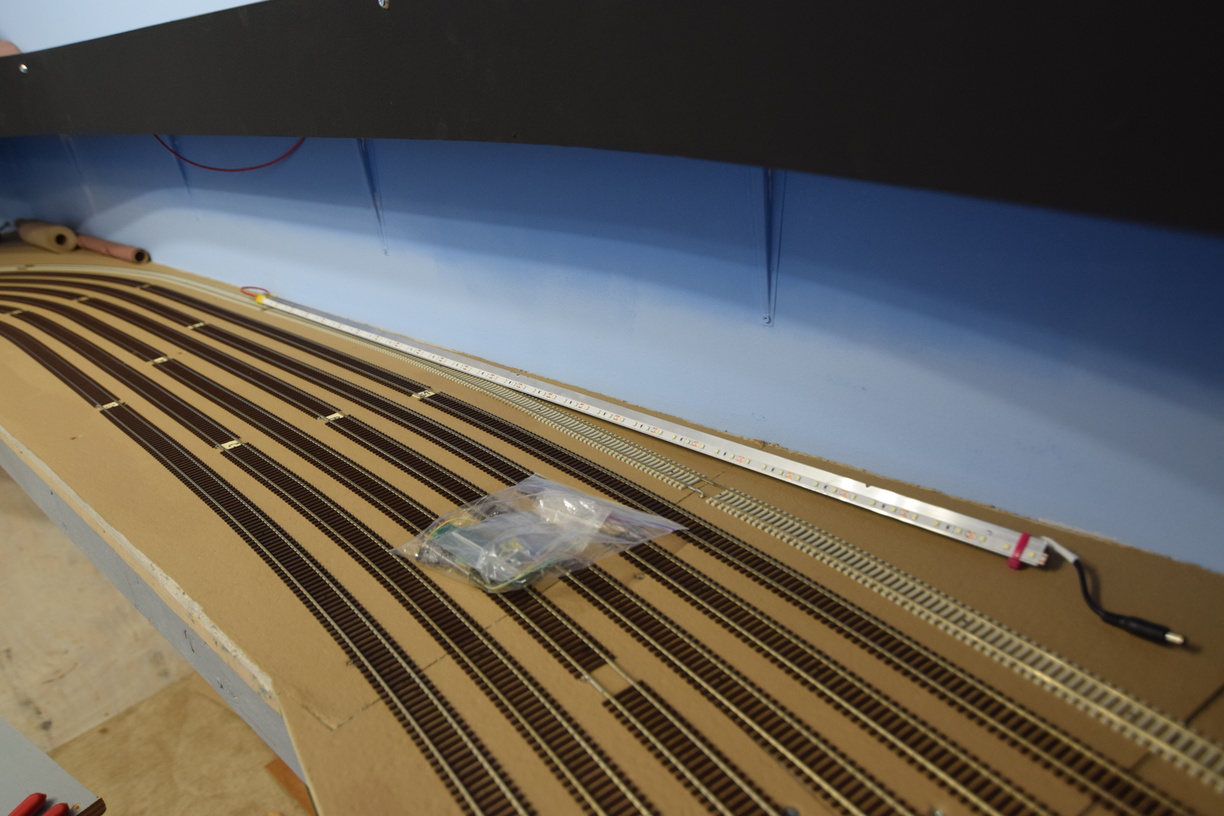
This is a short follow up to my original underdeck lighting post here. As I was reworking the block detection, I had to move the LED lighting around a bit, and took the opportunity to take another picture.
This is a great example of how I used the aluminium L bracket, and stuck the LED strips to it, and then bridged from one strip to another.
The yellow tape at the end closest to the camera is kapton tape. Very handy for stuff like this, as well as decoder installs, etc.
I buy the channel in 8' lengths, generally, and cut it to size with a hacksaw. You can see this has the factory barrel connector end at one side.
During the January operating session, the Richmond Terminal hosted a (in)famous model railroad photographer, Wayland Moore.
Your layout host is always busy during a session and finds it difficult to take a bunch of quality photos, but having a visiting shutterbug was amazing.
Here are but a sampling of shots from Wayland.
| Engineer Dan Moore inspects his train at North Acca prior to departure, looking to make sure his paperwork matches. |
It would be impossible to show all the great shots he took without making this blog entry extremely long, so I will pick a couple that stood out to me.
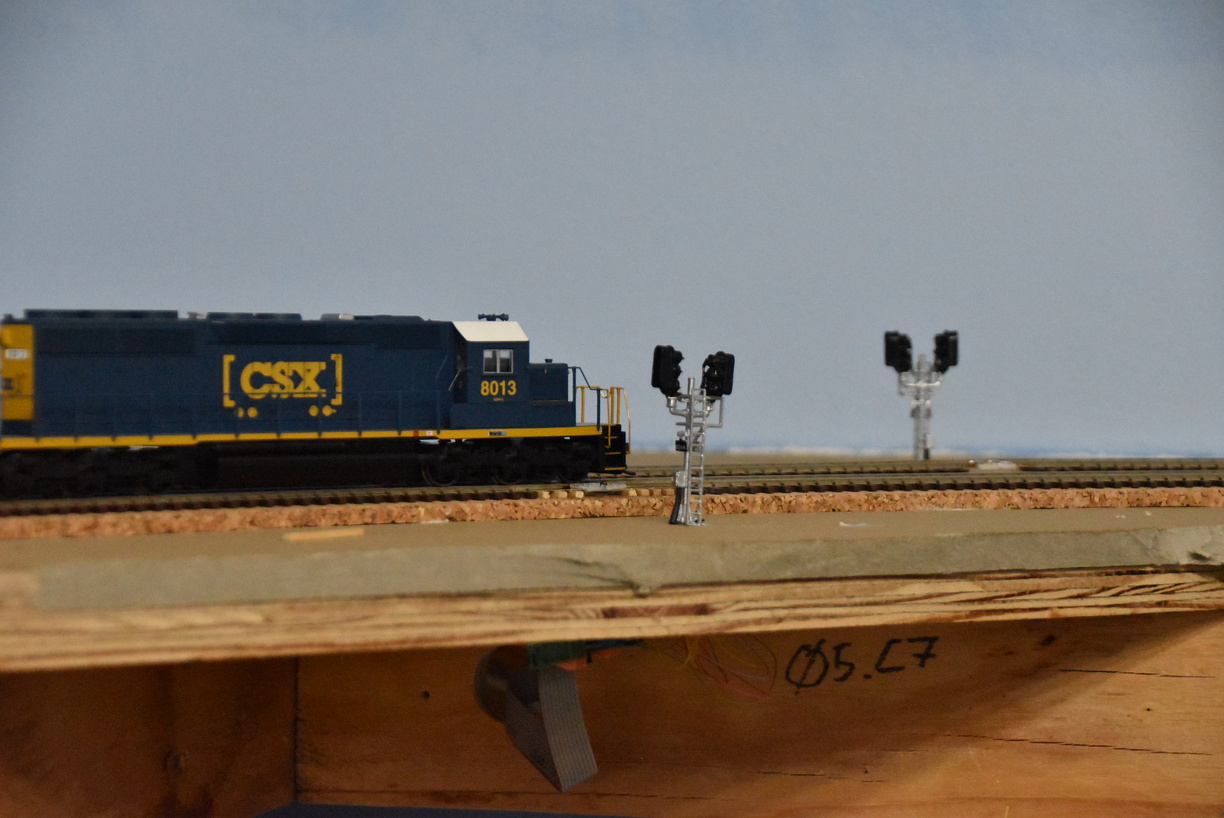
| Road freight goes by the new Intermediate signal installation at Rutherglen. Photo by Wayland Moore. |
| Traffic manager discusses the yard at the start of the session. |
A highlight for many that I've never captured - the food!
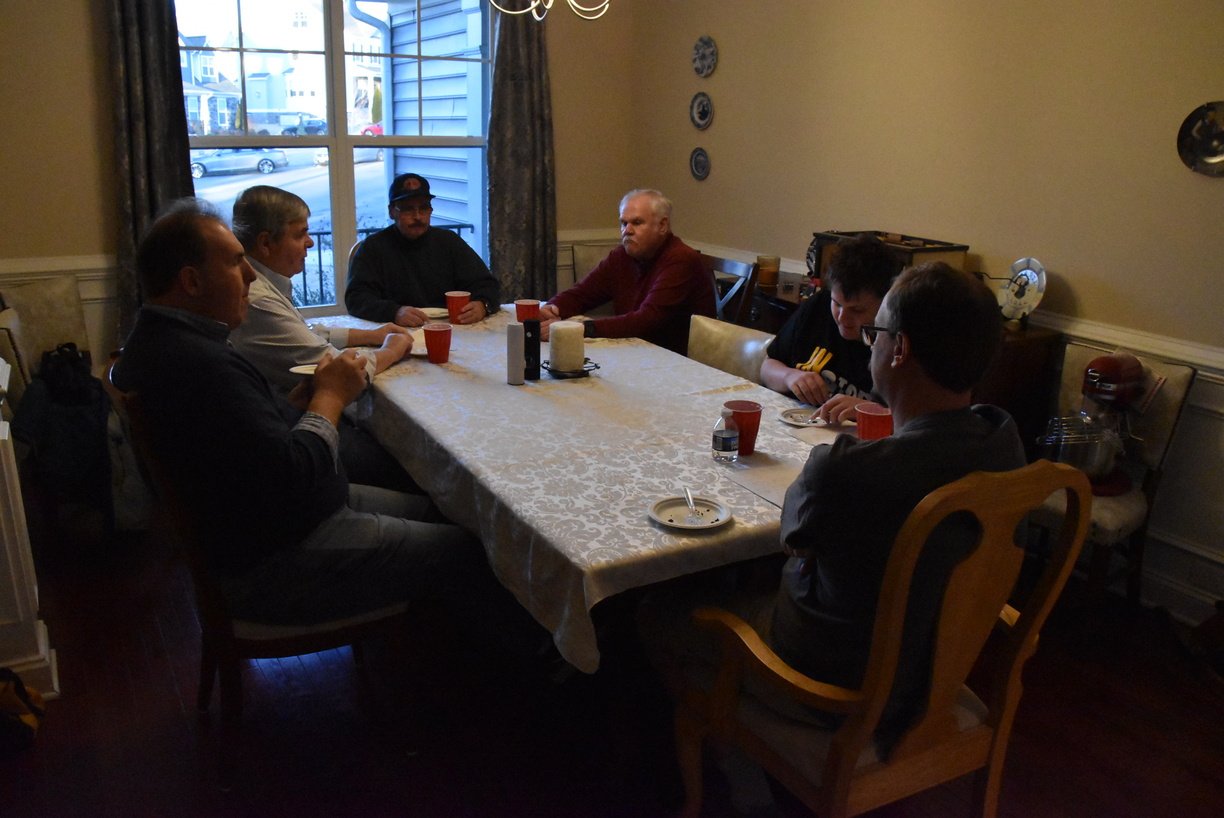
| The crew debriefs after the session, while enjoying desert. |
One of the downsides of having a large layout and the large room that goes with it, is that you end up with a bunch of model railroad to light up so you can see. Even with natural light coming from your windows (and thankfully, I have 4 windows plus 2 glass inset doors), it can be a challenge to get those back corners sufficiently bright.
Having task focused lighting while you are working on something is easy - bring over a flashlight/lantern/etc and done.
However, having enough lighting for operating and photography with or without the sun can be a challenge.
The builder installed a couple of pot lights around the room, but even with 125W bulbs, we couldn't even hit dive bar levels of illumination.
Check out the first lighting post I put together a few years back for some more information.
I had three areas that needed help - the staging room, the back corner behind the helix, and the area at South Doswell.
Staging room got a T fitting and then a 4' and an 8' track added. Moved some heads around, plus added another 4 of them. Have space to add some more if I think it needs it after I get used to the new level of light.
| Staging yard. Note the heads off to the far right to help brighten up the yard throats. |
South Doswell was lit by a combination of what was installed over Hamilton and on the peninsula end between there and XR.
Here, working from the original 4' track, I added another 4' track at an angle that looked good (using a flexible coupler) and then terminated in a 8' track running parallel to the track at South Doswell (and the crossover I installed there last year).
| Trying to source the hardware all the same color is tough. As I don't care if it matches or not, you can see the mix and match effect. |
| This corner is much better than before. |
As I've mentioned on the blog and website previously, the Richmond Terminal has just under 10 scale miles of mainline track.
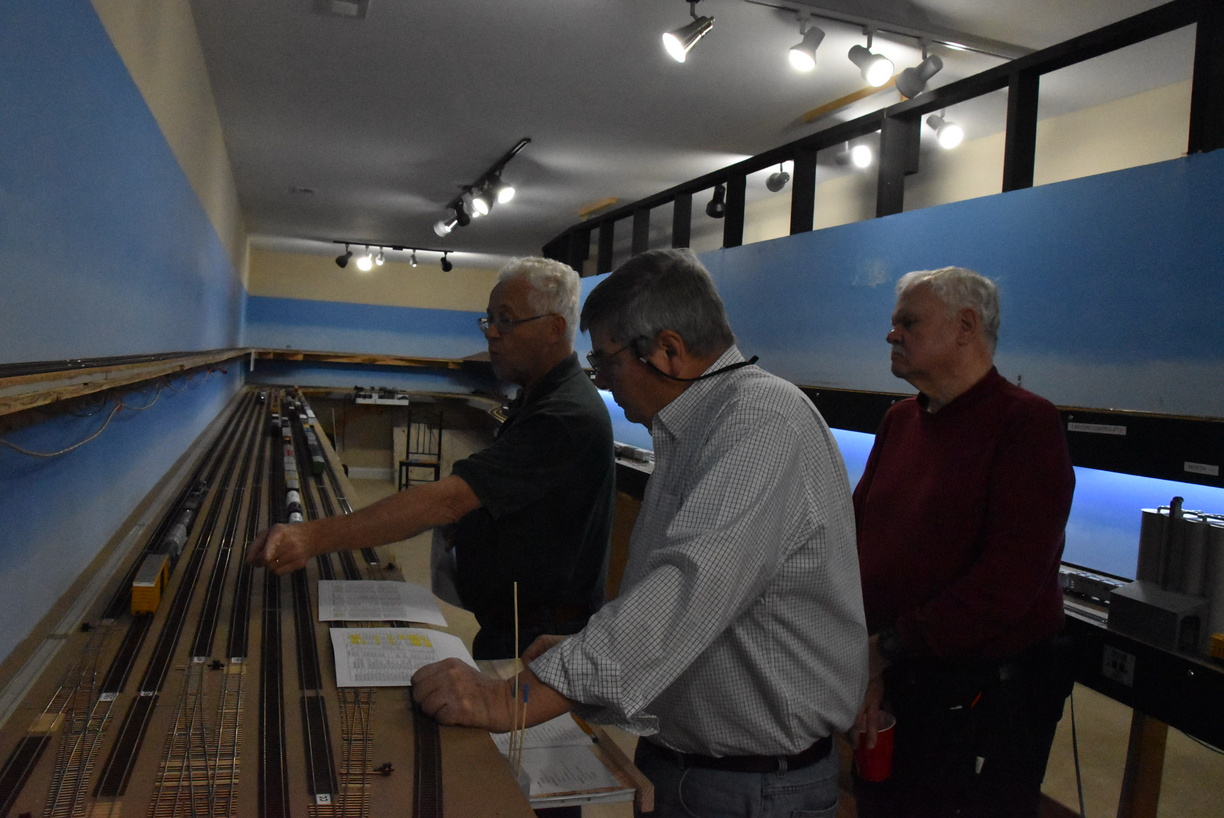
In general, it does not require much maintenance beyond a vacuum here and there, mostly to get any construction dust off.
I cut wood and homasote outside, but that doesn't stop having to drill pilot holes for screws to mount fascia or LCC nodes, install signals, etc. All that little stuff that requires a drill creates some dust.
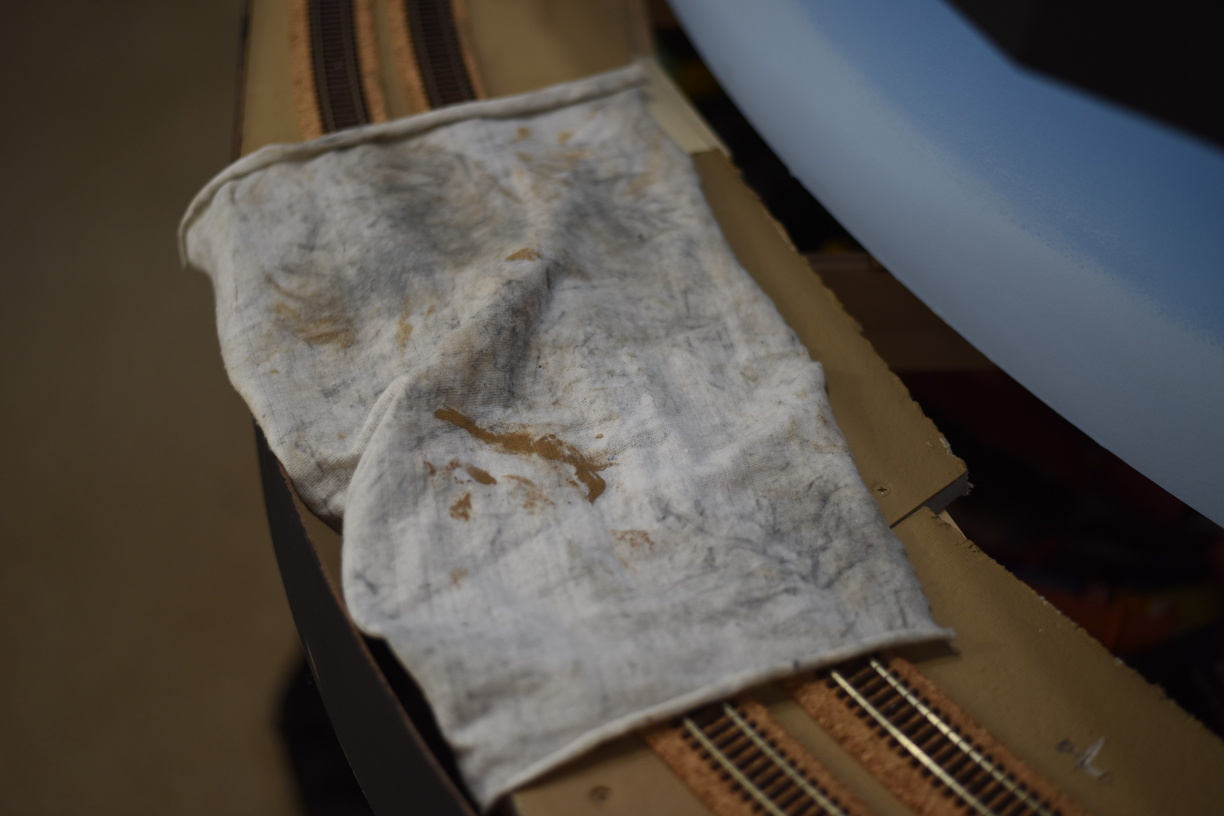
After reading an article on Model Railroad Hobbyist about polar and non polar solvents, I decided to clean my track with "odorless" mineral spirits, instead of the normal isopropyl alcohol, as it turns out that isopropyl is a very polar solvent that will attract dirt and dust, whereas mineral spirits aren't all that polar and don't.
I started with a paint clean up rag. You can see the splash of brown in the center.
I promise the majority of the rag was white when I started.
I didn't scrub, I just rubbed this lightly across the track.
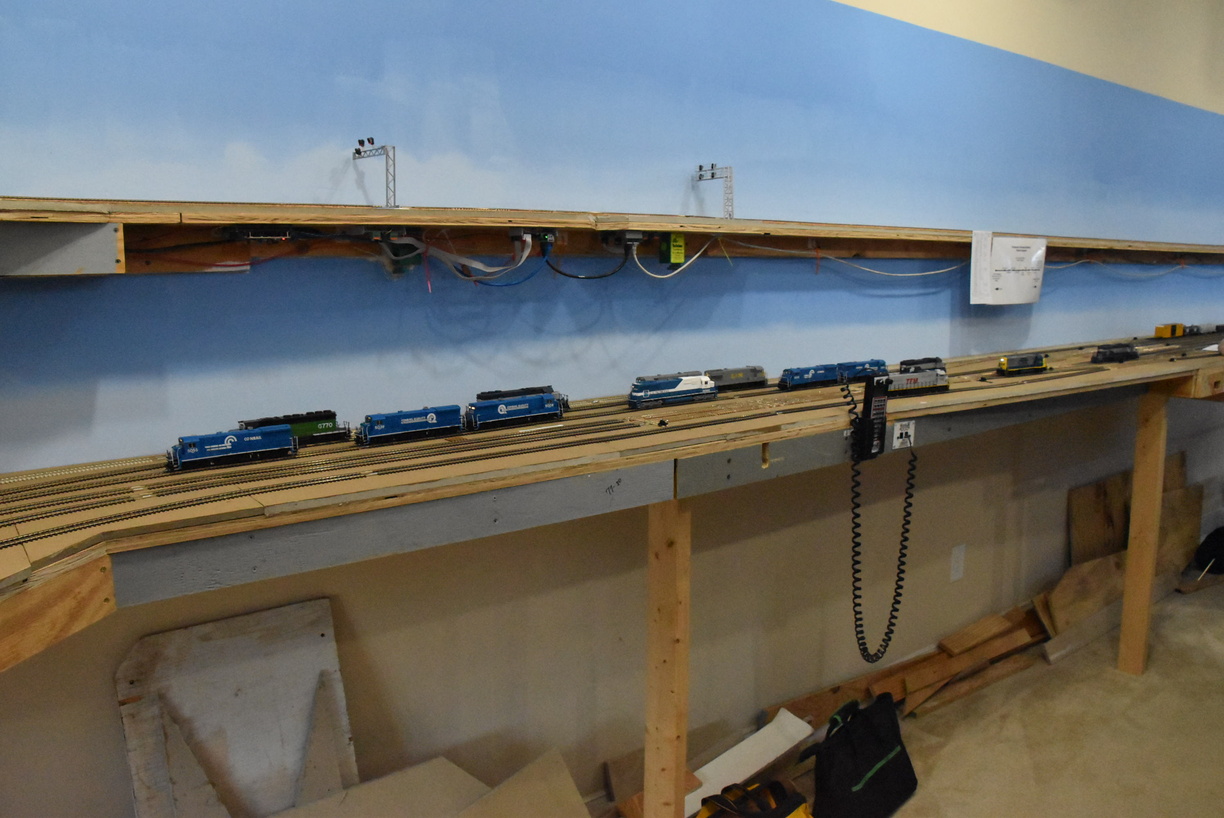
Sunday before last, was the final run in 2022 for the Richmond Terminal.
Session attendance was a bit light so about half the schedule was run in the two and a half hours. Session length should eventually be about 3 hours, assuming we keep the fast clock at 4 to 1, which should match version 1 of the railroad. If we go down to a 3 to 1 clock ratio, that should push the sessions to 4 hours. Either way, we are trying to simulate 12 real hours of action during a session.
This session and the previous sessions are being used to dial in our use of the JMRI Operations module and identify issues with the layout infrastructure and rolling stock and determine what needs to be tweaked.
There has been a long list of issues identified, and I plan to document and discuss them in follow up blog posts.
Work has slowed dramatically due to the near exhaustion of my Micro Engineering Code 83 rail stock.
After at least 2 months of searching, I was able to find two packages from a online hobby store I'd never heard of and it arrived late this week.
I will have some additional content going up soon.
More track is down and I've been spending my time lately grooming the DCC wiring to make it sustainable versus hacked together.
I have pulled a couple of new bus runs to support the track that's down.
Currently working on the crossovers in Greendale and then will start putting the station tracks in.
If we get some sunny weather in the next couple of weeks, I'm going to get subroad down to get me into the Acca area, but with February, you have no idea what you get. Today started rainy, then went sleet, then snow and it all had melted away by 1 or so.
I have been taking pictures so there will be fodder for more posts in the nearish future.
Had a power outage in August and couldn't let that stop me from making progress.
Interesting effect, don't you think?