Showing posts with label staging. Show all posts

Thursday, November 30, 2023

Adding an Interchange - Easton and Potomac at Brooke, VA

Interchanges on a model railroad have been termed "universal industries" as they could take any car type, from boxcars to flatcars to tankcars to gondolas to covered hoppers and anything else you might desire.

They also add some operating interest, as it can be a reason to have some foreign road power on your layout (assuming that is not common in your era; in the RTRR's era, foreign power is somewhat common as trailing units, due to the cab signaling requirements on the RF&P mainline), as well as a reason to signal a crossing.

Brooke, VA is a location in the real world. It is in Stafford County, south of Quantico and north of Hamilton, and is not all that far from the Potomac river. Today, there is a Virginia Railway Express (VRE) station in this general area.

The late Keith Stillman drove the Easton and Potomac's mainline through this area when he designed and built his layout, giving him an interchange with the RF&P, and allowing him to logically lengthen the run between Hood and Thorny Point by installing signals to protect the diamond crossing.

As an operator, you would hit a button to request permission to cross. A script ran on a computer under the layout and eventually would give you the light. It was random-ish, and more than a few engineers found themselves cooling their heels for many minutes waiting on the signal to go green.

As the Richmond Terminal goes through this area, I felt it appropriate to add an interchange to honor Keith and his railroad. I assumed that a few of the industries would still be going concerns, mostly in the Hood, Flat Top and Thorny Point areas. The steamships would be long gone by the 1990s, but I assumed that Thorny Point would develop a robust boat building industry for small pleasure and working craft, taking advantage of the sheltered location on a major river that fed into the Chesapeake Bay, and also pick up a few military and government contracts due to their proximity to DC. I assumed that Hood Brothers packing in Hood continued to go strong and continued to send refrigerator cars of pork products out to the larger world. The line all the way to White Hall wouldn't have survived, as it was mostly a bridge line at that point, as modeled, and as the railroads consolidated in the 1960s, it wouldn't have enough business to be a going concern, but the eastern end would survive as the E&P Short Line.

Now that I knew where it needed to go, I just needed to build it.
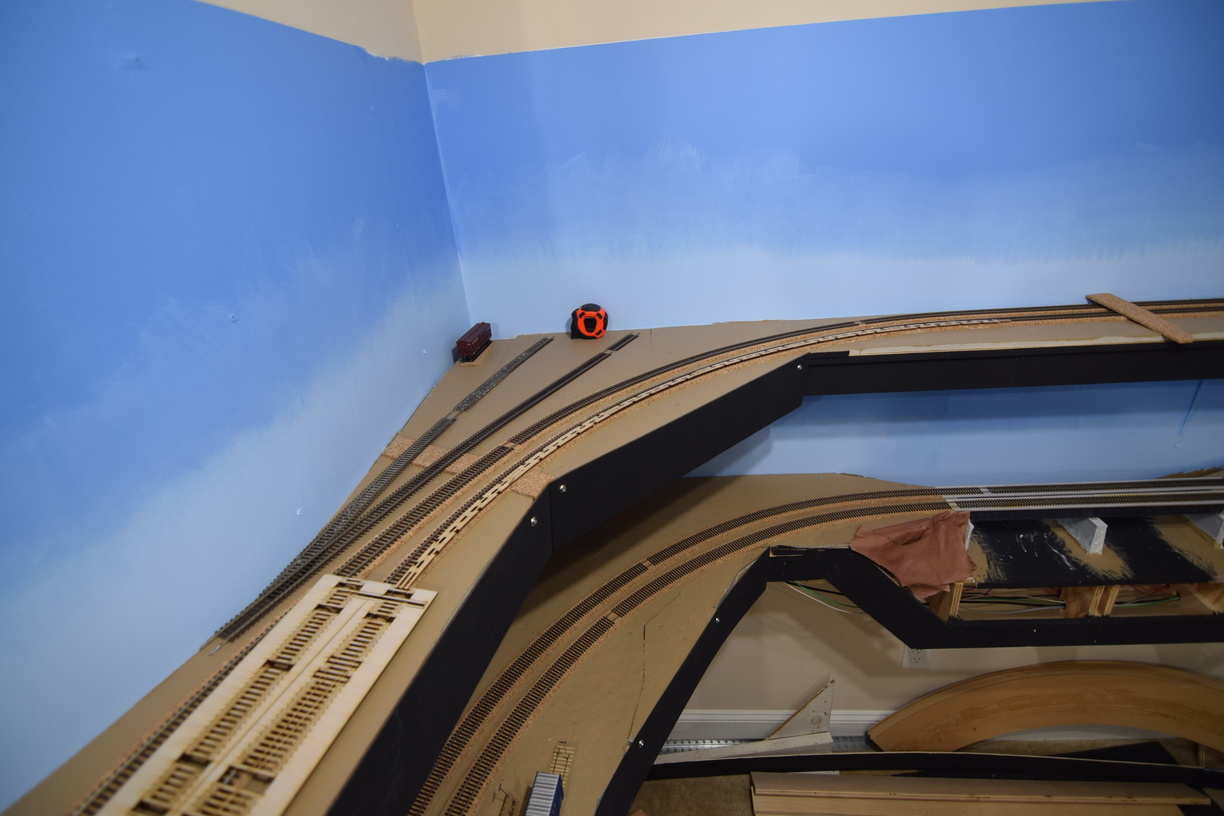

I tried a couple of different track layouts to make it fit. Originally, I planned to copy the layout from the E&P and put the interchange track on the NE quadrant of the crossing.

This would only give me a foot or two of interchange track, which might be 3 cars, if they are short. 

So, I had to take a bit of modeler's license and move it.

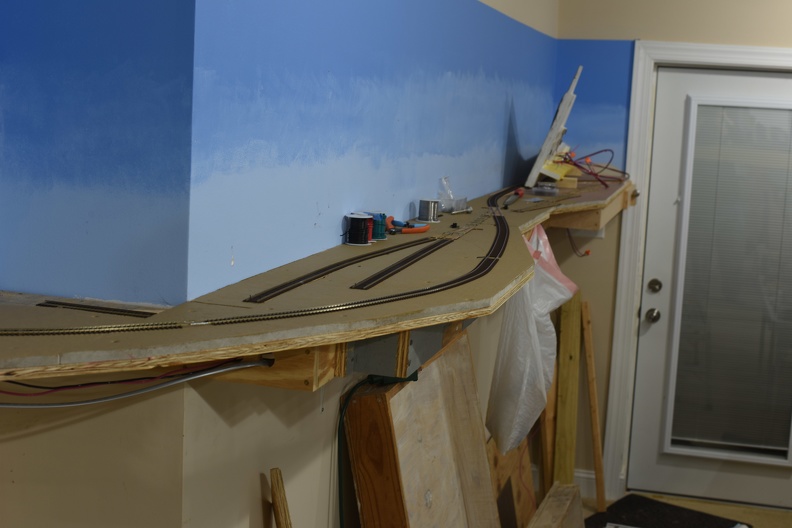
I added a crossover to help keep traffic moving, and give a train working the interchange a way to stay off at least 1 of the mainline tracks, while giving the dispatcher a way to work around it.
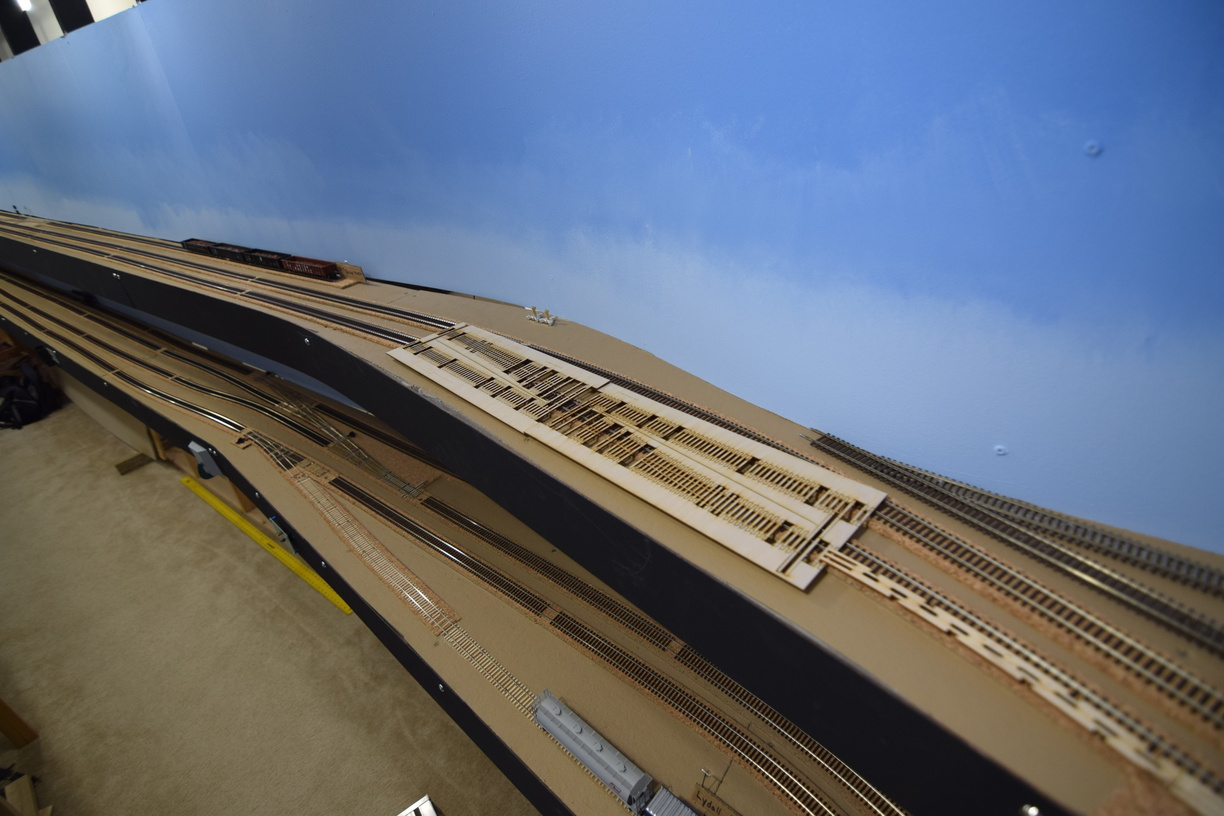
#8 RH Crossover; Fast Tracks quick stick ties out to help me gauge sizes and locations.

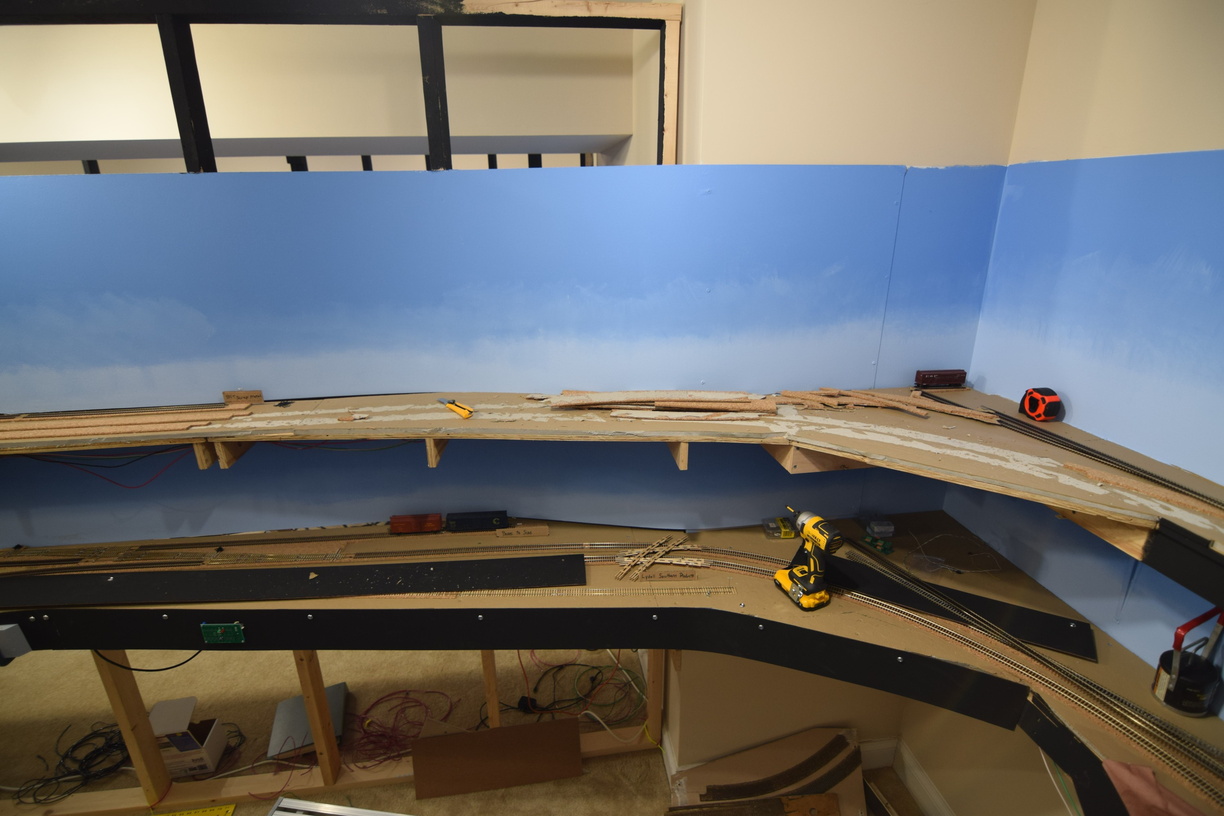
Once I way happy with the plan, I pulled up the mainline.
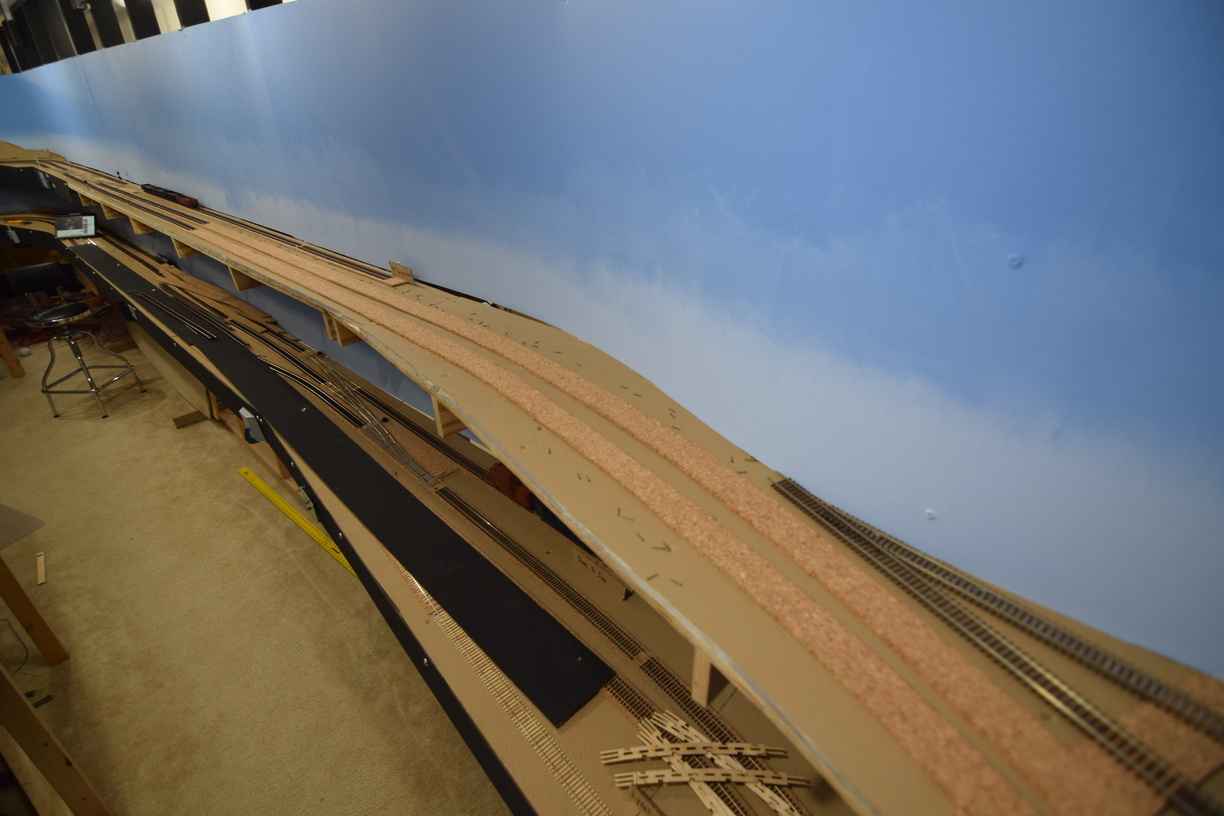

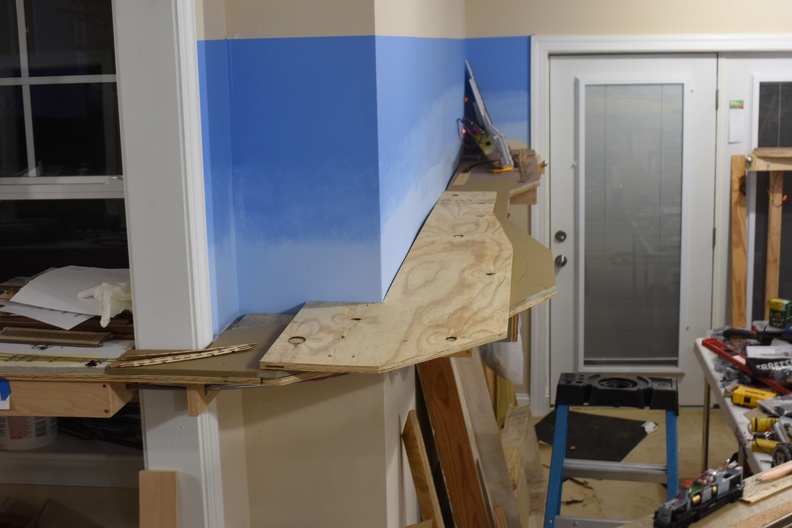
Note the perpendicular cork down for the location of the originally planned set of diamonds.
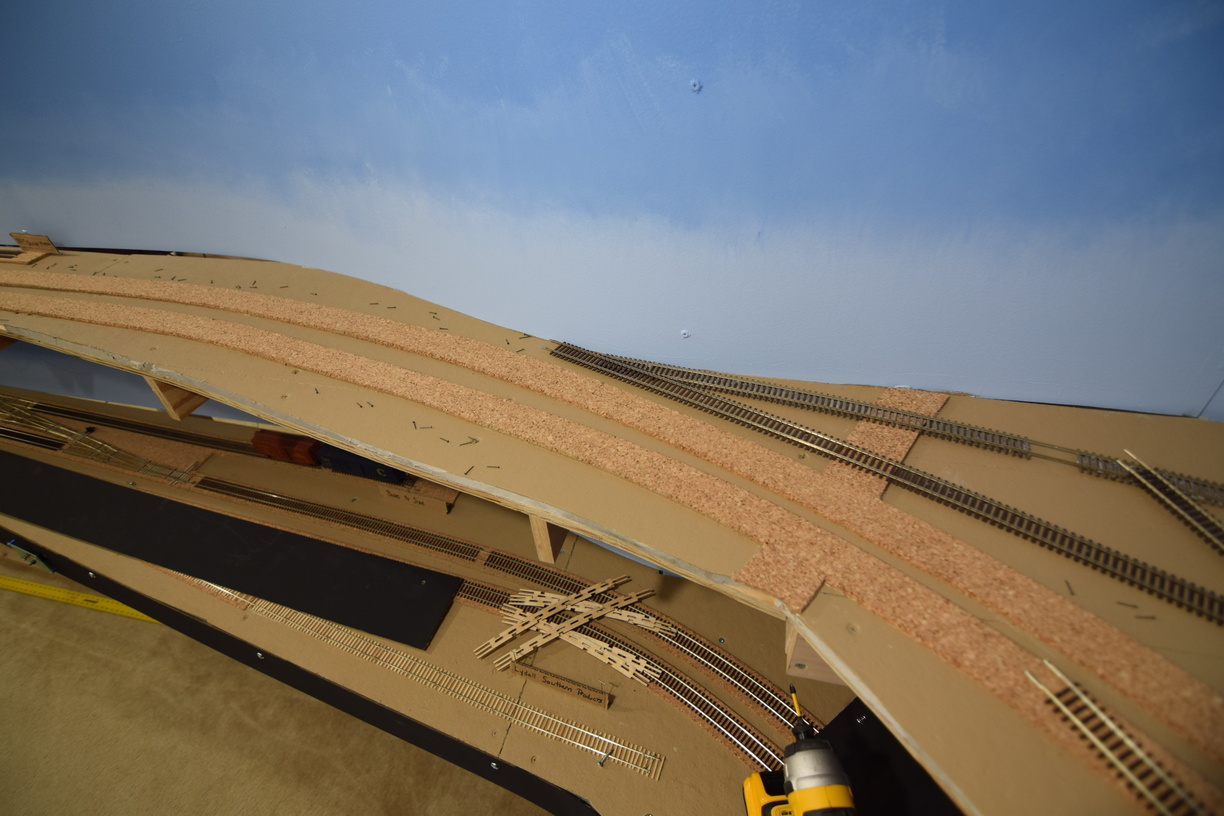


And the cork, since I needed to shift the main tracks.


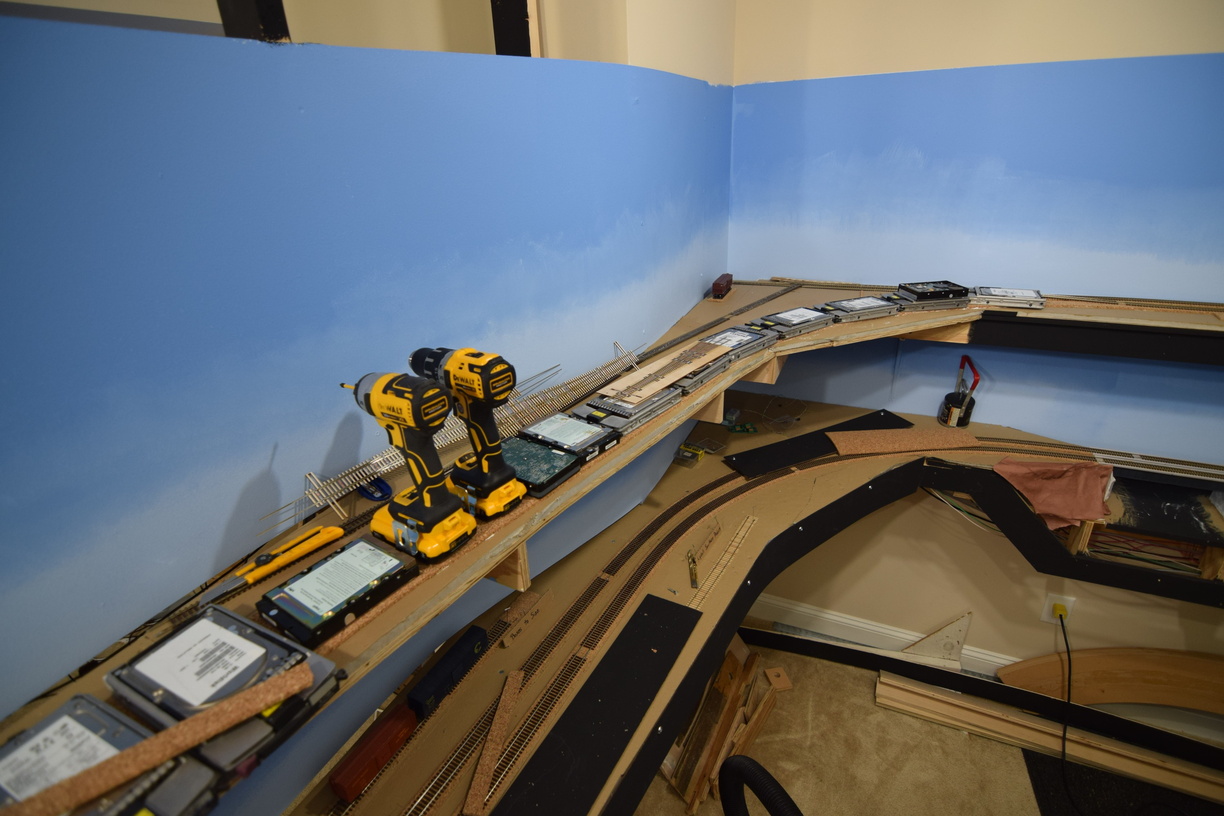
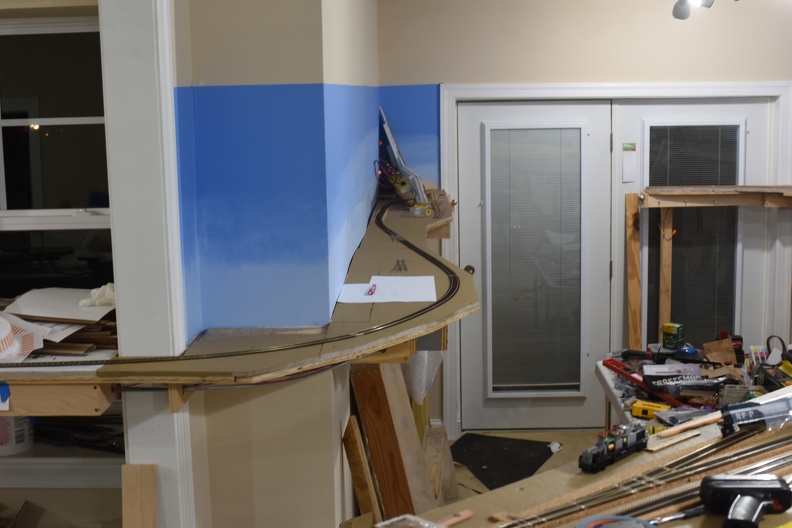
Once I had centerlines marked, new cork was cut and glued, and I built the crossover and the interchange track TO on the bench.

Note the crossover leaned up on the backdrop.


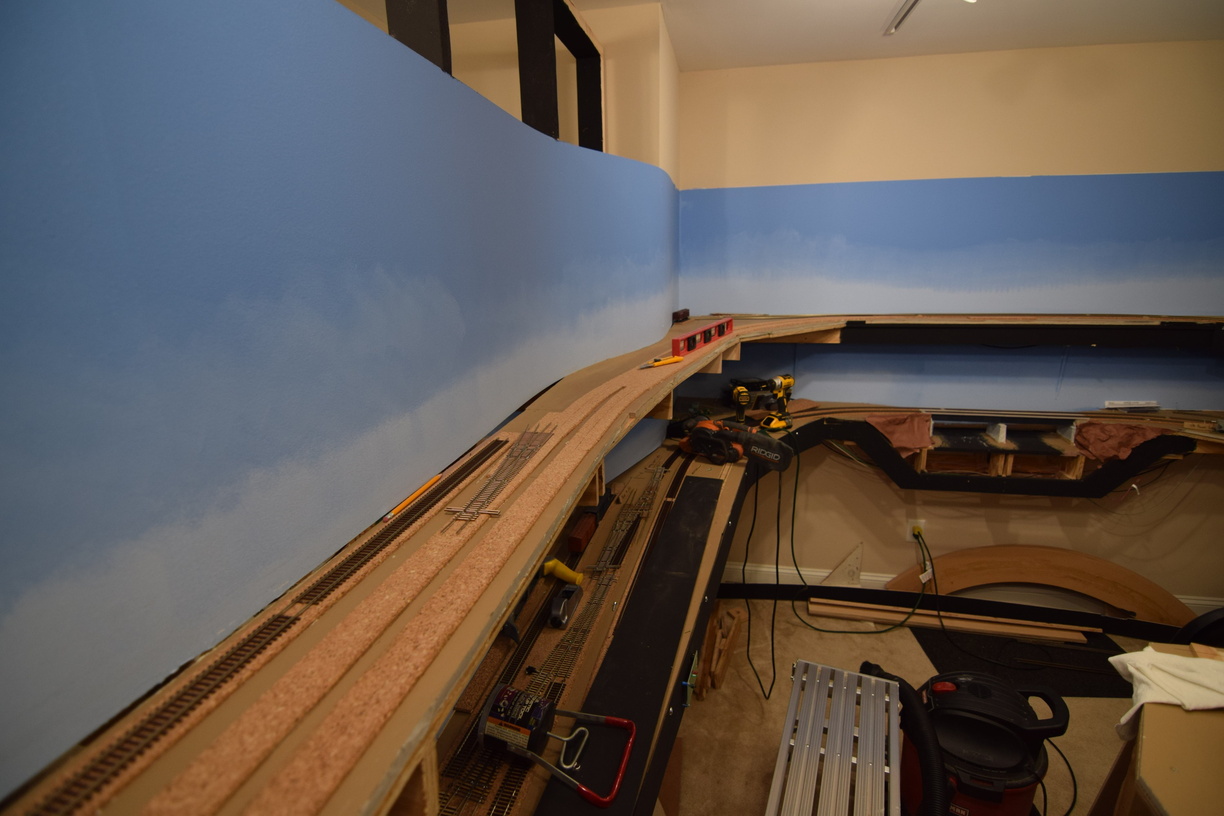
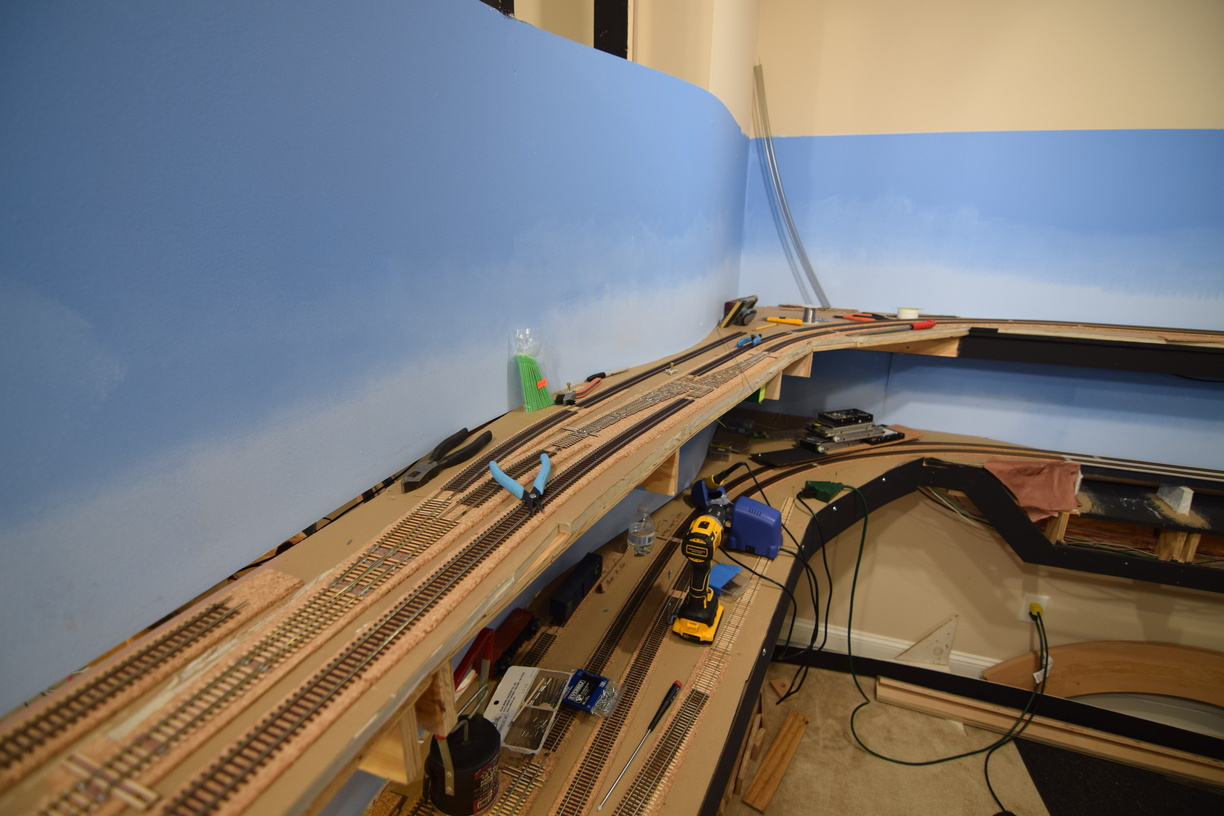
I cut in the rest of the track and restored the main.


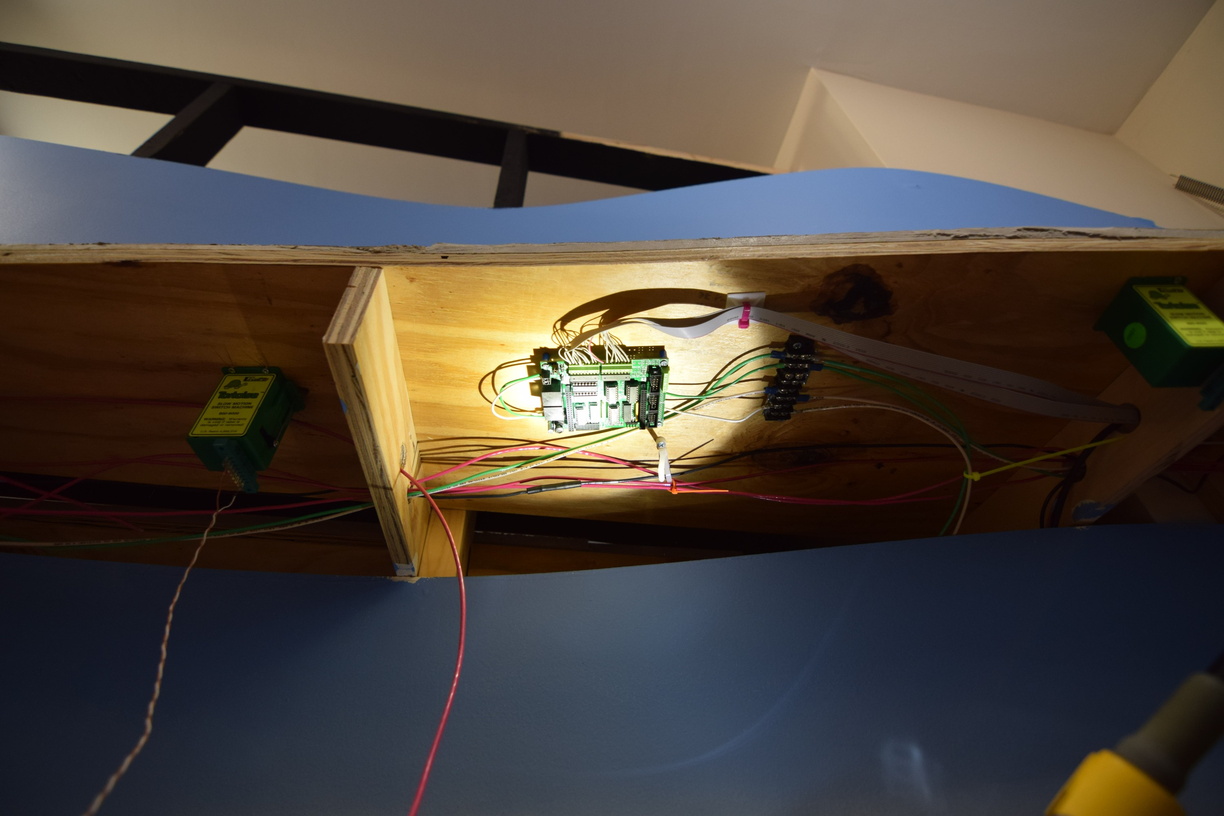
Last bit was that I needed a way to drive signals and the 3 turnout motors in this location. A Nucleo DevKit node was selected and installed.

The DevKit is an open source (hardware and software) Layout Command Control node. I have just under 10 installed on the layout and another 5 or so on the test bench. I will eventually put together a blog post about building the node, just have to find the motivation.


I am pleased to report that the interchange has served the recent operating sessions well and I hope to set the crossing signals up in the next few months.

More pictures can be found on the gallery at richmond-terminal.org.

Friday, September 30, 2022

September Work Session

 After the August operating session was held, Management realized that significant help would be required to move the railroad forward to be ready for the next session.

The South end staging yard needed to be marked out for track centerlines, a crossover needed to be installed at Doswell (I had left it out of my initial plan. Turns out there was a good reason it was there in real life), and track needed to be laid from the south end of Acca, towards staging.

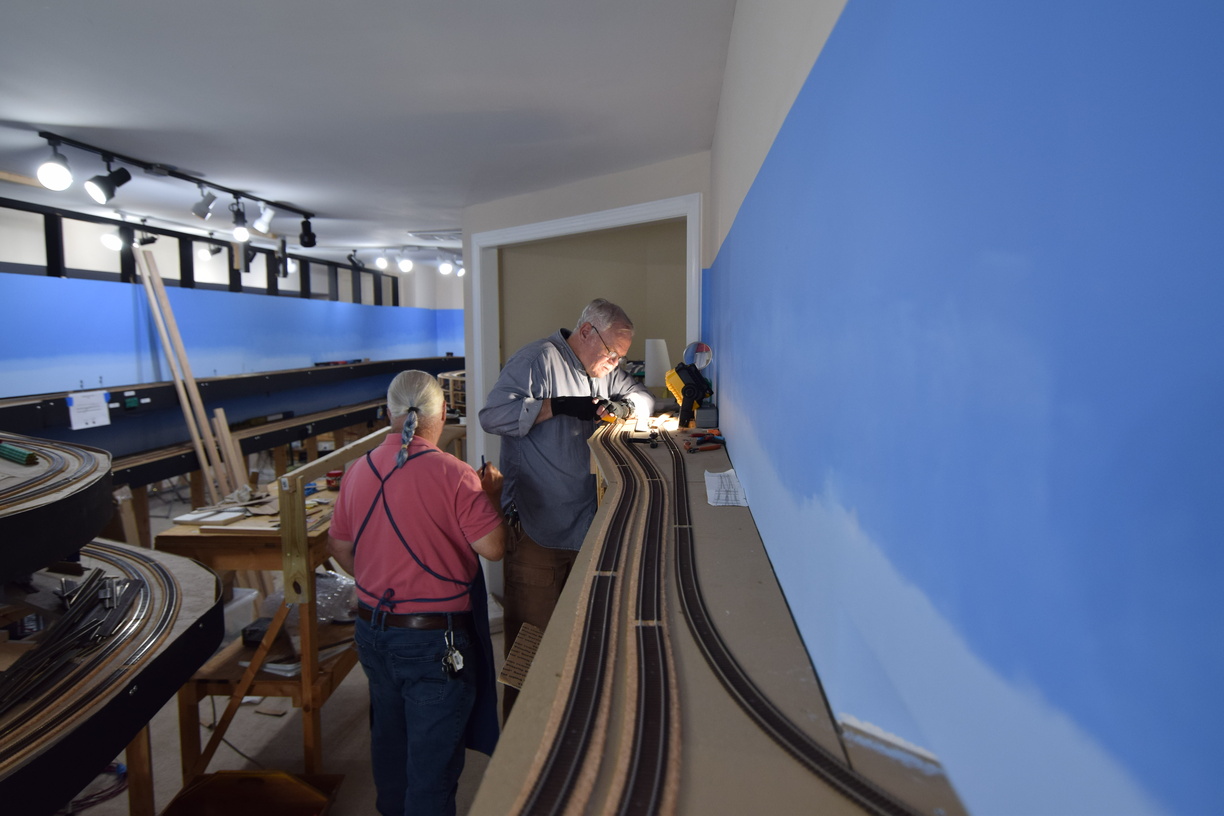
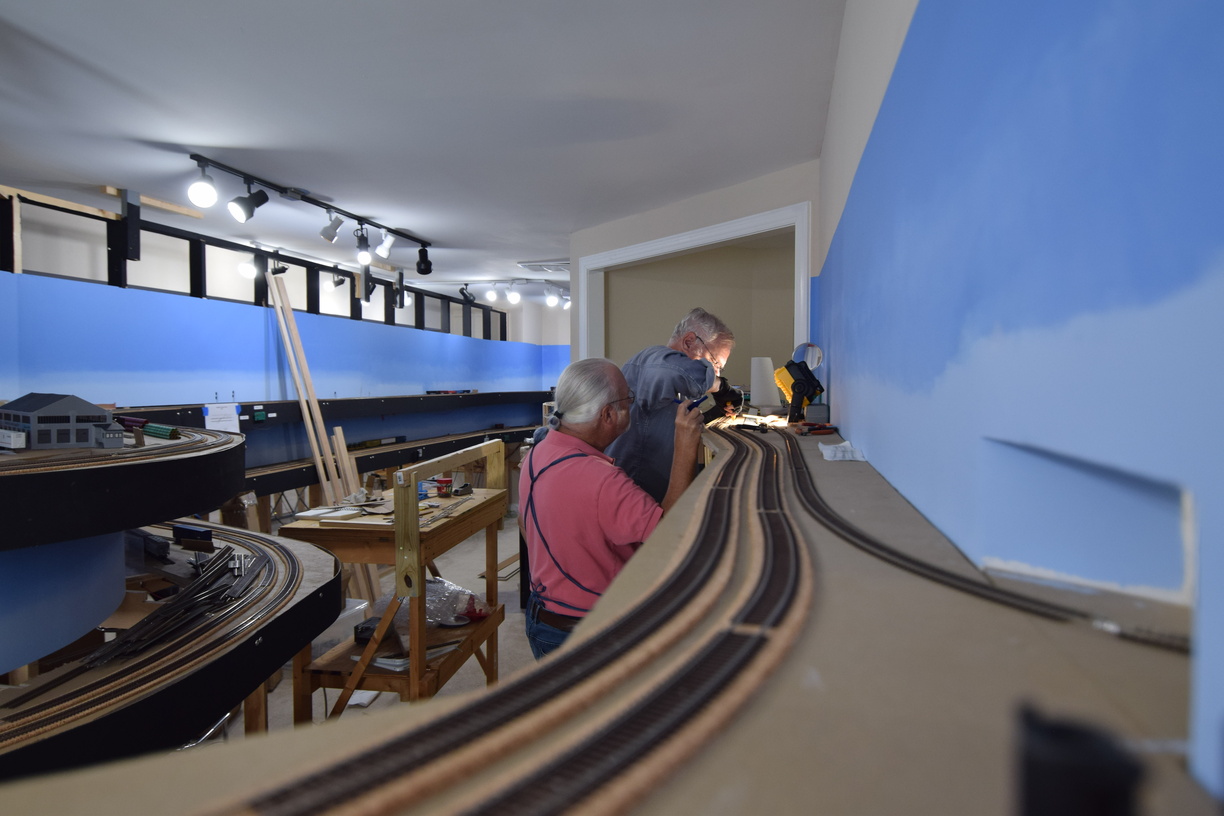
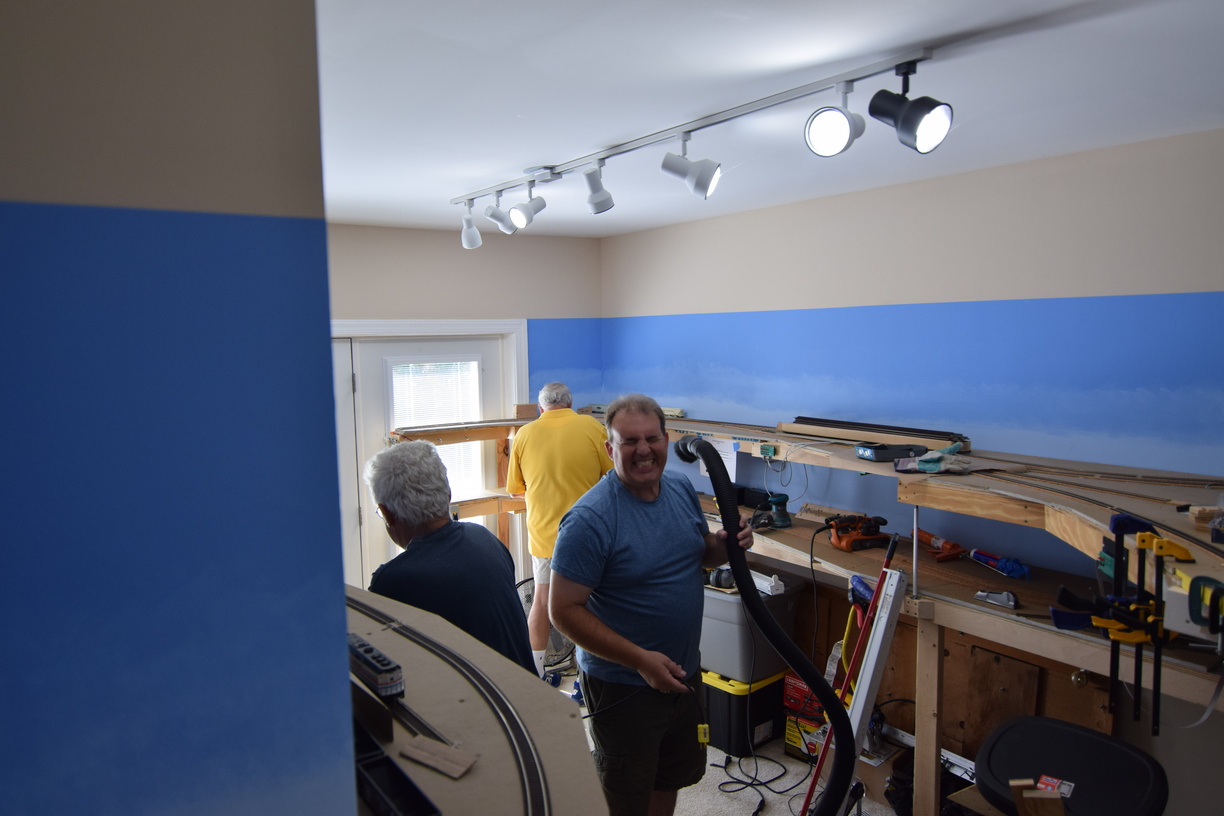
An interpid crew of workers attended a Saturday session and much progress was made!


Here at Doswell, track had to be removed, roadbed added, sanded flat, and the crossover (a #10, built via my fast tracks tooling) installed. After the crossover was spiked down, tortoise switch machines needed to be installed, and the flex track reconnected. After all that, wiring changes would need to be made the DCC feeds.

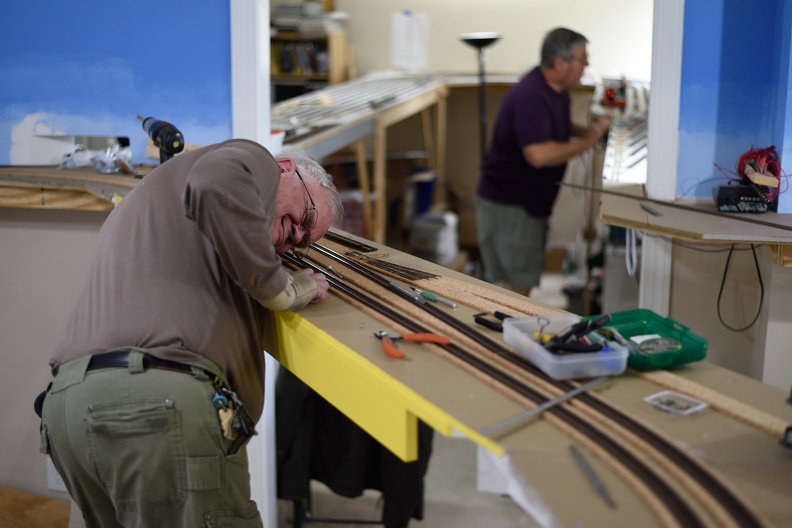
John and Bill tackle the crossover install at South Doswell

John and Bill were able to get mostly through this list of work, which is a testament to their skills.


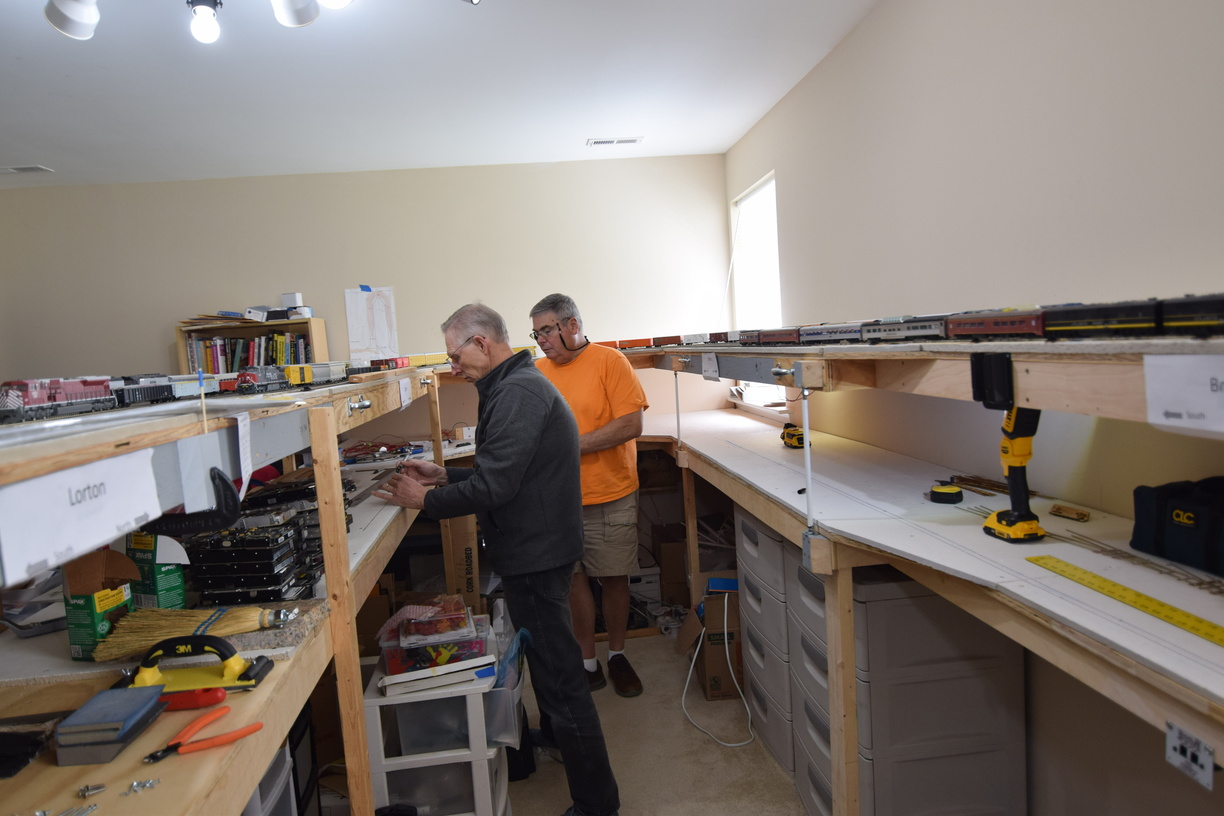
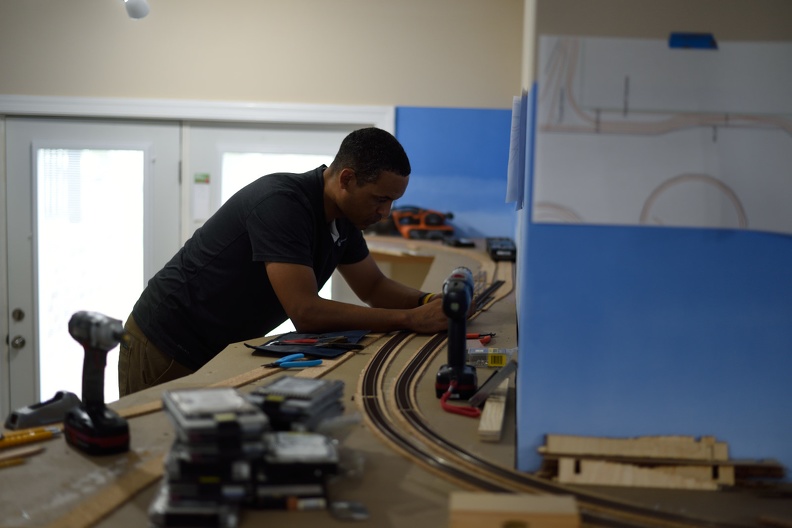
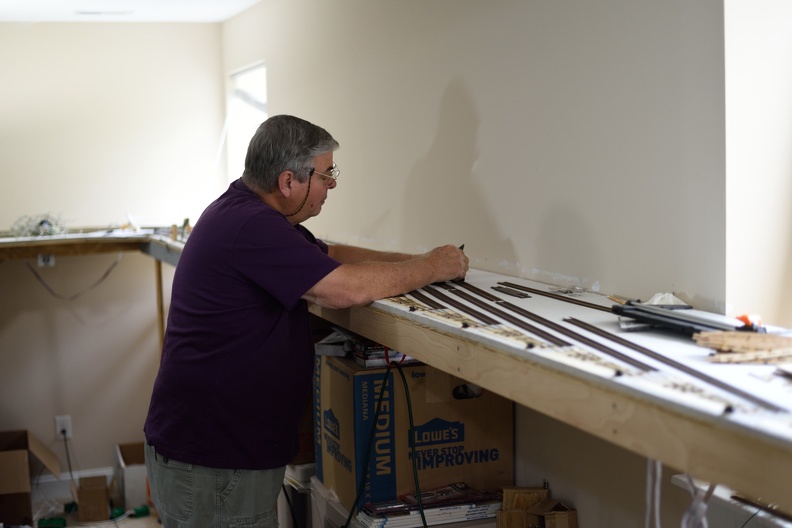
The master of geometry, Dick, led Mike B in getting the centerlines laid out in the staging yard.


And the final crew of Tom and Mike P worked to get track laid from Acca heading south.


Note Mike mugging for the camera and everybody else working.

More pictures in the gallery here: richmond-terminal.org

Thursday, January 30, 2020

Staging Entrance-Exit Track Rework Doswell Branch

As mentioned in previous blog posts, the tracks that enter the upper staging yard on both sides (North End and Doswell Branch) have curves that are too sharp.

The track plan originally had 30" curves in these sections but during build the curves were installed much sharper due to trying to fit the track to the physical space that was in place.

After the first op session ran, it was discovered that the curves were causing tracking problems with long (85') cars. Primarily, these are passenger cars, the Amfleets (new production Walthers Proto) and Superliners (a mix of Kato, Walthers and Walthers Proto). As there are something like 10 or 12 Amtrak trains on the full operations schedule, we needed to rework these areas to solve the problem and make entering or exiting the staging area perfect.

The Doswell branch side was tackled first as it was only going to impact the track into staging. After a survey was performed (lots of measuring, test fitting and game planning), the area was torn down to benchwork and new subroadbed up was installed.

After the rework, a 37" radius curve is now used and there were two industrial spots added to give the staging/Doswell crew more operational interest.

The walkway into the staging room was also enlarged so this effort was a ringing success all the way around.


The plywood on top shows the original size of the structure.
Curve in and planning out the new industrial spots
All finished!

Friday, November 1, 2019

Staging Ladder Done

I've finished building and installing the yard ladder that closes up staging for the upper level. On this one, the ladder is somewhat a compound design, but a good bulk of the turnouts are right handers, putting the hand throws right against the aisle, which should make operations easy.

Had some nice light and took a snap that I'll share with you here. Posting to the blog is always delayed so there are feeders already in place and the Caboose ground throws are as well when this shot doesn't show either.


Sunday, October 27, 2019

October Work Session

The largest work crew ever was on the railroad in October.

Significant progress was made and the railroad is rapidly approaching upper level completion.

So much work was done that I was only able to take a few pictures so enjoy these couple of snaps.

William is showing that he can lay track even in small scales.
John, using his eye like an experienced track hand.
Dick did absolute yeoman service on the soldering iron.

Wednesday, September 25, 2019

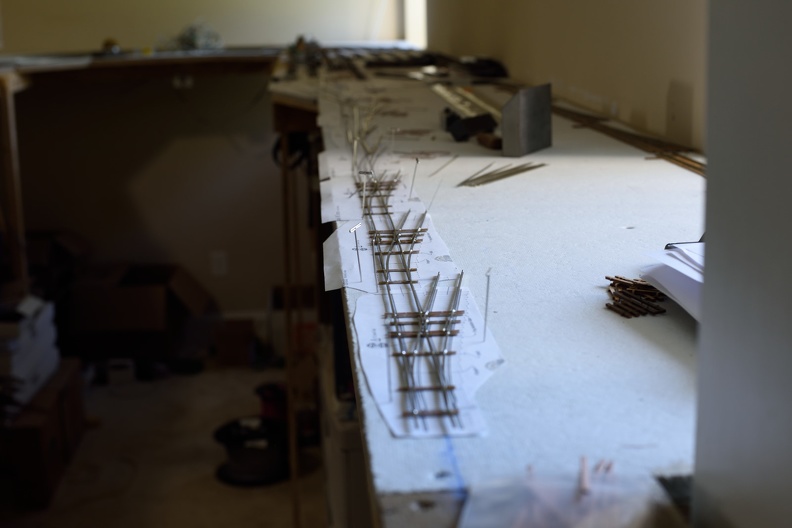
Staging Closing Ladder In Progress

Working on the closing staging ladder. All #6s and mostly RHs. This isn't a compound ladder as everything is built off the straight ladder, but it is still 9 turnouts to be built.

Lots of time spent at the benchtop belt sander, let me tell you..

Monday, April 8, 2019

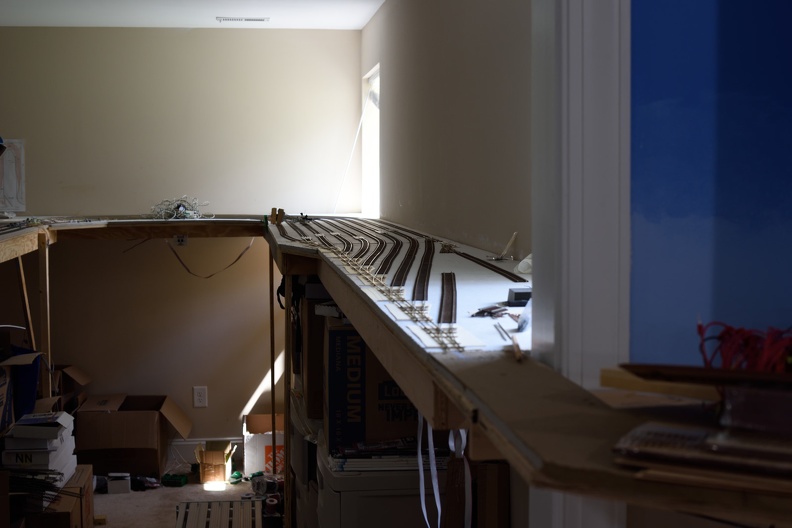
Staging Snapshot

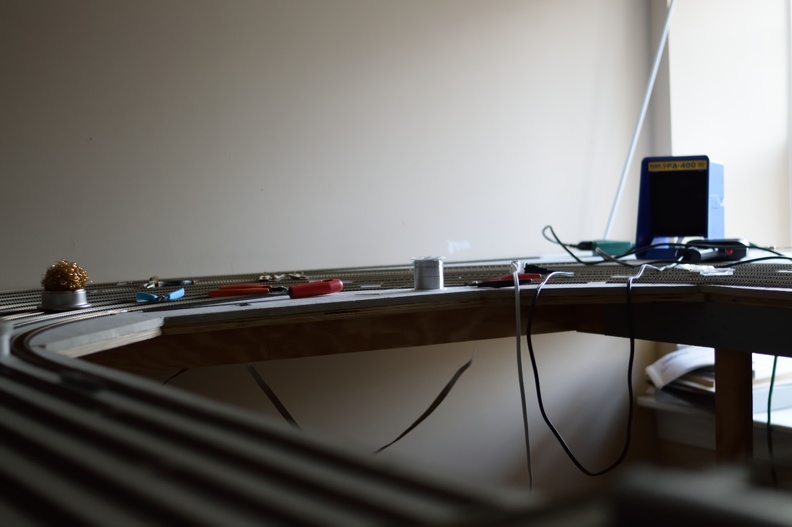
Came downstairs and thought the sun was doing well by highlighting the status in staging.

Tools of the trade displayed

Monday, February 12, 2018

Staging Prep - Getting Ready for Track

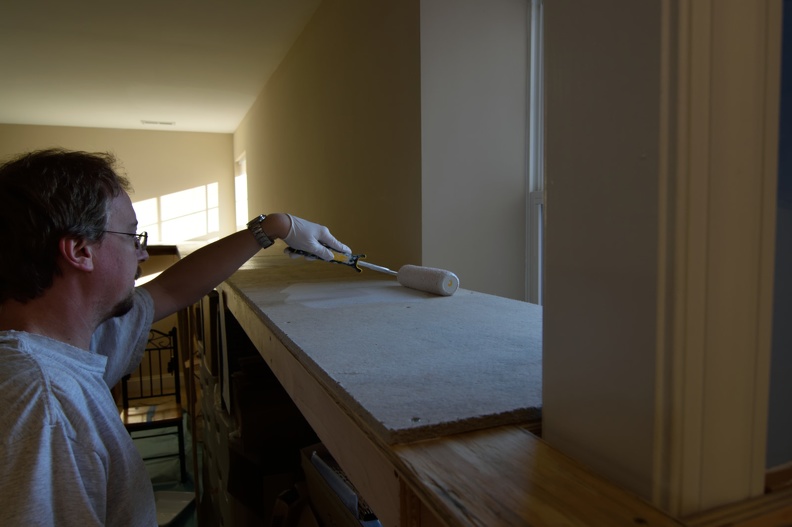
Got homasote put down onto the staging yard late December and needed to get it more finished than just plain gray.

Painting the surface would hopefully provide a better background to rail cars against, as well as find parts that might have fallen off.

I was just going to go for the standard dirt brown color but then thought better about it, so plain Kilz white it went.

Self Timers are great when you mostly work solo


Wet Paint!
Used the remainder of the can I had opened so I'll have to get my hands on another can before I start painting the backdrops for the main level, but that is a task for another day.

More photos are in the gallery on richmond-terminal.org.

Tuesday, December 19, 2017

Update on Staging Yard Construction

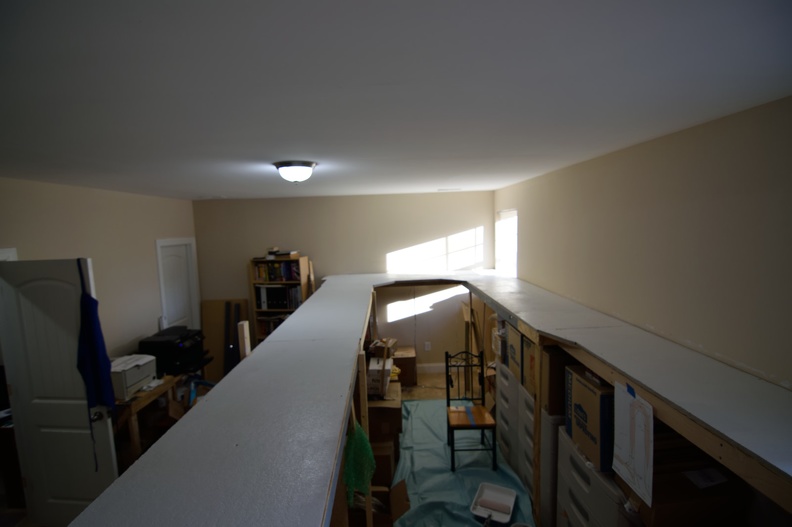
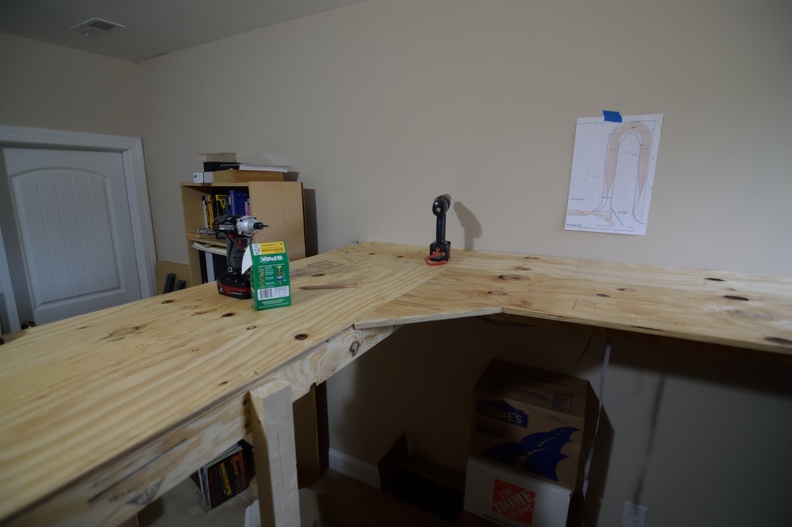
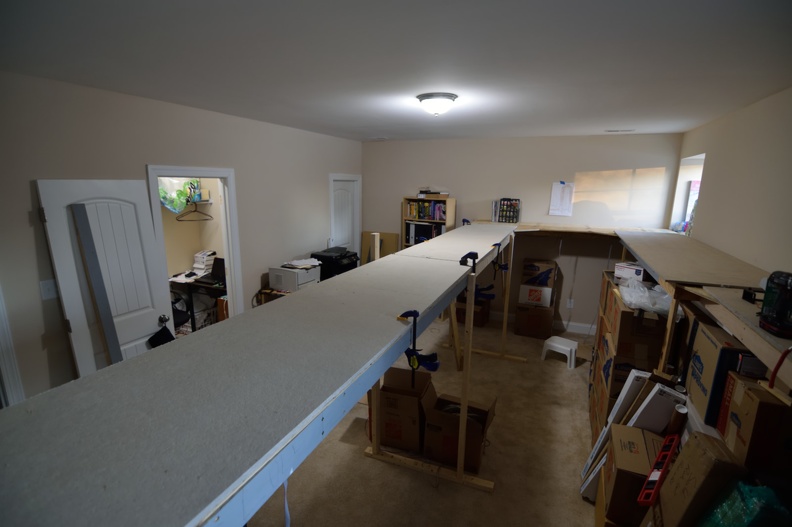
Benchwork for the upper staging yard is complete, thanks to the work session on the 9th. I only had a single attendee, but I lucked out and got a wood worker, so progress went forward.

Since it was just two of us working, I didn't get a chance to snap any "in-progress" views so what's here is the result.

Framework in
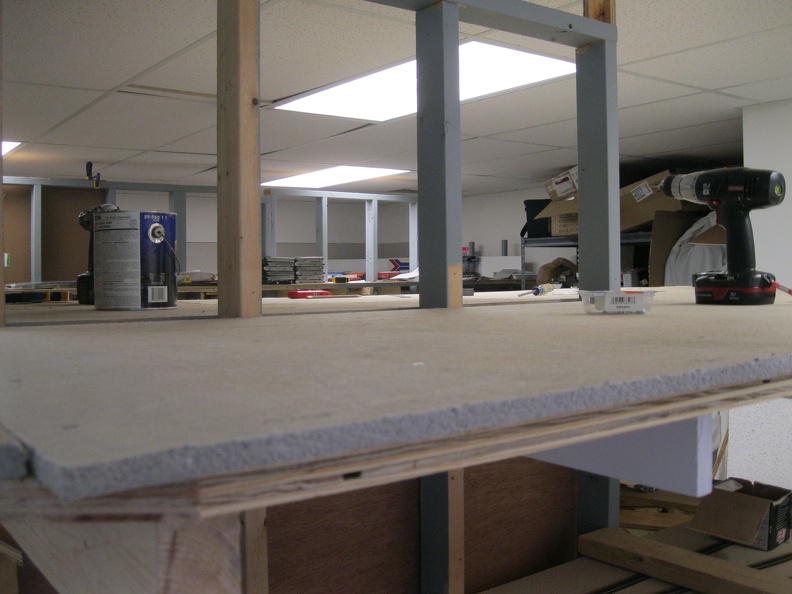
High Angle Shot
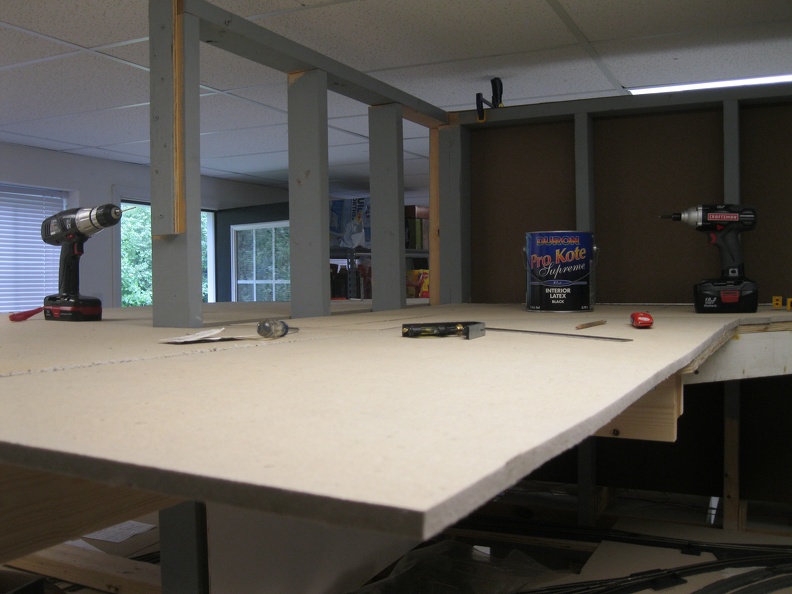
Put in the back piece of plywood so homasote could start going down.

Sanded the angled cut's edge to hopefully prevent splinters.

With homasote down, all I need to do now is paint dirt!


Wednesday, August 20, 2014

Upper staging, recap

I kept meaning to get pictures taken of the work that I was doing, but I repeatedly forgot to take the camera downstairs with me. I had been doing some blogging via the tablet, but for some reason, the blogger application has frozen in a state from May and no amount of rebooting fixes it.

I finally remembered to take the camera on Sunday and after having to go back to the office upstairs to grab the charger for it, I was able to take some snaps.

I was experimenting with a tripod for bunches of these shots, so some of them are better than others. Eventually, I imagine that I will invest in one of those huge D-SLRs that are out there, but for now, my point and shoot Canon works.

As I mentioned in a previous post, I made an oops in measuring the upper level, which will require some additional work to fix. It is minor, but annoying that I didn't catch it before I trimmed wood.

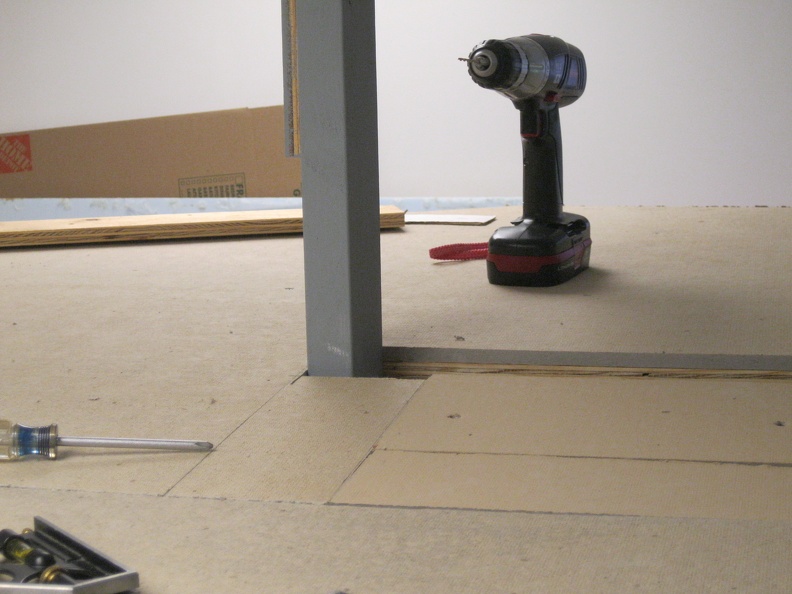
End of the peninsula; fit the homasote in here. There is a complete sheet that wraps around the end stud. That dark vertical mark on the left is pencil to tell me where to stop cutting.
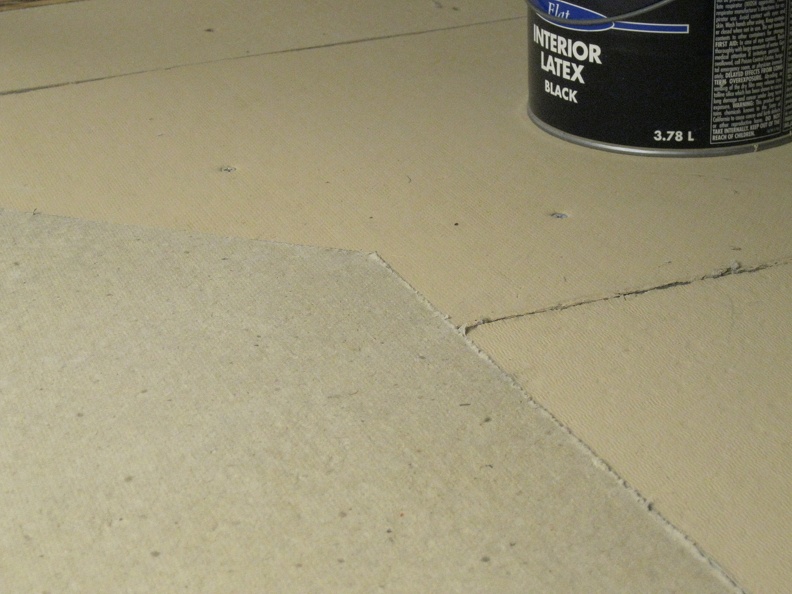
Cutting homasote with a utility knife can be rewarding with good results, if you take your time. The non-painted piece is a scrap from months ago that I used to fill the remainder in.
A longer shot to show the large piece fit in.
The oops - see if you notice the difference between the bottom and top levels..
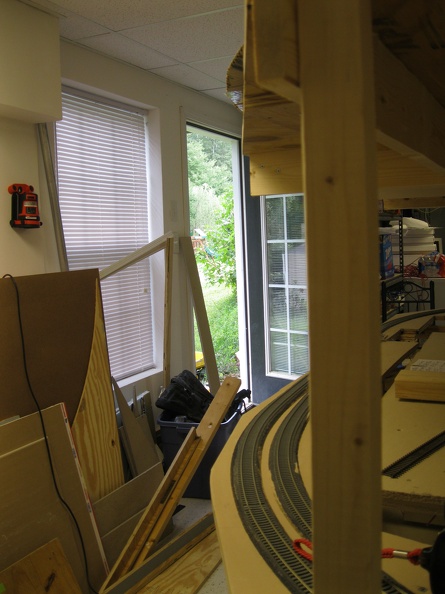
Opposite side shot. Paint will go sometime this week.

Monday, August 11, 2014

Upper staging, part 5?

Got some plywood fastened down and took some measurements to try to use the piece of homasote I bought most effectively. At $25 a sheet plus having to wait until I have a pickup truck available, efficient use is pretty important.

Looks like I will be able to finish it with what I have already in the basement.

I will need more brown paint to give me the "dirt" color I use though.

Tuesday, September 1, 2009

Staging Yard - Bare wall to track

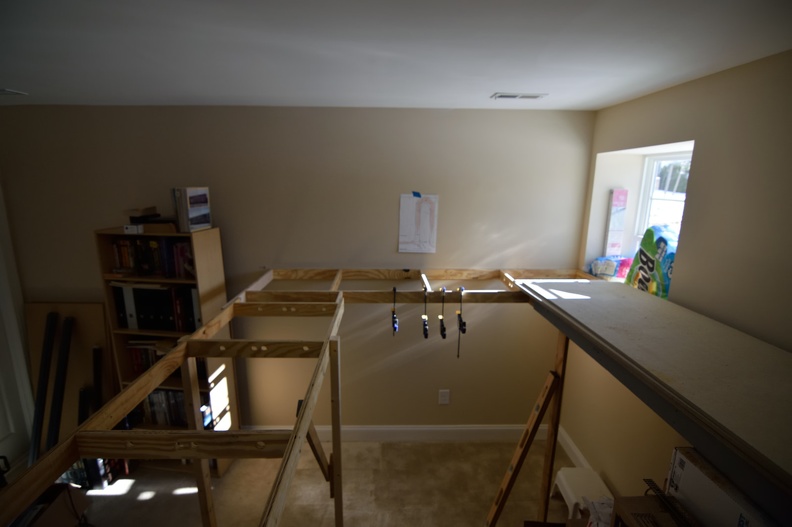
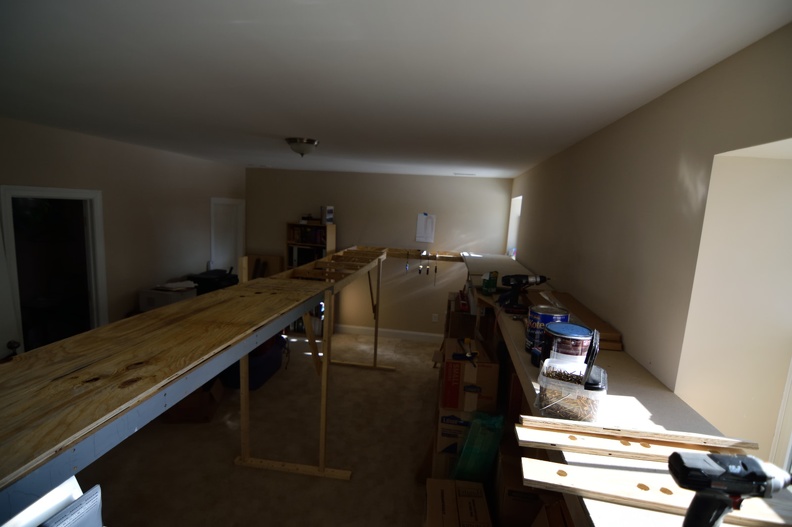
The first picture is from the extreme left (south) side of the staging yard. Track will be 33" from the floor. I built a framework from 3" pieces riped from 3/4" plywood.


This next picture looks railroad north as switches are test fit to make sure what fit in XTrkCAD fit on wood.


This picture shows how the framework was constructed; there doesn't seem to be much deflection. :)


Everything put together and ready for paint.


Some trackwork and mounting tortoise switch motors.


At this point, the closing ladder is mostly in place, and I only need some addition track and tortoises to complete the pre-wiring phase for the staging yard.