Showing posts with label planning. Show all posts

Tuesday, September 17, 2024

Doswell Changes, Part 1

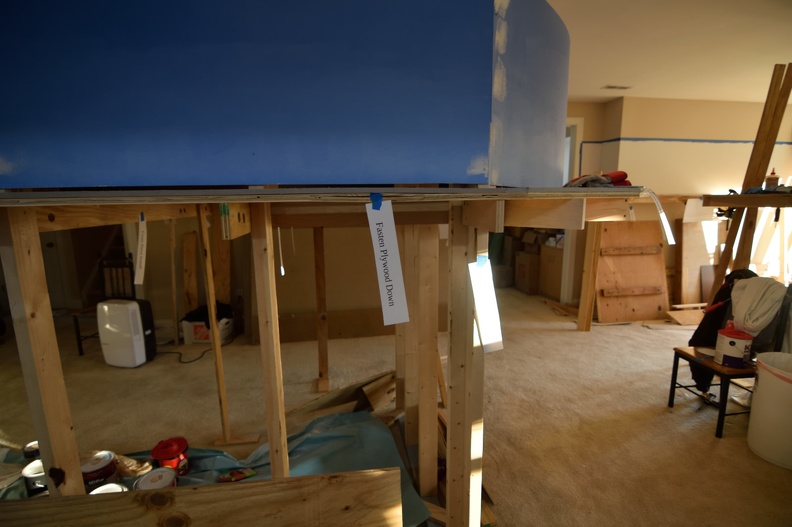
After multiple operating sessions, I decided that the track layout inside of Doswell wasn't what I wanted.

So, I ripped up all the track and roadbed, to start afresh.


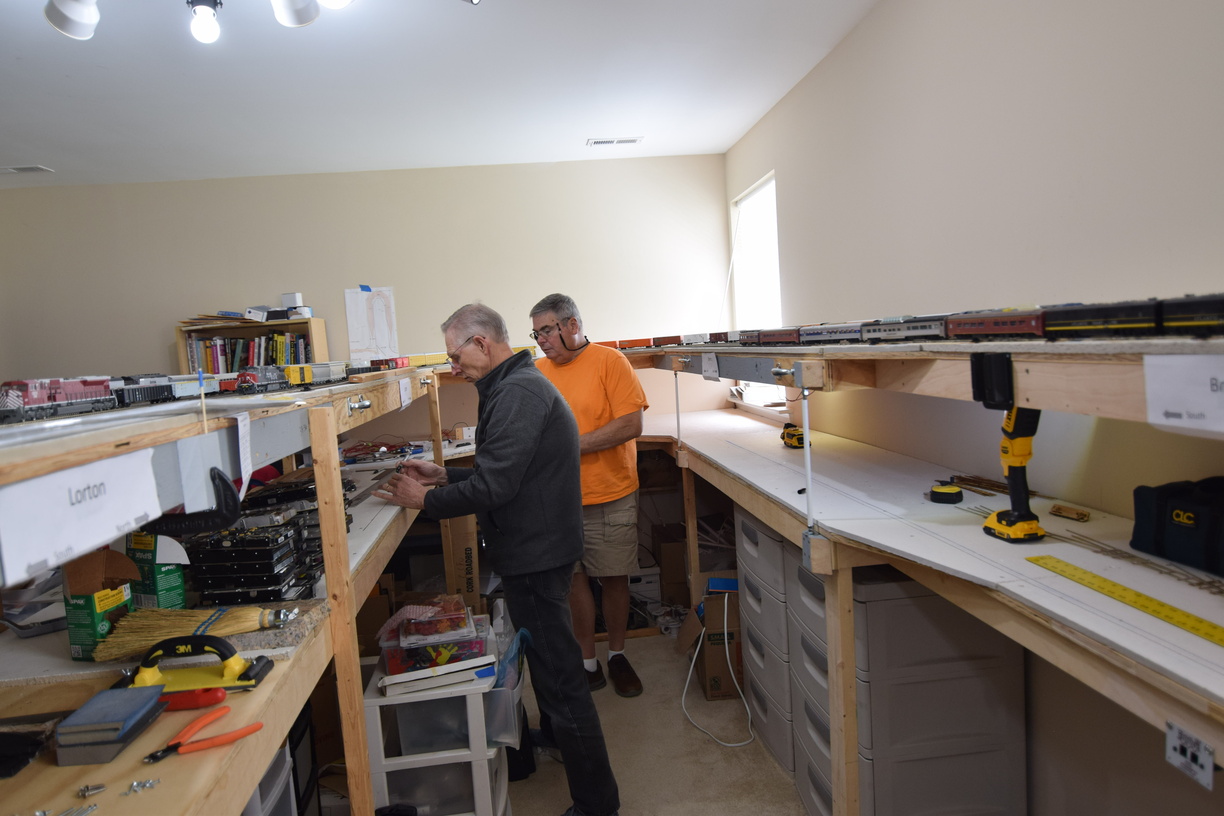
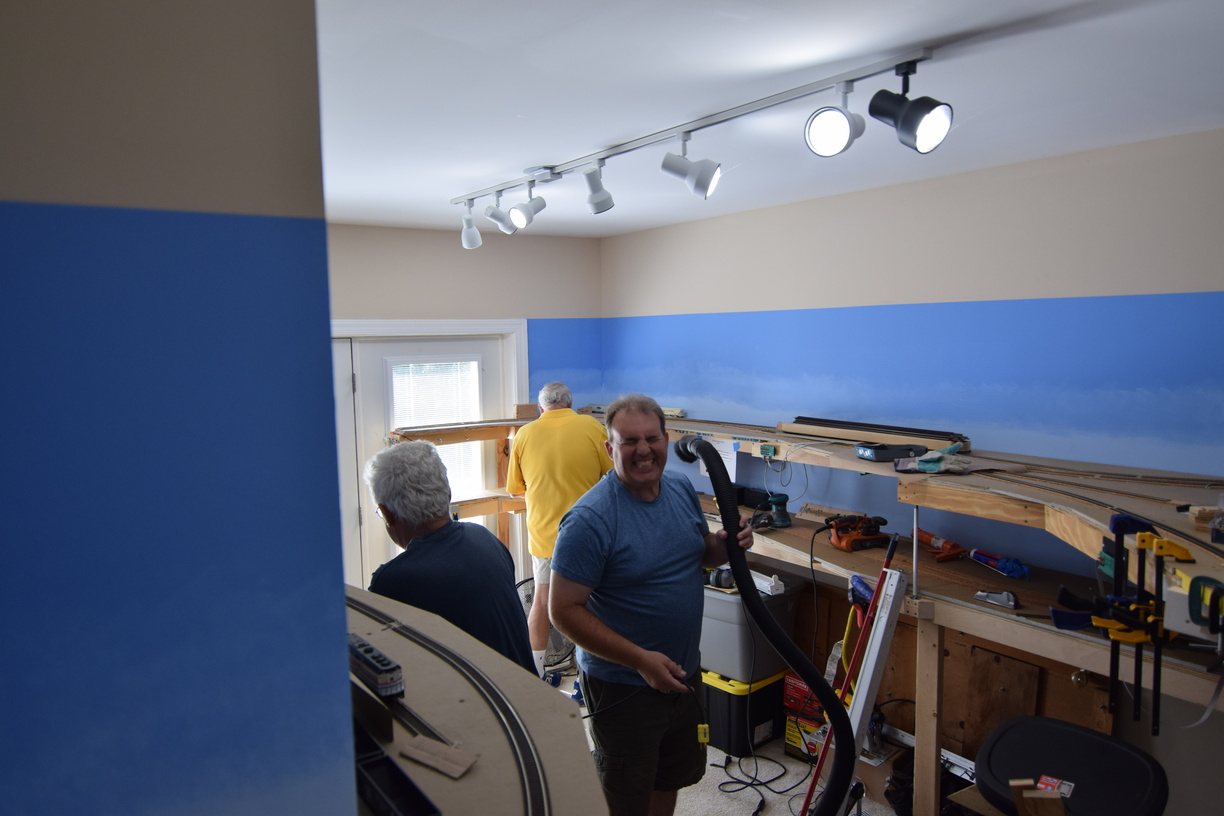
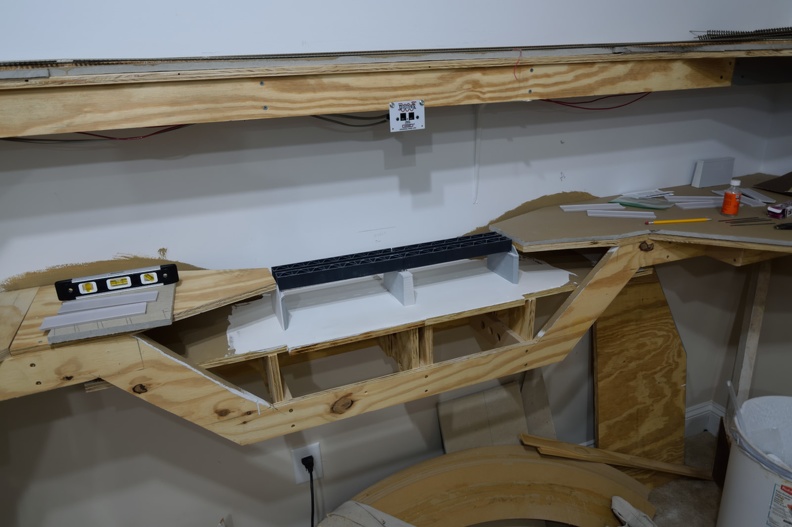
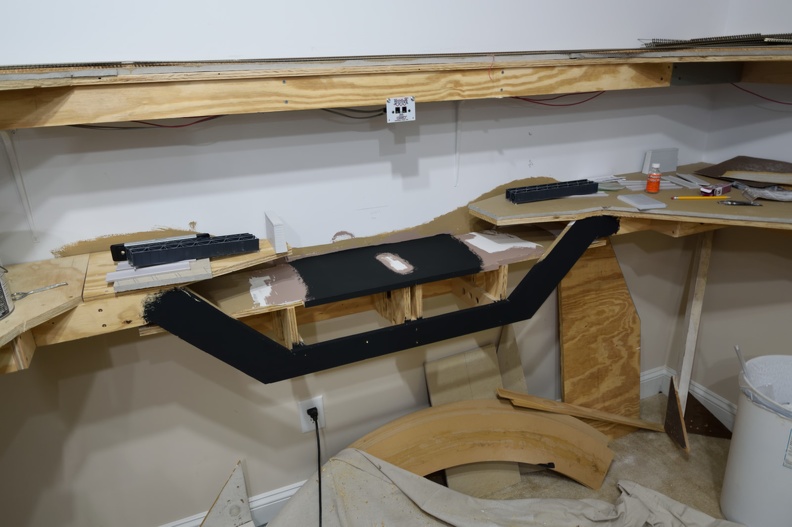
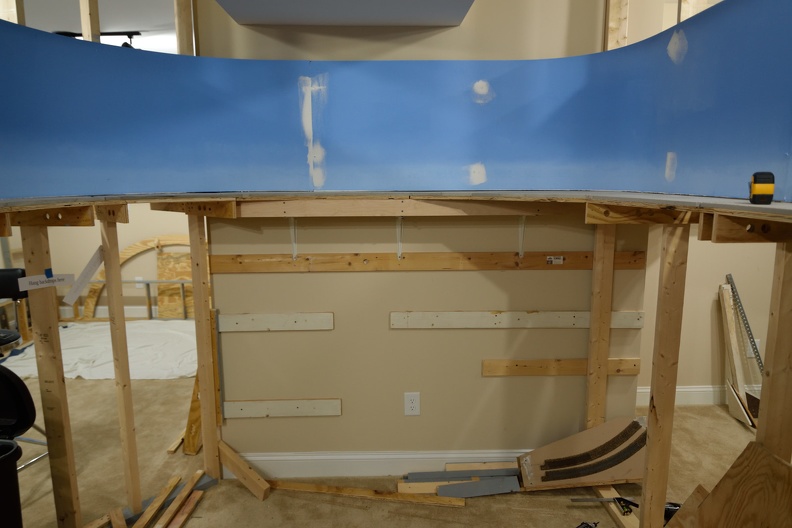
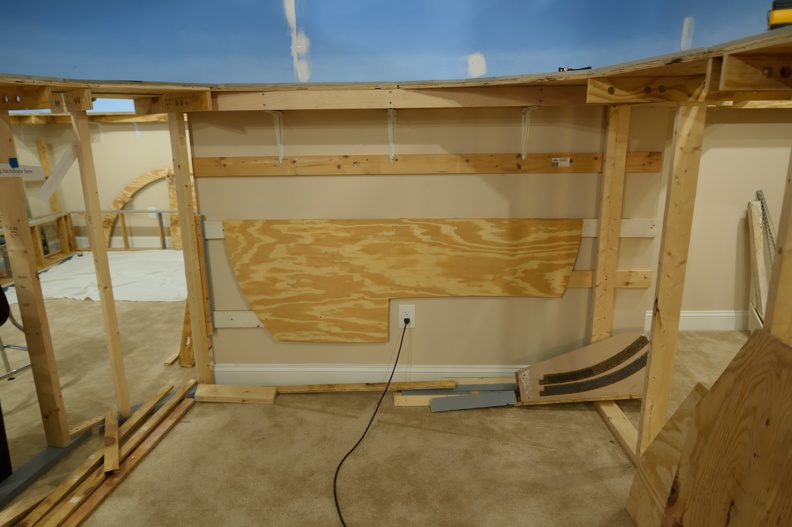
After a bunch of measuring and test fitting, I realized that I needed to revamp the benchwork as well.


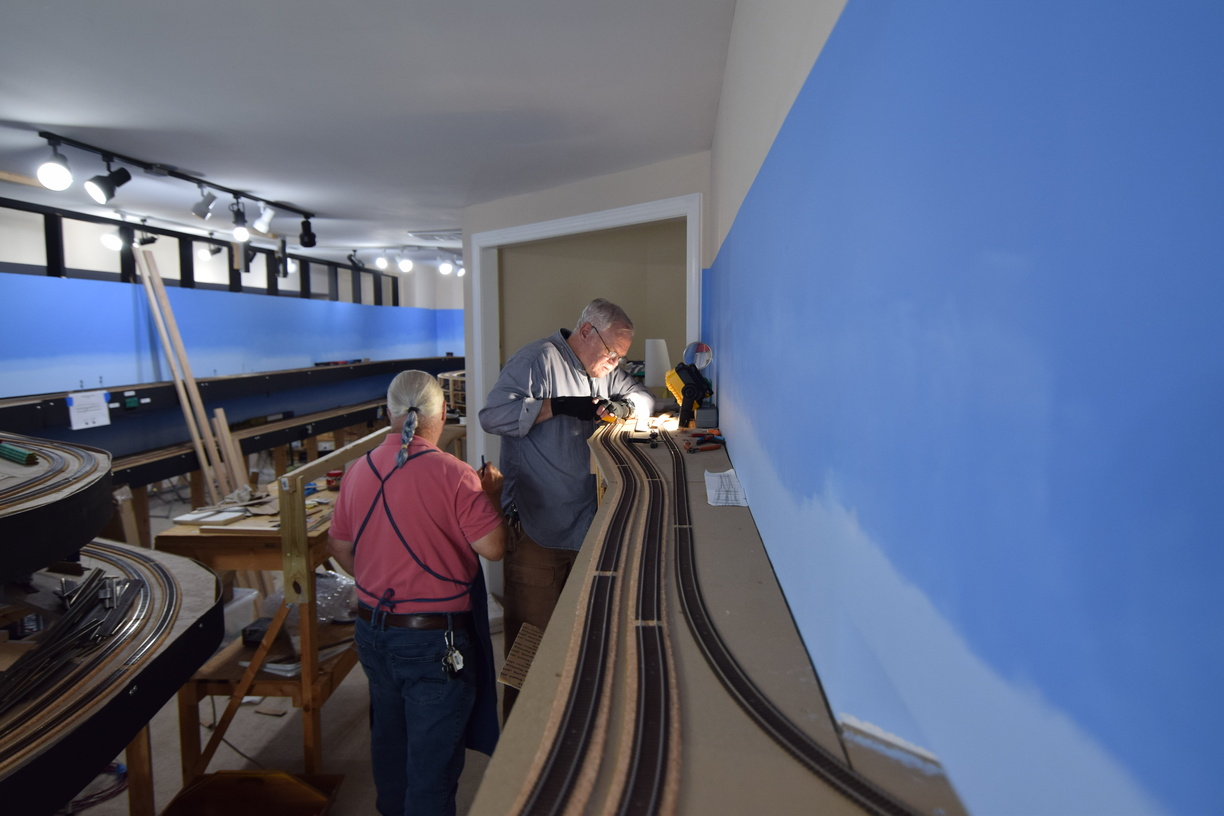
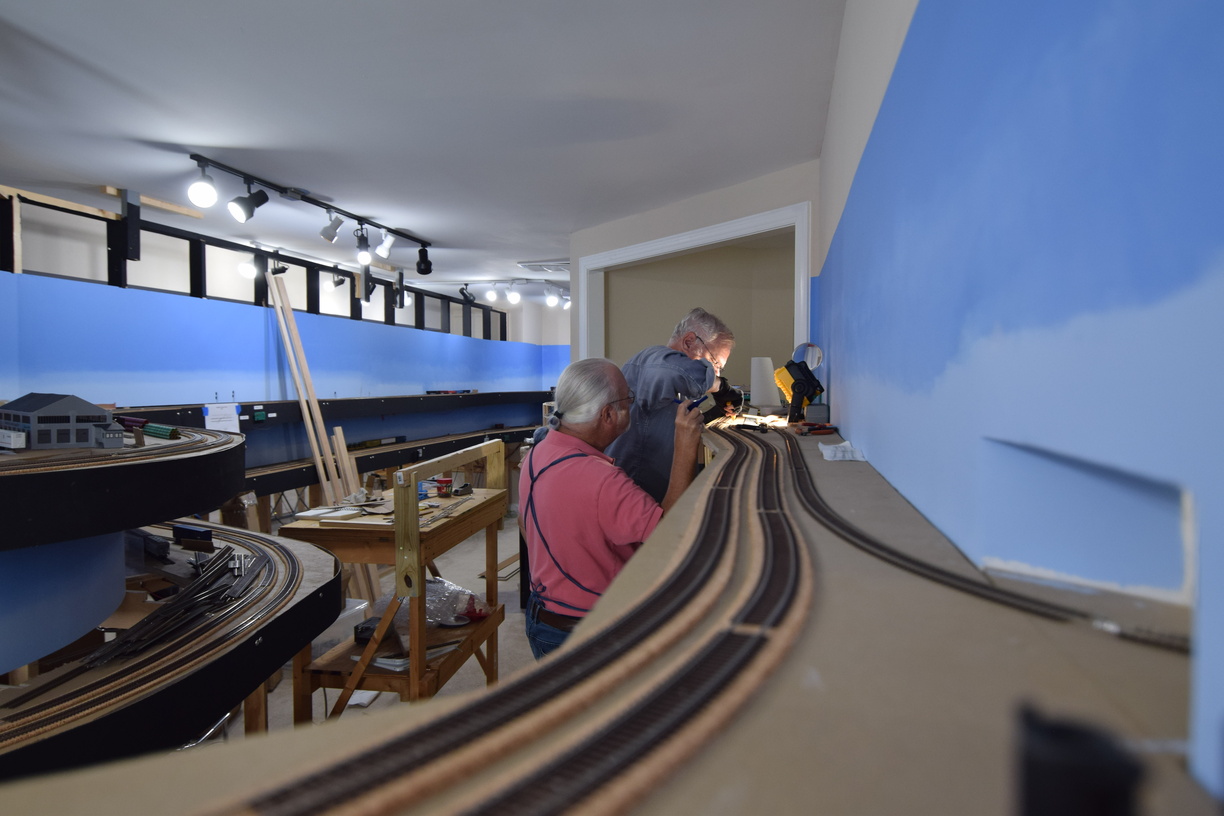
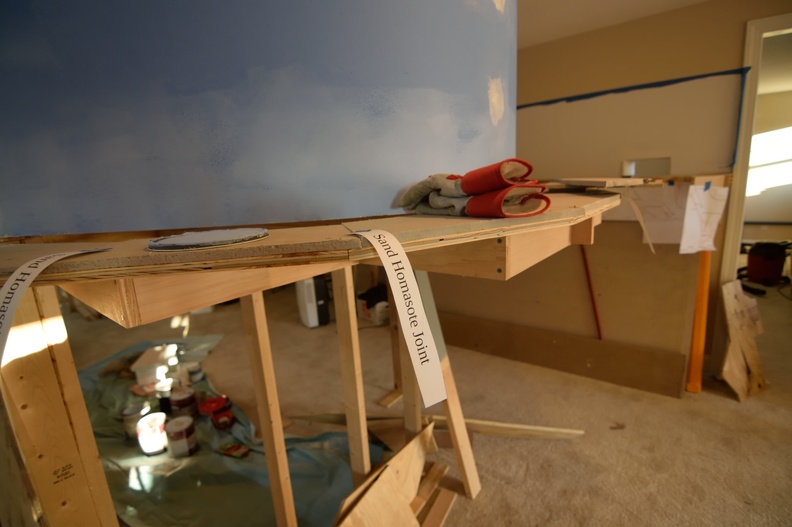
Here's the benchwork re-completed:


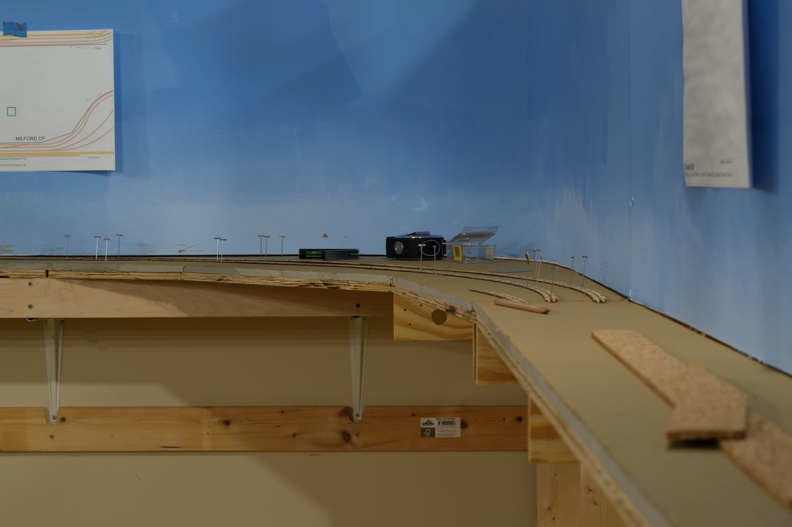
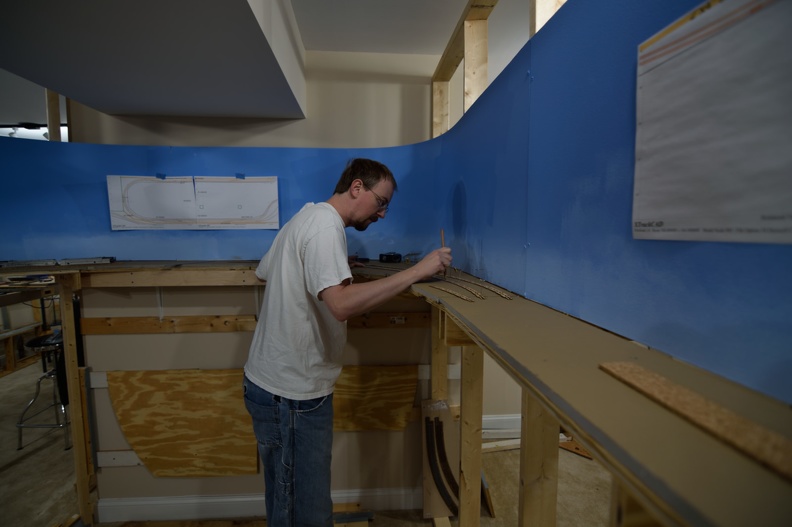
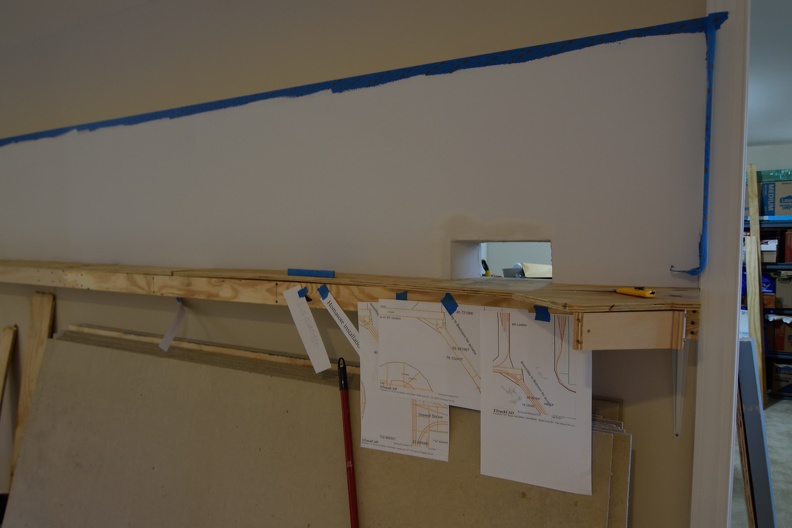
And now I'm starting to layout some track options: 


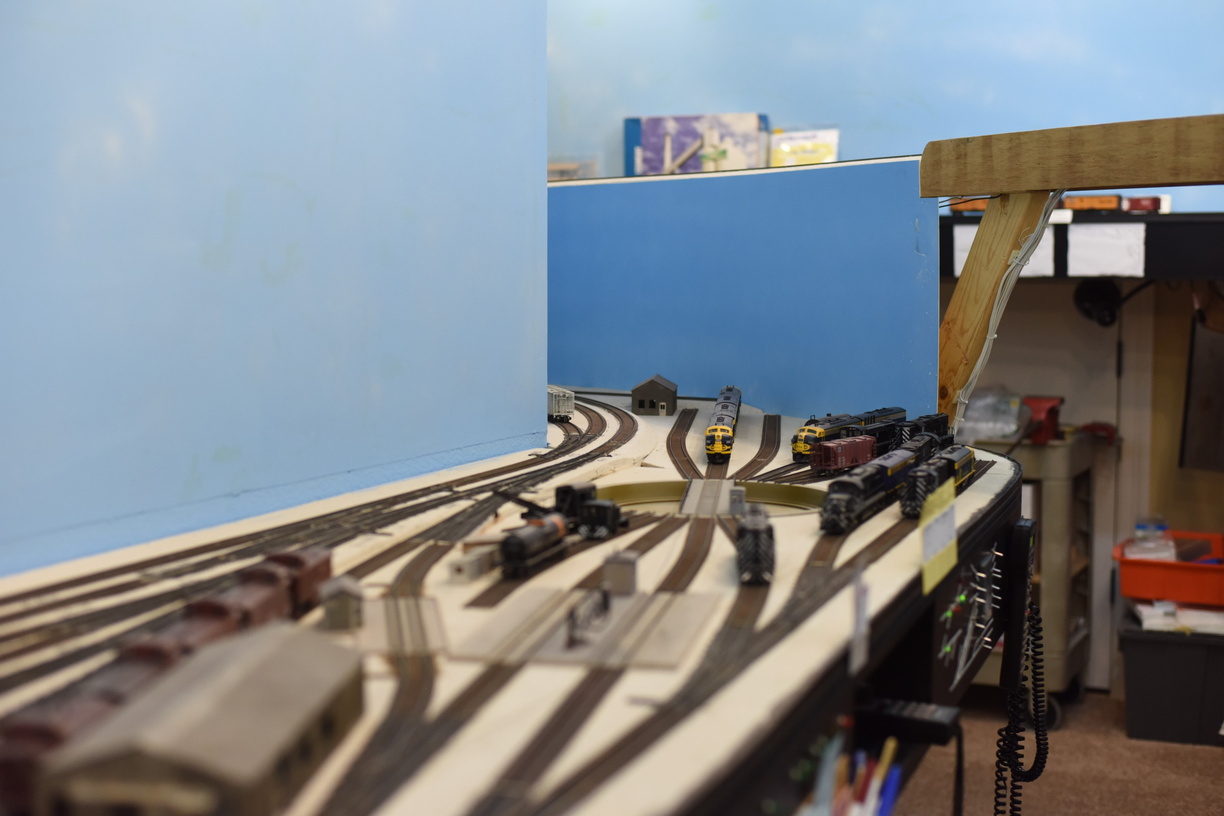
More pictures are on the gallery on richmond-terminal.org

Monday, November 27, 2023

The NMRA 2023 Convention LDSig Tour, In Pictures

 Dallas in August is hot, but the layouts were cool.

Here is a sampling of the over 100 pictures I took.


See the rest of them at the Richmond Terminal Gallery- NMRA 2023 Album.

Monday, December 19, 2022

Rework Part II: Workspaces for Acca Crews

 The operating framework on Version 2 is switchlists. We use JMRI to make the car routing decisions and that is where we print out the switchlist from.

This is a break from the previous Car Card and Waybill paradigm on Version 1.

As you can imagine, working from full letter size paper is great to read from, but it can be awkward when it comes time to put the paper down and move a train.

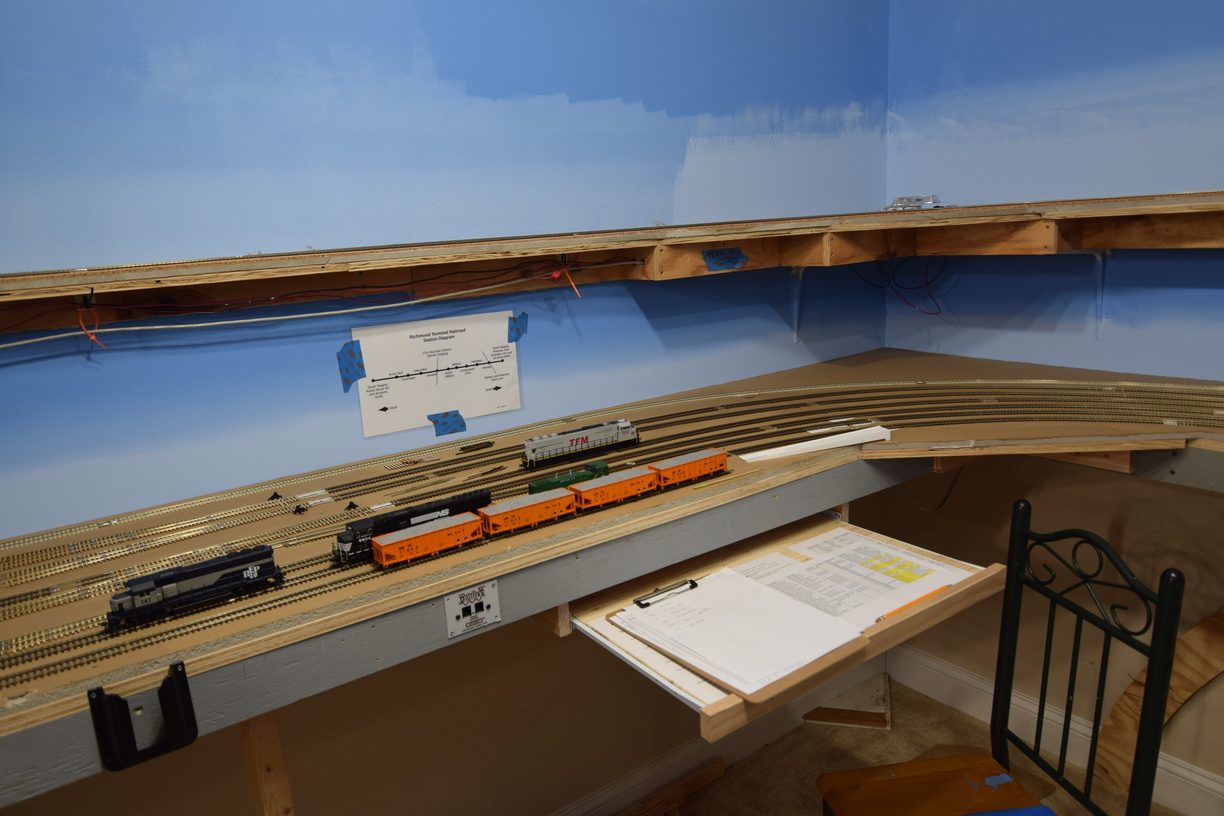
The yard crews have mentioned that a desktop space would be helpful in managing the paperwork aspect of the job and keep the paper from being set on top of the track and cars.

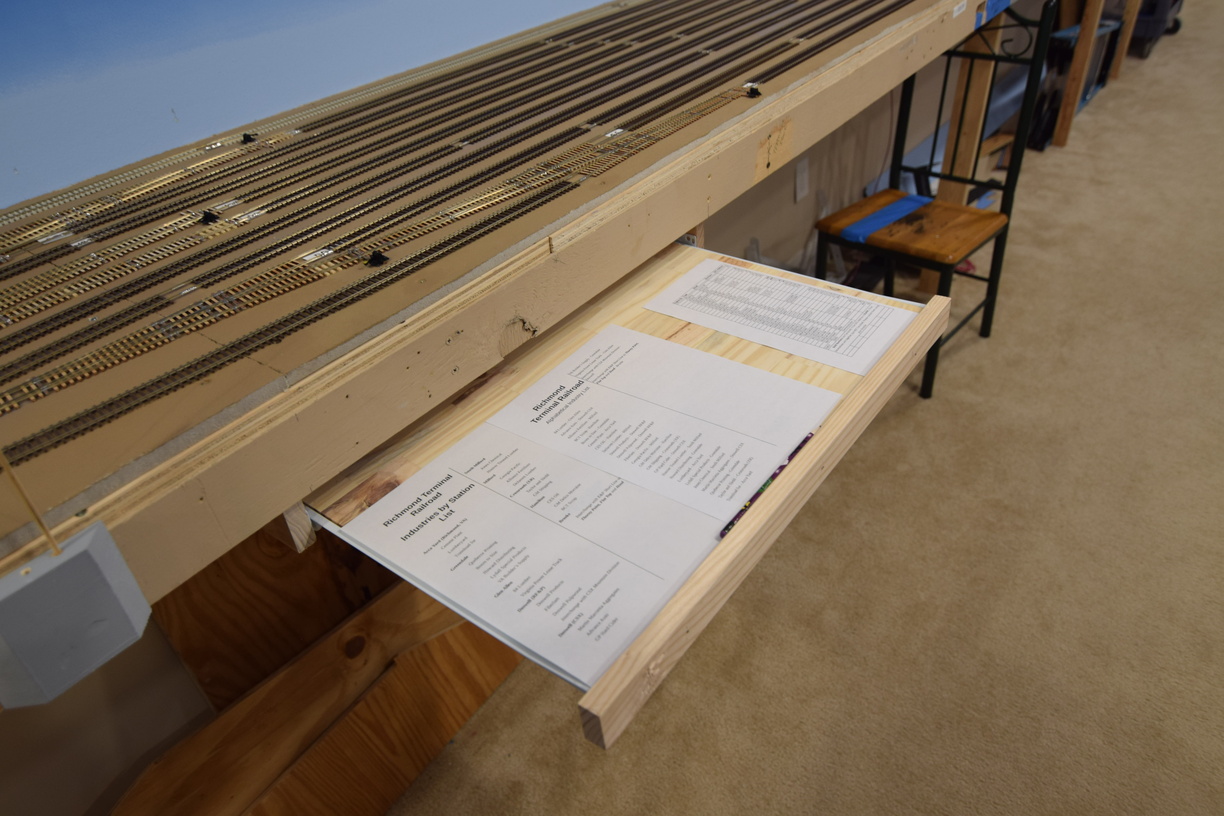
I decided that making some roll out desktops via the keyboard style drawer slides was the way to go.

I bought one of those premade tabletops from one of the big box home improvement stores; the ones made out of various pieces of 1x3" pine and glued together at the factory that gives you a 2x4' or so surface. I bought one large enough that we could cut it in half and make two slide outs.

Dad used his brad airnailer to attach a piece of 1x2 as a combination stop, handle and fiddle.


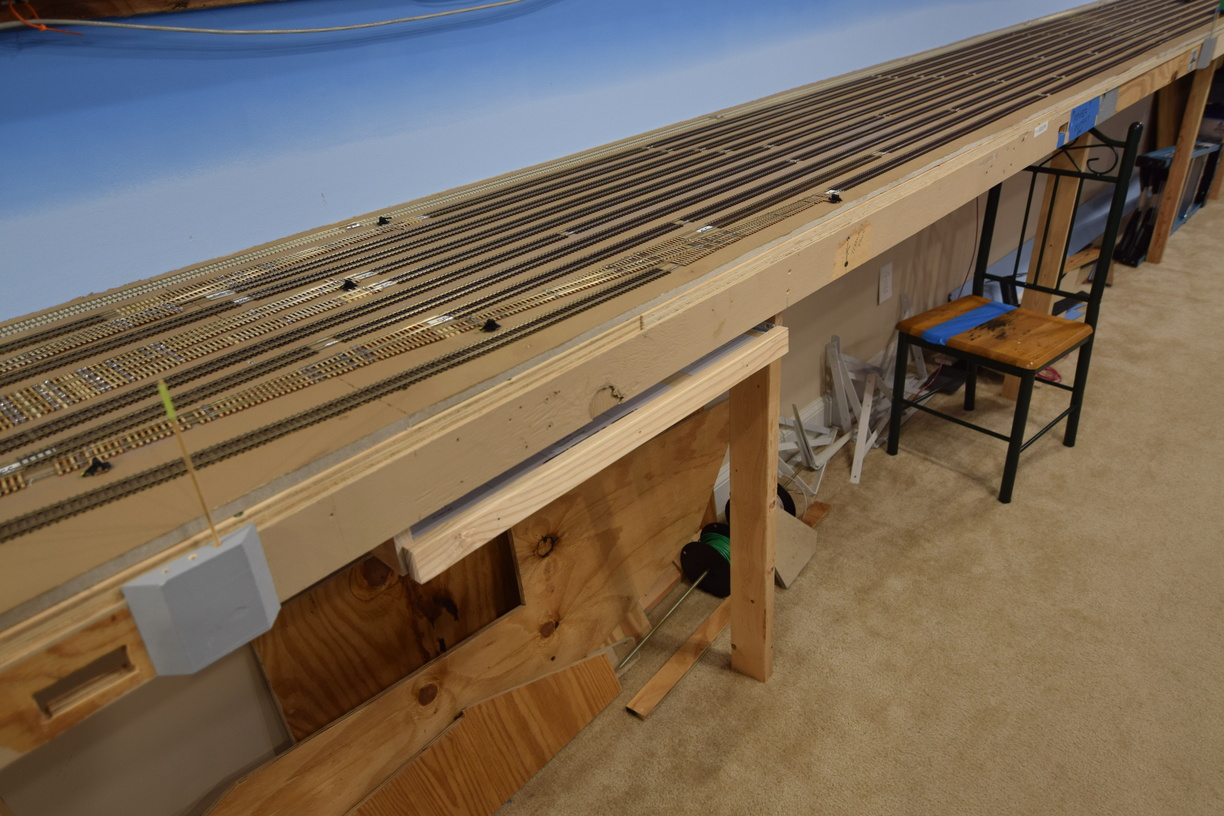
One is at the end of the Acca aisleway, the other is near the beginning, where the layout goes from 18" to 24" wide.


Here is a drawer in the stowed position:


A few more pictures can be found in the construction gallery at richmond-terminal.org.

Friday, September 30, 2022

September Work Session

 After the August operating session was held, Management realized that significant help would be required to move the railroad forward to be ready for the next session.

The South end staging yard needed to be marked out for track centerlines, a crossover needed to be installed at Doswell (I had left it out of my initial plan. Turns out there was a good reason it was there in real life), and track needed to be laid from the south end of Acca, towards staging.

An interpid crew of workers attended a Saturday session and much progress was made!


Here at Doswell, track had to be removed, roadbed added, sanded flat, and the crossover (a #10, built via my fast tracks tooling) installed. After the crossover was spiked down, tortoise switch machines needed to be installed, and the flex track reconnected. After all that, wiring changes would need to be made the DCC feeds.

John and Bill tackle the crossover install at South Doswell

John and Bill were able to get mostly through this list of work, which is a testament to their skills.


The master of geometry, Dick, led Mike B in getting the centerlines laid out in the staging yard.


And the final crew of Tom and Mike P worked to get track laid from Acca heading south.


Note Mike mugging for the camera and everybody else working.

More pictures in the gallery here: richmond-terminal.org

Monday, January 4, 2021

Fascias - Adapting

 In a couple of the newer shots, you might notice the black fascia that's been installed on the upper level.

I'm using the same 1/8" masonite that I used for the backdrops, cut into a 5" wide strip and painted a flat black. (I've had a gallon of flat black for over 10 years since I bought it for version 1 with the intention of painting the benchwork to better minimize it visually, but that never happened.)

To mount it, you have to have a fairly smooth plane to do so, meaning any sort of protruding benchwork needs to be trimmed.

If you are a better planner and executor of your plans, you might be able to avoid the illustration shown here.


Wednesday, June 10, 2020

Scenery? On my railroad? It's happening!

I wanted a bridge scene to give the railroad a more realistic feel than last time - the area of Virginia that the RF&P runs through is full of creeks, rivers and small elevation changes so I wanted to capture this.

I picked the bridge over the Chickahominy River as the target of my modeling since it is a plate girder bridge and good model kits exist for that style of bridge.

I bought a Micro Engineering concrete deck bridge kit and used it for a test. It looked good, so I attempted to source more of them and ended up having to turn to eBay. Also got the bridge abutments the same way.

As a FYI, the abutments are Walthers Cornerstone series and their heights do NOT match. I had to spent a fair amount of time cutting and sanding.

Hours later:

Actual model structures!
After some initial paint to prepare for the river scene.

Sunday, April 5, 2020

Doswell and North End Staging Benchwork, Re-Work

As mentioned in a previous post on the blog here, the area of the layout that hosts South Doswell as well as the entrance/exit to the north end staging yard, required a rework.

The area was torn down to benchwork and new plywood subroad installed.


This also gave me a chance to use larger pieces of homasote, reducing the number of joints in play.

New homasote down.
All things considered, this wasn't all that bad of a job to do. I wish I would haven't had to do it, but that's water under the bridge.

Painted and ready for roadbed.


Friday, November 8, 2019

Walkway Changes or when planning isn't good enough

The railroad has minimum 36" aisleways except for one area where the helix footprint encroaches the walkway, narrowing it to about 30".

When compared to other areas with 48" of clearance, a study to improve this area was in order.

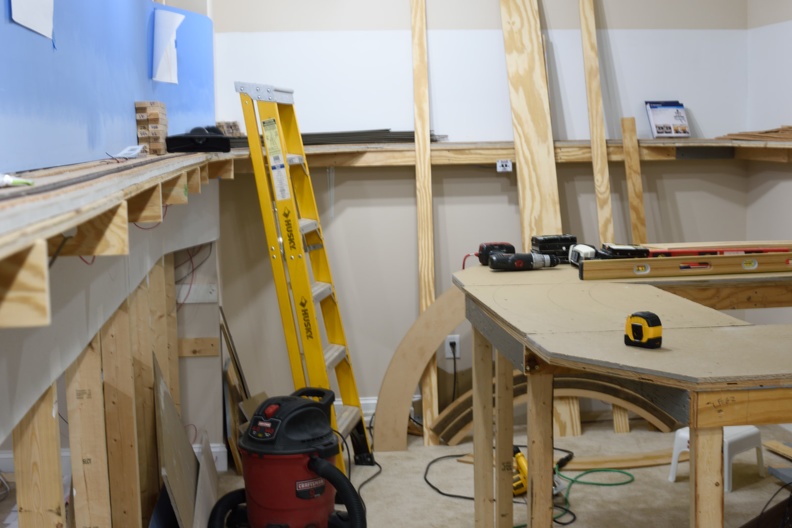
After some measuring and test fitting of the helix, it was decided that 6" and change would be able to be cut away.

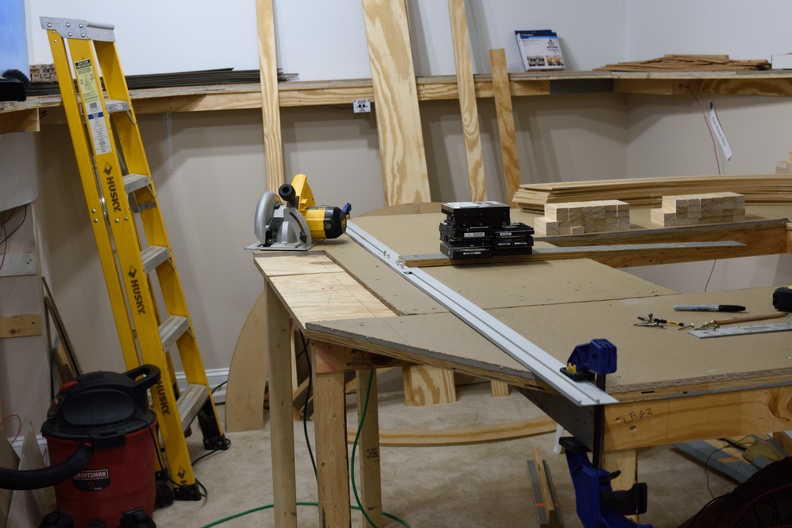
We set the long fence up and ran the circular saw. Results as follows.

Cut everything at once to eliminate any potential overhang
All done:
Opened up the area nicely.
A few more pictures can be found on the gallery at richmond-terminal.org

Saturday, April 6, 2019

Rebuilding or The best laid plans of mice and men

I read, many years ago, that writing a novel wasn't that hard, but all the editing and rewriting you did before you were satisfied to call something a first draft was the hard part.


I suggest they should try building a model railroad.

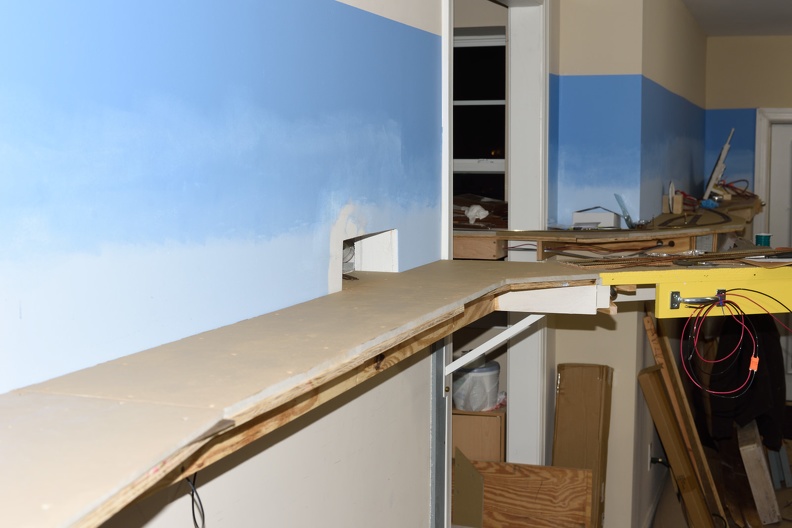
Regular RTRR associates will remember that the plan is for a bridge to carry trackage over the main room entrance. This links the 2nd pathway with the staging area.

The original plan was 3 tracks. It was modified to 2 during previous stages.

Recent measuring, testing and reflection showed that 3 tracks were needed. The hole in the wall had been cut for only two and the landing area on the opposite side of the doorway had been sized to land a 4" wide piece of lumber that would just carry 2 tracks.

I borrowed a Sawzall and went to work.


Had to remove and rebuild the landing area as well.

Shows were the paint ran down the wall..
New landing area; now 16" wide and you can see its opposite number in the back on this view.

Reclaimed the homasote to use here.

Just need to paint now.
A couple additional pictures can be found at the main site here.

Wednesday, April 3, 2019

Environs or Making your space railroad friendly

One of the challenges is adapting your space to housing a model railroad.

You end up needing the physical space to present certain features to make it possible to build the layout in the first place and then maintain it as a place you like to spend time in.

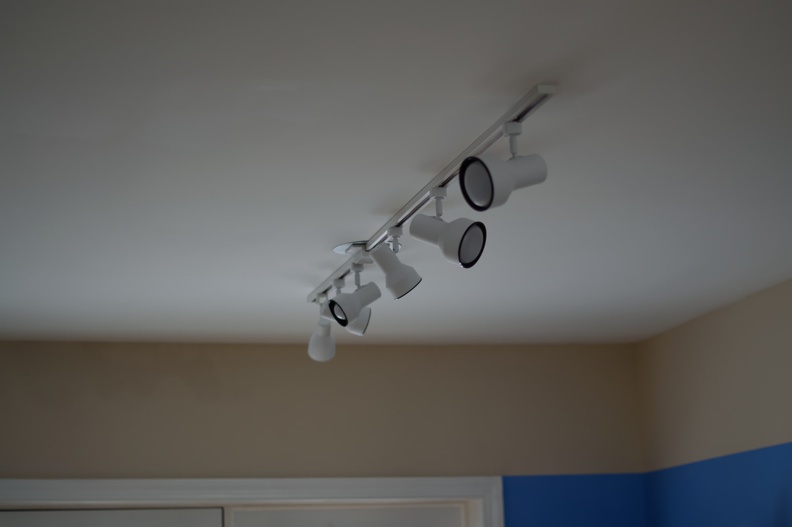
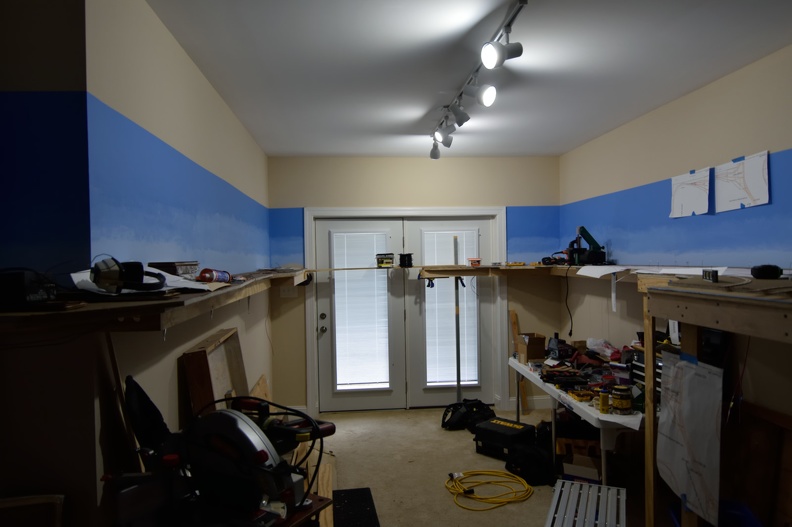
Lighting a railroad can be a challenge, especially when you go into the realm of having multiple decks. As my space is large and only has a few windows, artificial lighting and lots of it, is required.

The last two locations in the room that I hadn't swapped over to track lighting got done over the Christmas holiday break. It's a testimatt to the amount of stuff I have going on that I am blogging about it now.

First is the area under the sunroom. This offshoot is where a chunk of Doswell and Acca Wye will be, and is also the home of my tool bench at this point.

Single track, but lots of light from LED bulbs
I went from a single, 60W incandescent inside a 6" pot, to a string of LEDs on a single track. 6 heads with the equivalent of over 300W, but it takes the power of just over 30W. Ain't technology grand?

Everything else is off, light wise. You can see how good this is with just these lights going.
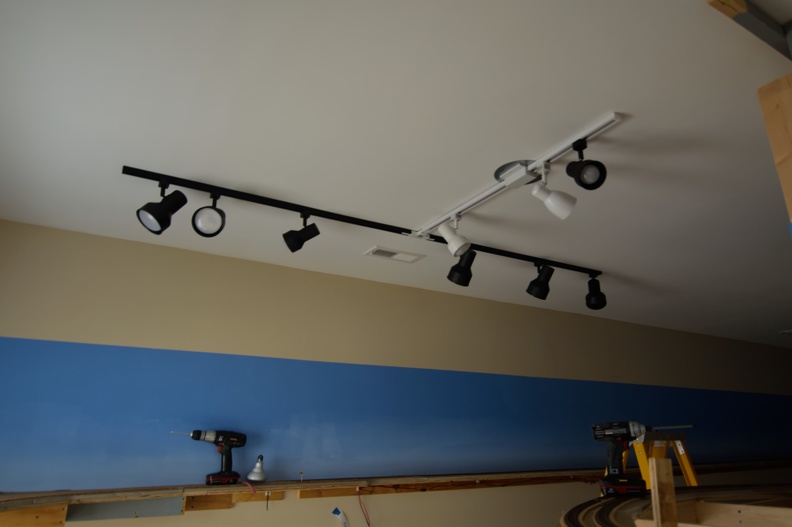
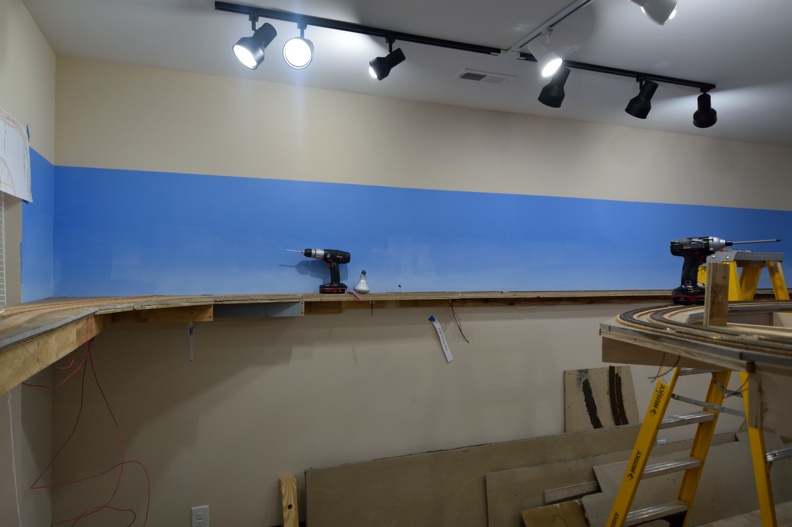
The area in the corner where Doswell starts was a bit more complex, so 3 different tracks were used.

Lots more potential here to illuminate this area properly
Much brighter in this corner now!
In case you are curious what a couple of tracks looks like when you police up your workspace...

That is an 18x24 box, btw

Tuesday, February 20, 2018

Track Layout

Trying to keep a layout build to plan can be a bit of a challenge.

One of the tools I use to help me is track templates. On version 1, I cut out a cardboard template in a couple of common radii that I used.

On version 2, that doesn't really work since I've got a couple of turns way bigger than I can make out of a poster board.

I went with the sweep sticks from Fast Tracks and ordered multiple sets for radii that are used often and a single set for a radius that might be used once.

Laying out the curves inside the two peninsulas
Doing good work with the self timer.
Additional pictures on the main site gallery: richmond-terminal.org

Monday, December 11, 2017

Note(s) to Self Or How to Keep Progress Tracked, Live

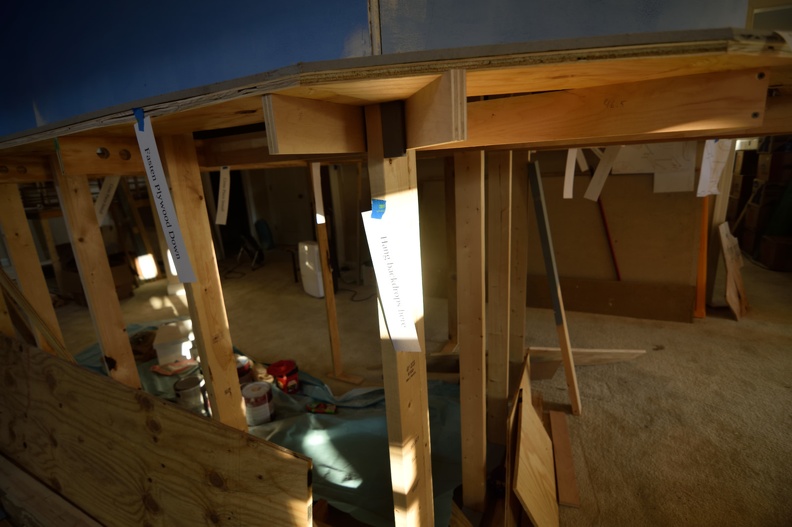
As I've mentioned previously, tagging areas of the layout that are in progress makes it easy to remember what the heck you were doing when it is been a week or more since the last time you were in the layout room.

I've made it a point to keep up on this system, as it also makes it easier to manage work session since you can just point out the to-dos and keep your crew going.

A couple of snaps from before the work session in December to illustrate the idea.

Is the sun trying to tell me something?
Note, homasote is 1/2" thick from the factory. That's a guideline, not a standard, by the way...


Notes of all types. 

Plywood quality...

Thursday, December 7, 2017

Planning for DCC

One part of the planning process that can get overlooked is being able to wire the layout up so you can run trains.

You need to plan for a place for the wire runs, of course, but don't forget to have space set aside for where you DCC command station, booster(s), circuit breakers, etc are going to go.

Due to the size and nature of Version 2, I'm going to end up with 3 booster districts, broken into a couple of circuit breaker sub districts. Version 1 was powered by a single Digitrax DB150; the current plan calls for one addition DB150 if a good deal can be had on one, or the current generation booster, as well as the top of the line command station, the DC240.

Having three power feeds will allow me to avoid building any sort of bridge to carry bus wires over the lift bridge areas, as well as keep the buses to 50' in length or less.

The central location is inside the middle aisle. I didn't want to deal with trying to mount the various components to the drywall, so a wall field was in order.


An additional 1x4 was put in to complete the furring strips. I also took this opportunity to put in a spacer piece for the lower level backdrop in this corner.

Note the cut around the outlet.
Again, in a waste not, want not, solution, the scrap from building the upper helix approach from version 1 was reused here. That will explain the curved sides. :)

Wednesday, December 6, 2017

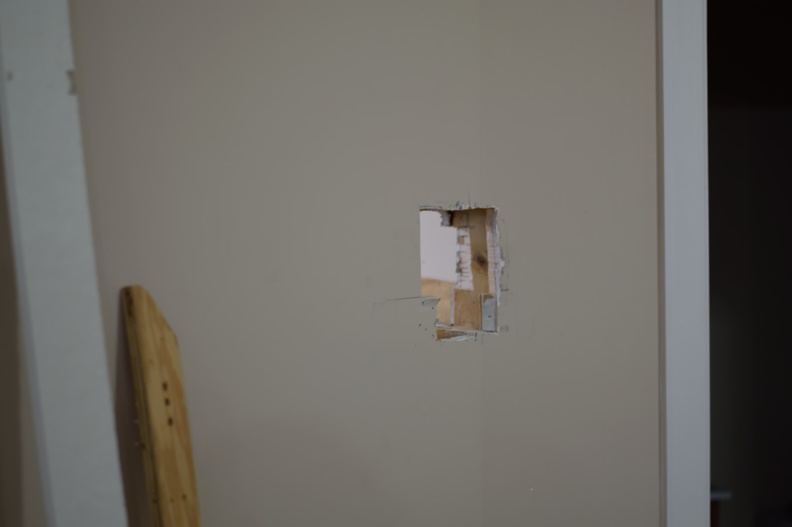
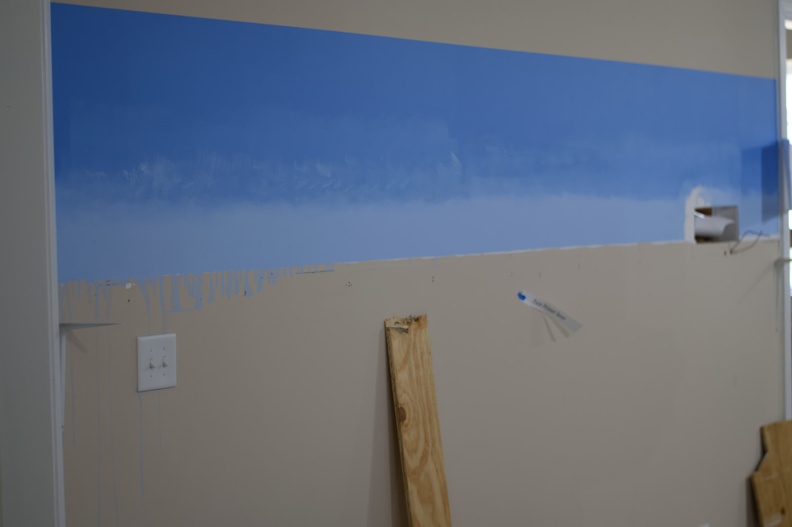
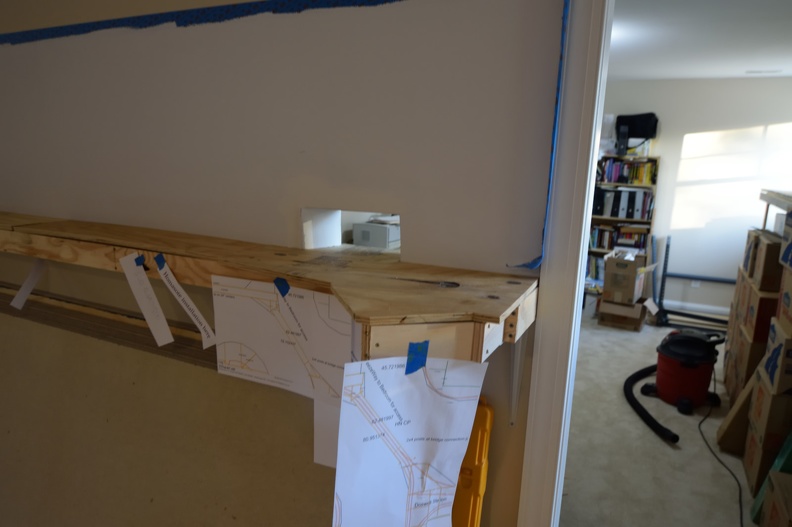
Another hole in the wall

Have I mentioned I hate Pink Floyd?

Anyway, showing this to my dear wife earned a comment about having to patch up drywall when we move, but nothing on how nice it it that I'm just about to complete the benchwork so track laying can start.

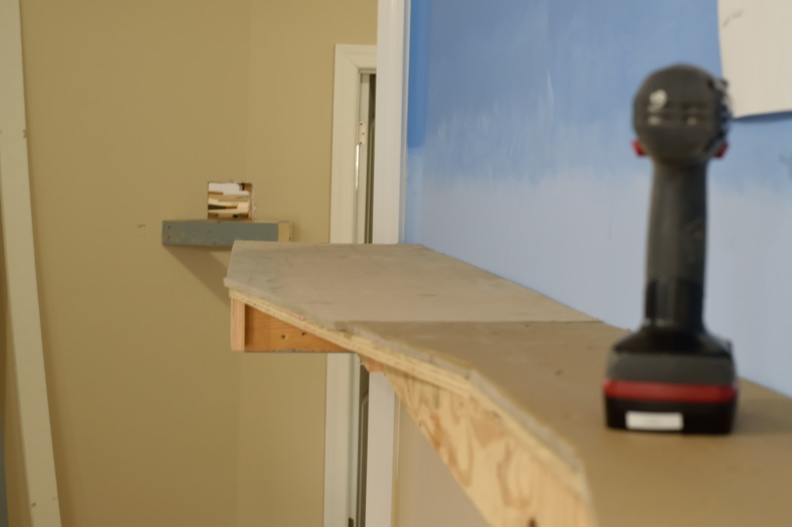
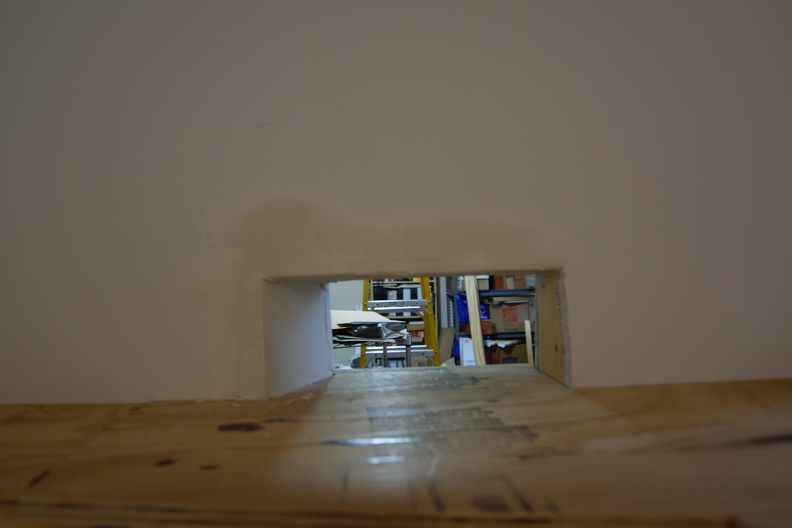
You can see the breeze through to the bedroom/staging yard at far right.

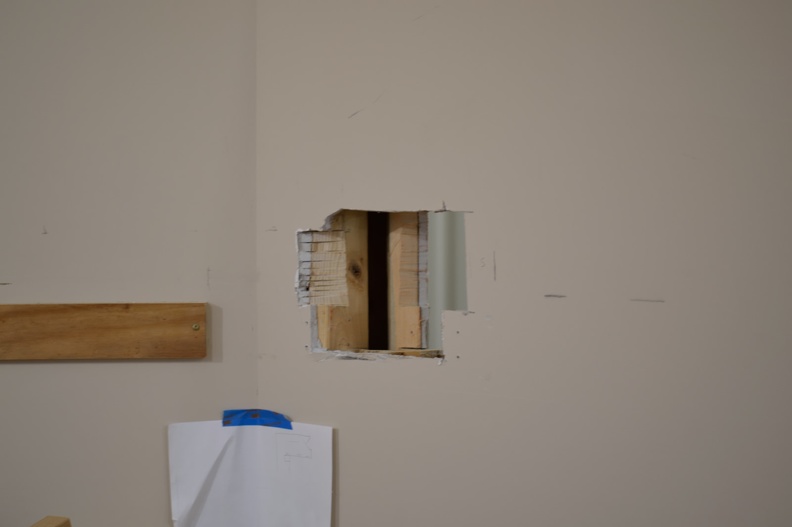
The main line track enters staging through this hole after running the length of the upper level; this will be the northern terminus of the modeled line. This particular track in this area is going to be hidden behind a small foam or masonite divider, as to not take away from the track just beginning it's journey on the upper level.

I used the cut pieces from the wall to fill in the gap so there wouldn't be an opening in the wall cavity.
Once I get a finish coat of joint compound on this, it will be time for another coat of primer and then time for the backdrop to go blue.

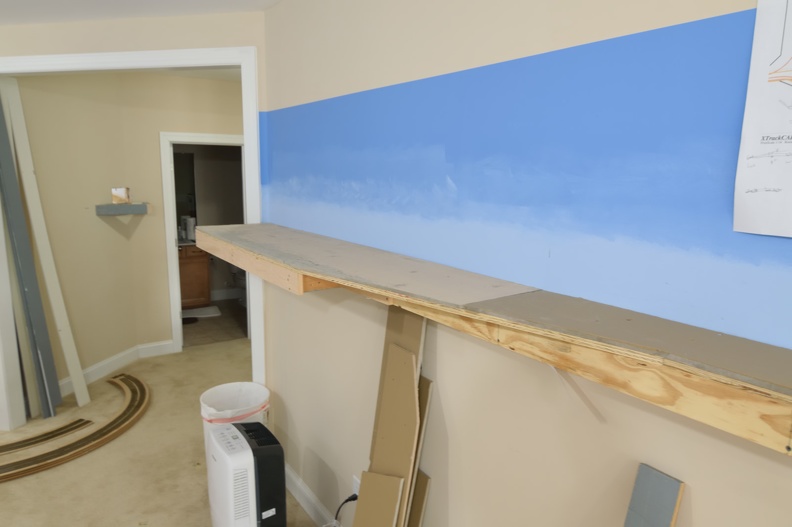
High level shot
The piece of plywood on that corner was cut from a scrap left over from a different section of the upper level. It was an odd shaped piece and took some figuring on how to best utilize it. It saved me another run to the lumber store and another $25 for plywood. I'll be able to complete the upper level with what I have on hand, which is a bonus for both the train funds, as well as keeping the construction momentum.

Friday, November 3, 2017

Track Planning for Version 2

Editor's Note: Some of this content is going to be submitted to the LDSIG's Journal whenever I get time to finish the article up so don't be surprised to see it again.

I believe the refrain "make only new mistakes" applies to a fair amount of the human condition but let's focus on how it relates to model railroading.

One of the chief complaints about version 1 was the short mainline run.

In trying to fit a super sized adaptation of the original railroad into the new space, I wasn't really fixing that problem, but putting a band aid on it.

 I stubbornly continued to try to make it work; even with some serious contortions, the outputs were never good enough to grab me and say "build this!"

It took multiple people, including a LDSig member during a consult at the Indianapolis NMRA convention to tell me to consider a "one way" approach before I finally listened.

I'm glad I did since I ended up getting a design that have 9.5 scale miles of mainline run, generous curves (40" is the mainline standard), the wye at Acca and the Amtrak station at Staples Mill.

Thursday, November 2, 2017

Version 2 - The Space and Environs PreView

As I've briefing mentioned, the original Richmond Terminal is no longer with us.

In 2016, we sold our house in Chesterfield and moved east of town into New Kent.

We purchased a good size ranch that, most importantly to me, included a full size basement. As a bonus, the basement was going to be finished when we moved into the house.

I had to finish the basement or at least make it livable for a railroad at the old house, so that took about 4 years worth of work before I started screwing together the first pieces of plywood.

At the new house, the original design of the basement was cut up into multiple rooms. One of the walls was load bearing which was going to be a complicating factor.

For the space's use as a model railroad, this just would not do.

 A LVL beam was specified and installed and the other walls were removed, giving a large open space for a railroad.

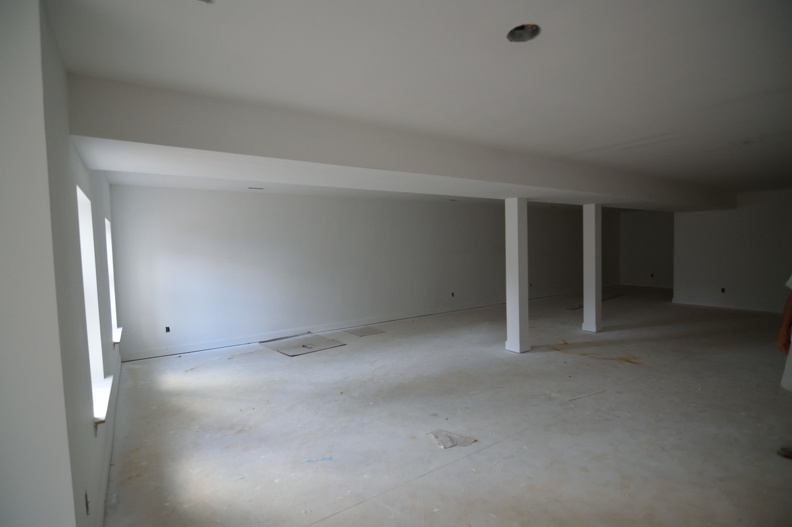
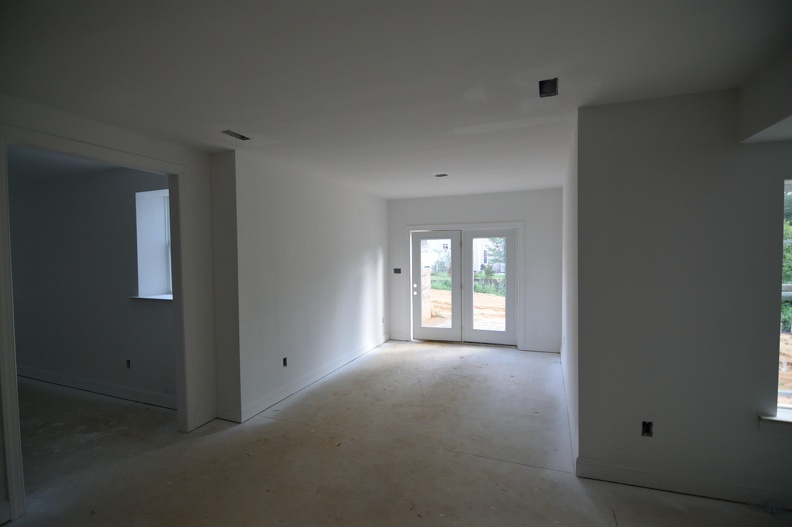
We are looking into the larger portion from the walkout area under the 1st floor sunroom.

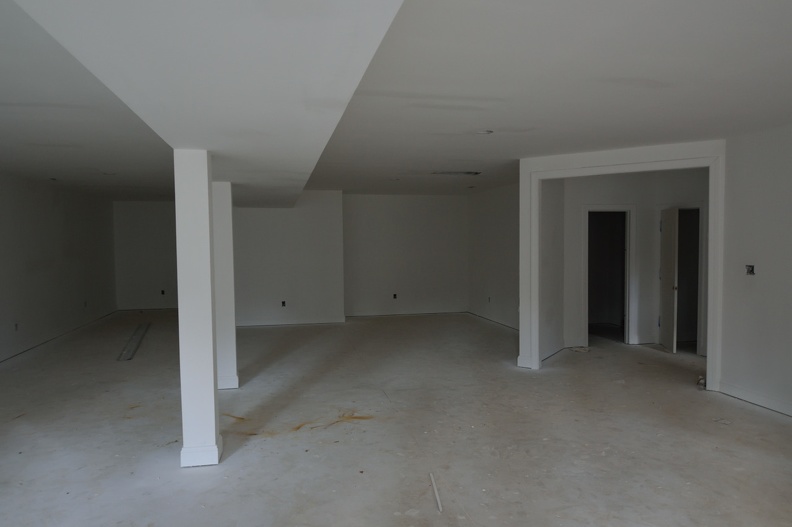
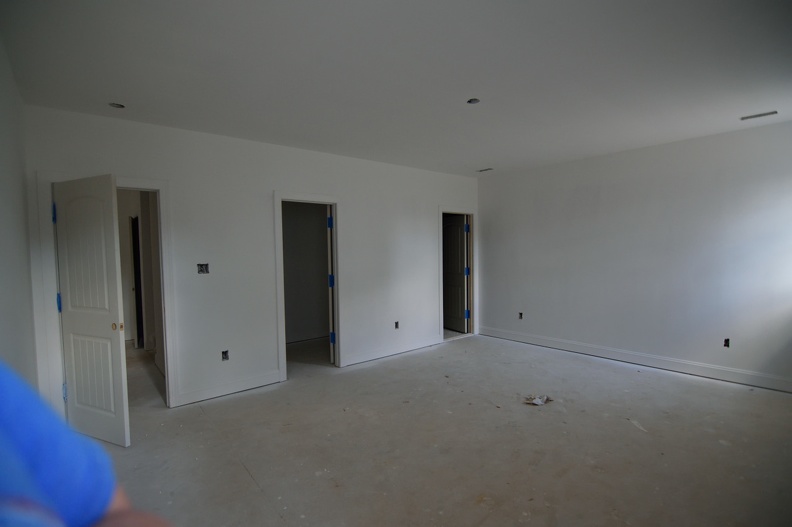
These shots are from right after drywall was finished and painted, but before the carpet was put down.

Entry to the basement from the stairs to there on our right. The two doors are a full bath and coat closet, from left to right.
Walk out space; the sunroom was a $12.5K option, but we added space on both levels so it was a strong value.


The bedroom space; the breezeway opening you see above was another request to the homebuilder.