Showing posts with label electronics. Show all posts

Thursday, May 28, 2026

Fascia Controls

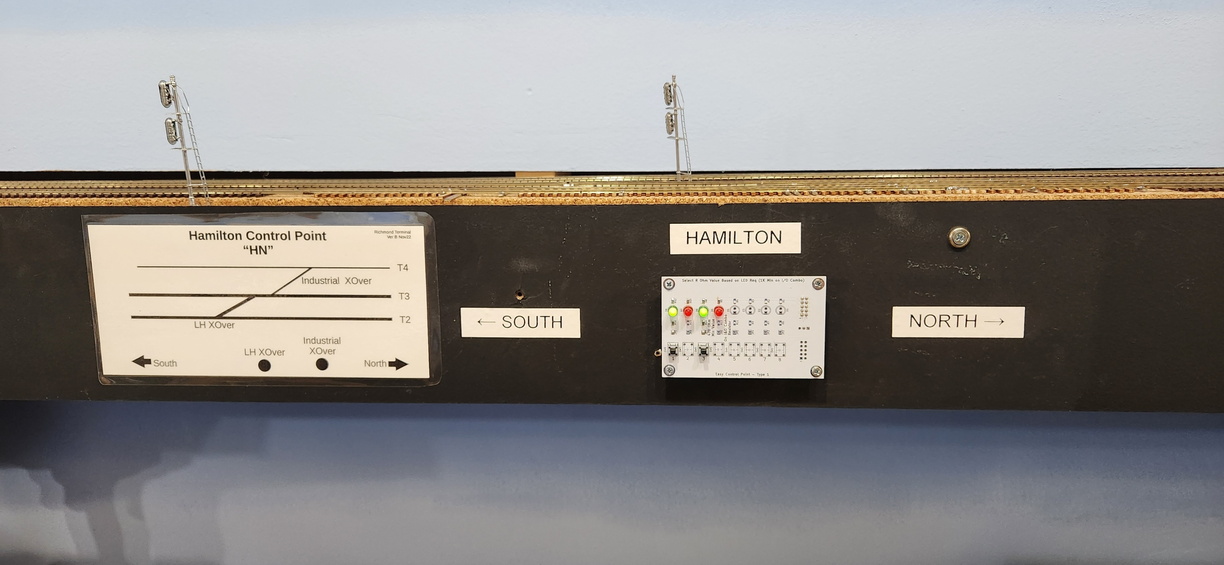
 Operators of the Richmond Terminal are familiar with the fascia mounted control panels used to indicate turnout status and control same.

 The mix of control panel circuit board layouts that I used over the years has been a bit of a logistical and training challenge; one of the early designs that was used was missing mounting holes. (Whoops)

I went ahead and did a redesign on these, and when I had them remade, I chose a white solder mask to make them standout better against the black fascia.


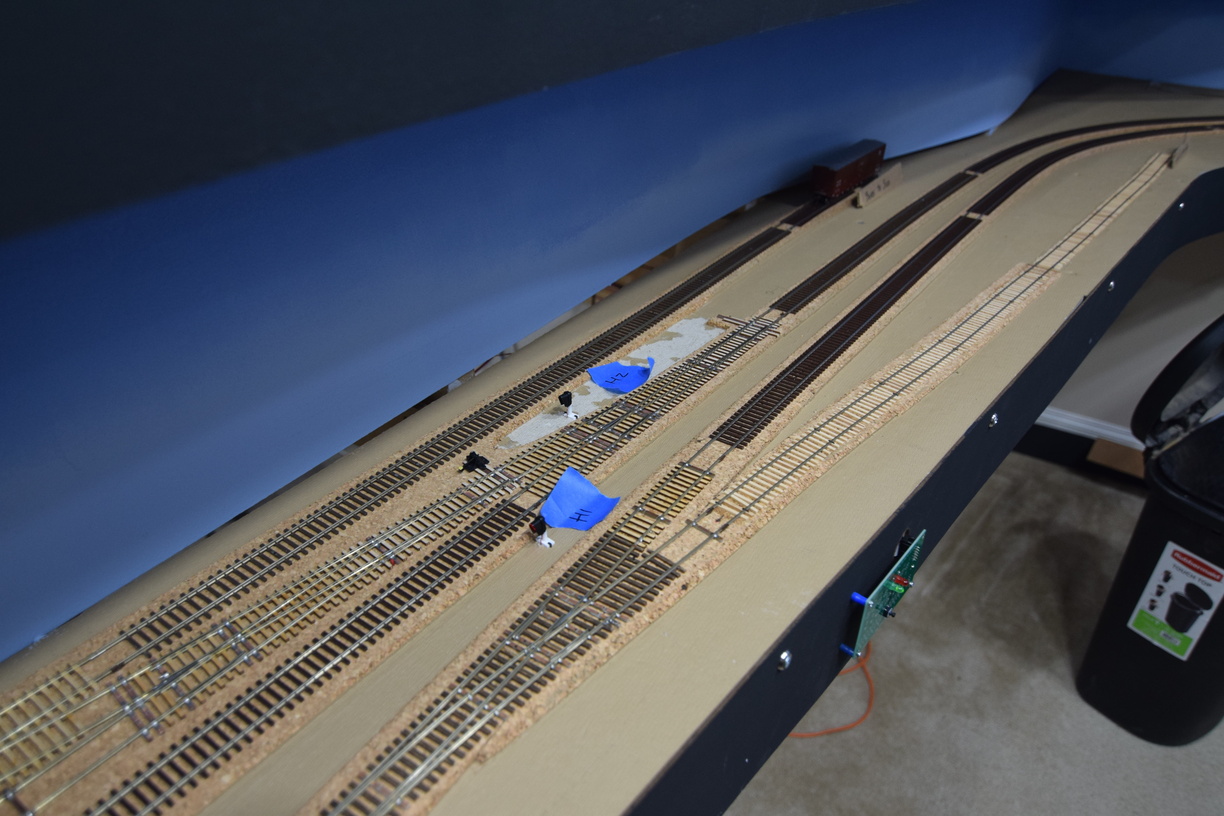
Old and new at Hamilton.


Saturday, September 14, 2024

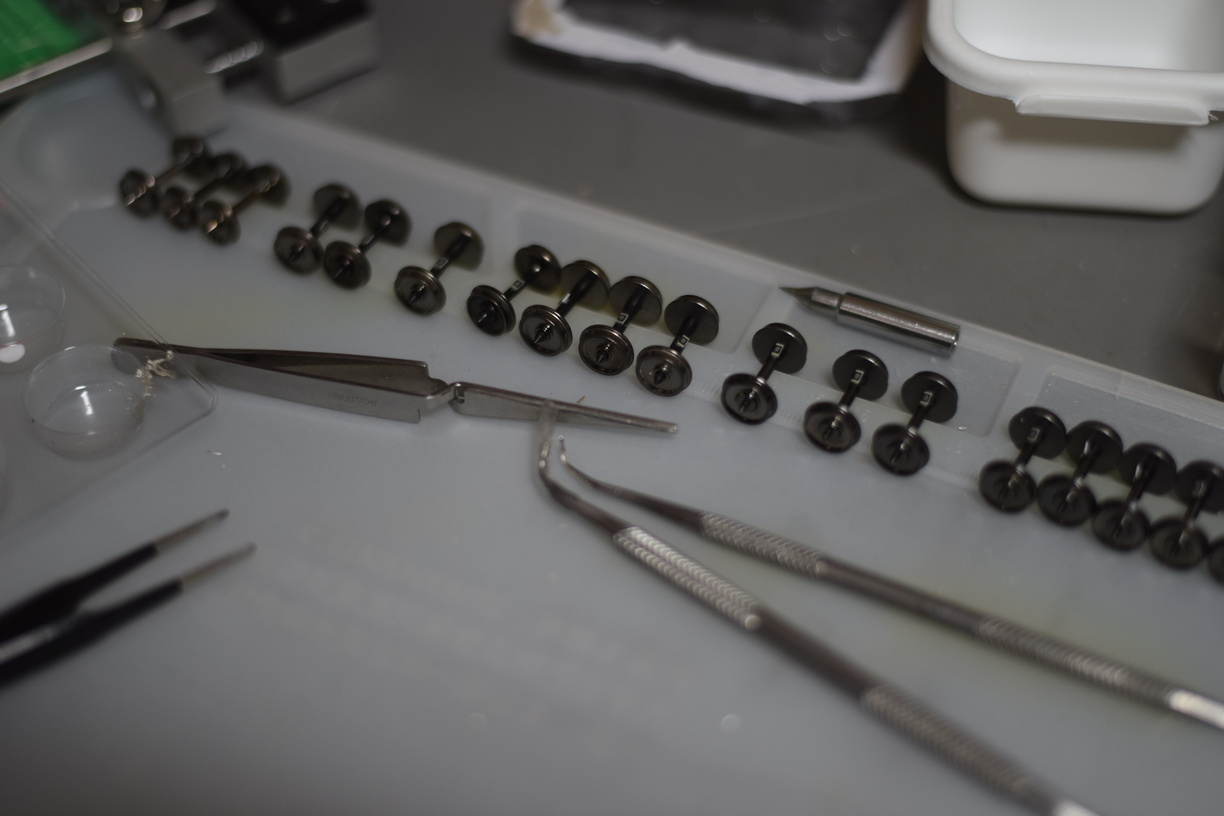
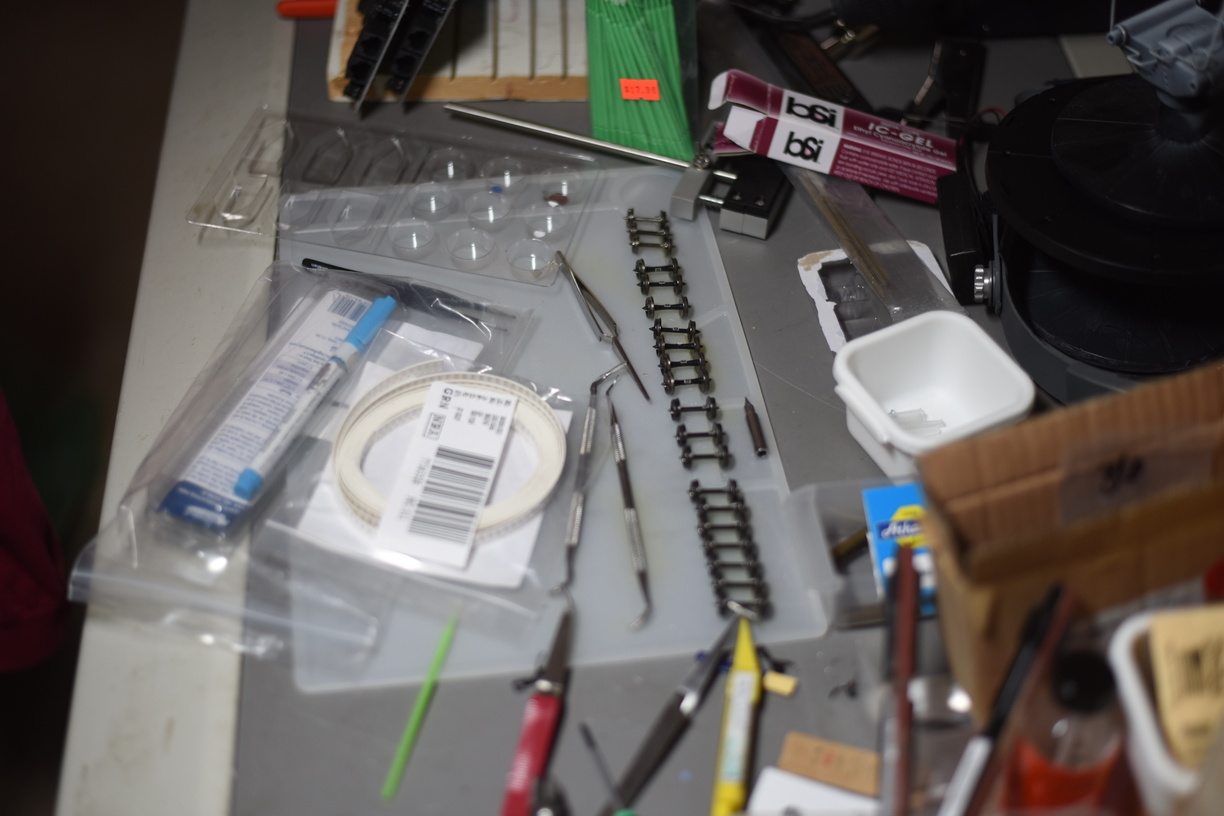
Customizing Resistor wheelsets

 As most readers know, the freight car fleet on the Richmond Terminal is equiped with resistor wheelsets to make sure that all cars are detected on the line, and that the signal system reflects that fact.

To do that, I've used Intermountain axles that I prepared and installed.

Some freight car truck designs do not support the IM axles and require a different approach.

These are Athearn coal cars - the bathtub style cars, BTW.


Glue a 10K 1206 size resistor, and then paint to the wheels with conductive paint or glue. Problem solved.

Tuesday, February 13, 2024

Resistor Axles, Tank Cars and working around all the different truck designs

As my long term readers and any operators of the Richmond Terminal know, the layout is signaled.

How it works is based on the system being able to detect that something - a engine, a passenger car, a freight car, an entire train - is in a block of track. Since I am using DCC, the easiest way to figure out if something is there, is by measuring that there is some amount of current draw.

Engines are easy, as they draw power, even when they aren't moving since the decoder does need a bit of power no matter what (sound decoder or not). For passenger cars, if they are lighted, again easy.

For your standard freight car, they don't draw any power, so that's a problem.

As my rolling stock is standardized on metal wheelsets, I have made a bunch of resistor wheelsets, where I glue a small surface mount resistor and then use conductive ink or paint to make a circuit. You can take a look at a prior blog post where I talk about making a batch of resistor wheelsets here. I fixed the resistor size - they are actually 1206 size SMT resistors. 10K Ohm, 1/8 watt - on that post when I realized I erred.

My standard replacement axle is Intermountain. They sell the axles in bulk packs of 100. They fit in a wide variety of truck designs, but for some truck designs, they do not fit correctly.

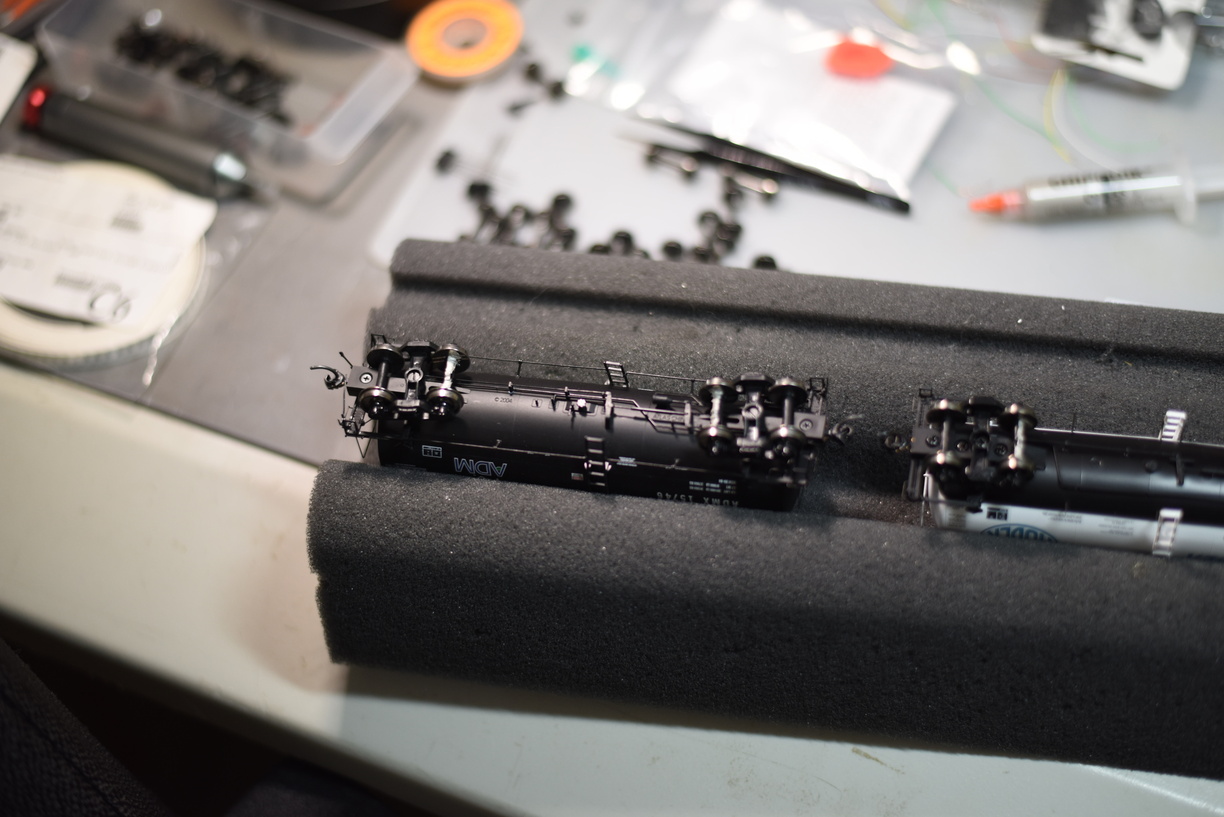
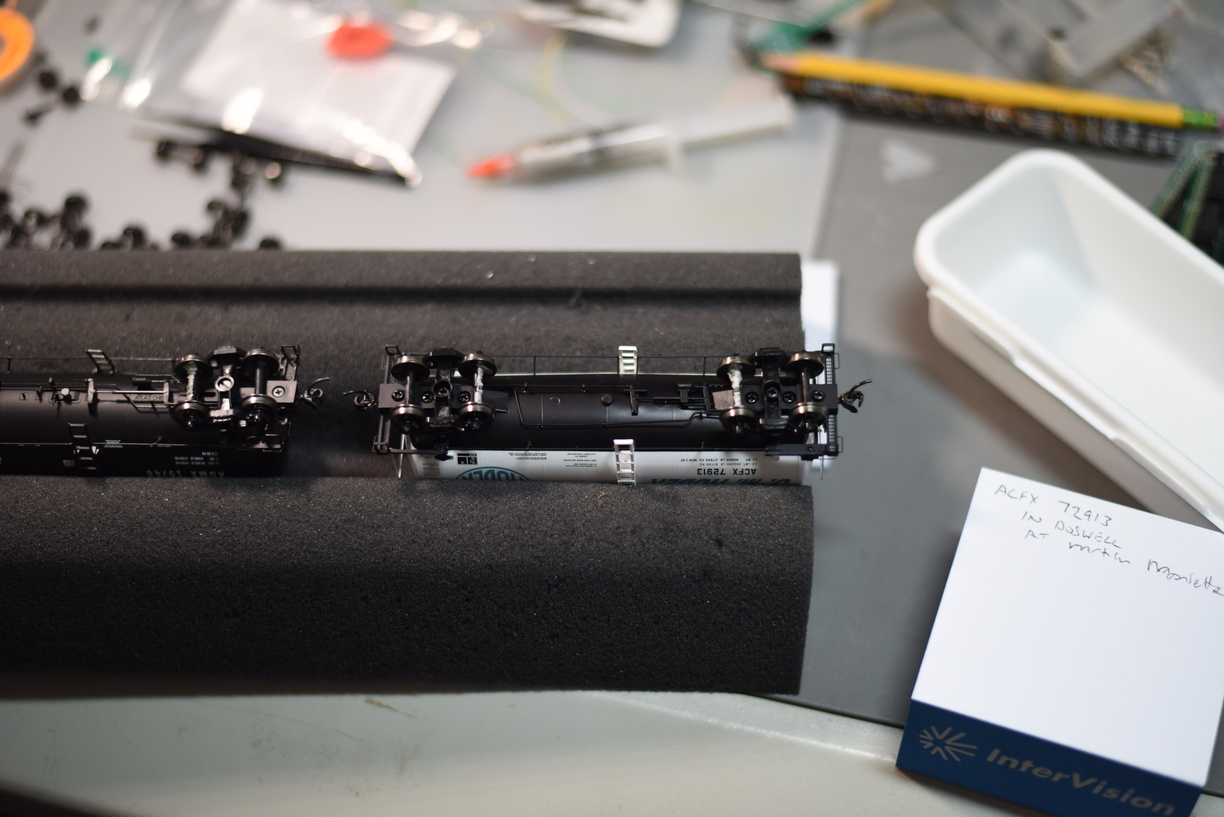
As an alternative, especially for cars that the factor axles are plastic, while the wheels themselves are metal, I glue the resistor in the middle of the axle, and then connect each side to the wheel with conductive paint.

It seems that tank cars are a consistent issue with being incompatible with the Intermountain option.

I have been checking the tank cars and also spotting any without Kadee couplers installed, so I grab them for the coupler replacement, and take the opportunity to handle the resistor wheelset issue.


The paint does take a bit to try, so doing this can tie up the foam cradle for a day.

Cradle off the bench so I can do something else.


Sunday, February 11, 2024

A Retrofit

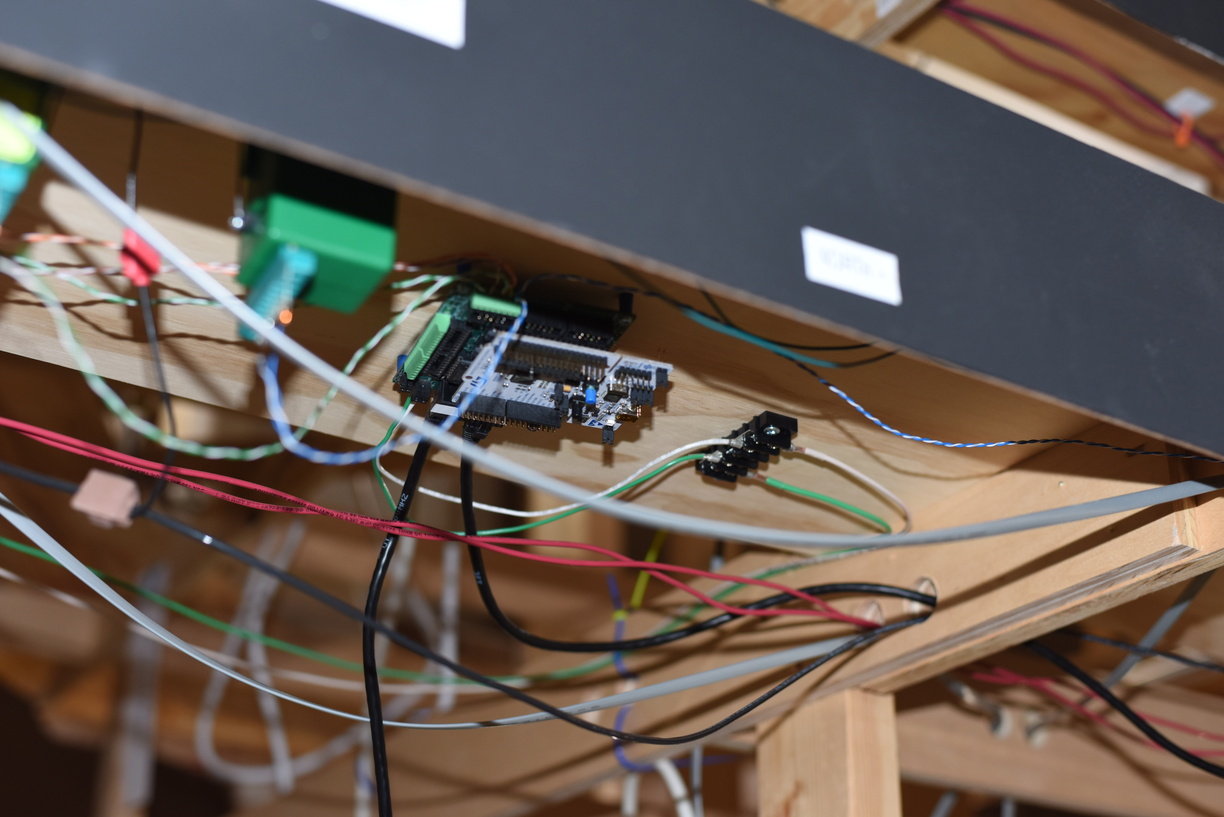
Had to pull this LCC node out, and add a terminal block to feed it DC power, as this leg of the LCC network was having some power issues, causing the last node in the chain to brownout and stop responding.

Thankfully, I have a 12V DC bus already placed around the layout, so I just had to pull wire, solder some spades on, install a terminal strip, and then wire to the node. About an hour's worth of work.

Green and White 14AWG wire is the 12V DC bus; red and black 12AWG is my DCC bus. Cat5 is LCC bus, in this shot. The gray cable is Digitrax Loconet.


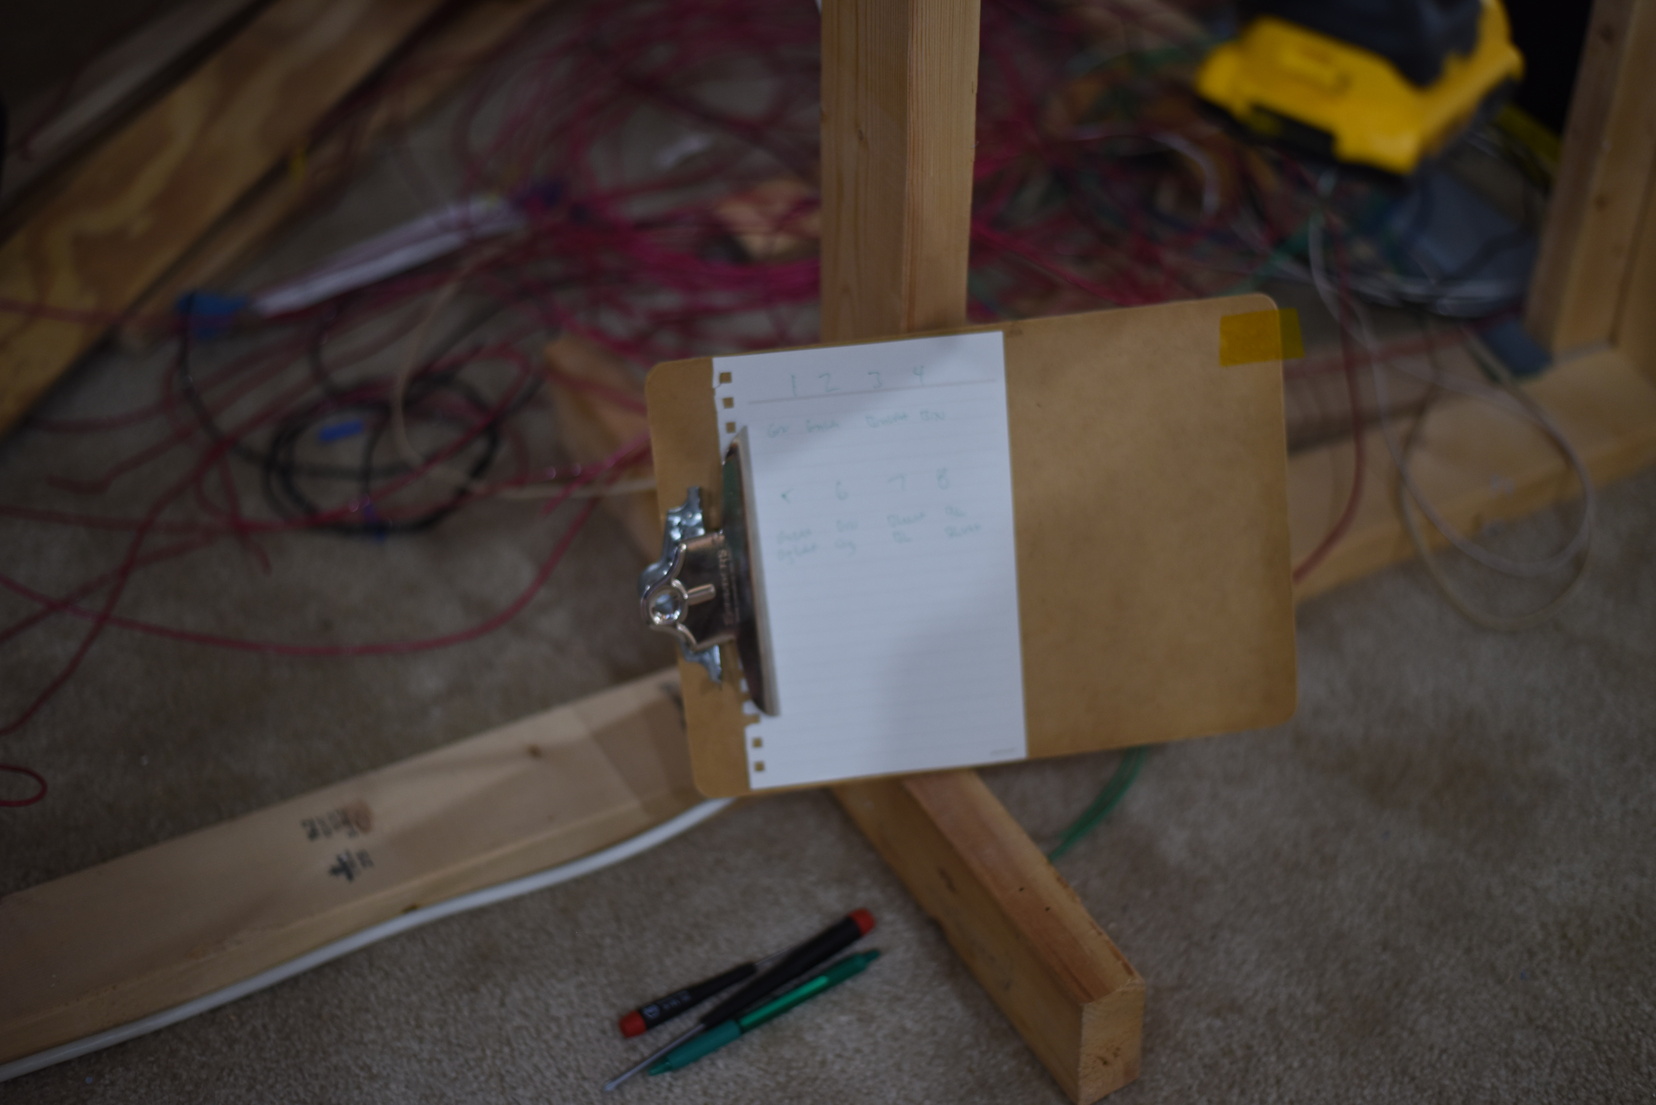
It's a bit tough to see, but I had to write down the colors of wire from the tortoises to the nucleo node.


Friday, February 9, 2024

Dwarfs in Glen Allen

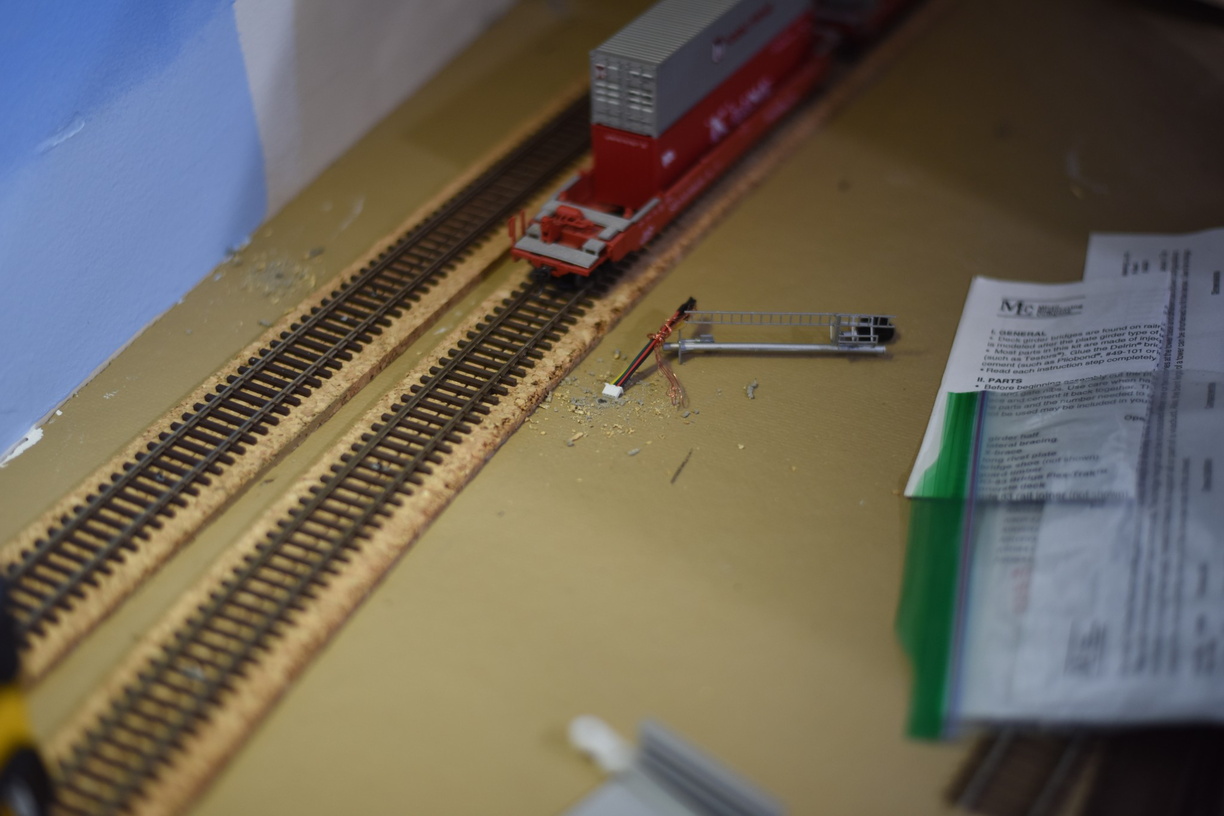
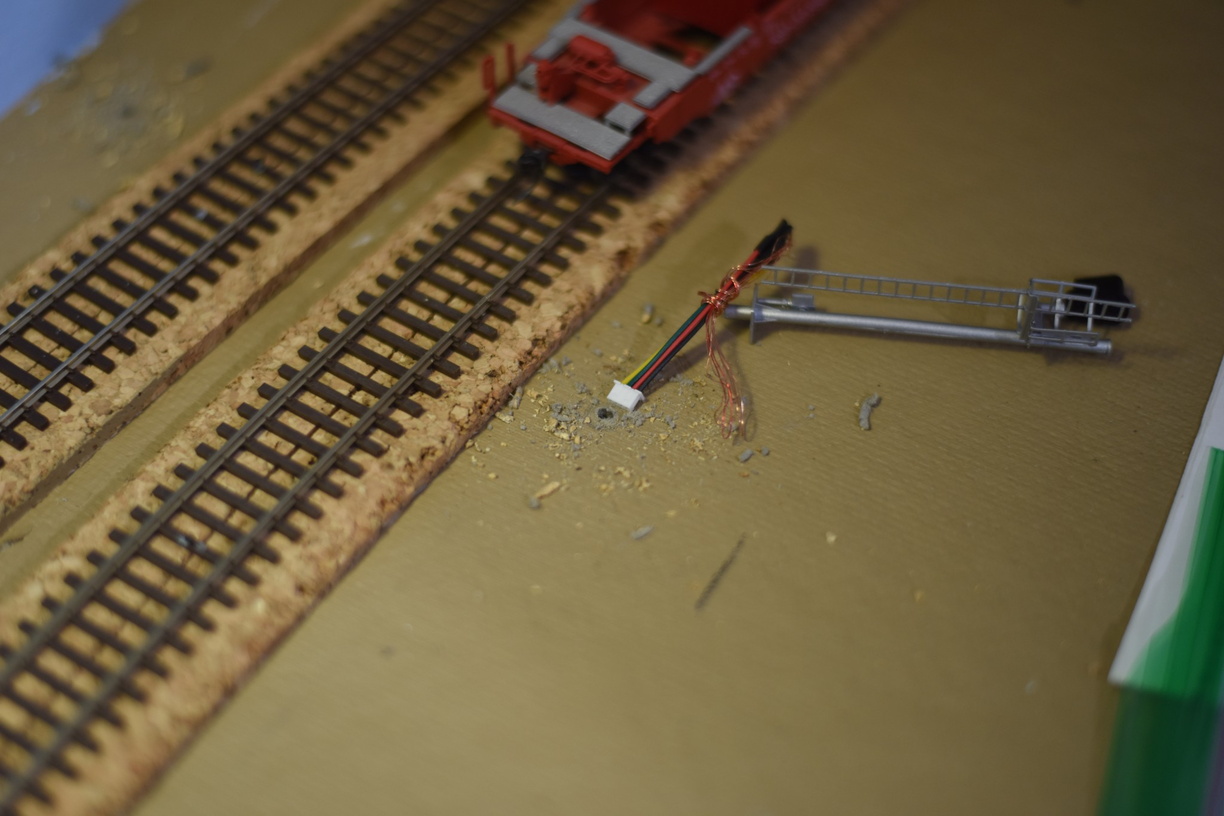
 Built two dwarfs, using Atlas heads; used one Tomar head.

These signals are controlled by a Nucleo, so the signal head driver is a combo of a logical signal head inside JMRI, and a Nucleo DevKit under the layout.


Tuesday, February 6, 2024

A few words about switch machines..

 As I assume most readers know, my turnouts that aren't manually controlled by Caboose Industries ground throws (mostly in Acca, with a few others here and there), are thrown by Tortoise machines from Circuitron.

The Tortoise is probably one of, if not the most, well known "slow motion" switch machine in the hobby. The green case is instantly recognizable.

There hasn't been any competitors with similar footprints and motion that have had what I would call significant success in the market. There have been options, certainly, and one of those is the Cobalt machine.

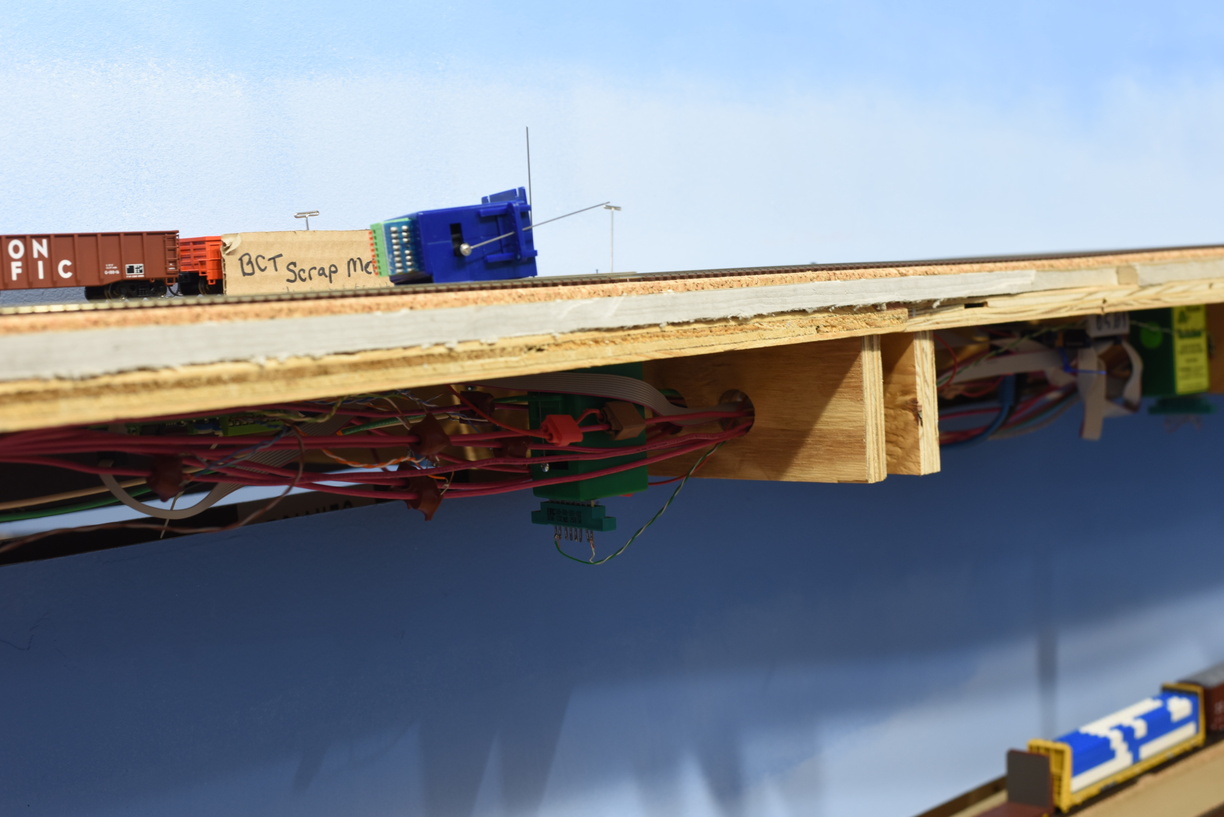
I bought one to try some years ago. I installed it on a turnout in Brooke that goes to the E&P interchange, as at the time, I did not have any more Tortoises available to install, and it felt like a great time to try it, as the area where it needed to be installed has a bunch of DCC bus wire, LCC cables and other assorted stuff in the physical space.

After a couple of months and 4 or so sessions, I can report that you should save your money.

Yes, the cobalt is smaller. Yes, making the connection is super easy with the spring loaded connector.

But it isn't as powerful, and it is too slow to respond, causing your operators to hit the button multiple times, making it appear to be broken.

Maybe as a semaphore driver, it would be better. I don't know. This one is free to a good home.

Cobalt out, Tortoise in.


Wednesday, January 31, 2024

Signal Reworking

One of the outcomes when you operate is learning what changes need to be made to the layout to make operations smoother, more realistic, etc.

The railroad is maturing, which is giving me a chance to go back and install signals in areas that haven't been a priority, or to rework an area where the original signal install isn't reflective of how that area should be setup.

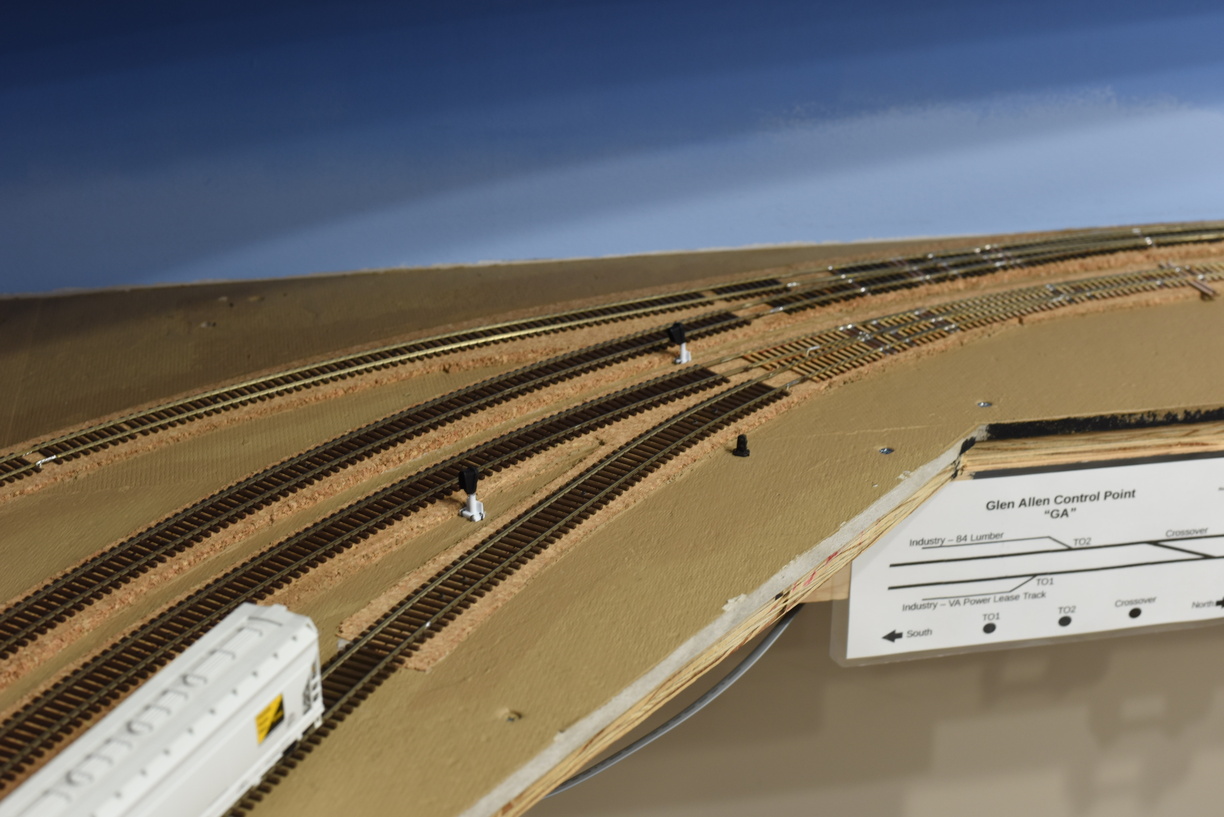
One of these locations that needed a net new install is the industrial turnout in Greendale, between the GN control point, and the Glen Allen (GA) control point.

There is a fair amount of industrial spots in this area, and both main lines have turnouts in place. I needed dwarf signals to protect these turnouts. One of them is currently manually thrown with a ground throw, so that will need to be modified to be thrown via a switch machine first, before signals get installed.

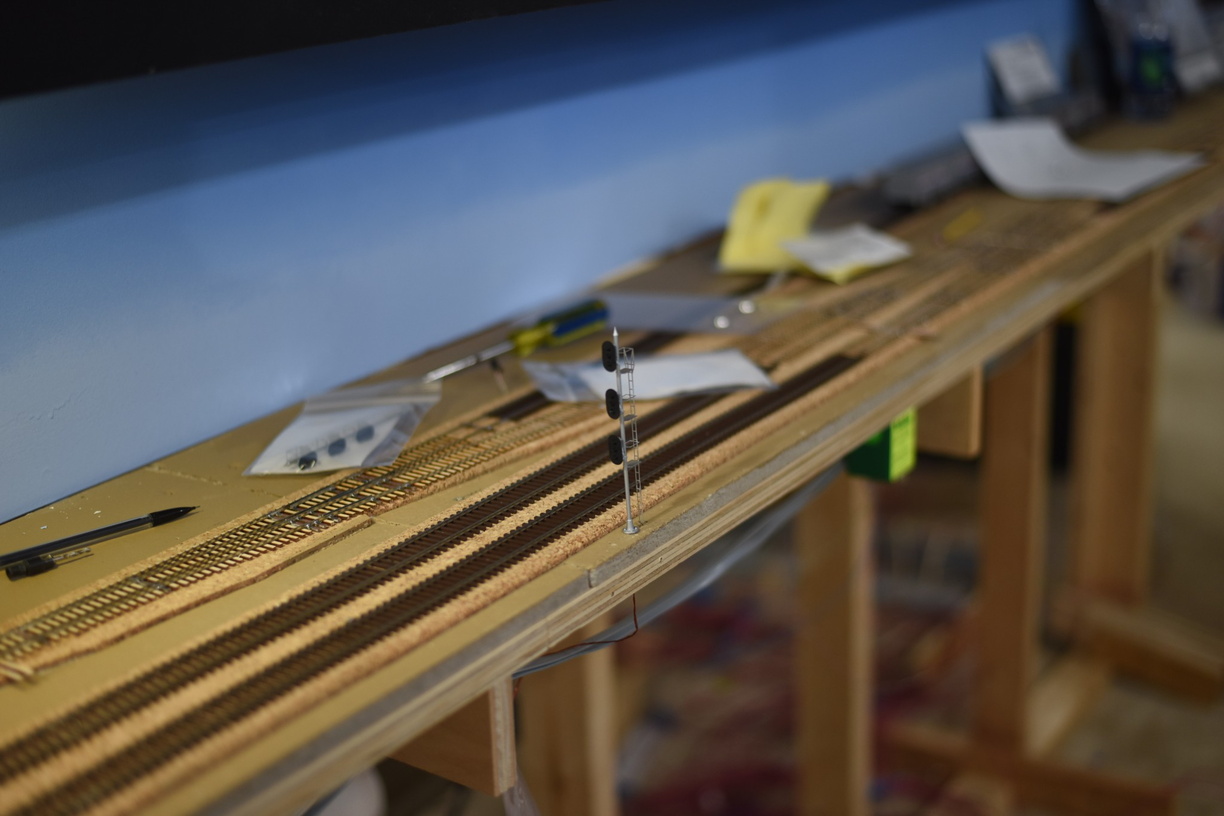
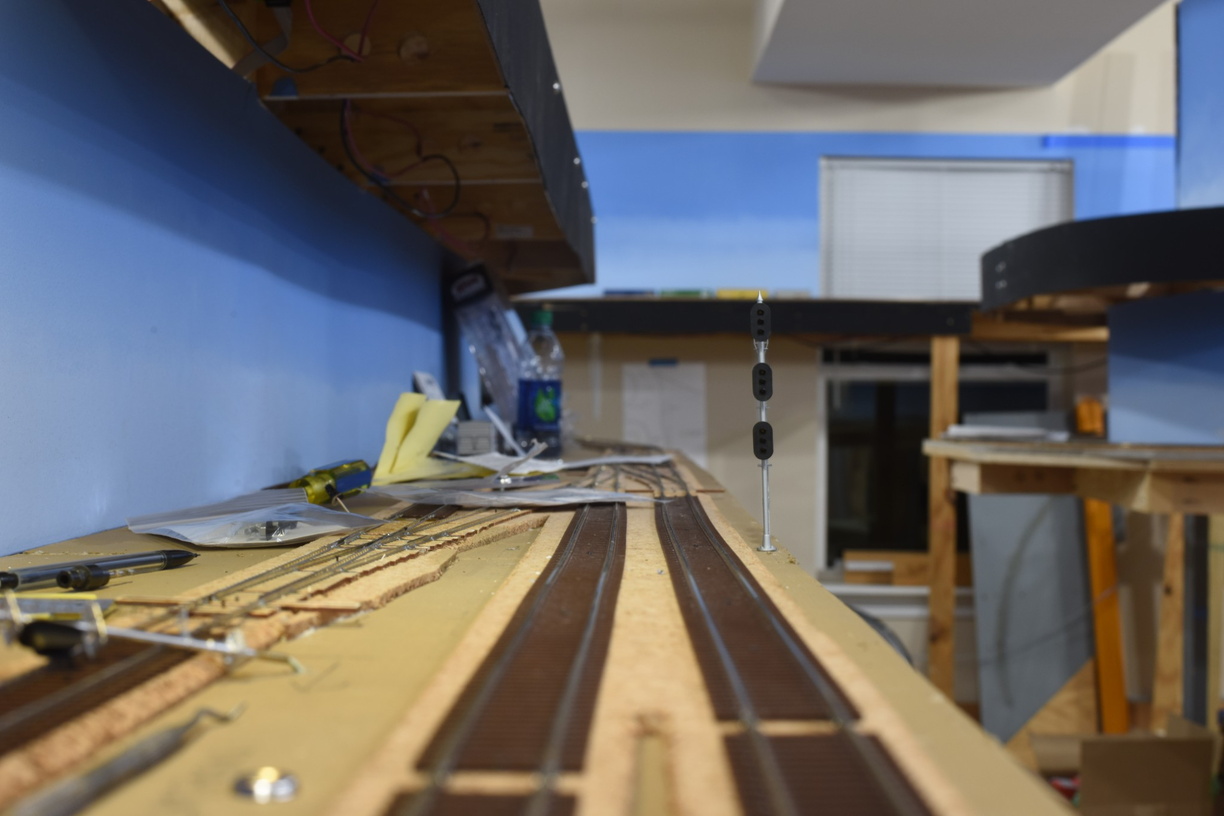
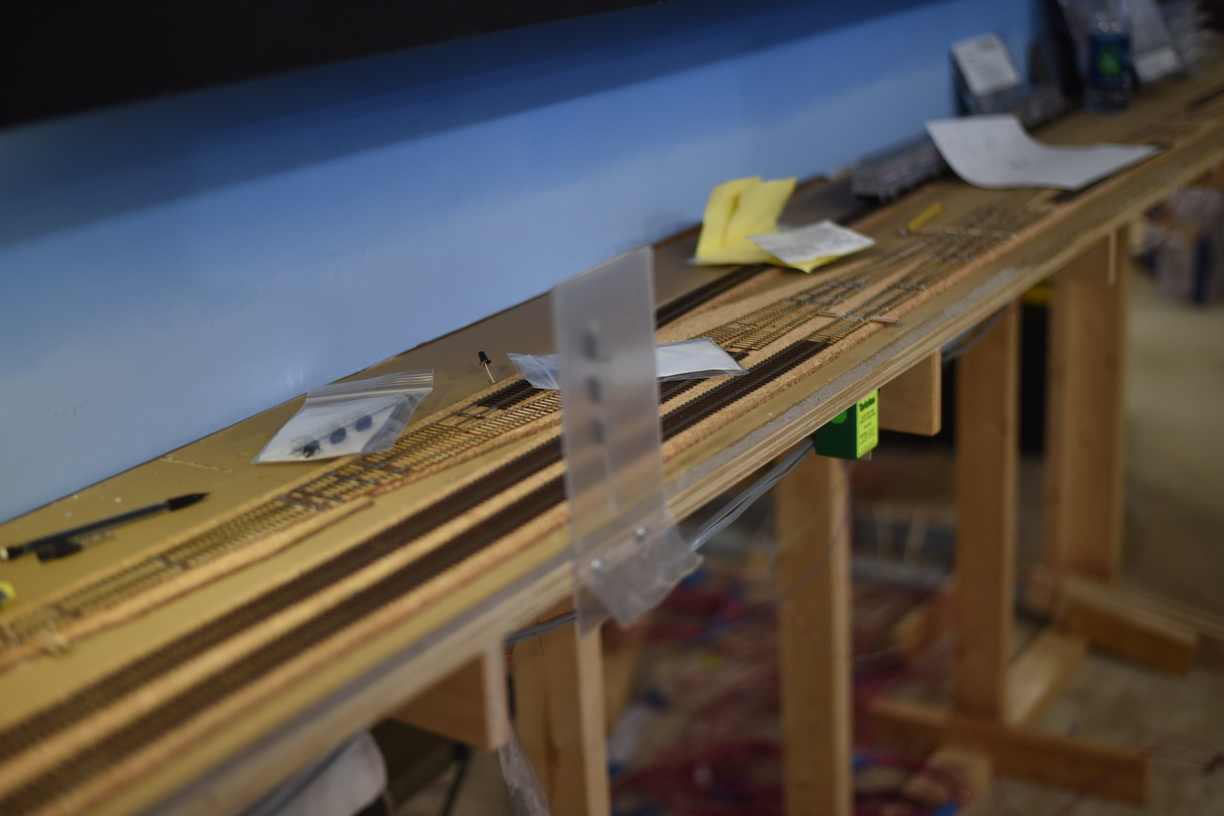
For the turnout that is currently controlled by a button (and will be controlled by the dispatcher in the future), I built a coulple of dwarfs and installed them.


I also took this opportunity to cut away a bunch of cork roadbed, and make the area look more realistic from a lineside perspective.

I had planned for a set of intermediate (repeater) signals between North Doswell and South Milford. This is matched up with Rutherglen on the prototype.

These are NJ International signals, with snow hoods. I will need to put something on the fascia in this area, since it can be hard to see these from the aisleway.


A spot that needed to be reworked is inside Doswell towards the north end.

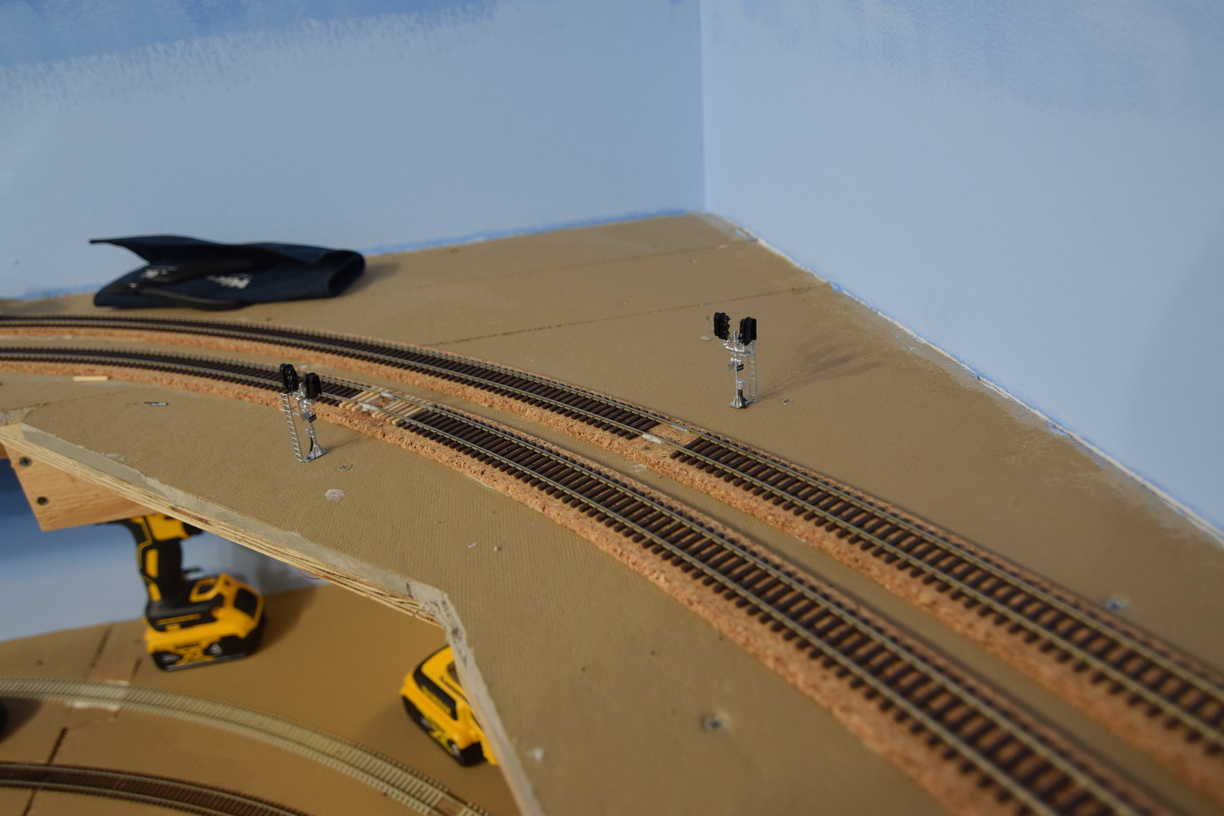
At the turnout that branches into track 4 from track 3, I originally had 2 high signals in this area. As I needed to only protect the turnout state, and not give advancement permission, I built and installed two dwarfs in their place.

The high signal in the background is for traffic that will be using the crossover, northbound, and getting clearance to enter the RF&P mainline


More pictures can be found in the gallery at richmond-terminal.org

Sunday, December 3, 2023

Digitrax DT400 Series Encoder Repair

 During an op session earlier this year, a DT400 was turned in as defective.

The right hand throttle knob no longer had the push button functionality and that meant that going from one side to the other didn't work correctly. It seemingly was always pushed as well.

Digitrax no longer repairs the DT400 series throttles (or the UT4 series either, for that matter). Thankfully, the encoders themselves are still sold.

It takes some effort to get it apart, but replacing the encoder was straightforward.


The connection to the battery tabs broke, so I took the opportunity to install a snap connection.


This throttle is fixed and back in service.

Tuesday, November 28, 2023

Let There Be Light! Brightening Up The Lower Deck

 One of the challenges of a multideck railroad is providing appropriate lighting.

You have overhangs and shadowing to grapple with, and whatever solution you select needs to fit into the space you have without potentially impacting the modeling area.

Thankfully for this layout, the stick on LED strip lights have become cheaper and more available, and the color of the light seems to be consistent across multiple lots of strips, which wasn't always the case.

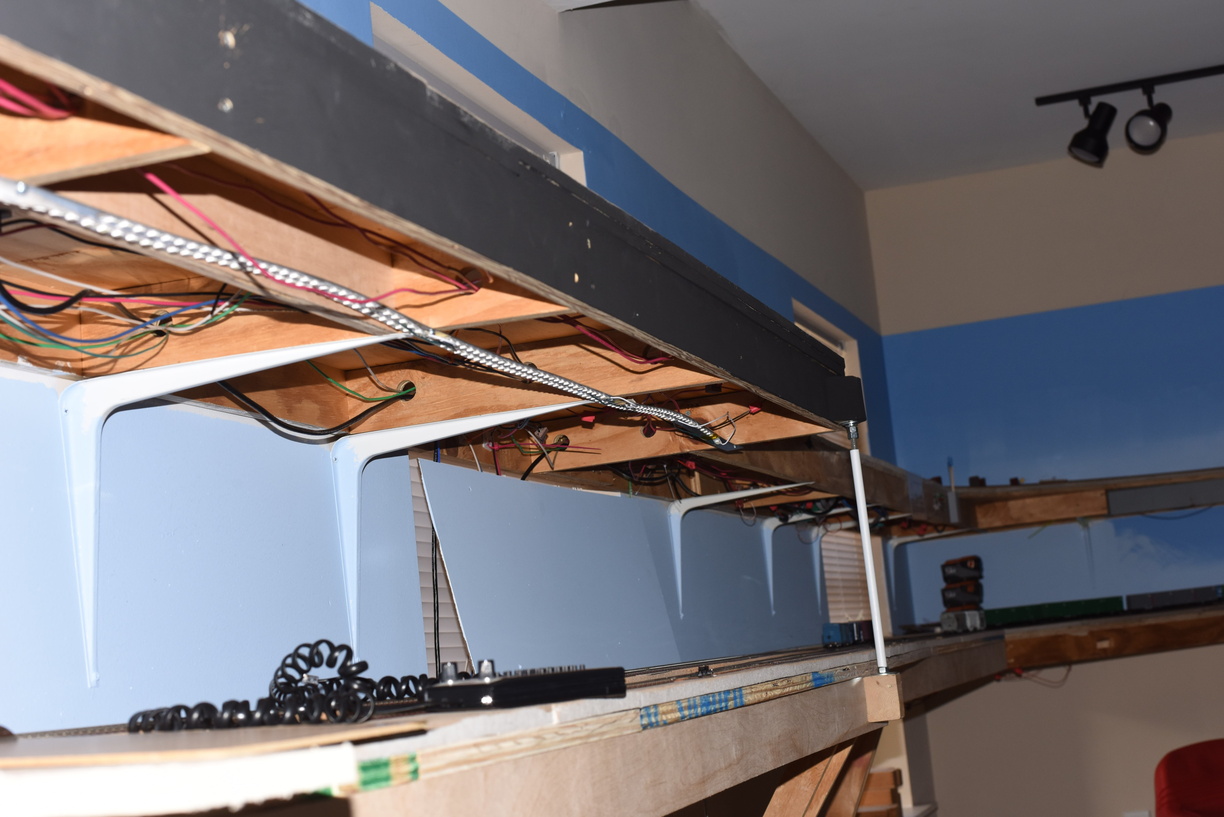
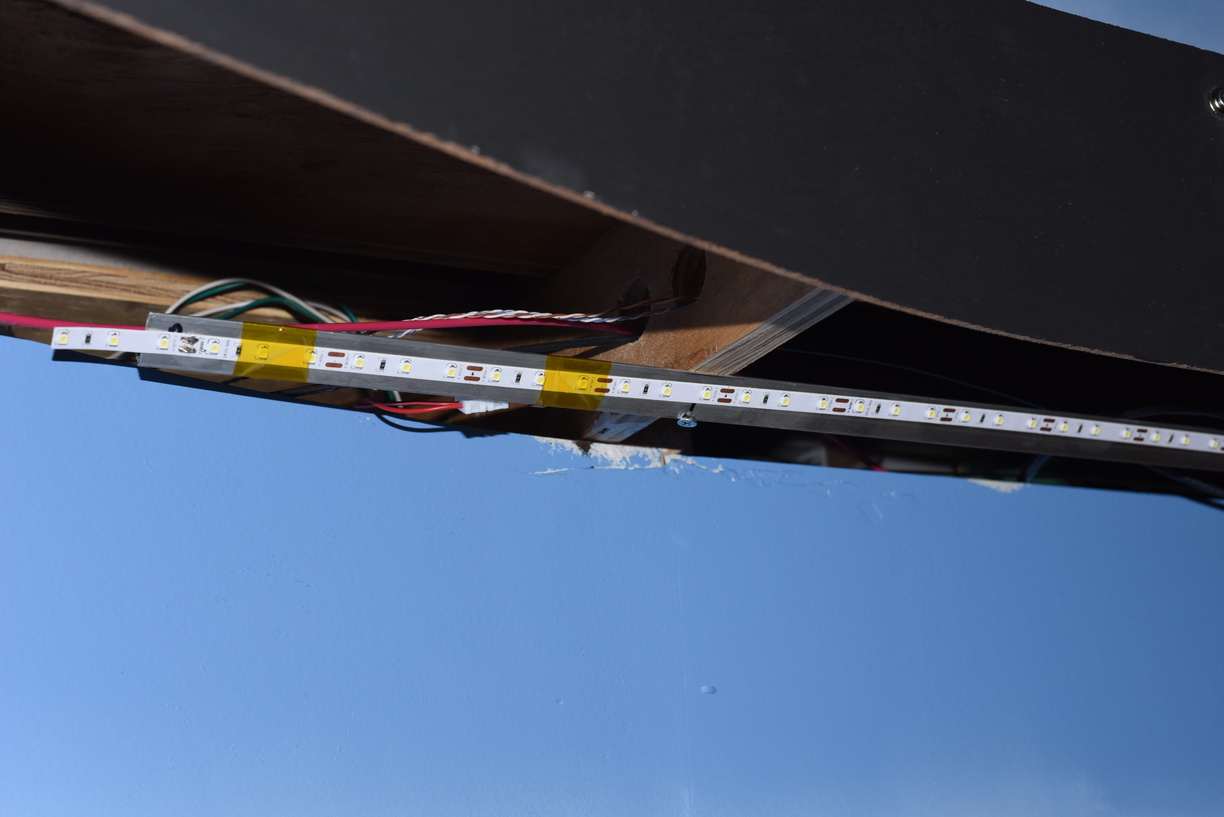
I use a "daylight" strip, which is around the 5000K "temperature" of the overhead lighting source (in my case, LED bulbs in track light heads). Working to get the light to spread out evenly, while being mounted in as small an area as possible took me a couple of tries to figure out.

I started with a strip of aluminium bar. This did provide a bit of a heat sink, but it did not have the rigidity that I wanted. Note the "wavy" in this photo:


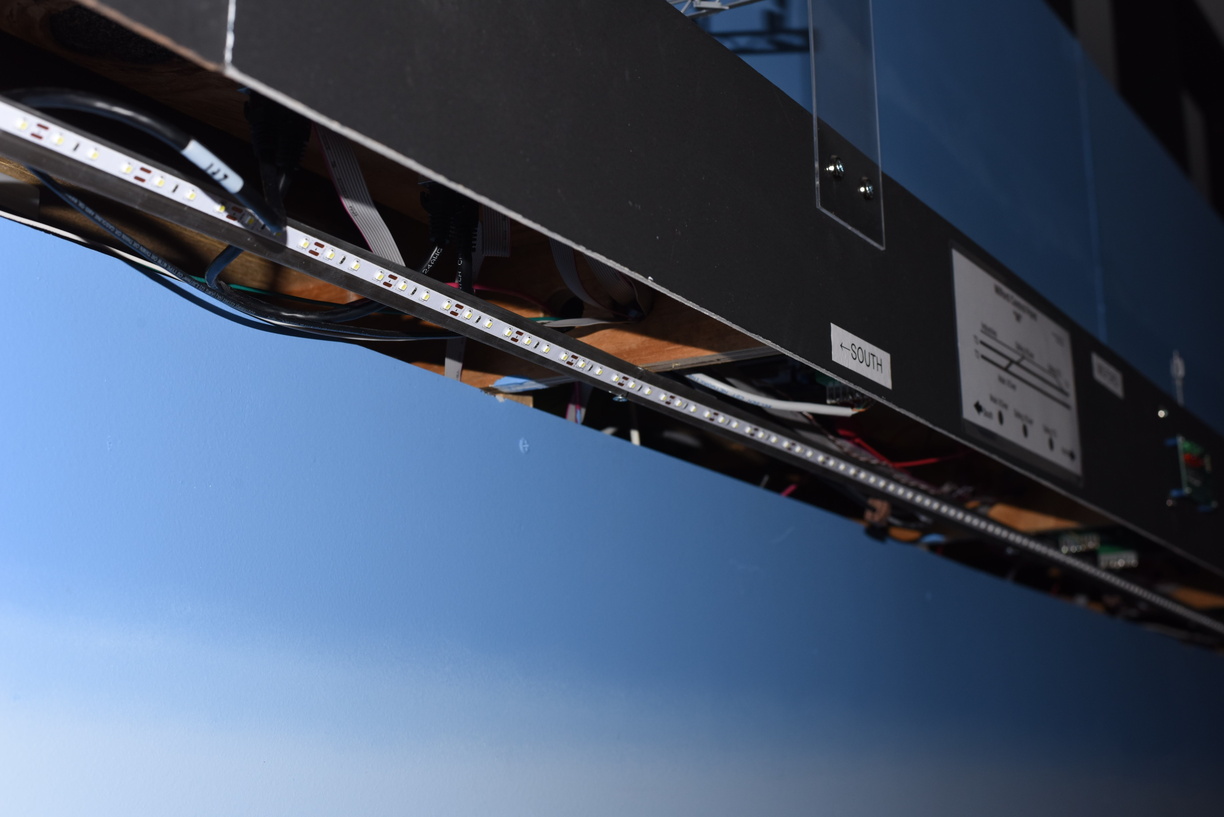
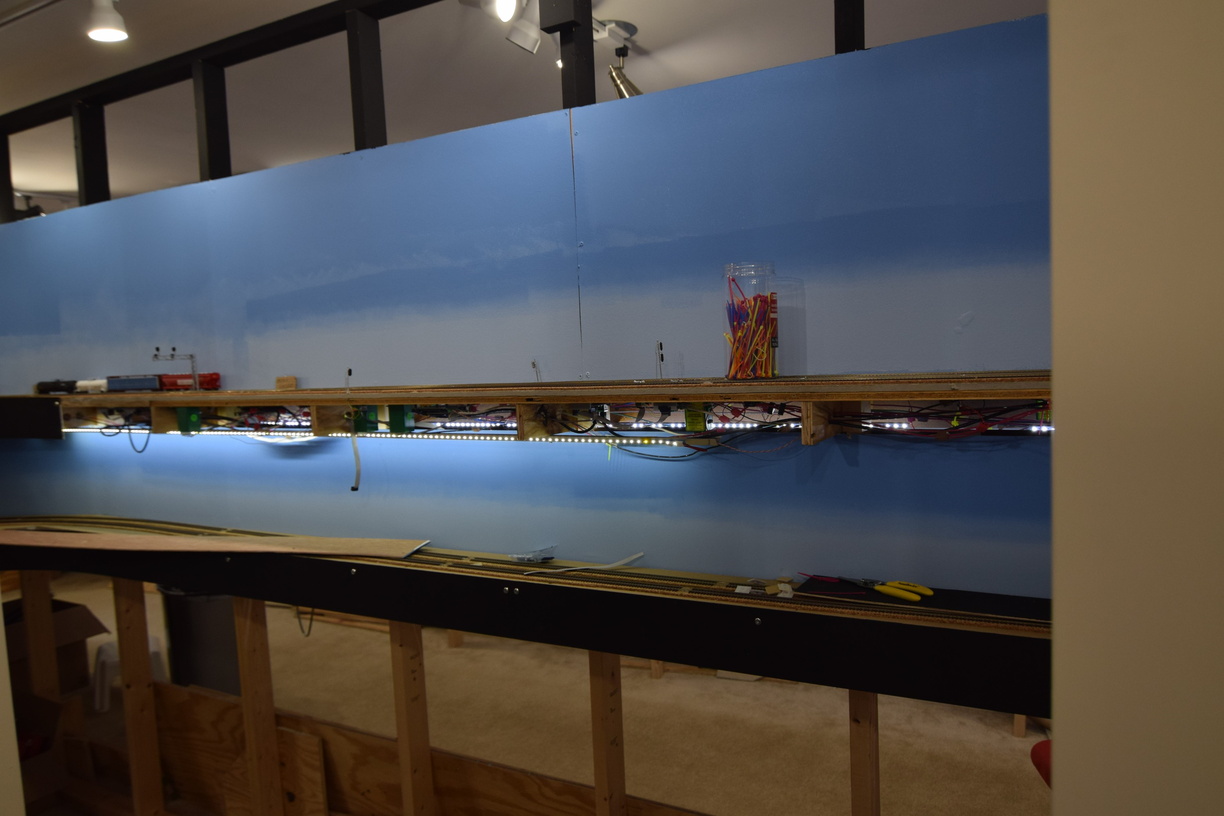
This brought me to using aluminium angle stock instead. My first though was just to use the angle stock to provide the solid mounting surface I wanted. After some testing, I realized that mounting the LED strip to the outsides of the L would give me a spread of light - letting some of the light hit the models directly, but also bouncing off the backdrop to light what would potentially be in shadow in the light was coming from straight overhead.


Note the light for Acca behind the front light.

I share the same 12V DC supply for these lights with the LCC nodes or accessory boards that require a dedicated DC supply. There are 3 of these supplies installed around the layout. I use an open frame supply that I recovered from old IT equipment that was being e-wasted and retired. Similar supplies are available commercially or offered by online auctions off of eBay for anywhere from $15 to $50. The supplies I have are set to give +5V, +12V, -5V and -12V DC. I only use the +12V rail.


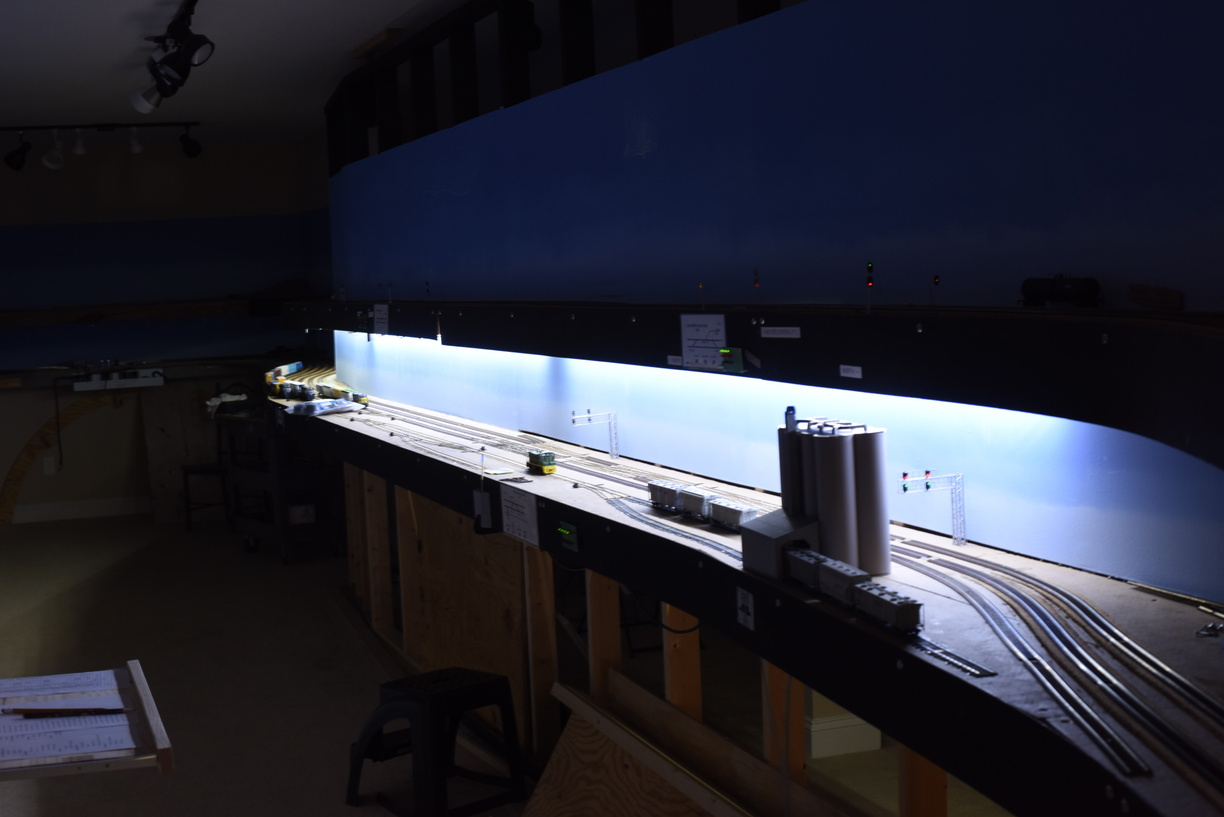
LED strips only, no room lights.

More pictures in the gallery at richmond-terminal.org.

Tuesday, December 27, 2022

Resistor Wheelsets Again

Some time ago, I created a couple of batches of resistor wheelsets to be used on the freight car fleet to make sure that block detection worked fully. The blog post about the first phase of this is here if you are so inclined.

I used the Intermountain bulk wheelsets, 33" diameter for the first batch back then.

After using a bunch of them, I realized that some of the car fleet had a 36" wheel size, vs a 33" wheel size.

So, that means I needed to make some 36" wheels up with resistors.


I'm still using 10K 1/8W 0805 1206 SMD with the same procedure as before.

Jan 2024 Edit to fix this. I put together a new post about it, and wanted to link to the old posts. As I pulled the old posts to link, I realized I have had the resistor size wrong for years. Whoops!


Wednesday, March 16, 2022

Signals at Greendale (GN Interlocking)

Years back while still operating the old railroad, I had plans to rebuild the set of cross overs just to the south of Acca, and install more prototypical signals versus the kitbashed signal bridges I had used.

The turnouts were installed in reverse order, in other words, the LH crossover was on the wrong side of the RH crossover. Compounding this, I used Atlas turnouts and one of them had a point that failed and stopped conducting power. Of course, this happened during an operating session.

The prototype had color light signals here for both tracks, using a 3 over 3 over 3 configuration. Unfortunately, the off the shelf signals available for HO are 3 over 3 at largest.

I found a custom signal builder that put together 3/3/3 signals for me and had him build me 6. By the time I got them, we had decided to sell and move, so I was pulling the layout down.

Fast forward and I finally got a chance to install these at the GN Interlocking after having them 6 or so years.


First one installed; this is for northbound traffic on track 2.


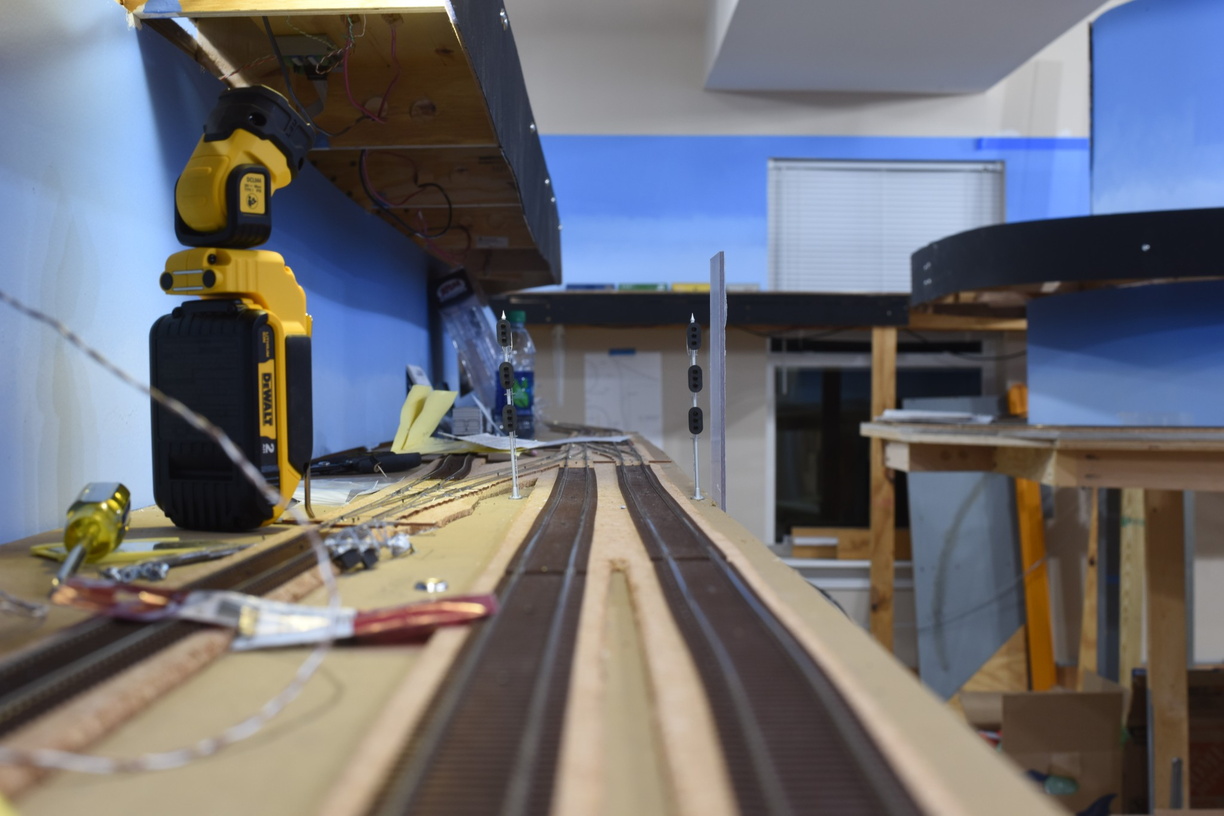
As you can imagine, with these installed right at the edge of the layout benchwork, they need protection from being bumped by random elbows and other body parts.

A piece of 1/8" acrylic was called to serve as a guard.


More pictures of this installation are on the gallery at the full website.

Tuesday, March 15, 2022

Thoughts on the Atlas (former BLMA) Signals

 Longtime readers and RTRR operators will remember that the railroad has a significant amount of signals in the overall physical plant of the railroad.

Version 1 was mostly a Tomar and NJ International with a smattering of BLMA color position signal heads kitbashed onto signals bridges.

Version 2 needs way more signals. The installations are a mix of BLMA, from old stock, Tomar, both from old stock, recovered from version 1 and new purchases, NJ International, new purchase, and some custom built 3 over 3 over 3 that look Tomar-ish.

When Atlas announced when they purchased BLMA that they intended to produce additional runs of the BLMA signals under their branding, I was super happy. It took way more time that I thought, but I was able to install some of the new signals on the railroad recently.

Atlas did produce new electronic options to drive the signals, which is something that wasn't present in the BLMA line up, but is not of any interest to me as I am using RR-Cirkits and OpenLCB project nodes on my LCC network to drive signals.


As part of that, Atlas had miniature QD connectors installed on the ends of the signal wiring.

Great idea, but the execution makes me wonder if anybody at Atlas actually tried to install these on a layout.


I'm going to go with, no, nobody did.

You can't get a 1/4" rectangular connector, through a 1/8" round hole...

I cut the connector off, since I can't use it anyway, but a bit of a disappointment.

Thursday, October 21, 2021

Readying Tortoises

 The standard turnout motor I use is the Tortoise by Circuitron.

When I started the old layout, you could find them in 12 packs for about $12 each, but that was 15 years ago. Last time I saw some in a store, they were around $22 each.

I pulled all of them off the old layout, but many of them had soldered leads that I used to connect them to the Digitrax DS54s that I used to control turnouts on the old layout.

The DS54s have RJ11 phone sockets on them so I ended up with lots of 4 wire phone cable soldered to Tortoises.

But a small sample of the problem.

Problem being solved.

And problem solved:


Sunday, July 18, 2021

Fascia Turnout Control

Operators of version 1 remember that there was not any on layout control of mainline turnouts. You had to either call the dispatcher or have a DT400 throttle to move turnouts.

As the new layout uses LCC for the accessory bus, there isn't a direct link where you can use the throttle to control turnouts. There is now a LCC-Loconet gateway, but as I do not want folks to use their throttles for turnout control, an alternative solution was needed until the full Dispatcher CTC panel is built.

Enter my solution - a small PCB with LEDs and pushbuttons. The bare boards are small enough to be "prototyping" size from the various Far East board houses and cost $.50 each.

I have made a couple of different versions so I could figure out what I liked the best in practice.

Green LED means turnout is "normal"; while a red LED being lit means "reversed" or "thrown", depending on what sort of term you like.

Here's the panel at Milford on duty.


Tuesday, March 30, 2021

More Power!

Had to start getting ready to install the LED lights for the lower level so a +12V supply was called for.


Monday, March 29, 2021

Got bored and reworked the DCC circuit breaker installation

 My original install of the PSX breakers wasn't neat, but speedy.

Now with some time in the evening and having the lower level DCC wiring starting soon, I thought it was time to neat up the wallfield area where the command station is.


Much neater, I'd say!

Friday, April 17, 2020

LCC Nucleo DevKit Build Shots

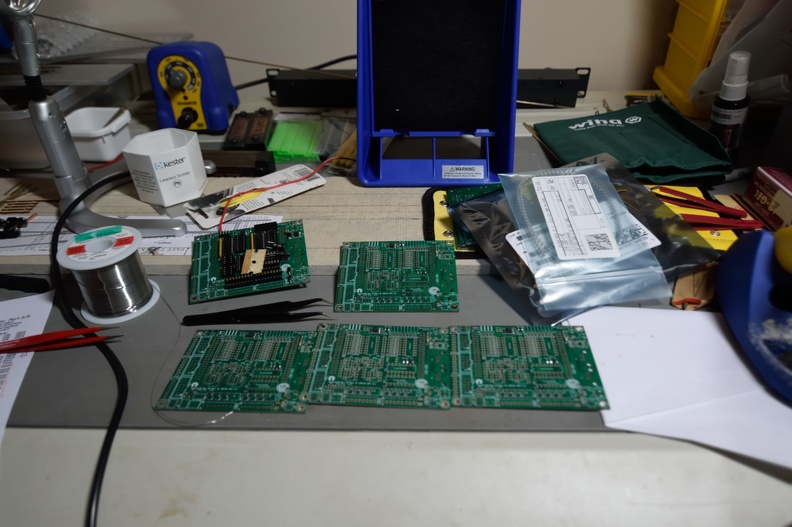
Just a couple of in progress build shots from the workbench when I was putting together the first run of these.

The design is a mix of SMT and through hole with many key components having an option one way or another.

I've standardized on SMT for the CAN and power ICs as well as most of the standard passives. Diodes are TH.

Note the tweezers!

Thursday, April 16, 2020

Layout Control Options - The Main Problem

Layout control is a subject with an interesting history and there have been various systems and schemas that have ebbed and flowed in popularity over the years.

When I say layout control, I'm talking about an accessory bus or network and not something whose purpose is to allow you to make your engine move, so let's agree to call those train control for the purposes of these discussions.

Up until this point, most of the layout control systems were an additional use case driven by the need to connect throttles to the DCC command station, but all of these suffer from various architectural deficiencies. The sole exception to the offshoot situation that I can think of is C/MRI - Computer / Model Railroad Interface invented by Dr. Bruce Chubb. C/MRI has been around for a long time and has a pretty solid community around it; in fact many of the CTC systems that I know about use C/MRI as the infrastructure, whether the panel is driven from JMRI or a physical panel.

Various Arduino and other microprocessor based systems have been brewed and used, as model railroader are ingenious in their abilities to adapt things to model railroad use, going back to dyed sawdust as ground cover at the dawn of the hobby.

What these solutions have in common is a single, central problem.

Lack of Sustainability.

They are either the work of a single person (the Arduino schemes are examples) or company (Digitrax, C/MRI, Atlas, Walthers, etc) and in most cases, are closed and proprietary. So once the manufacturer stops making that or goes out of business, you either have to reverse engineer it and potentially run afoul of patents and the like or be willing to run it until it dies and throw it away to start over once you have enough failures that you can't live with it anymore. Similar story if the kids move out and you get that extra space to expand the pike but you can't buy that anymore.

Enter Layout Command Control.

LCC solves the problem, as it is a royalty free and license unencumbered standard that manufacturers are free to implement however they see fit. If a DIY type approach is more to your liking, the standards are available to you so you can work from that angle.

LCC is the adopted standards from the work of the OpenLCB group. OpenLCB was started from what I will call the ashes of the NMRANet project. If one wants to burn a day or three, you can search and find various electrons inconvenienced about NMRANet and how it went a bit pear shaped.

I first saw OpenLCB (still referred to as NMRANet) in 2012 at the Grand Rapids convention. I got an early DevKit, thinking that it would be something somewhat shake and bake. I was so so wrong.

Thankfully, that was then and this is now.

At this point, commercial hardware is available from RR-Cirkits and there are various open source DIY stuff too. I have a mix of RR-Cirkits and the Nucleo DevKit here on the layout. I personally laid out an expansion board for the Nucleo DevKit.

If you check out the main openlcb.org website you can see the general status. There is even a print book out about LCC!

I will put up more posts as I have time and inclination - this post has sat in a draft status for almost 2 years; its original post date was October 2018...

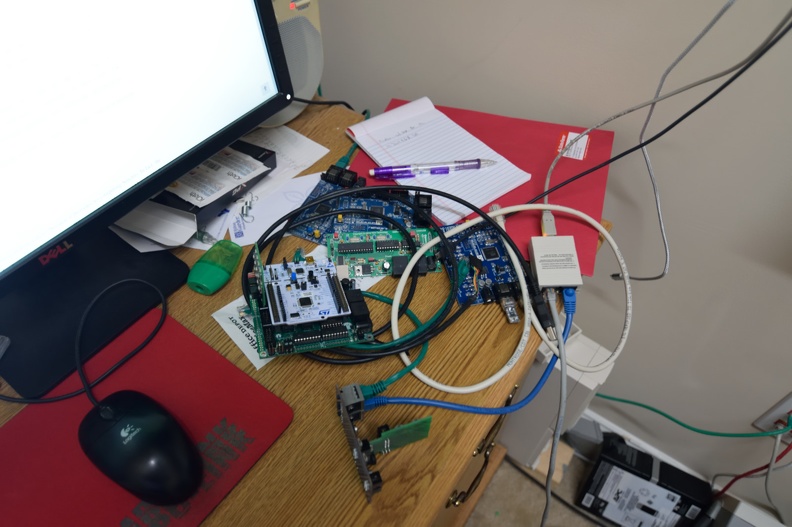
From 6 o'clock clockwise: (on edge) RR-Cirkits Tower-LCC, Nucleo DevKit (green and white PCB combo), Railstars IO (Blue PCB), LCC-Buffer. At center is a TCH Technology USB-Serial to CAN adapter that ended up having a fairly serious hardware bug..


Saturday, April 11, 2020

Electronics Teaser

Quick teaser shot of upcoming blog posts.

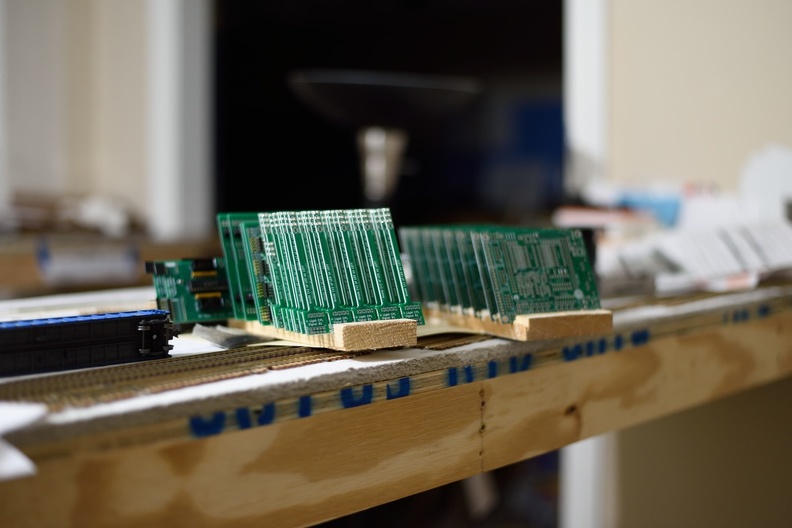
In this shot there are 4.5 different projects in various phases of completion.

I got tired of putting stuff in boxes and taking it on and off the work bench so I found some scrap 1x3 and 1x4 to make some circuit board holders.

Used the table saw with the blade set at a 15 degree angle and just cut by eye. Worked pretty great.


Wednesday, April 8, 2020

Hamilton Signals Installed

Signals at the Hamilton Control Point have been installed and connected to the various driving boards.

I've got some additional updates around signals on the way so look for that content to post fairly soon. Being stuck at home is helping move the layout forward.

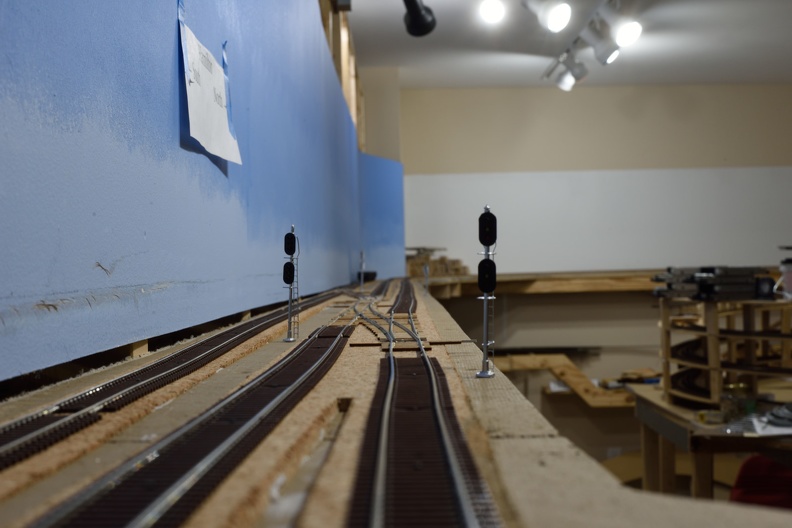
Here is my favorite shot:

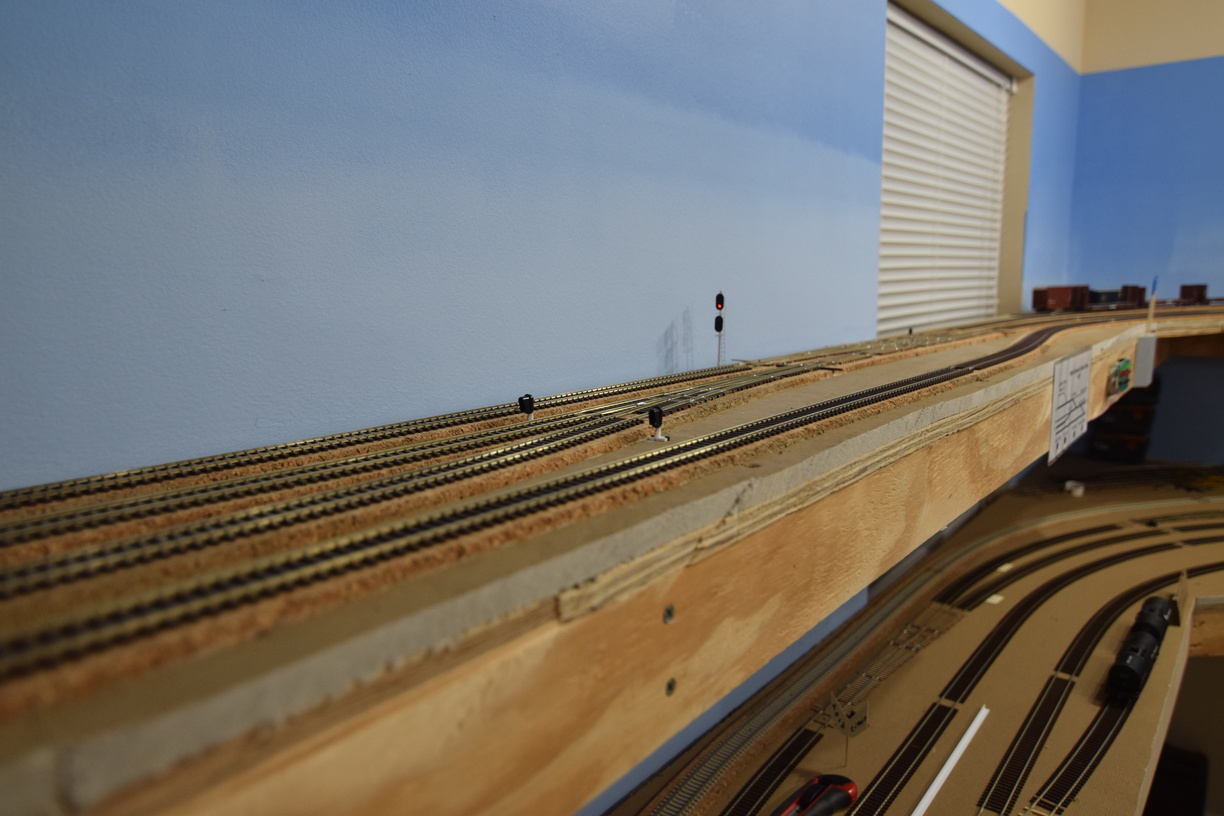
Looking North here

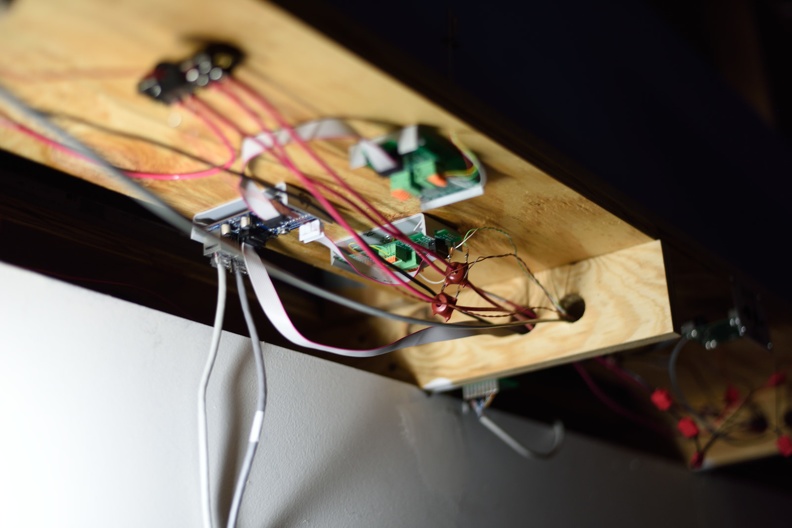
Under the layout to drive this stuff, I have RR-Cirkits Fan out boards (FOB) and a Signal-LCC board that drives the signals. The FOB lets me go from the fine 30 AWG gauge wire on the signals to the .1" square header pins.

Signal LCC at center left, FOBs center and center-right.

Working through the FOB lead me to put together an alternative circuit design to make it more economical, from both a money and space perspective. A future post coming about that as well.